DIY Mickey Mouse Pumpkin
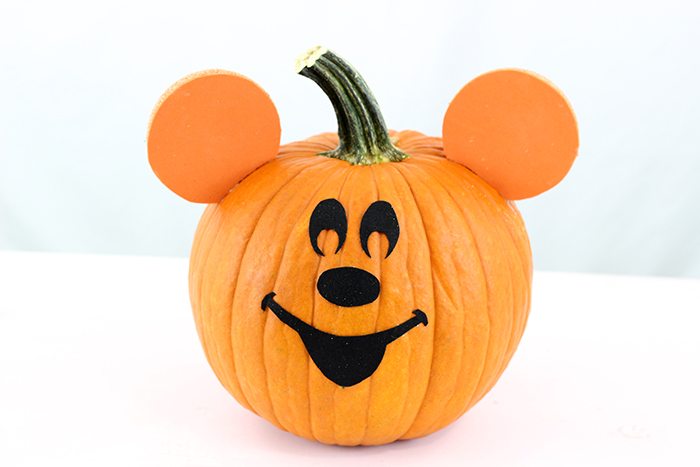
So it's true, I've been bitten by the Disney bug. At least for the season. 😉 After making the Mickey Halloween Wreath, the idea for making a real pumpkin seemed so simple using the same concept and it is! This DIY Mickey Mouse Pumpkin can be put together really quickly and I think it came out super cute. Boo to you!
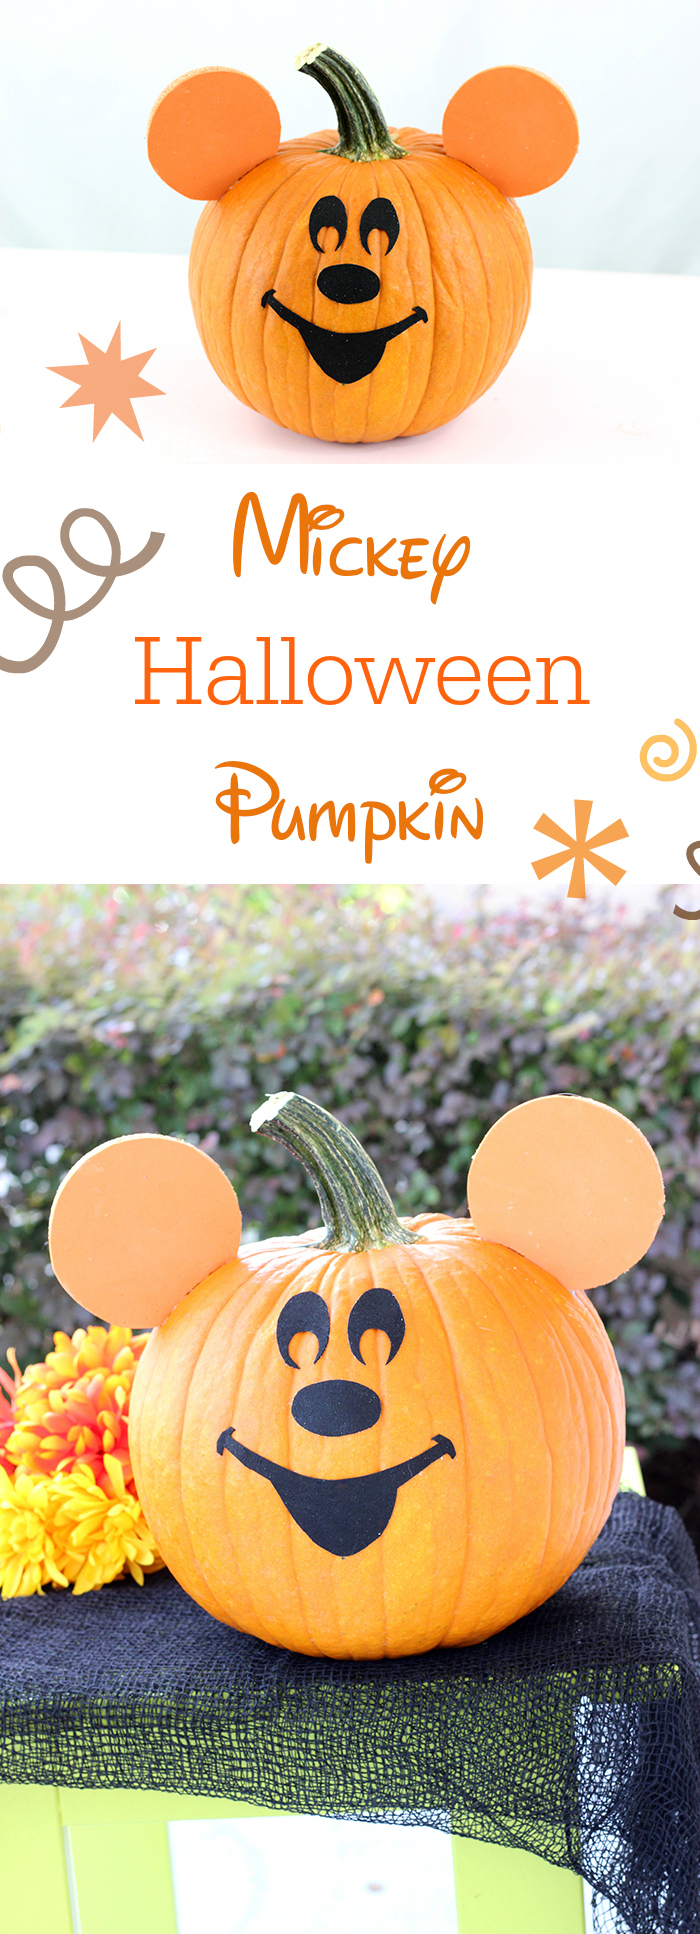
Mickey Halloween Pumpkin
This take on a Mickey Mouse Halloween Pumpkin comes together with just a handful of supplies. Let's do this!
*Medium Sized Pumpkin
*(2) Foam 4″ Half Balls (3.9″)
*Orange Foam or Felt Sheet
*Black Felt or Foam Sheet
Orange Paint (Pumpkin Colored)
Tools:
Fast Drying Glue like Superglue (Don't use a Glue Gun on the Foam Ears)
Craft Knife (like X-ACTO)
Scissors
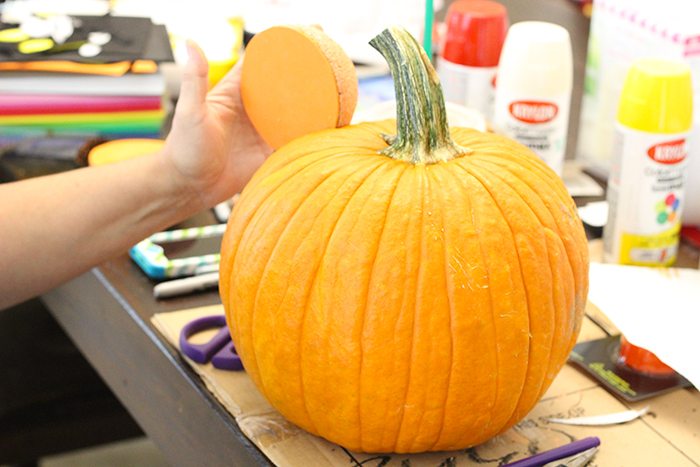
Step One: Prepare Mickey’s super cute ears. You can do this in so many ways, but I love what we came up with. Use craft knife to trim one side of each foam ball so that it fits perfectly onto your pumpkin.
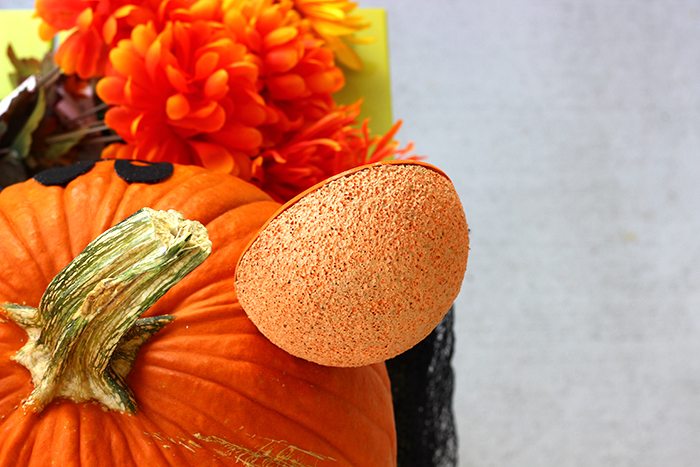
Trace the flat circular side of a foam half ball onto orange foam, trim and repeat. Put the foam circles aside and paint the back of the foam balls with an orange paint. Then, use super glue or school glue to secure the orange foam circles onto the flat surface. Put them aside to dry.
Step Two: Cut Black Foam into Mickey’s face. You can print a picture to use as a template or just look online as you create the shape. It’s actually fairly easy. I recommend sketching on paper first and then using that to help cut the foam into shapes. Use super glue to set the pieces into place on the pumpkin. Let it dry.
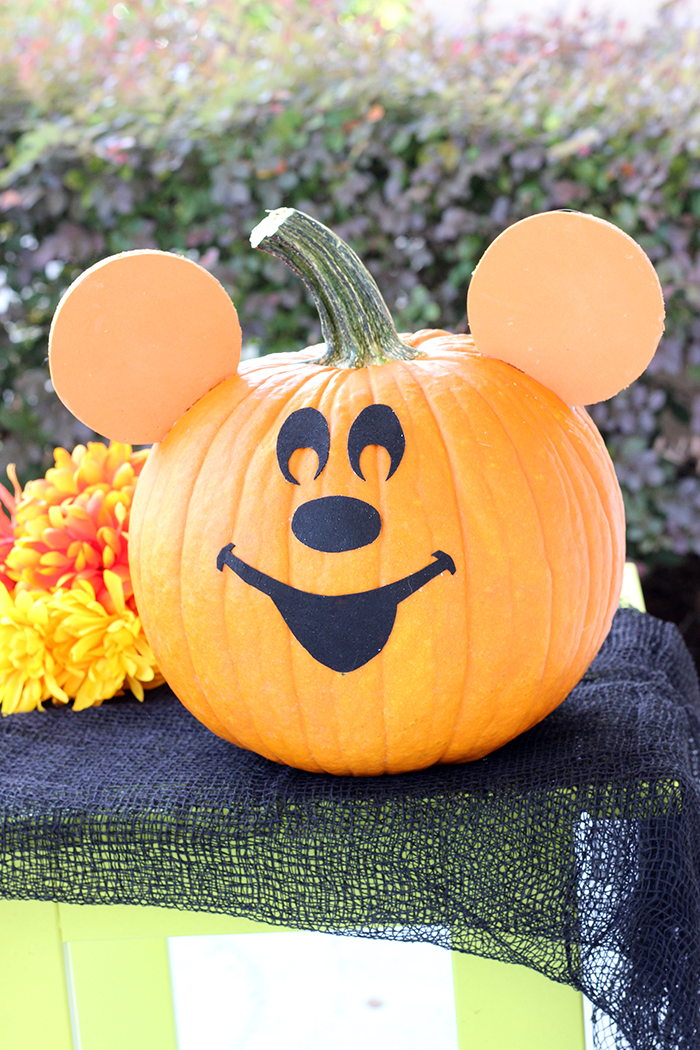
Step Three: Once the ears are dry, use super glue or another fast drying glue to secure them onto the pumpkin.
That's it! See, I told you it was easy. This pumpkin will make any Disney fan smile!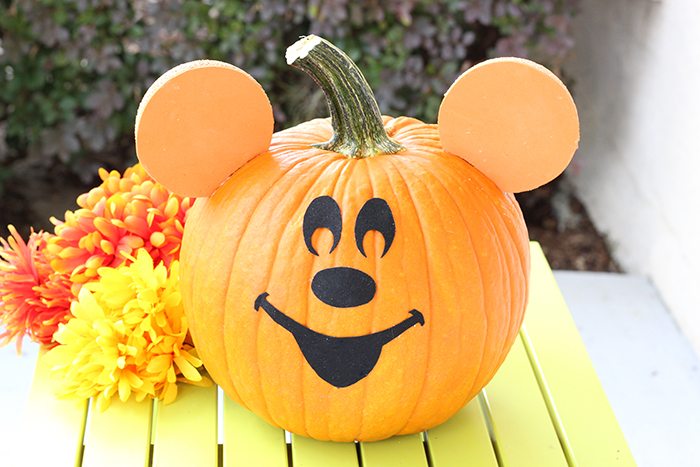
If you like this idea, you might like this Mickey Halloween Wreath or Mickey Halloween Ghost tutorial.
Will you be making your take on a Mickey Mouse Pumpkin?





Spooktacular!
LOVE the way both of these Mickey projects came out! So fun 🙂