Dinosaur Sundaes
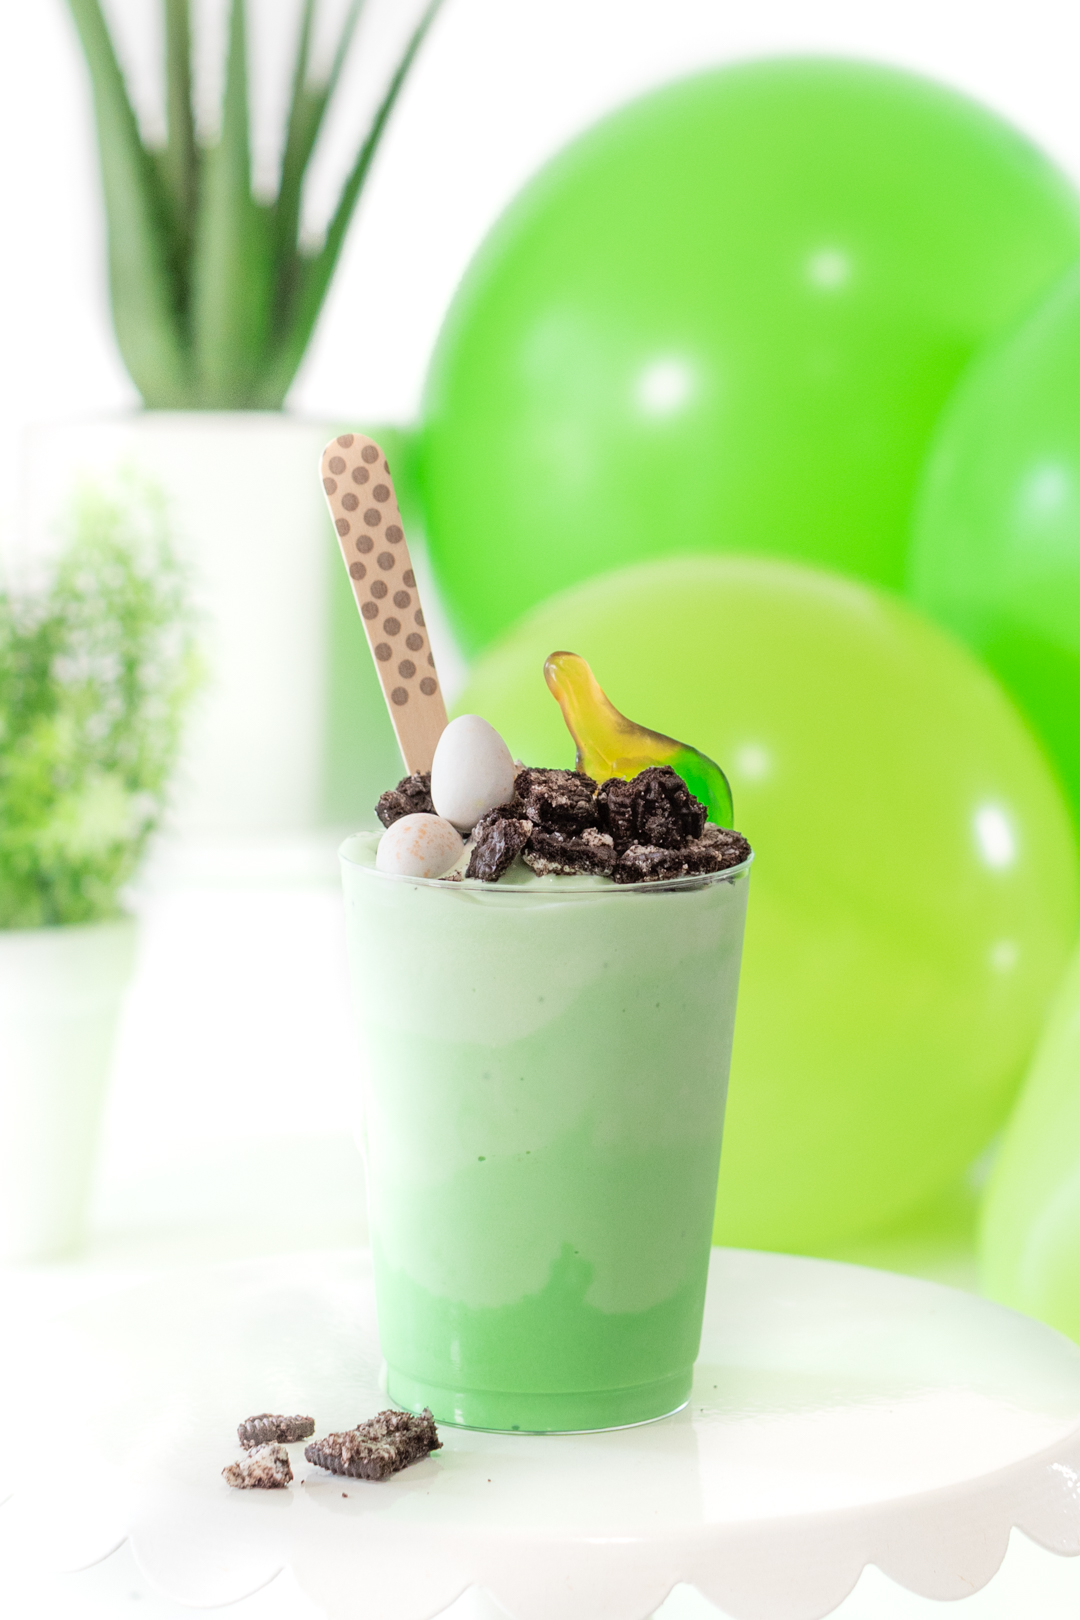
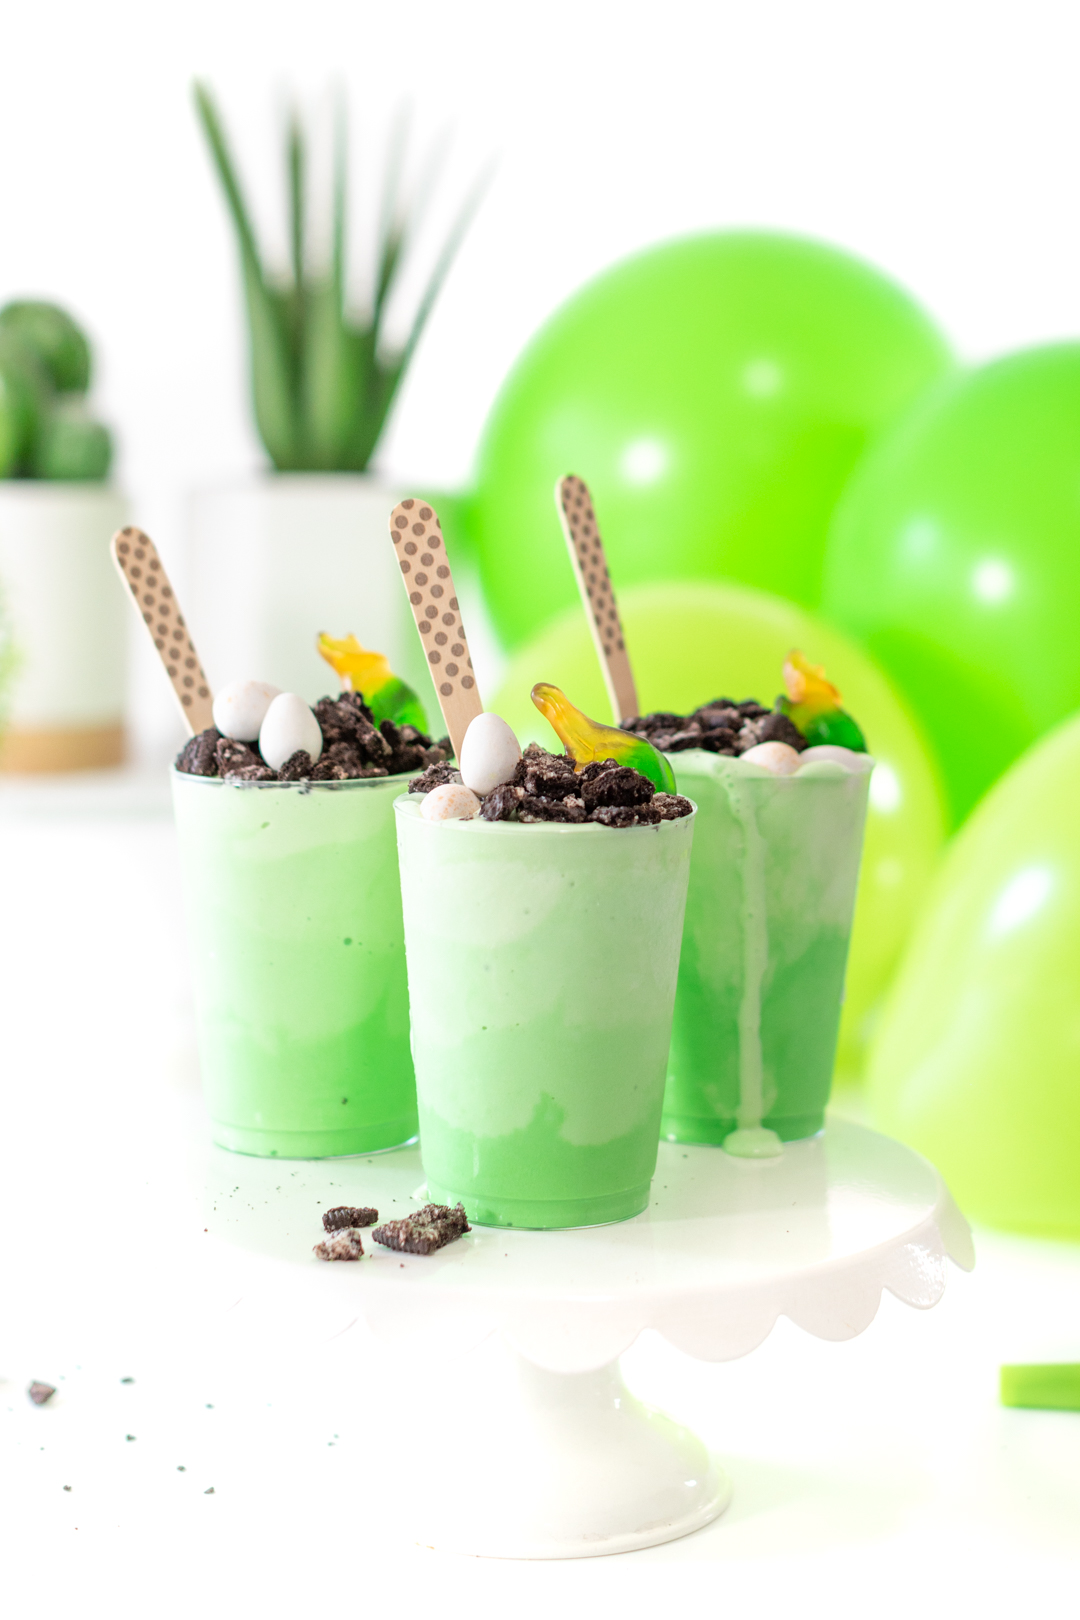
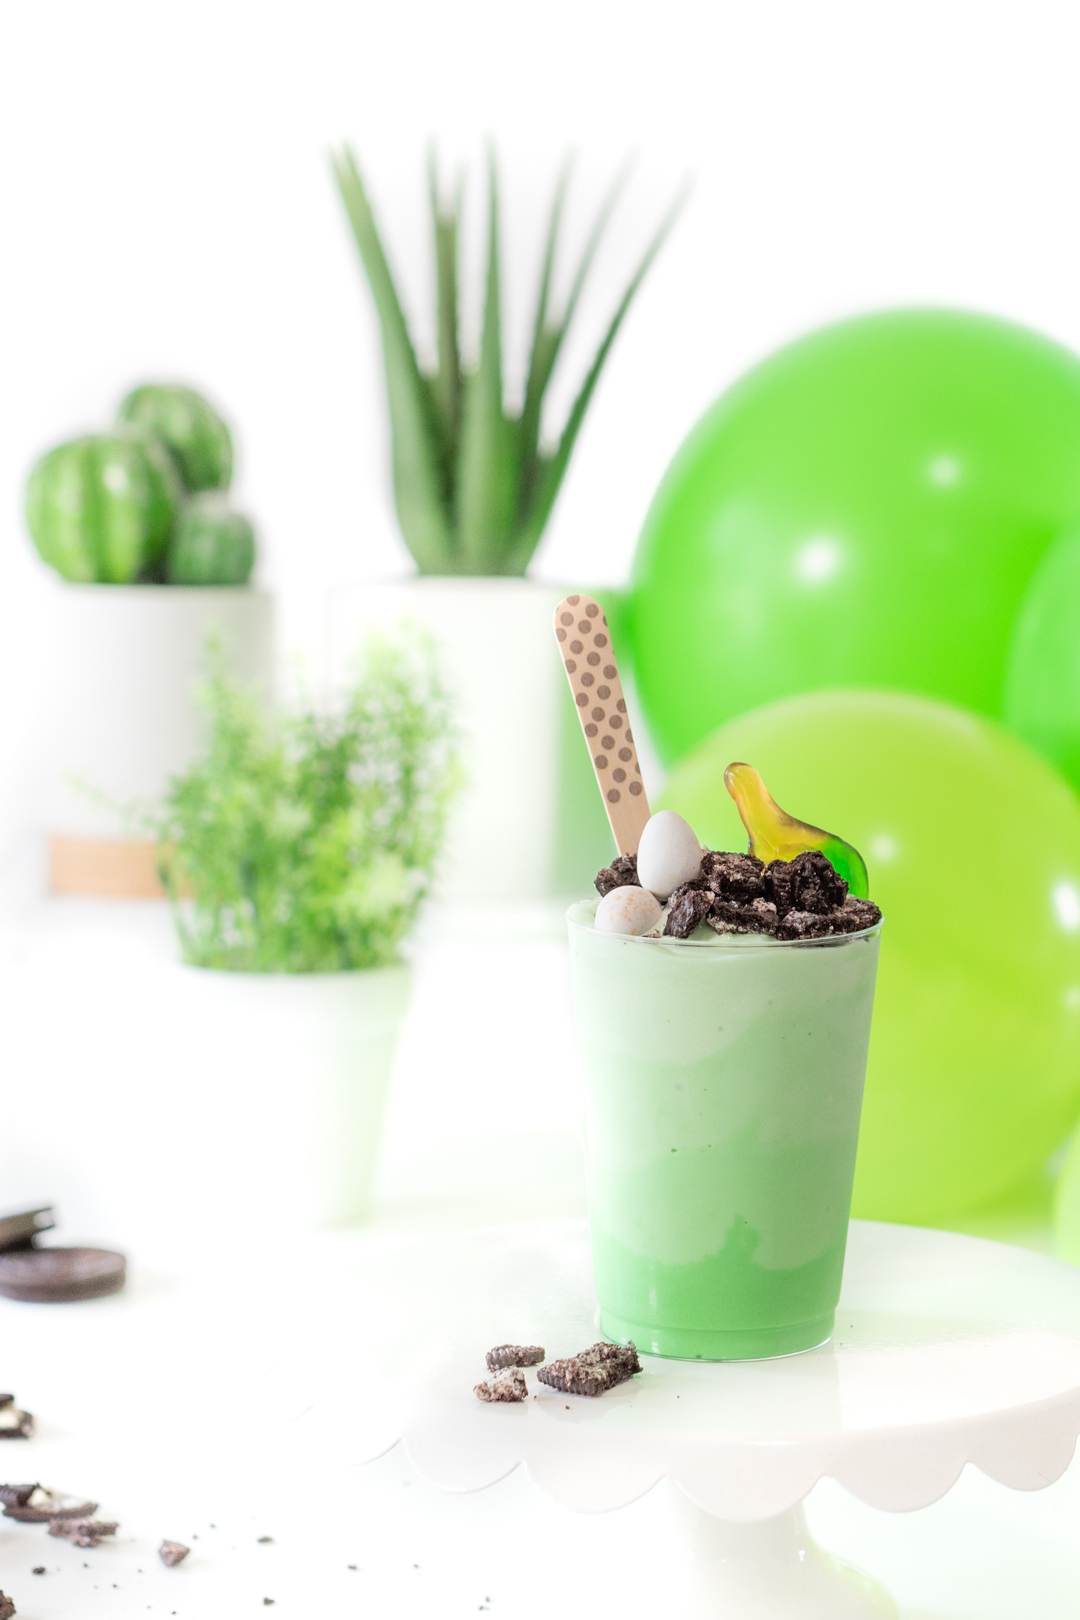
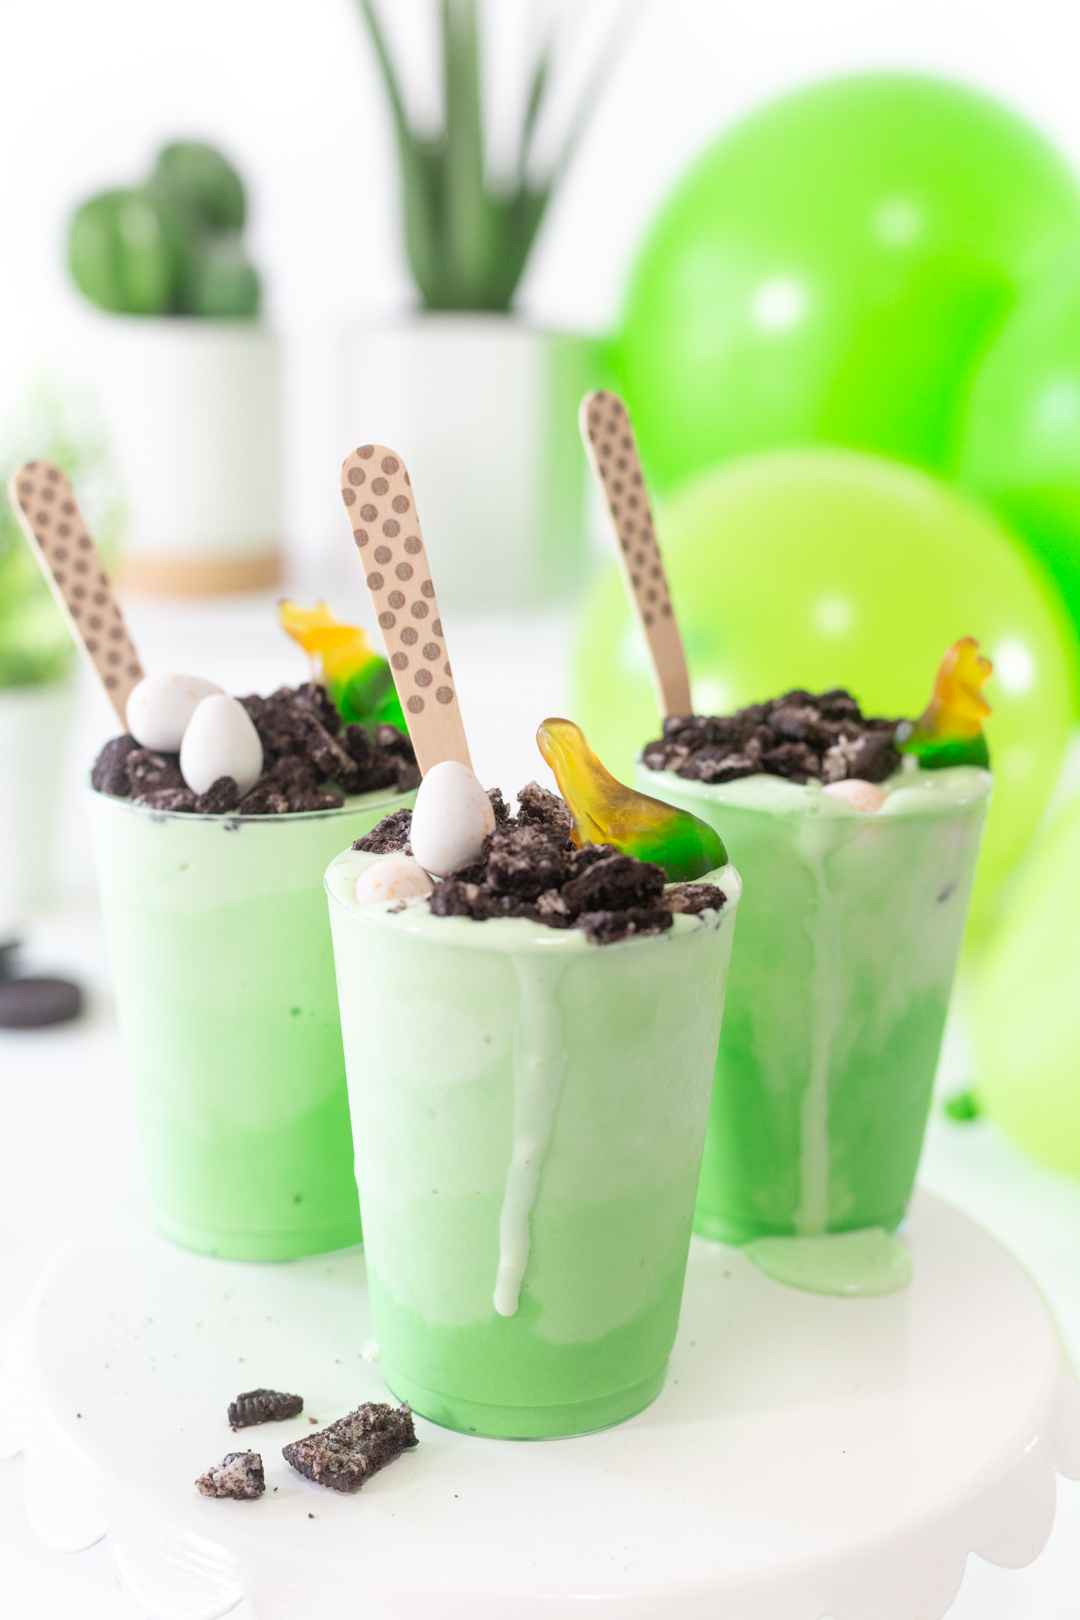
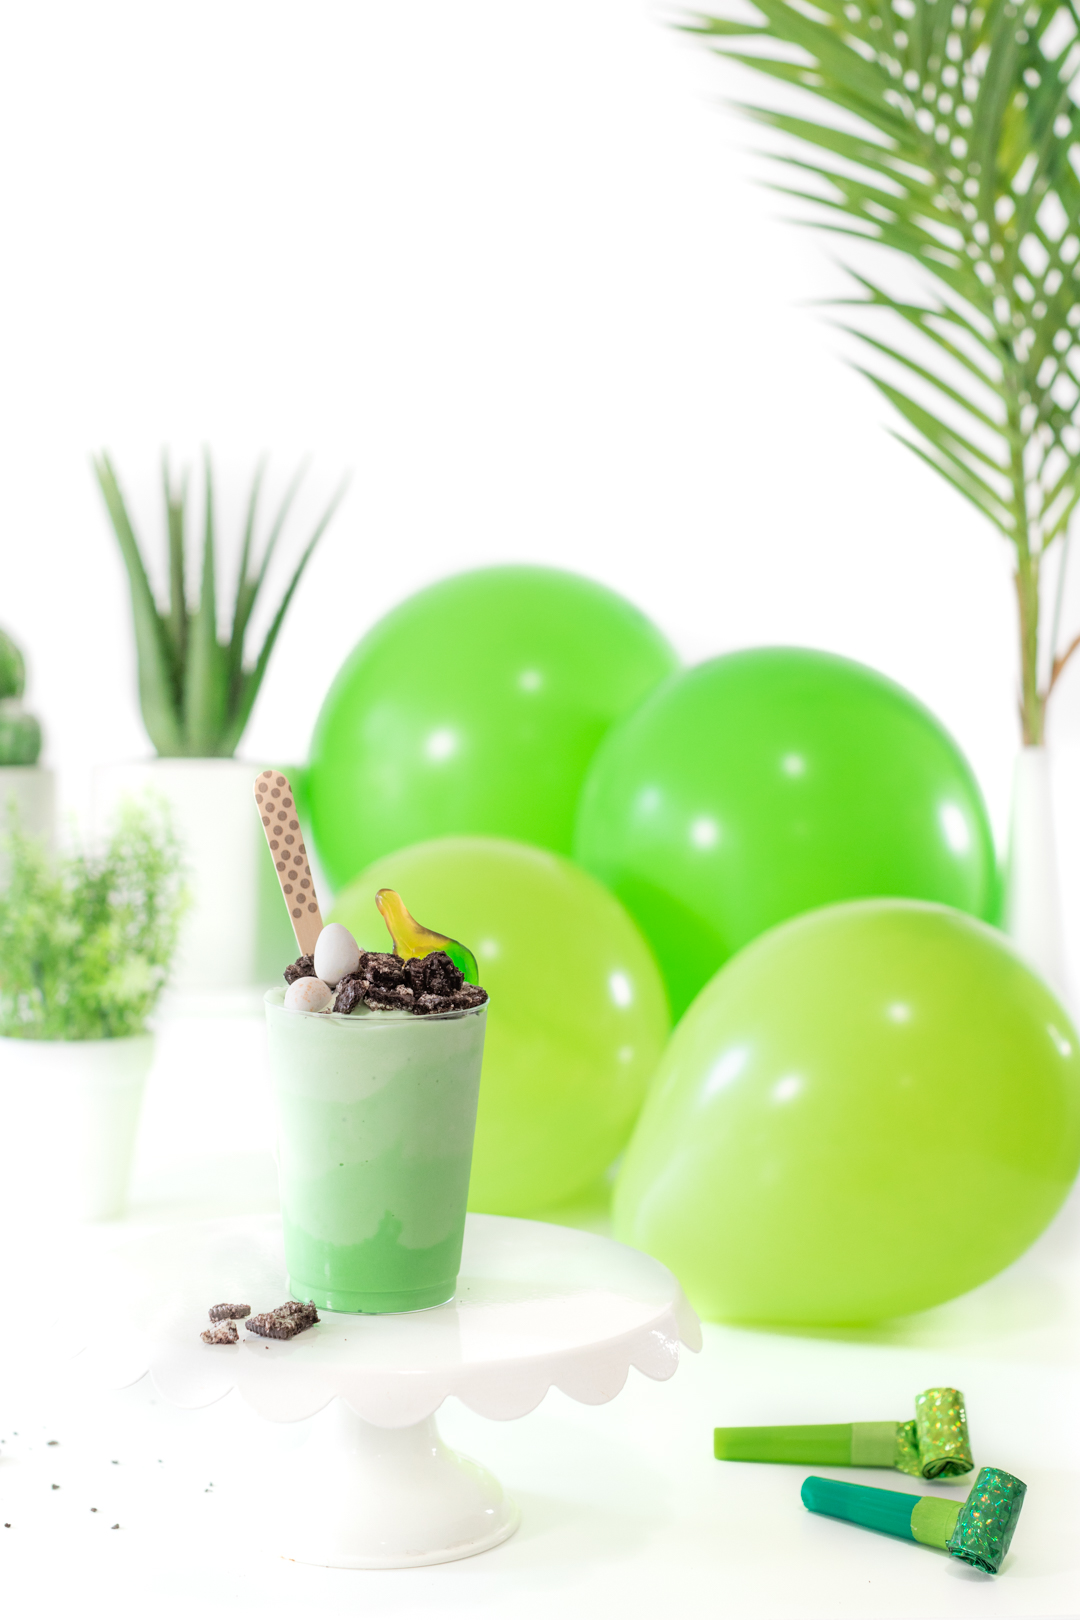
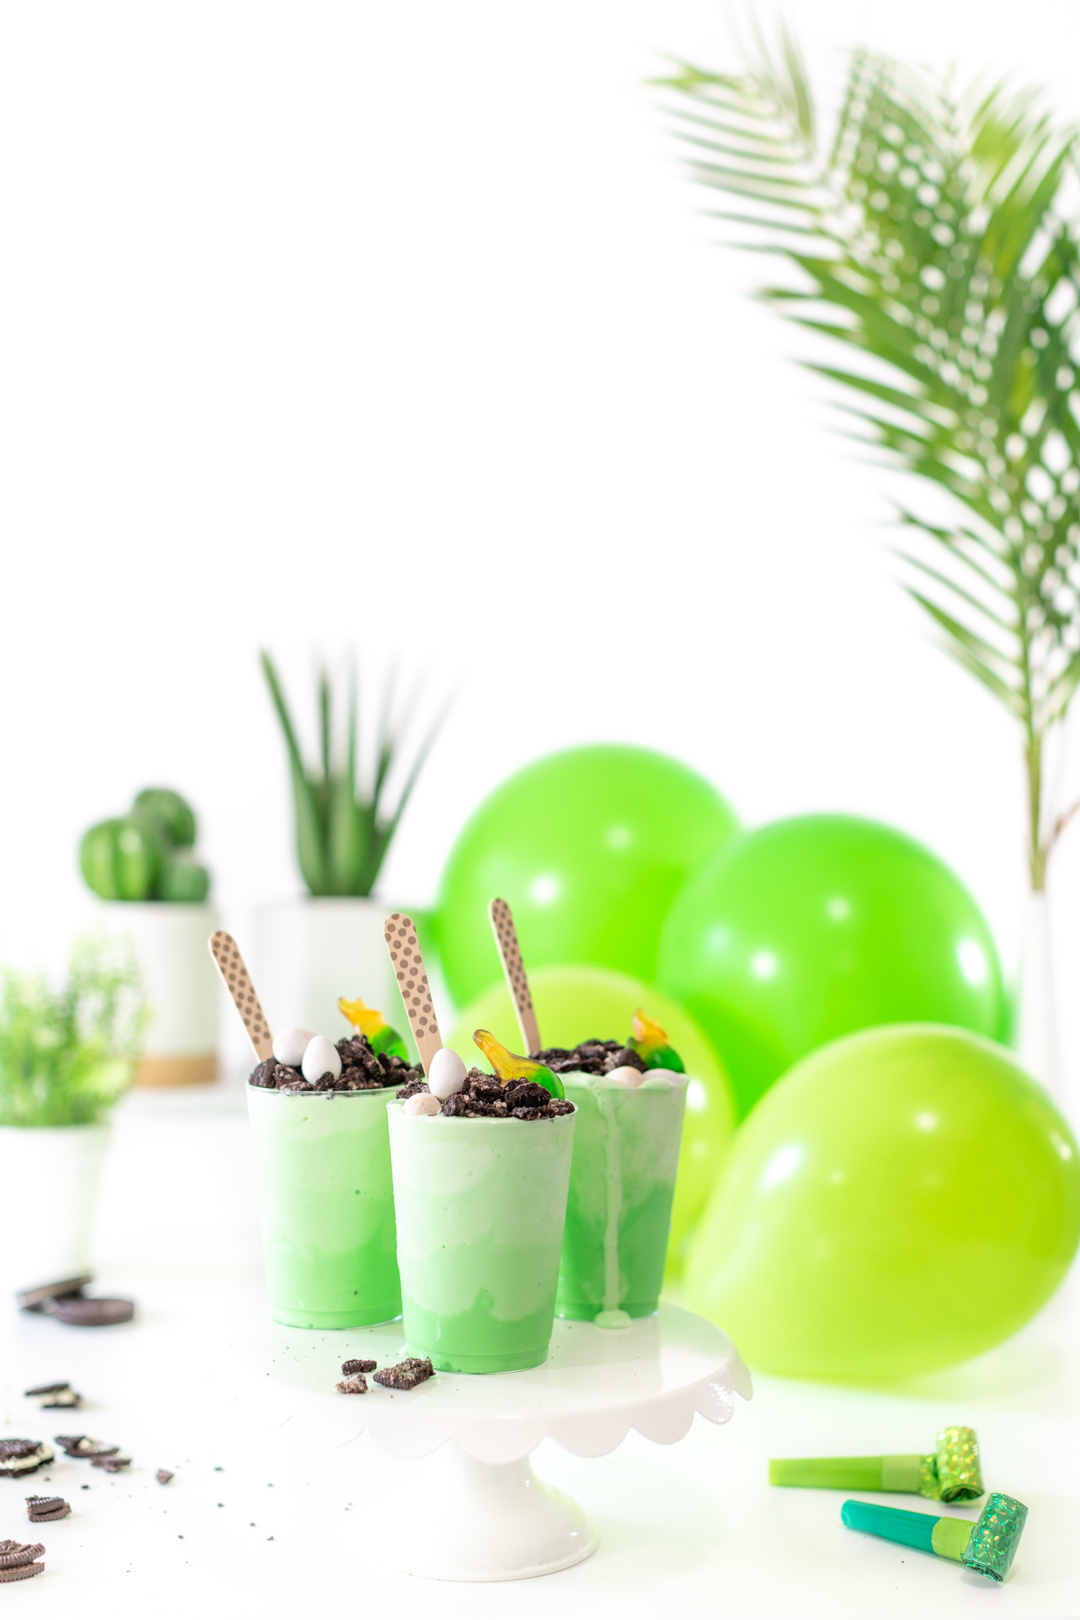
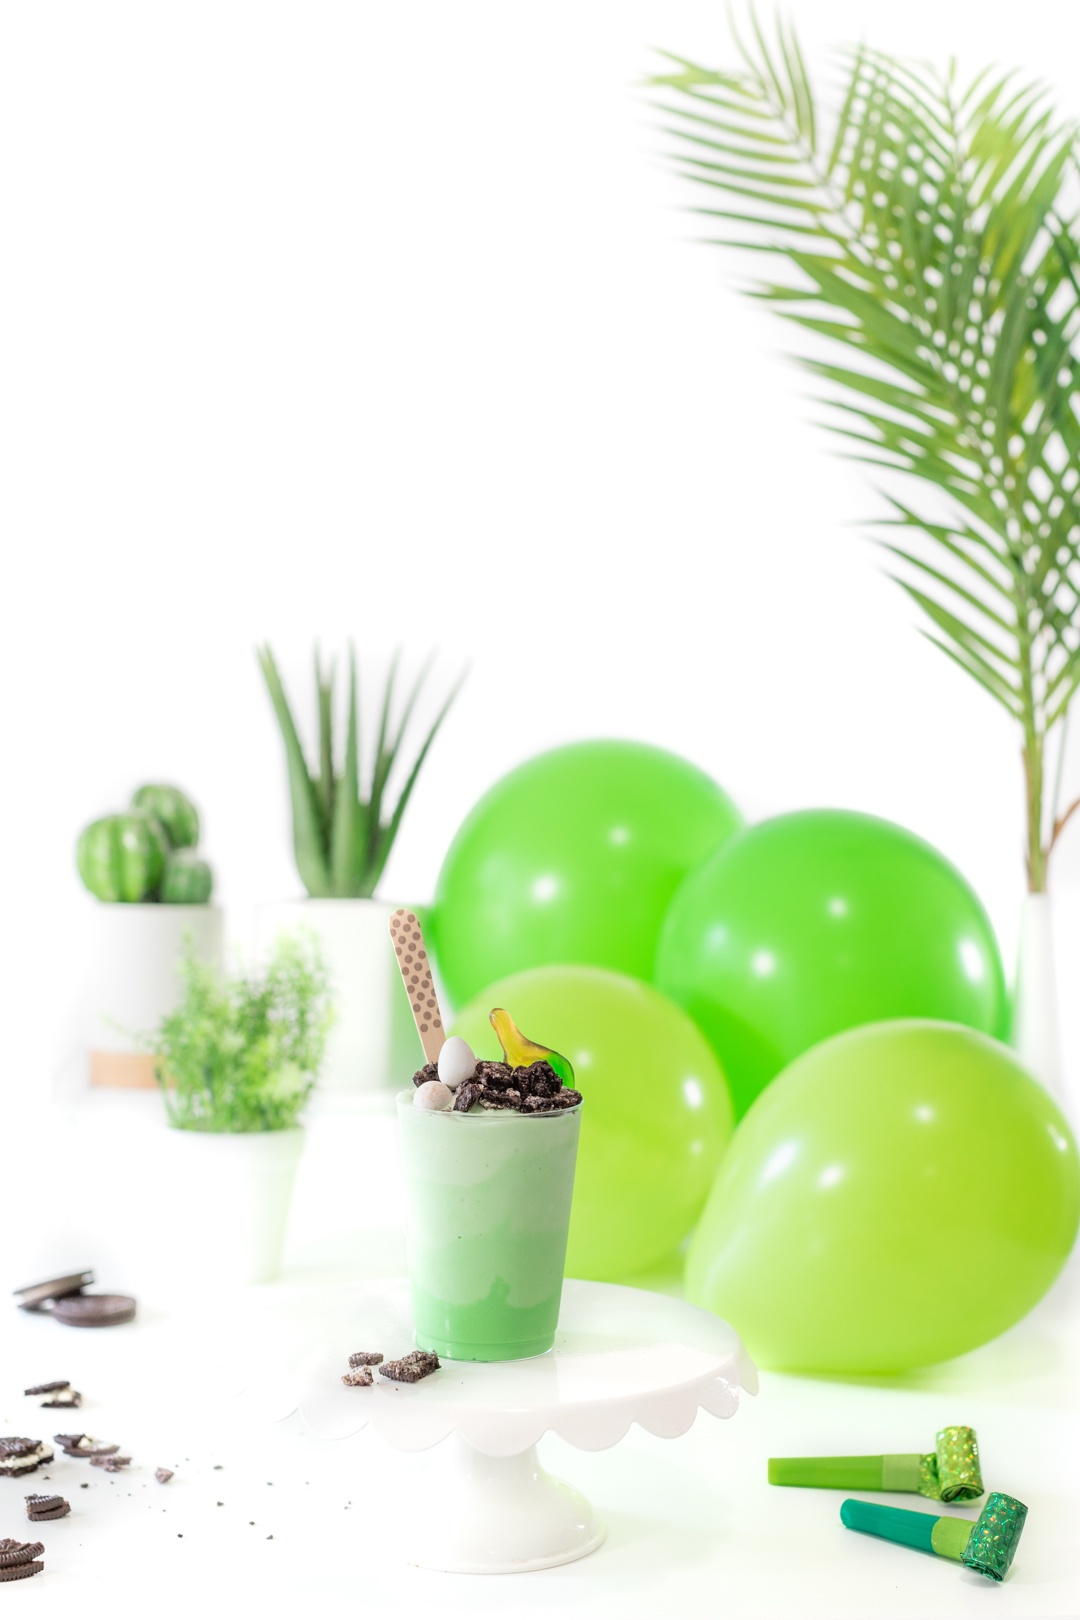
These adorable dino sundaes are made with four layers of green ice cream and topped with crushed oreos, dino "eggs" and dino gummy candies. Looking for dinosaur party ideas? You have come to the right place. These layered Dinosaur Sundaes offer a simple but pretty twist to a basic ice cream dessert.
These simple and subtle dino treats are perfect for celebrating birthdays or just for enjoying on a fun movie night.
DINOSAUR ICE CREAM SUNDAES FOR PARTIES
Lets jump on in and make these fun dino-themed desserts! They are SO simple but I just love the subtle green layers. When I envisioned making these, the result was SO different. But, I am not sad about it.
These have a whimsical look to them that I am instantly obsessed with. The beauty is that you can use whatever colors you choose.
You can even use different flavors if you want to add a unique twist. Additionally, you can add a slew of different toppings. You could even set the ice cream sundae toppings out for everyone to choose their own.
Here's What You Need To Make These Ice Cream Cups:
- Small Plastic Serving Cups
- Vanilla Ice Cream
- Green Food Coloring
- Dinosaur Themed Ice Cream Toppings
HOW TO MAKE LAYERED ICE CREAM SUNDAES
Start by dividing ice cream evenly into 4 seperate bowls.
Allow Ice Cream to Soften for about 5 Minutes.
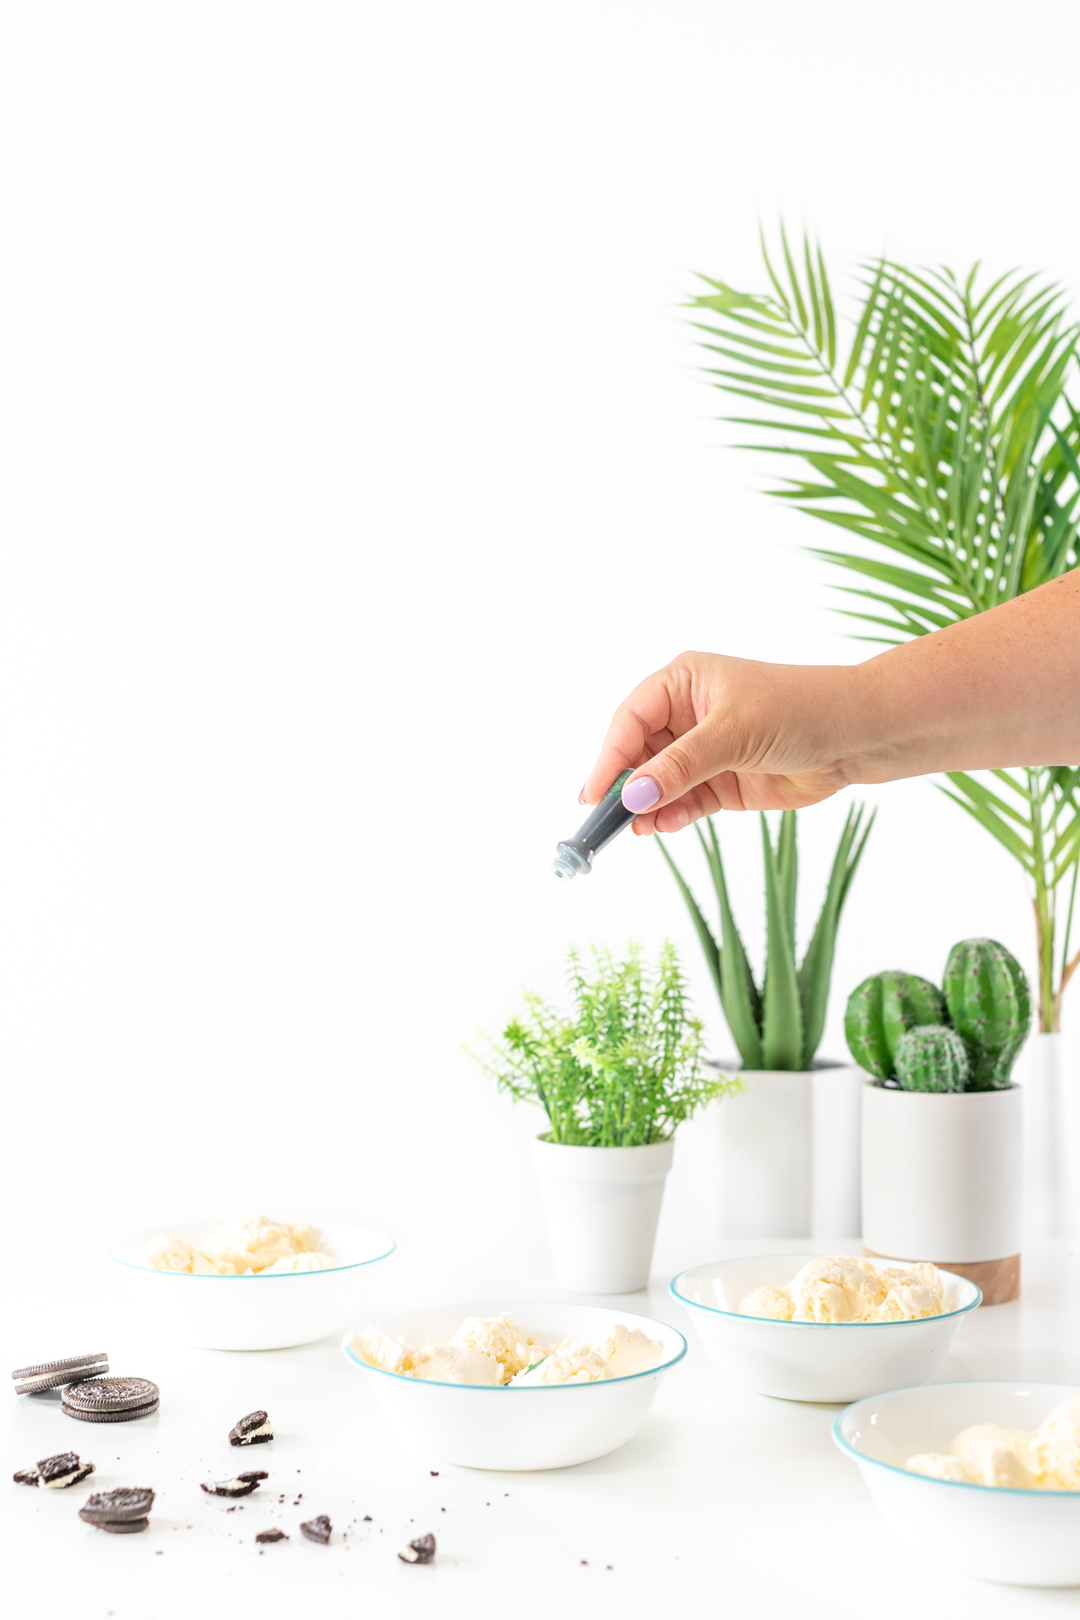
Add Green Food Coloring to Each Bowl. Starting with a Few Drops in one bowl and adding that number and more to the next bowl, repeating up to as many as desired to make a Darker Green for the last bowl.
I recommend starting with something like this: 8 drops, 16 drops, 32 drops and 64 drops. Mix thoroughly and see where you are at. Then simply adjust as you go along to ensure the colors were subtle but dramatic enough to differentiate between them.
Important note: At this point, if your ice cream is too melted and liquidy, put the bowls into the freezer for a bit before moving on.
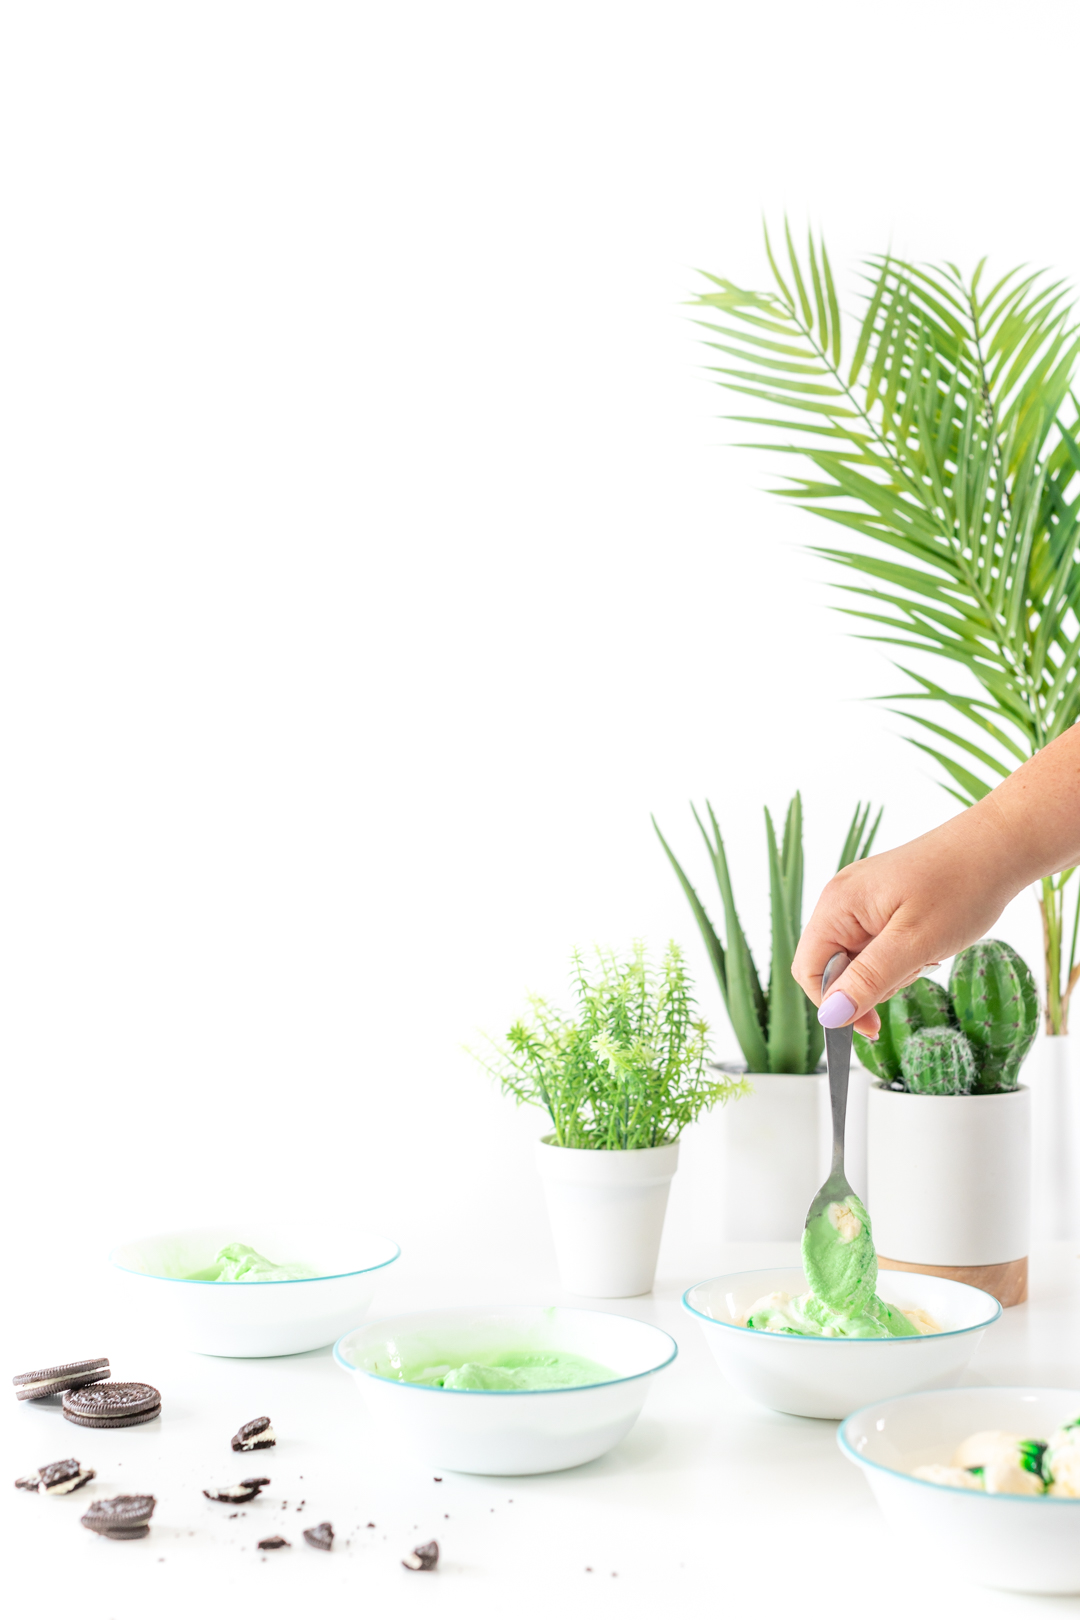
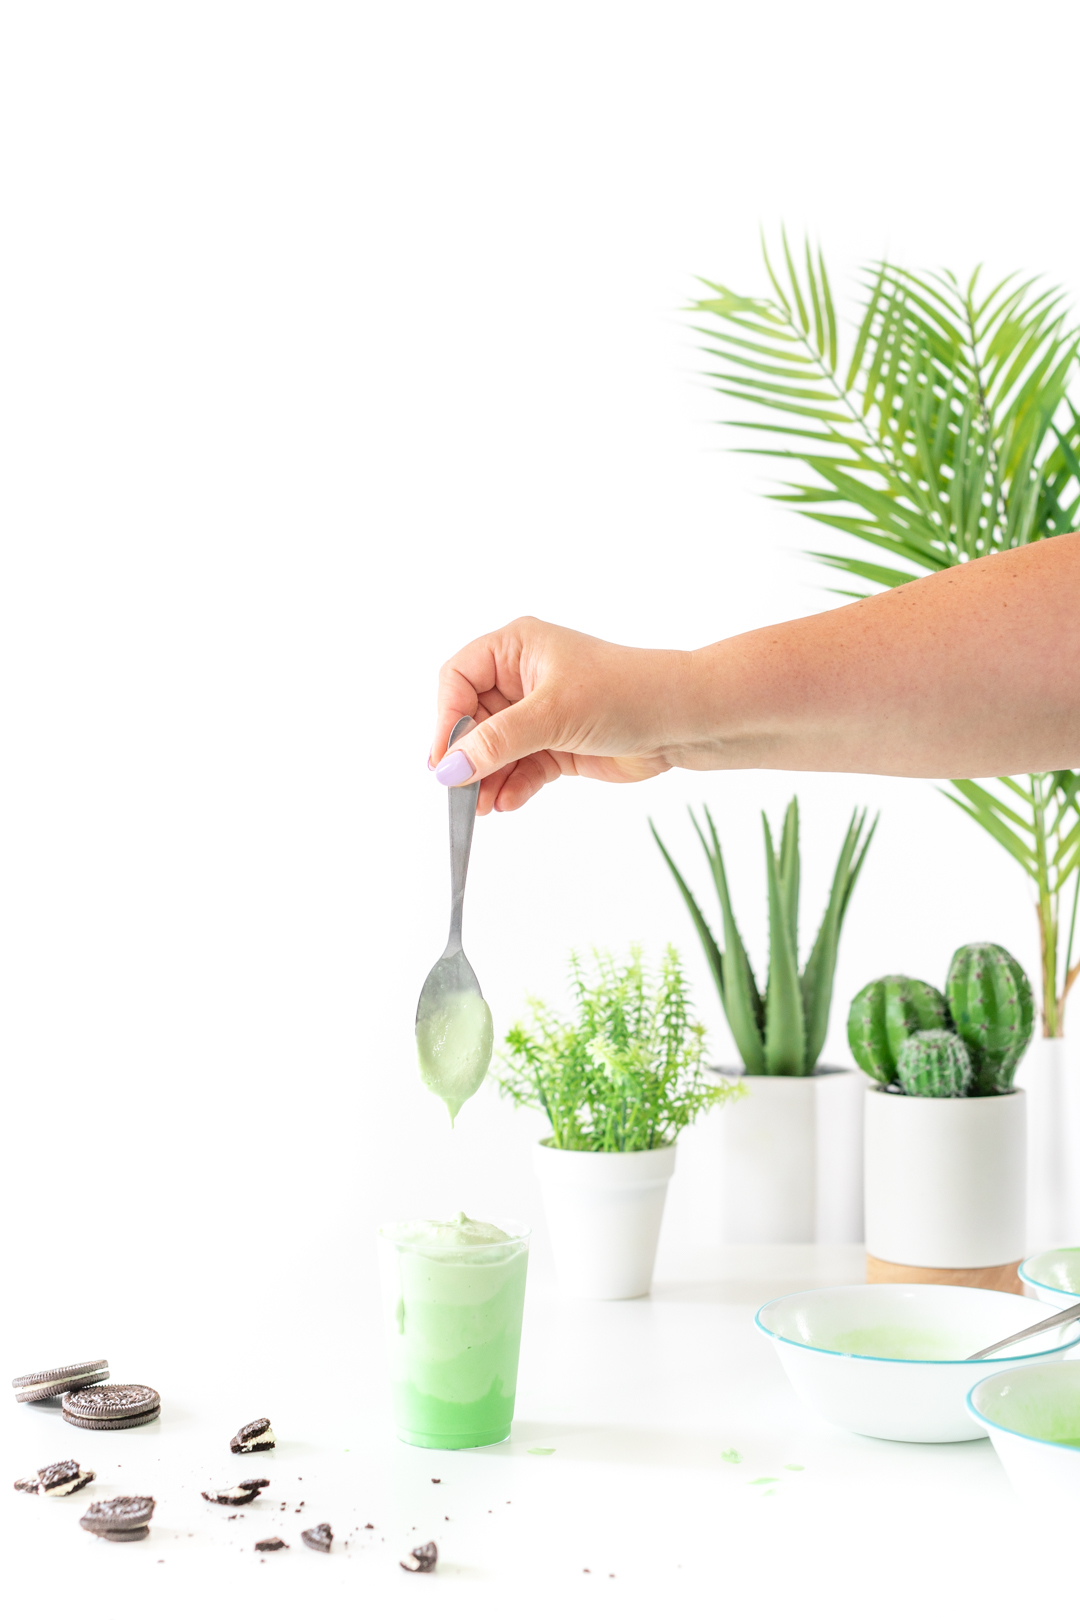
Layer the ice cream with the 4 shades of green on top of each other. In between adding each layer, tap the cup down to flatten the layer before spooning the next color on. Immediately put the cups into the freezer.
Let the ice cream cups set in freezer for at least 1 hour or until the ice cream freezes again thoroughly.
If you are making these in advance, you can simply just cover them with Saran Wrap or Foil and leave them in your freezer.
Be sure to add all of the toppings right before serving as they won't freeze as well.
DINOSAUR ICE CREAM TOPPING IDEAS
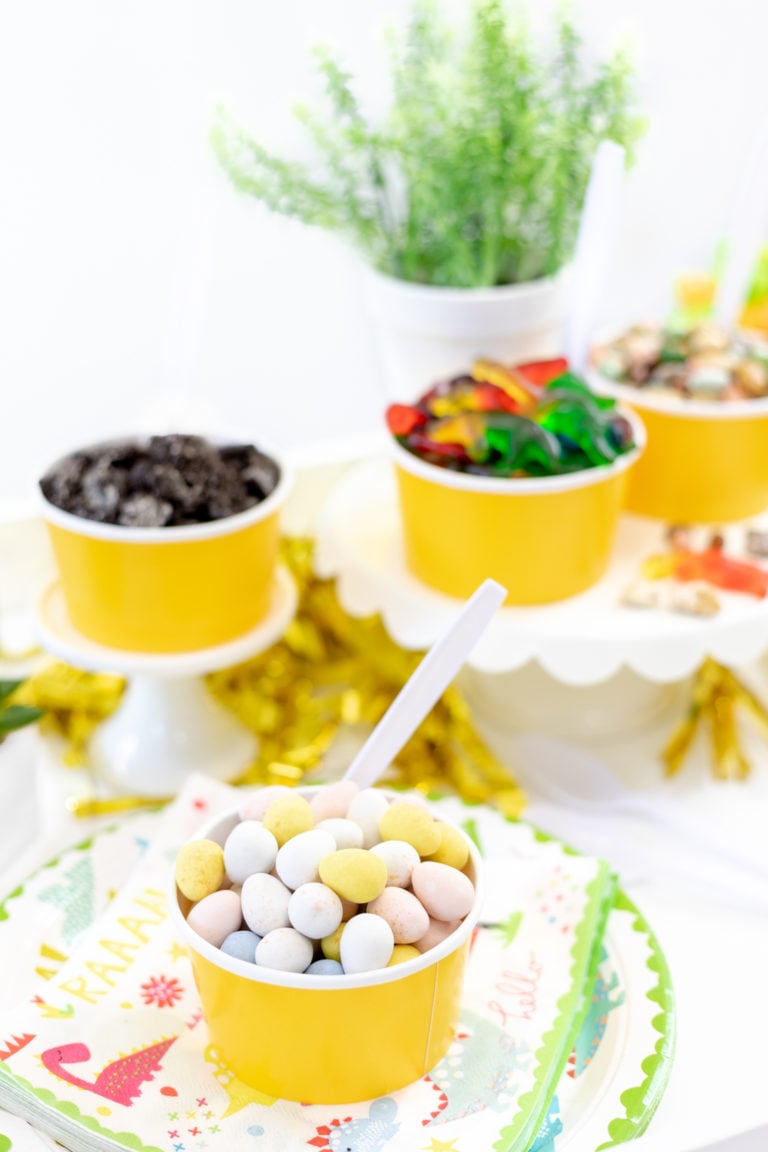
As someone who has set up a dino themed ice cream buffet, I have some great ideas on what to top your dino sundaes with.
- Crushed Chocolate Cookies (“dirt”)
- Chocolate Rock Candy (“rocks”)
- Candy Coated Mini Eggs (“dino eggs”)
- Dinosaur Gummy Candy
- Dinosaur Shaped Sprinkles
- Bone Shaped Candy (“dino bones”)
This is my favorite part. Have fun with it!
BEST DINOSAUR DESSERTS
Looking for dino treats for your next party? These fun rawr-tastic ideas are just what you need.
These delish dino dessert bars will be a show-stopper. I'm obsessed with the sprinkles on these.
If you love ice cream, this Dino Ice Cream Bar is the very best! You will love all of the fun edible dino toppings. Everyone loves options.
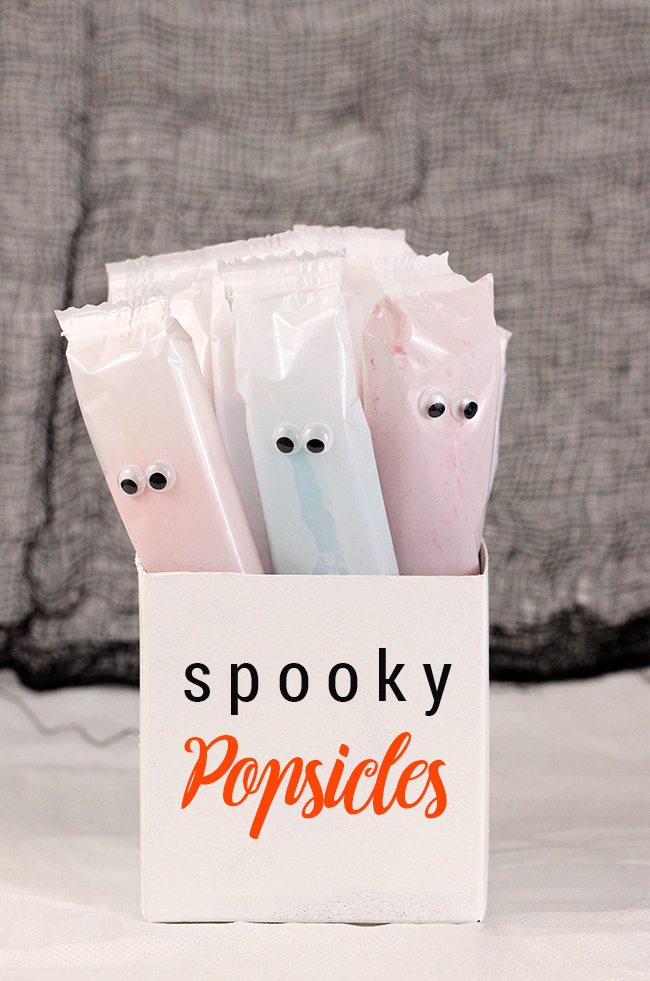
For a super easy dino quick fix, these sherbet cups turned dino will be amazing! The googly eyes are just hysterical.
Dinosaur Sundaes
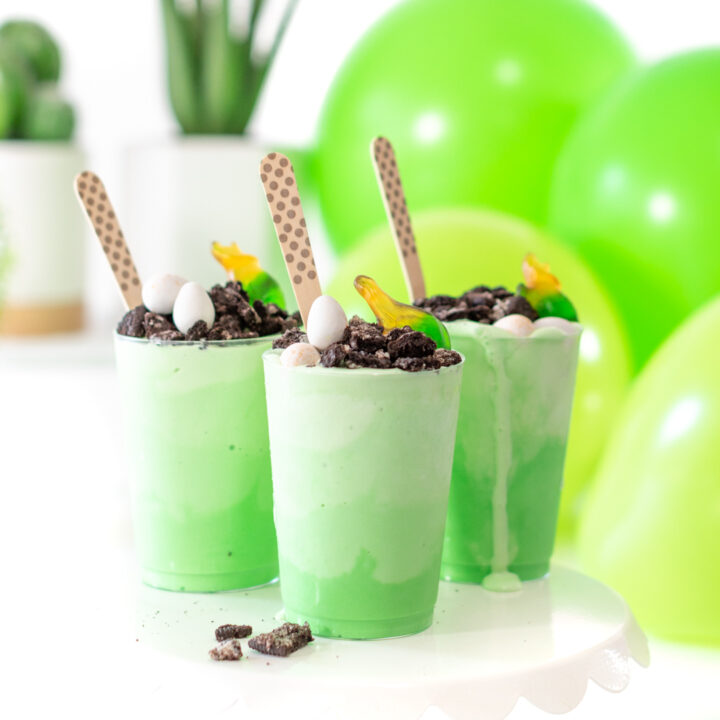
Pretty Dinosaur sundaes made with ombré layers of green ice cream. Topped with crushed oreos, dinosaur "eggs" and gummy candy.
Ingredients
- 1 Half Gallon of Vanilla Ice Cream
- Green Food Coloring
- 10 Crushed OREO cookies
- 16 Candy Coated Mini Eggs candies
- 8 Dinosaur Gummy Candies
Instructions
- Divide Ice Cream into 4 Bowls Evenly.
- Allow Ice Cream to Soften for about 5 Minutes.
- Add Green Food Coloring to Each Bowl. Starting with a Few Drops in one bowl and adding that number and more to the next bowl, repeating up to as many as desired to make a Darker Green for the last bowl. Start with 8 drops, 16 drops, 32 drops and 64 drops and adjust to ensure the colors were subtle but dramatic enough to differentiate. Blend thoroughly and make adjustments to achieve your desired shades of green.
- Important: If your ice cream is too melted and liquidy at this point, place the bowls in the freezer for 15 minutes before adding to your individual cups.
- Layer the 4 shades of green ice cream onto each other, tapping the cup down to flatten it before adding the next color. Immediately put into the freezer.
- Let set in freezer for 1 hour or until the ice cream chills again before serving.
- Add toppings right before serving.
Notes
You can make the base sundaes in advance and cover with plastic wrap or foil until you are ready to serve. Add the toppings right before serving.

Let me know if you decide to make these, I would love to see yours!

This is so pretty!! And I love the color, too! Thank you for the recipe, I will try it very soon!