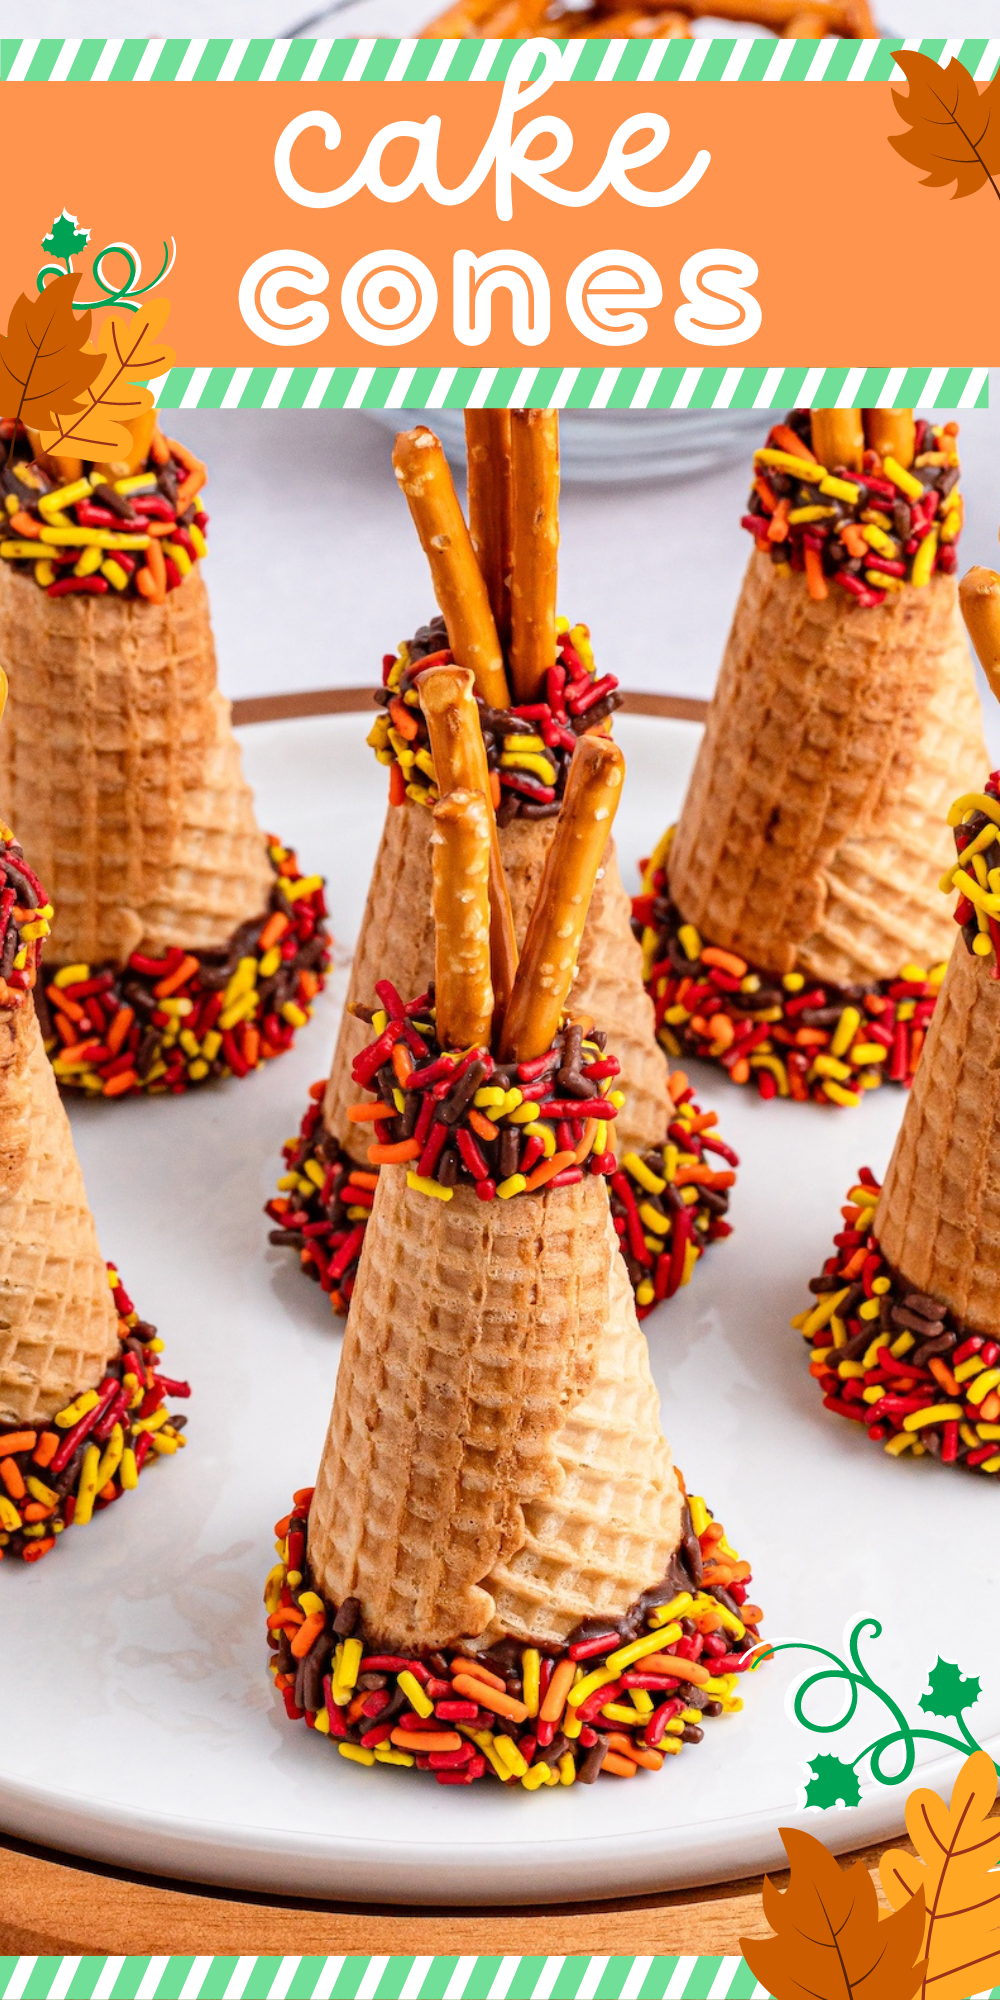
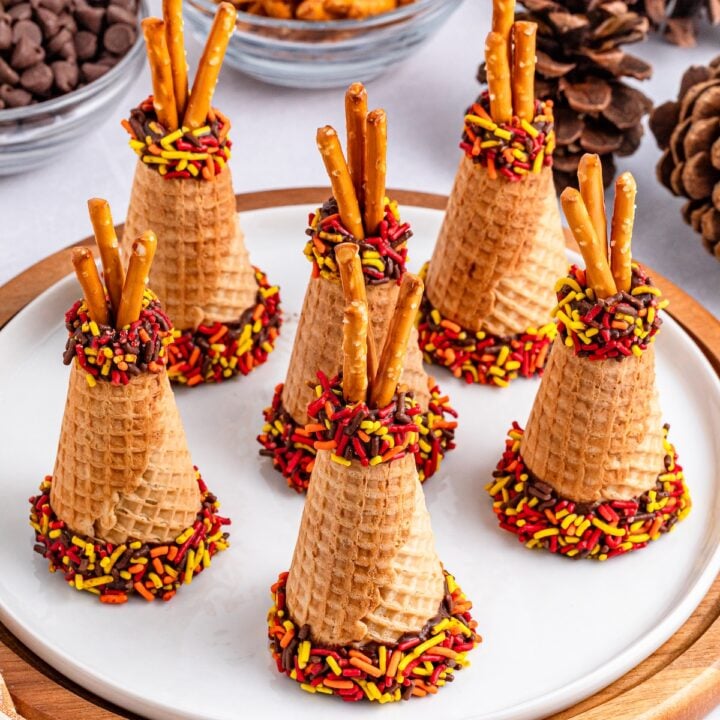
Add Cake Cones To Your Grateful Gatherings This Year
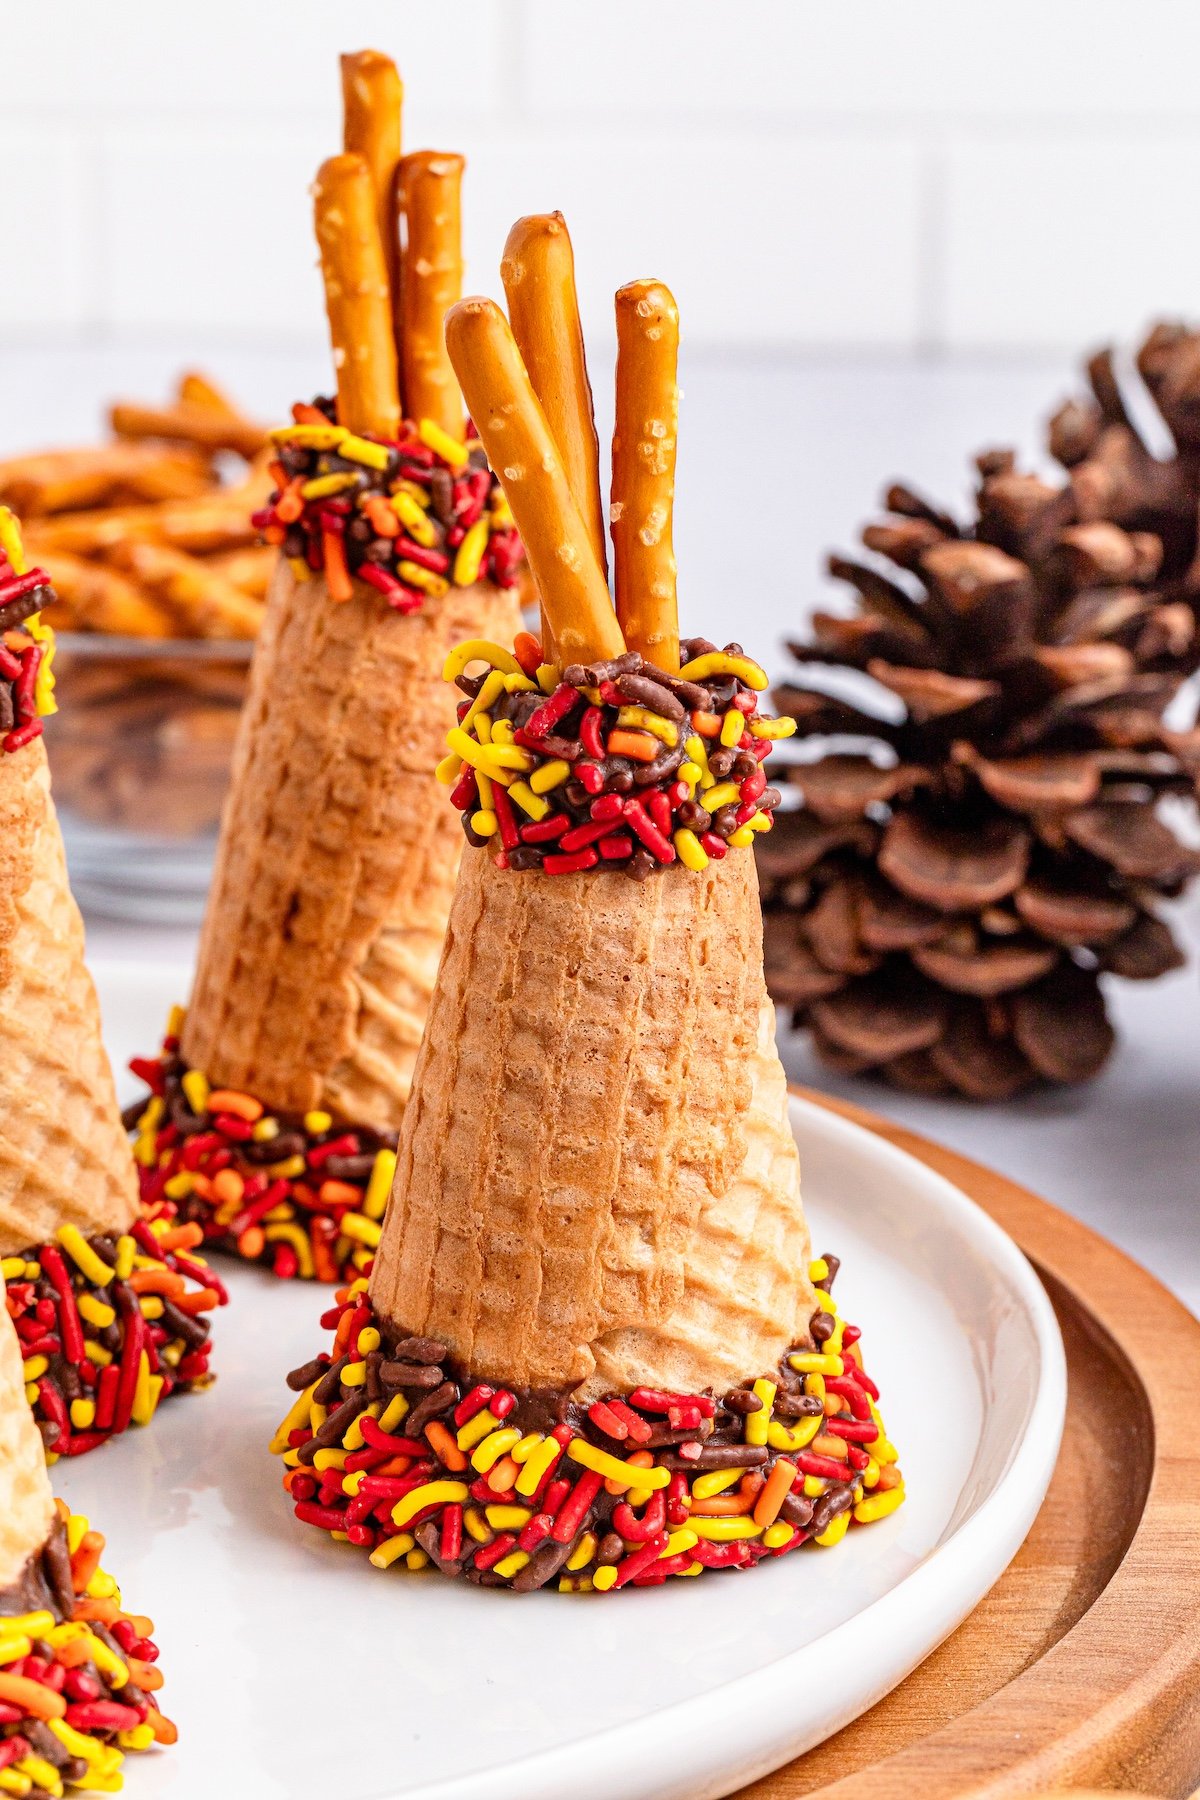
Make sweet memories with festive fall cake cones; the perfect treat for the season. Simple to make, fun to eat, and perfect for grateful gatherings. This post may contain affiliate links.

Why You'll Love It
Imagine serving a delightful treat that not only tastes delicious but also looks incredibly cute! Cake cones are just that—fun, flavorful, and sure to impress at your next event. Let's take a closer look at why you'll absolutely adore these charming creations.
- Fun and Creative Presentation
- Customizable Flavors
- Easy to Serve
- Kid-Friendly Treat
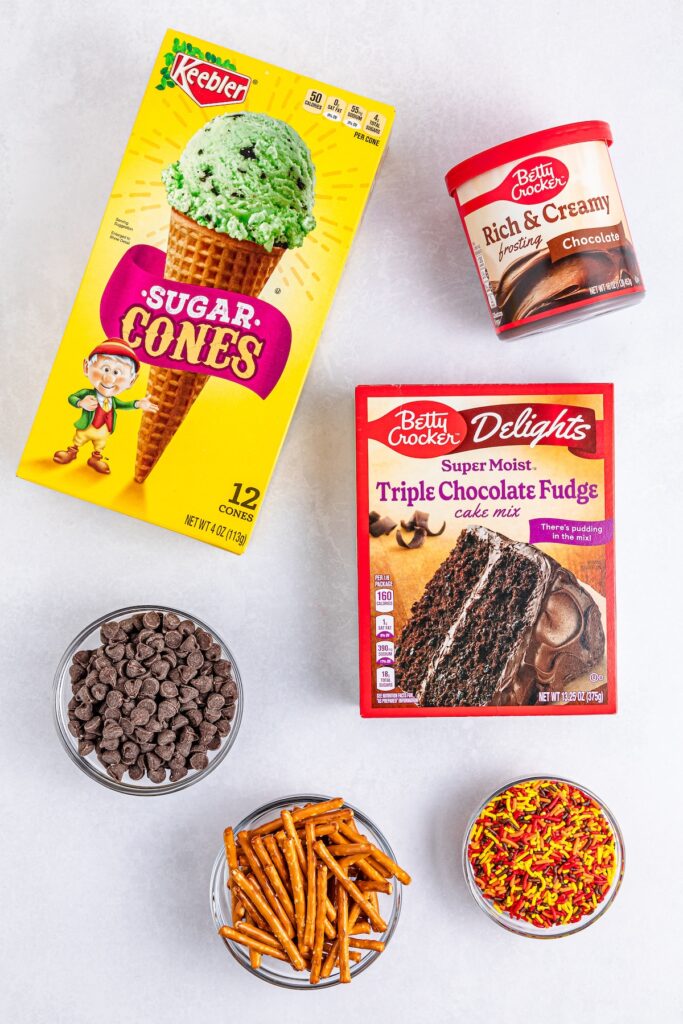
Ingredients
- Sugar cones
- Semisweet chocolate chips
- Pretzel sticks
- Fall colored sprinkles
- Prepared cake (from box mix)
- Chocolate frosting
How to Make Fall Cake Cones
Make the cake mix as the box says. Let it cool down once it's ready.
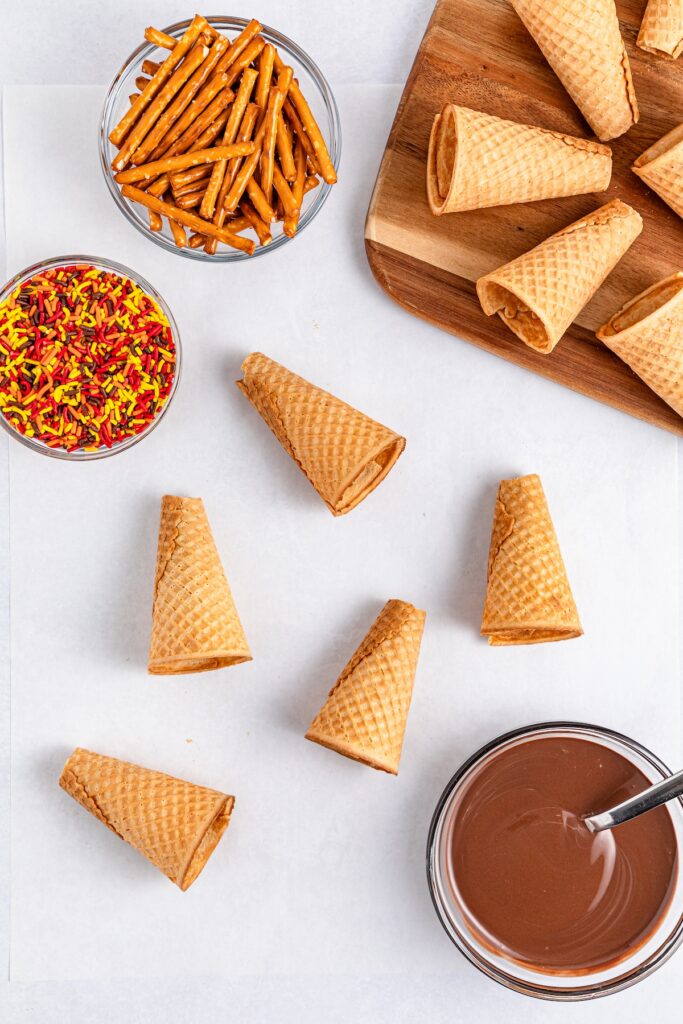
Trim the cone tips with a sharp knife, cutting about 1-2 inches. The hole should just fit 3 pretzel sticks snugly. Don't cut too much, or they'll fall through.
In a microwave-safe bowl, melt the chocolate chips in 30-second bursts, stirring each time, until smooth. Let it sit for 5 minutes before dipping the cones.
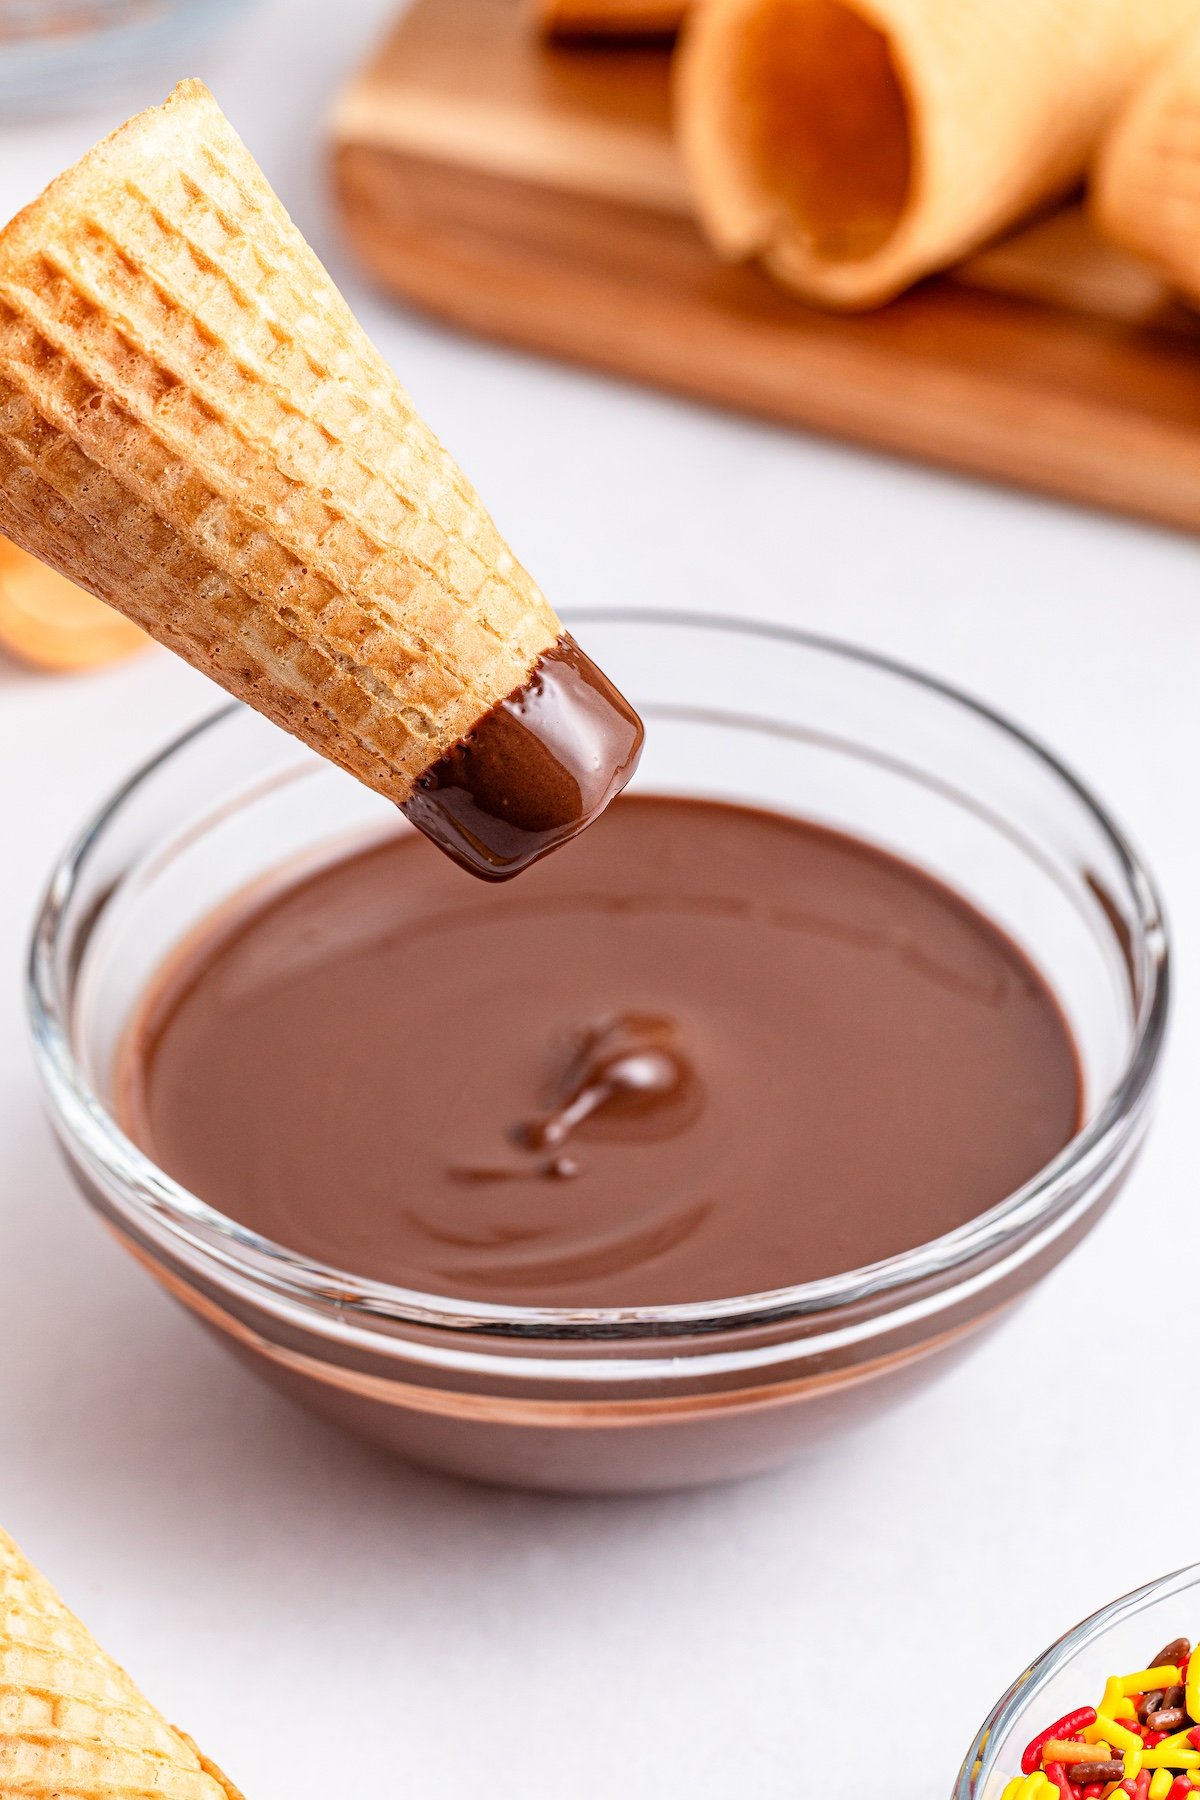
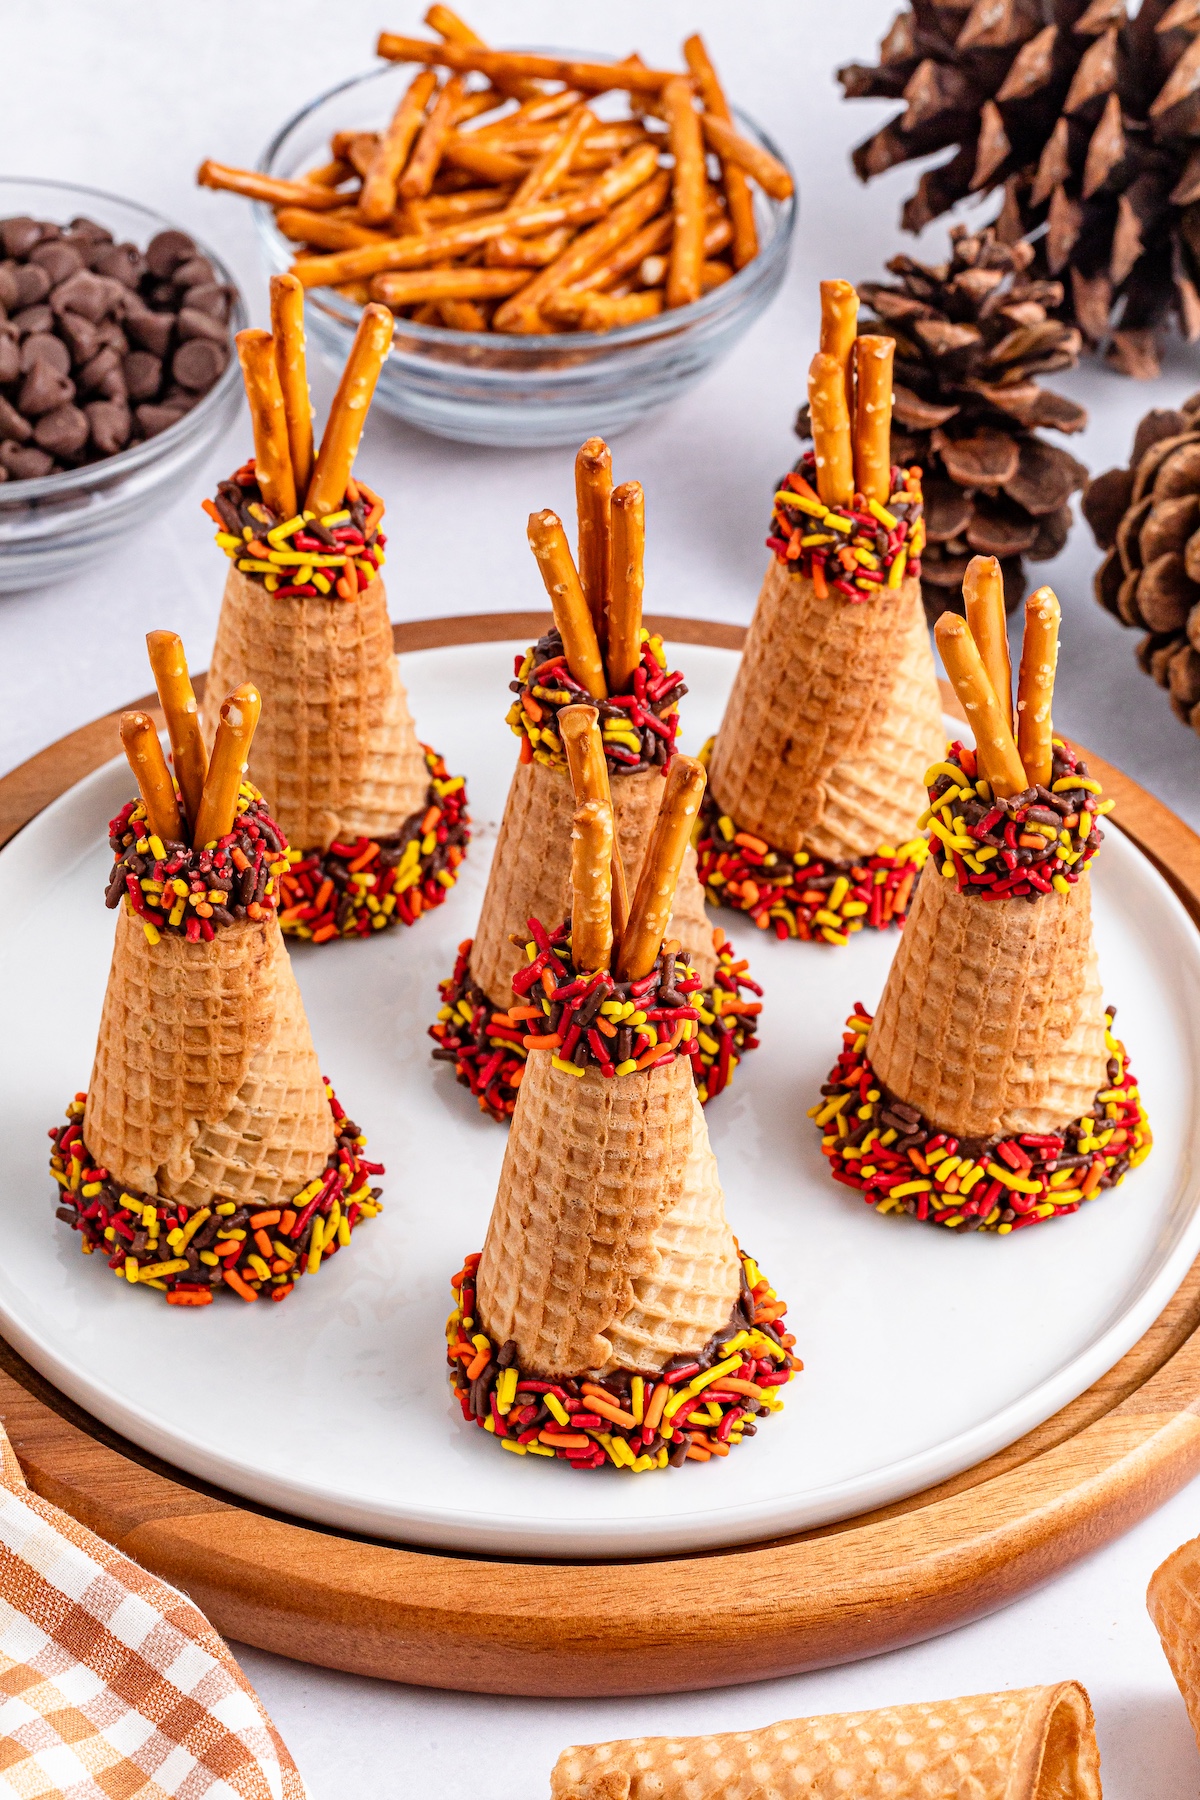
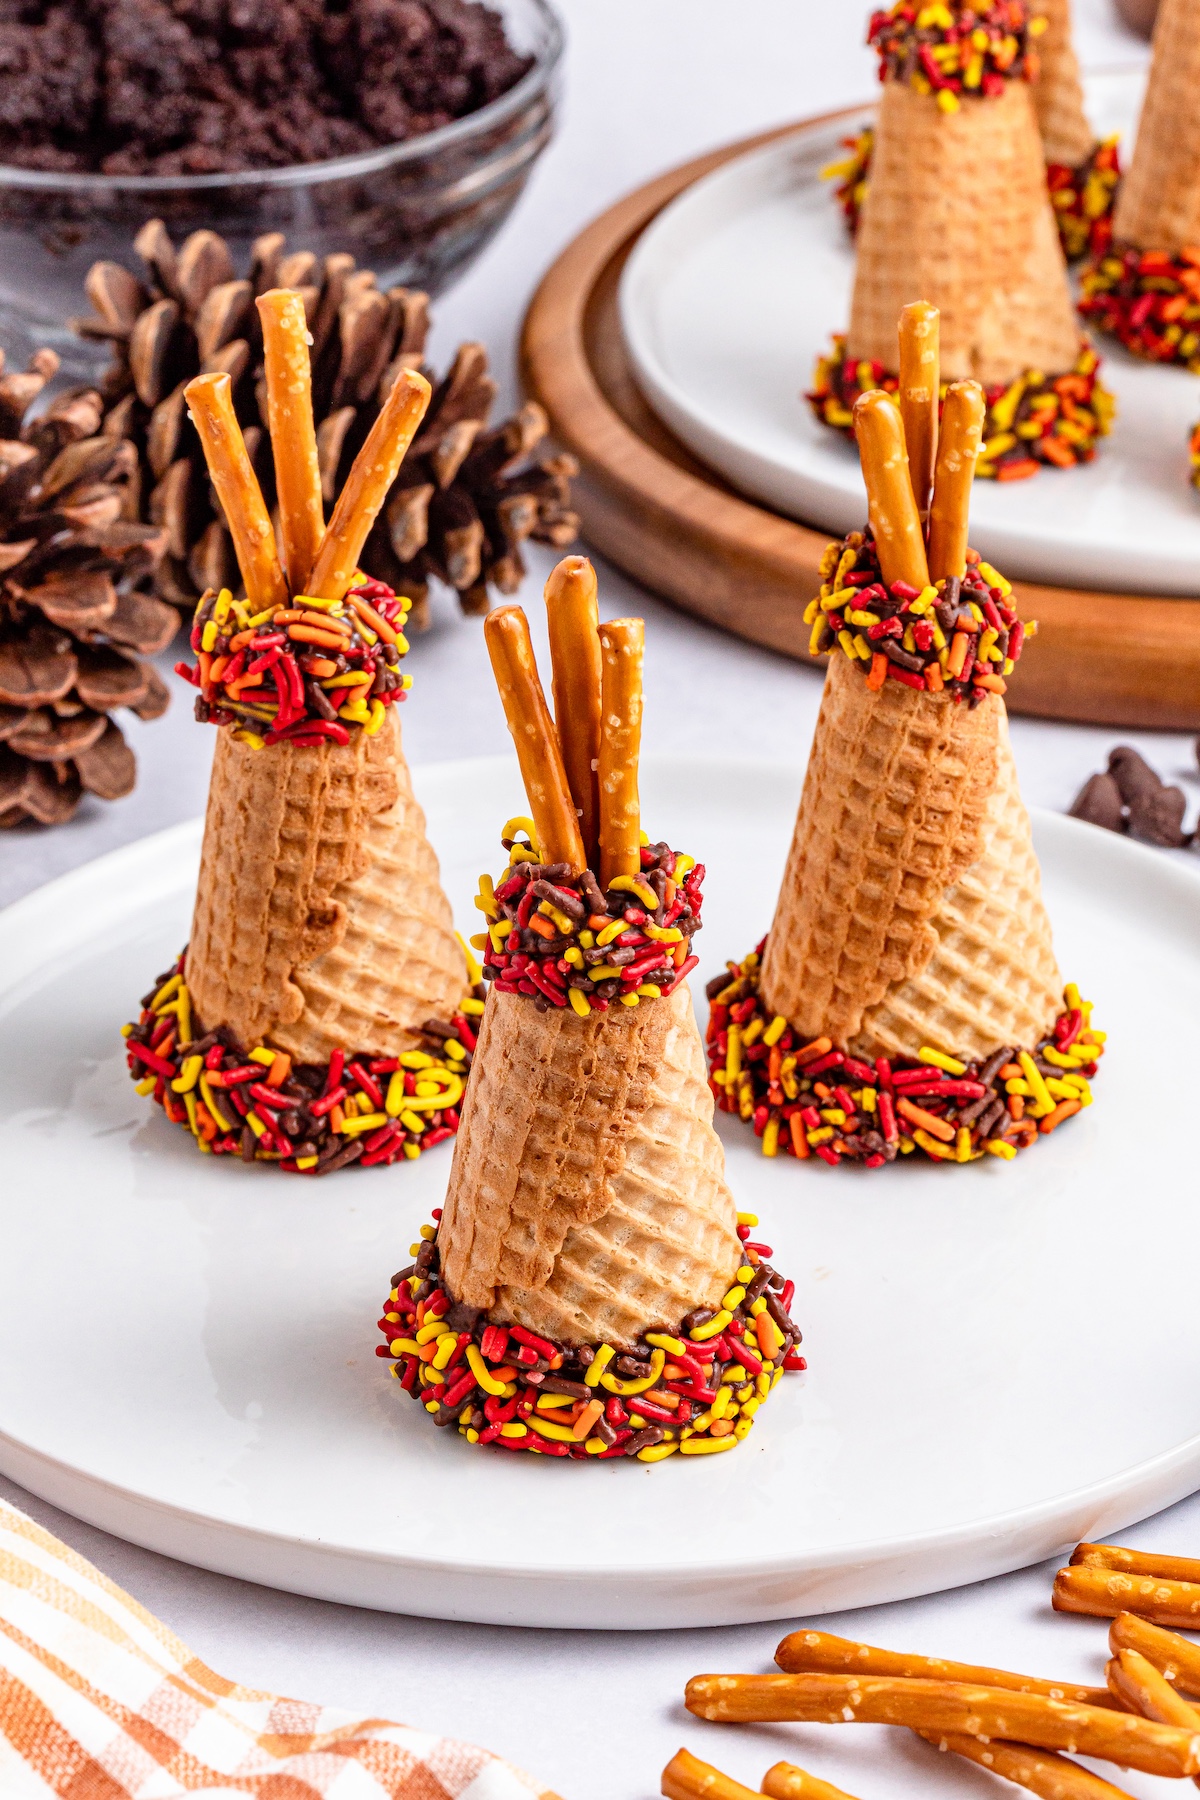
Dip the cone tops about 1 inch in chocolate. Shake off the extra and roll them in sprinkles.
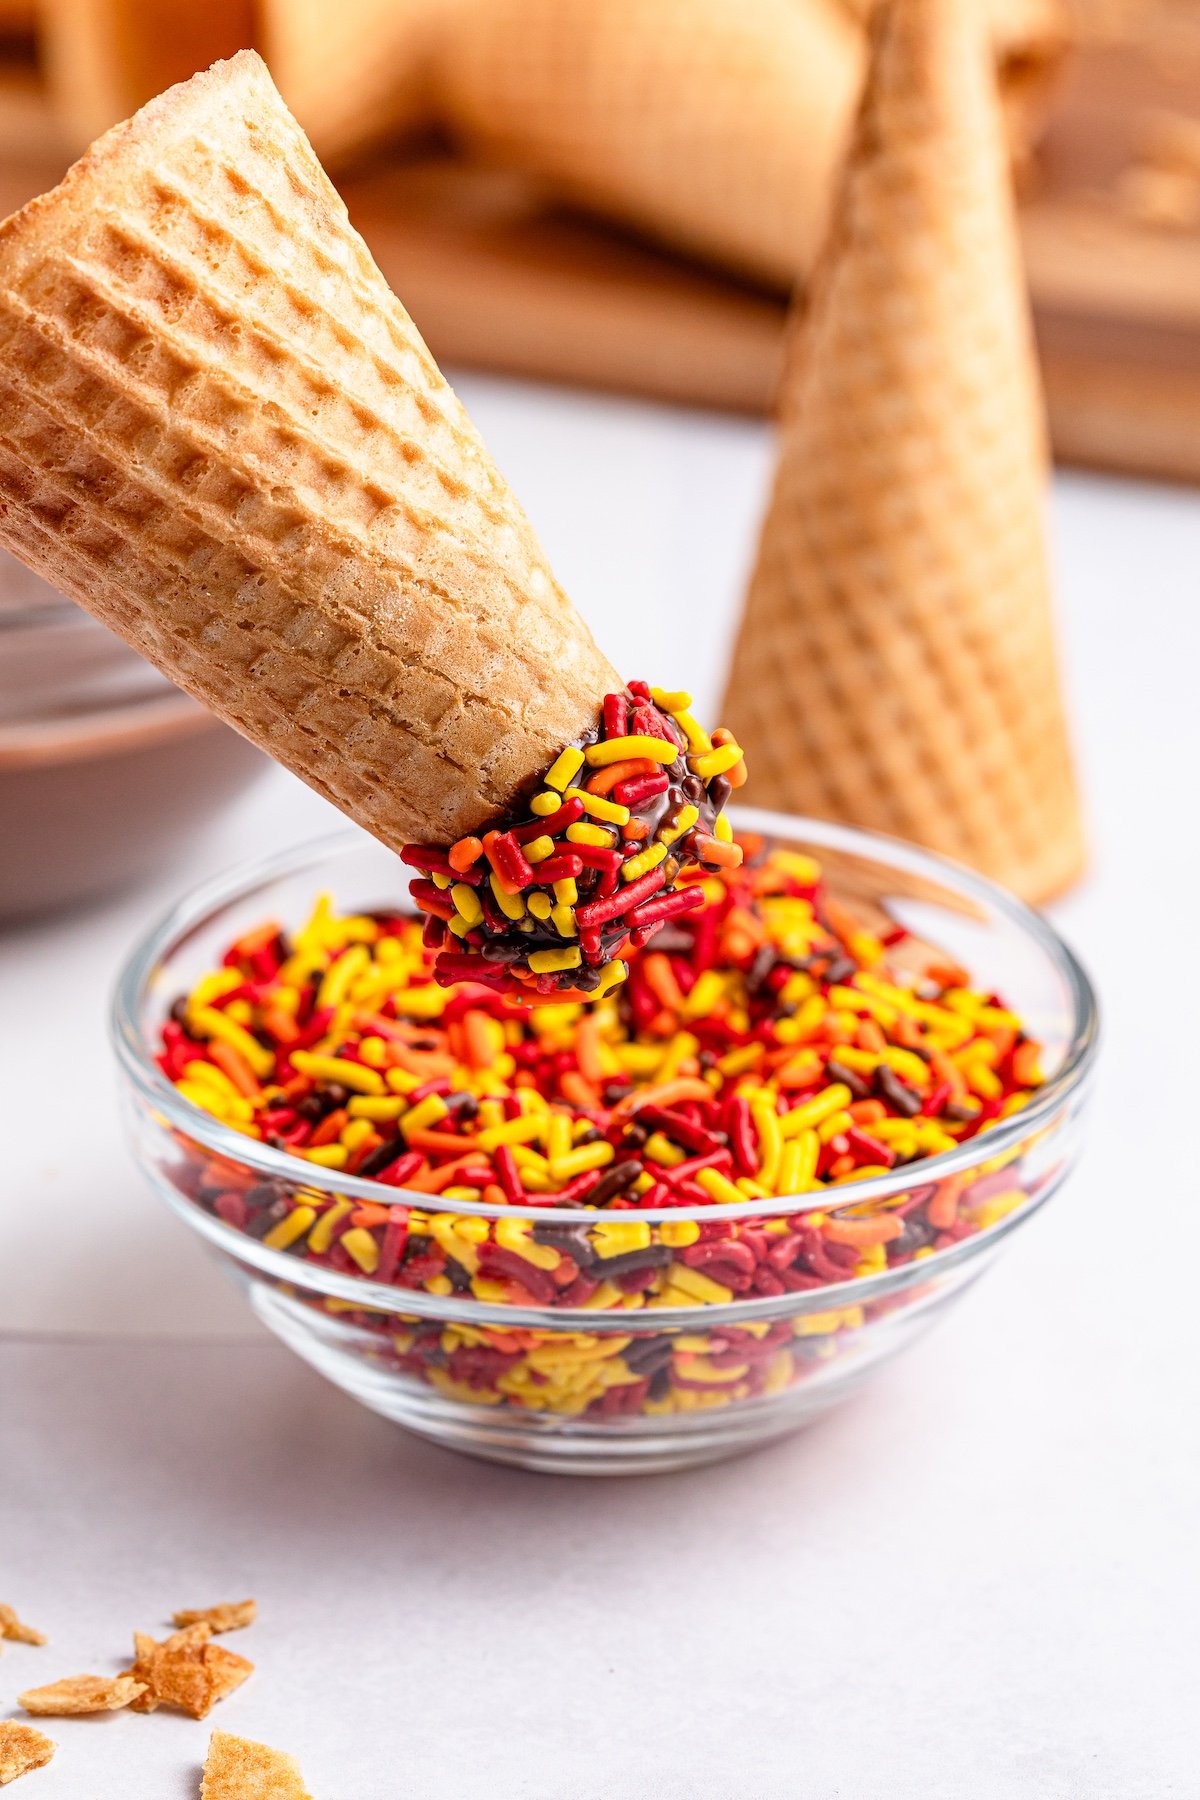
Flip the cone and dip the bottom in chocolate, shake off the extra, then roll in sprinkles. Place them on the tray. Do this in small batches for best results.
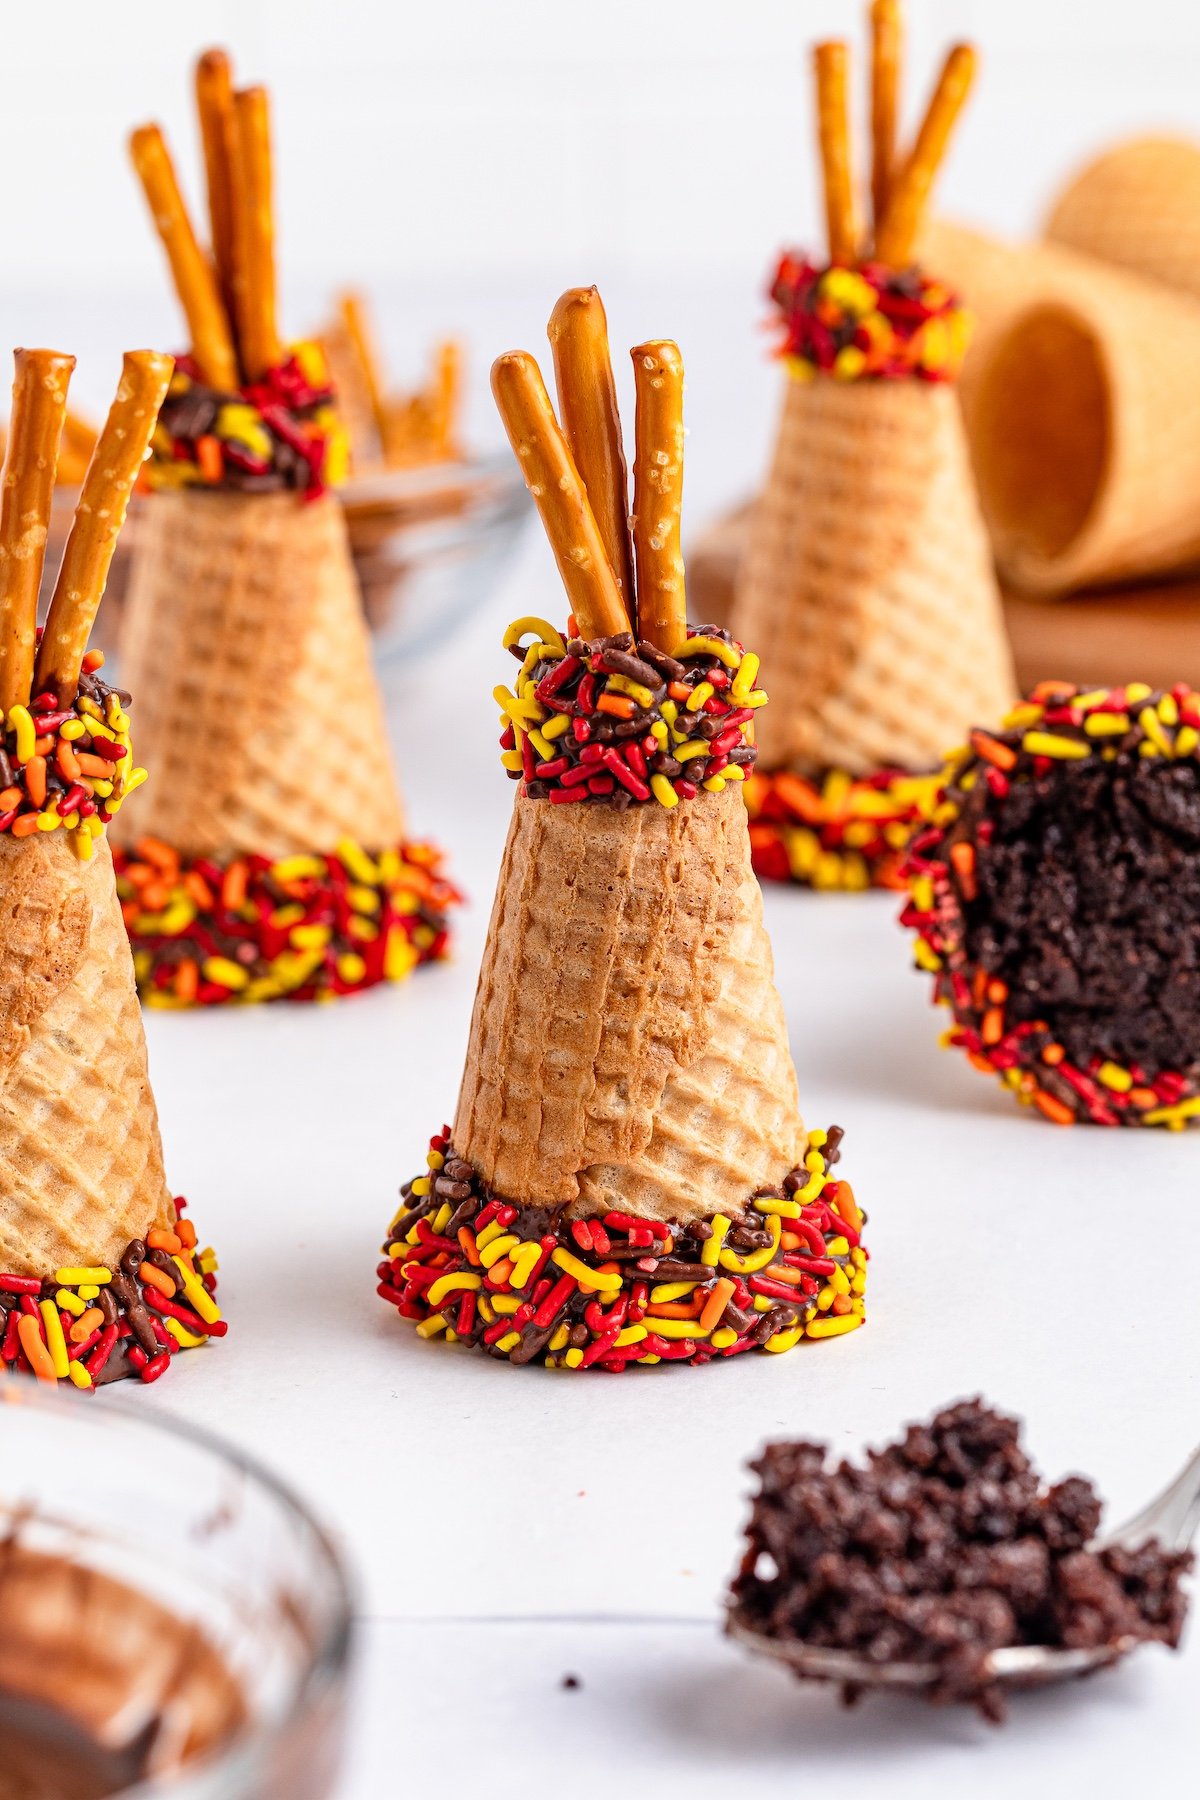
Dip 3 pretzel sticks about 1 inch in chocolate, then stick them into the cone tops. Hold them for a few seconds to let the chocolate set. Repeat with all treats, then chill the tray for 10 minutes.
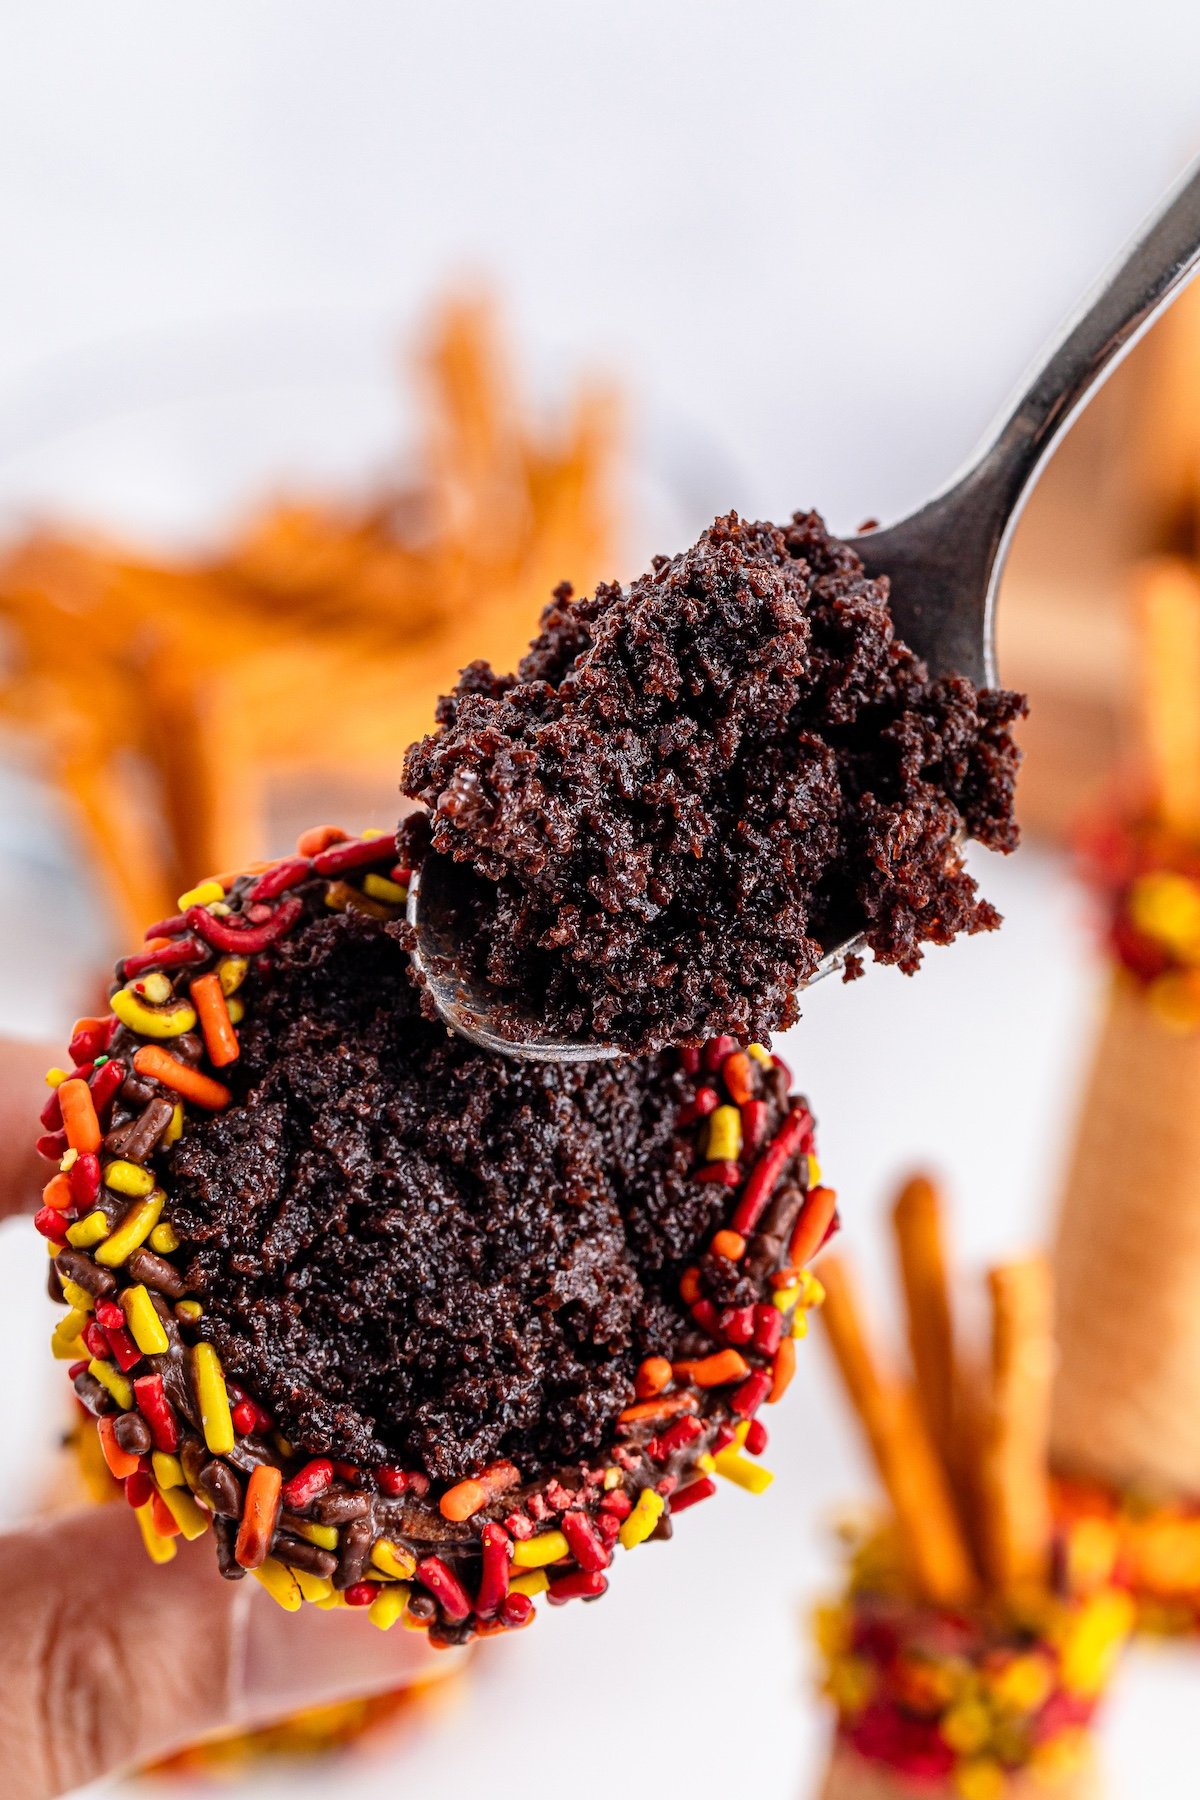
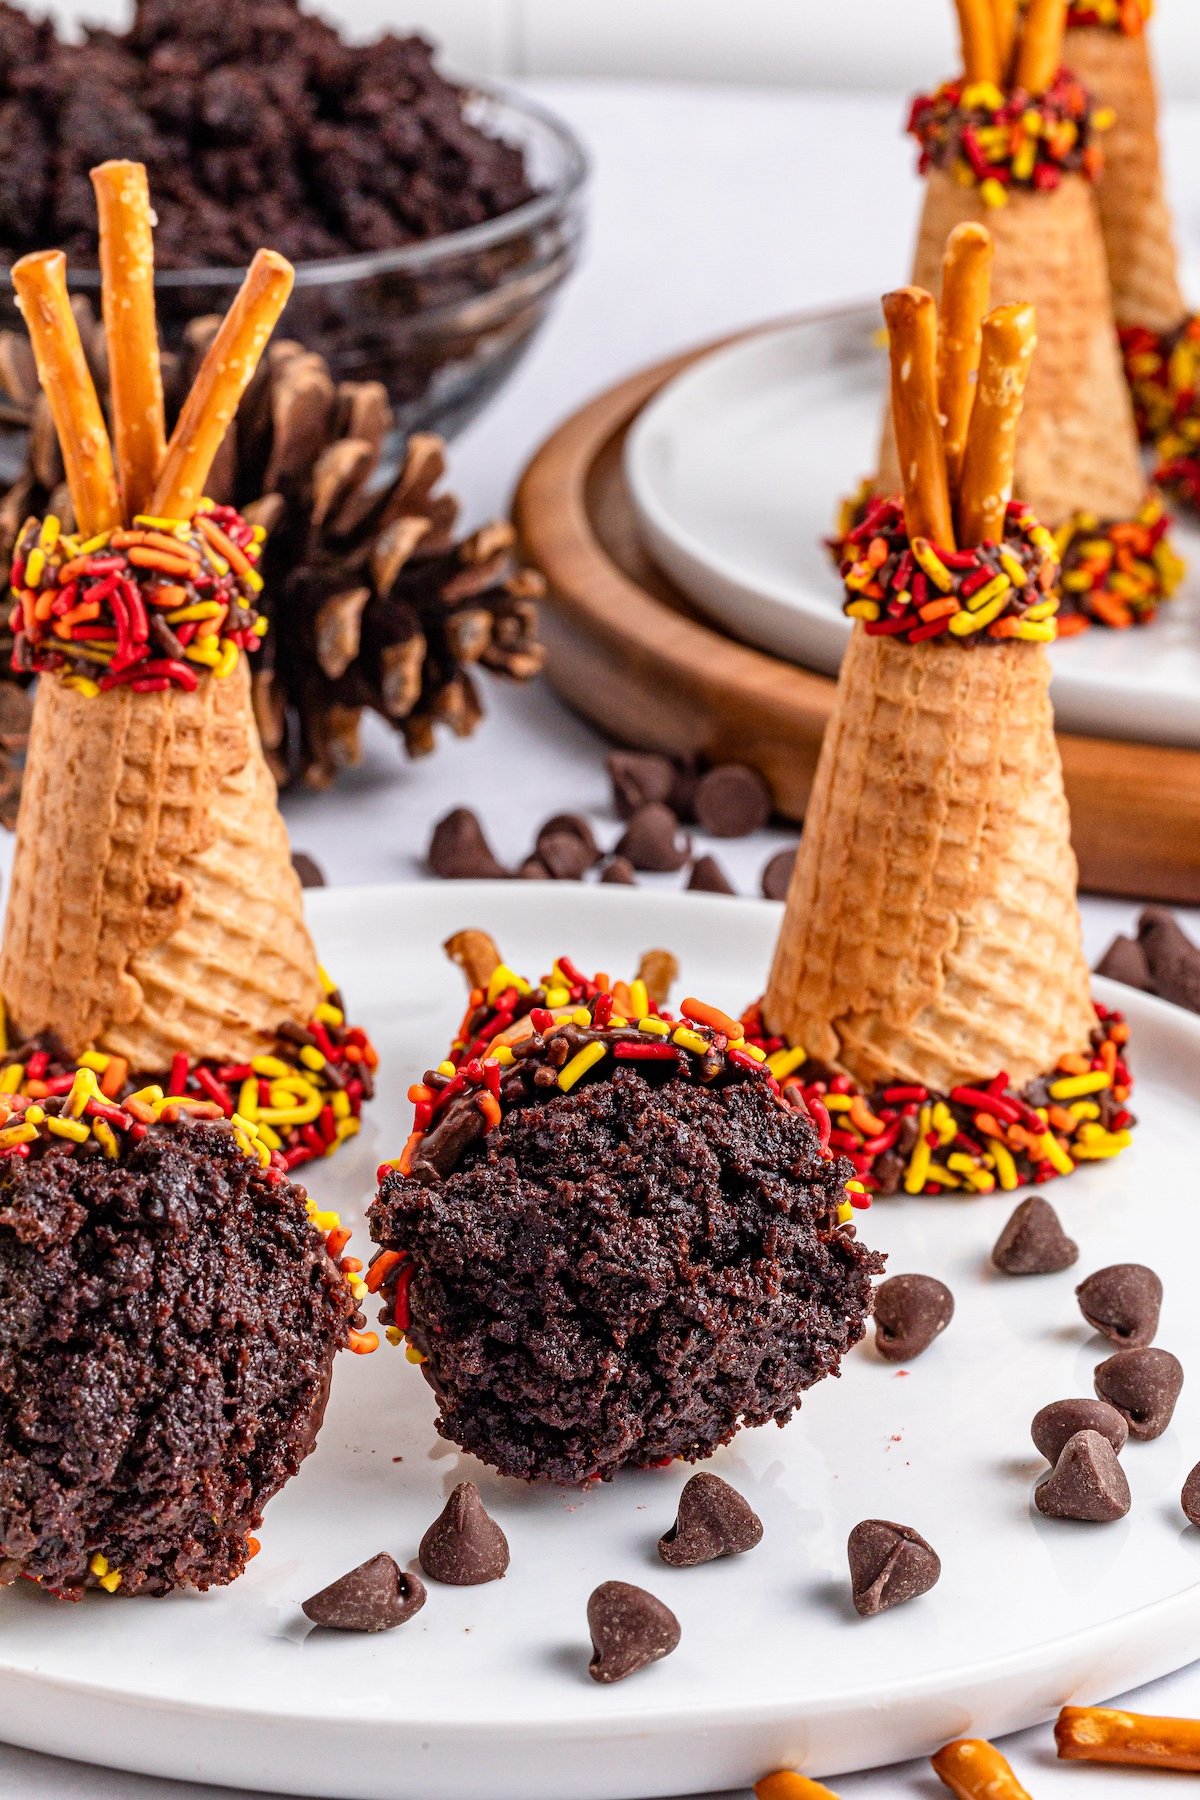
When the cake has cooled, crumble it and mix with the chocolate frosting.
After the cones are set, take them out of the fridge and fill each cone with the cake frosting mix. Don't overfill or press too hard. Support the pretzel sticks as you fill to keep them in place.
Keep them in the fridge until serving time. Enjoy!
Tips and Tricks for Perfect Cake Cones
Creating yummy cake cones can be as much fun as eating them. From picking the perfect cone to decorating, getting the details right makes all the difference. Below are some tips and tricks to ensure your cake cones are a true showstopper.
Choosing the Right Cone
The cone serves as the backbone of your treat. Choosing the right one is crucial for success. Here's how different cone types can affect your final product:
- Sugar Cones: Ideal for a sturdy base that holds up well when filled. Their slightly sweet taste complements cake fillings perfectly.
- Waffle Cones: These offer more flavor and texture, but can be a bit fragile. Handle with care, especially during assembly.
- Flat-Bottom Cones: Easier to stand upright, they provide stability but maybe not as cute.
Baking the Cake Properly
The cake filling is what brings the cute dessert to life. It's important to ensure that it fits snugly inside the cone without breaking it. Here’s how:
- Bake Evenly: Follow the cake mix instructions carefully to achieve an even bake. Uneven cakes can be difficult to crumble and may not fill the cone well.
- Cool Completely: Let the cake cool before crumbling. Warm cake can turn mushy and won’t fit nicely.
- Mix with Frosting: Combine the cake with frosting to create a thick, moldable mixture. This binds well and helps in filling the cones without gaps.
Decorating Techniques
Decorating is where you can let your creativity shine. A well-decorated cake cone not only tastes good but also looks spectacular. Here are a few ideas:
- Chocolate Dipping: Dip the cone ends in melted chocolate for a refined edge. This also helps seal in freshness.
- Sprinkles Galore: Roll the dipped cone in colorful sprinkles to add vibrancy and texture.
- Icing Details: Use a piping bag to add intricate designs or letters onto the cone for a personalized touch.
Storing and Serving
Once your cake cones are crafted, storing them properly will keep them fresh and delicious. Here's how you can do it right:
- Refrigeration is Key: Keep them in an airtight container in the fridge. This helps maintain their shape and freshness for up to 3 days.
- Handle with Care: When serving, support the cones and pretzel sticks to prevent them from breaking.
- Best when Chilled: If possible, serve them slightly chilled to enhance the flavors and prevent them from softening too quickly.
Variations and Substitutions
Gluten-Free Options
If you or your guests are avoiding gluten, fear not! There are plenty of scrumptious gluten-free cake recipes and cone alternatives out there.
- Gluten-Free Cake: Try using a gluten-free cake mix. Brands like Bob's Red Mill or Krusteaz offer great gluten-free options that are just as tasty as the regular ones. Simply prepare as directed, and you're good to go!
- Cone Substitutes: While regular sugar cones contain gluten, you can opt for gluten-free cones available at most grocery stores or online. They're becoming easier to find, and they taste just as delightful!
Dairy-Free Alternatives
For those avoiding dairy, it’s a breeze to create these delightful cones without sacrificing taste.
- Dairy-Free Cake: Use a dairy-free cake mix or make your own using almond milk or coconut milk. Many box mixes work perfectly when you replace regular milk with non-dairy alternatives.
- Dairy-Free Frosting: Choose a plant-based butter or margarine and mix it with powdered sugar and a splash of non-dairy milk for a creamy, delicious frosting that's completely dairy-free. Brands like Earth Balance make excellent substitutes.
Flavor Combinations
The flavor of your cake cones can be as classic or creative as you like. Pairing different cake flavors with frostings can yield delightful results.
- Classic Combinations:
- Vanilla cake with chocolate frosting
- Chocolate cake with vanilla frosting
- Red velvet with cream cheese frosting
- Unique Pairings:
- Lemon cake with raspberry frosting
- Carrot cake with coconut cream frosting
- Almond cake with cherry frosting
FAQs About Cake Cones
How long can cake cones be stored?
Storing your cake cones properly is essential to keeping them fresh and tasty. You can store these delicious cones in an airtight container in the refrigerator for up to 3 days. Just keep in mind that the cones might start to soften over time. If you prefer a bit of crunch, try to enjoy them sooner rather than later.
Can I make them ahead of time?
Planning to get a head start? You're in luck! These cake cones can absolutely be prepared in advance. You can make the base cones a day or two ahead of serving. Just be sure to store them in the fridge as mentioned earlier, to protect their taste and texture. Then, when you're ready to serve, fill them with the cake and frosting mixture for that perfect finish.
More Thanksgiving Ideas
- The Best Turkey Charcuterie Board to Make For Thanksgiving
- 5 Thanksgiving Activities for Kids
- Add Nutter Butter Acorns To Your Autumn Agenda
Autumn Cake Cones
Make sweet memories with autumn cake cones; the dessert that will please everyone. Simple to make, fun to eat, and perfect for parties and gatherings.
Ingredients
This recipe can be made with or without the cake filling.
Optional filling:
Instructions
- Prepare the cake mix following the package instructions. Once it's done, set it aside and let it cool.
- Using a sharp knife, trim the pointed tips of the cones by about 1-2 inches. The cut should create a hole large enough to snugly fit 3 pretzel sticks. Be careful
not to cut too much off, or the pretzel sticks may fall through. - In a microwave-safe bowl, melt the semisweet chocolate chips in 30-second intervals, stirring after each interval, until the chocolate is completely
melted and smooth. Allow it to cool for 5 minutes before dipping the cones. - Dip the top of the cone about 1 inch into the chocolate and gently shake off any excess. Next, dip it into the sprinkles.
- Turn the cone over and then dip the bottom into the chocolate and gently shake off the excess coating. Next, dip it into the sprinkles. Place the cone onto the
prepared tray. For best results, work in small batches, repeating the dipping and sprinkling process with a few cones at a time. - Dip 3 pretzel sticks about 1 inch into the chocolate and insert them into the tops of the treats. Hold them in place for a few seconds to let the chocolate set. Repeat with the remaining treats, then place the tray in the fridge for about
10 minutes to allow the chocolate to harden. - Once the baked cake is cooled off, crumble and mix it with the chocolate frosting.
- After the treats have set, take them out of the fridge and fill each cone with cake
and frosting. Avoid overpacking or pressing too hard, as this can cause the
cones to break. Additionally, support the pretzel sticks while filling the
cones to prevent them from being pushed out. - Keep stored in the refrigerator until you’re ready to serve. Have fun!
Nutrition Information
Yield 12 Serving Size 1Amount Per ServingCalories 688Total Fat 16gSaturated Fat 5gTrans Fat 0gUnsaturated Fat 10gCholesterol 8mgSodium 1240mgCarbohydrates 130gFiber 4gSugar 42gProtein 12g
This nutritional information is for reference only. We are not responsible for these calculations.