Teddy Bear Hot Cocoa Melts
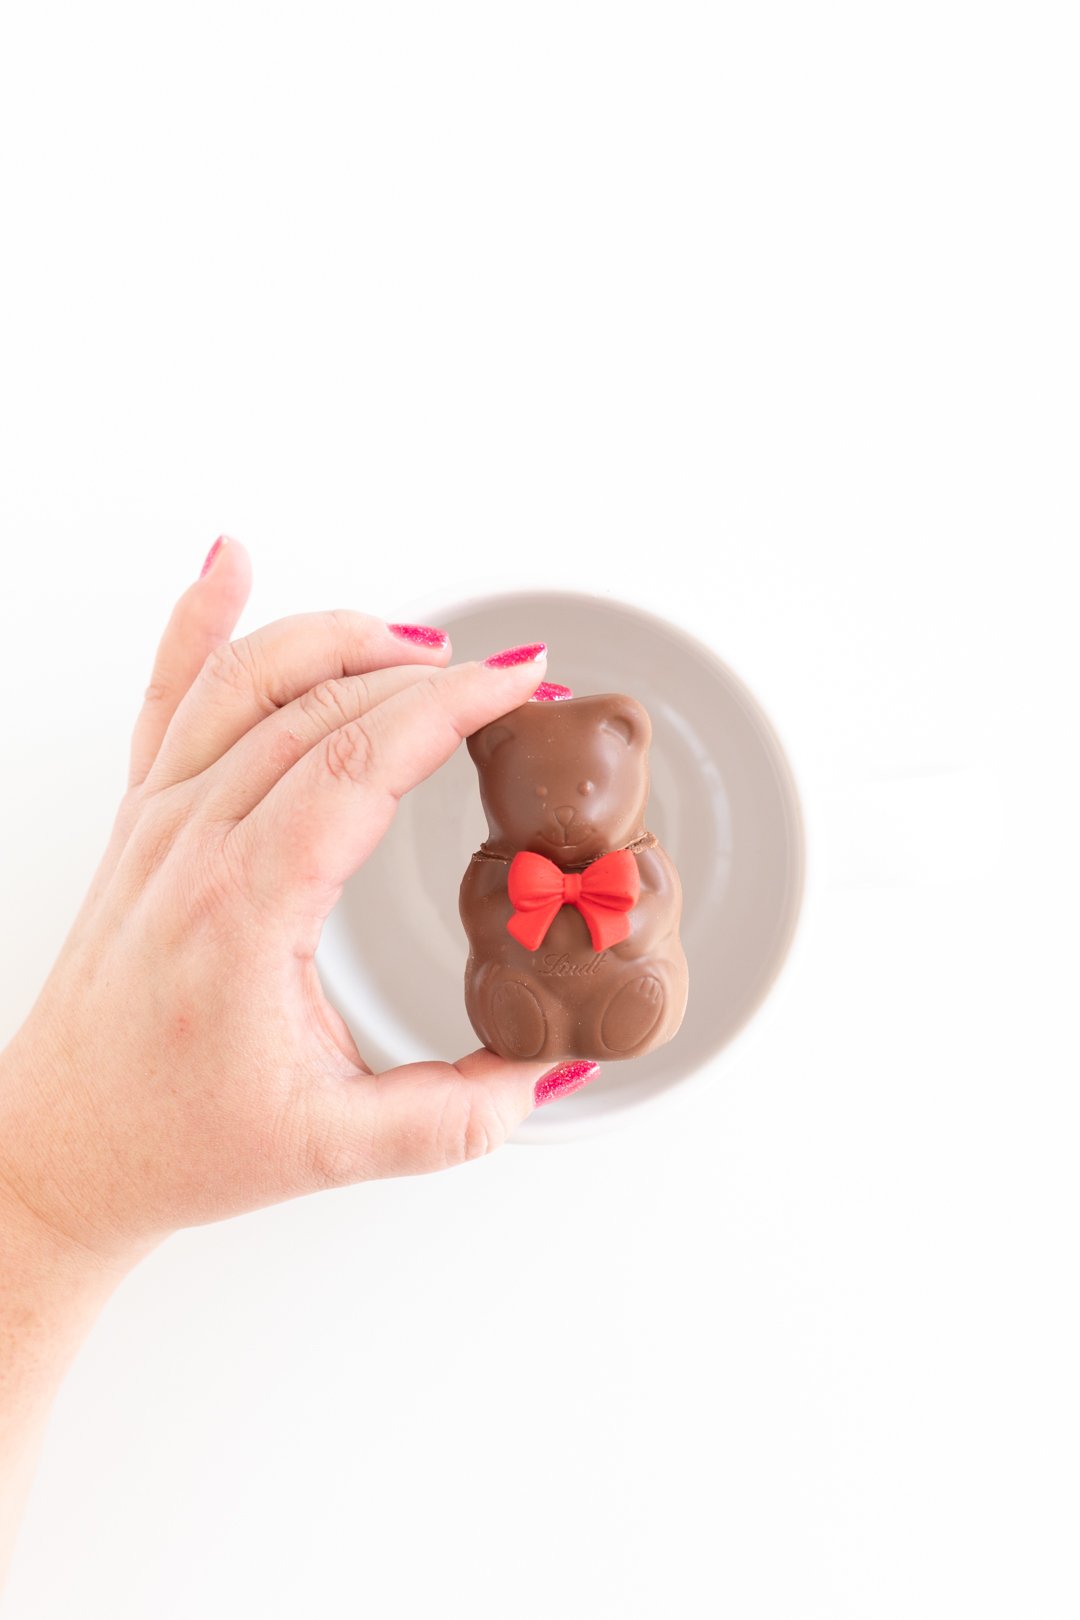
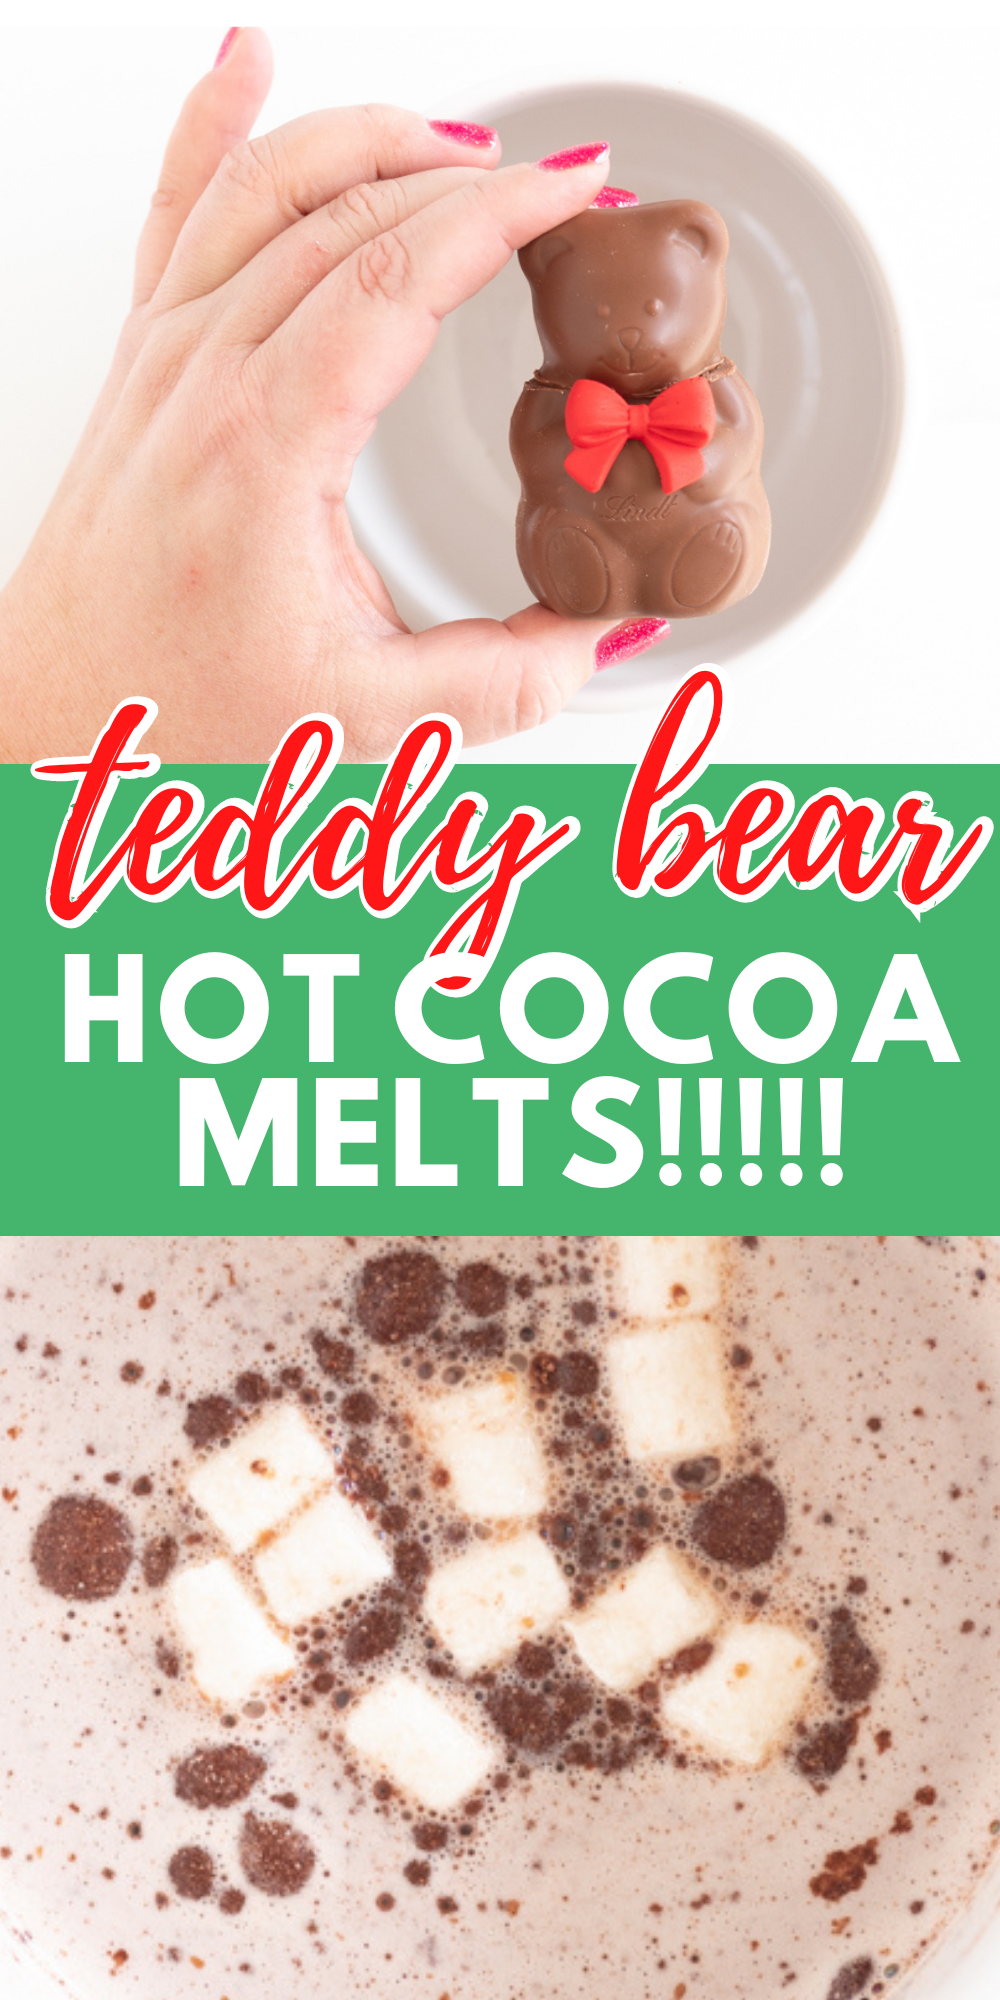
Tis' the season for hot cocoa everything! I'm obsessed with the little chocolate melts that melt away to reveal delicious cocoa mix and a pop of mini marshmallows in your mug.

My bunny melts were such a hit for Easter, so I wanted to make something equally fun for the Christmas season.
I thought this post would be the perfect post to tell you about an exciting new program that I'm trying out and I hope it will be something fun for you, too! Learn more by scrolling down to the bottom of this post.
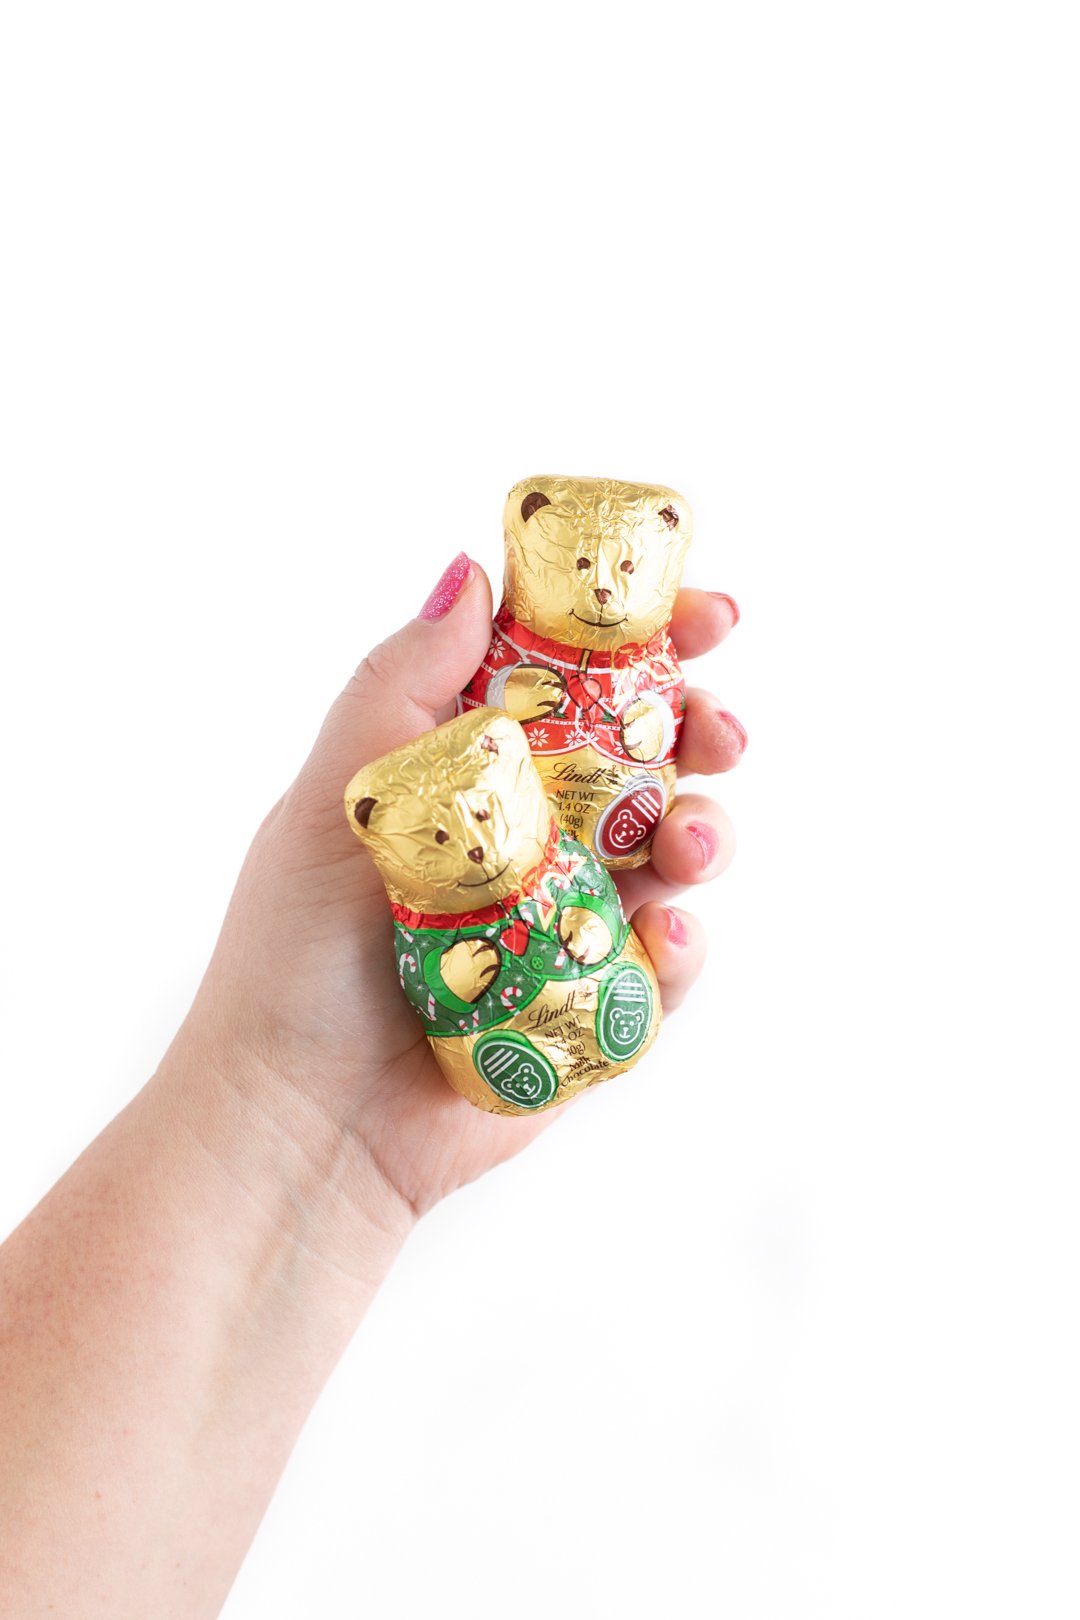
Now... let me share my fun idea for transforming a store-bought hollow chocolate bear into a hot cocoa melt. Yum!
TEDDY BEAR HOT COCOA MELTS
Making easy melt-a-way hot cocoa teddies is pretty simple! We will melt away the chocolate head carefully and then fill the hollow bear with all the good stuff. Then, melt to seal back up to get ready for enjoying!
These adorable teddy bears will make for the perfect holiday treat or gift!
TEDDY BEAR HOT COCOA MELTS INGREDIENTS
You will just need a few simple ingredients to make these yummy treats.
Here is what you need:
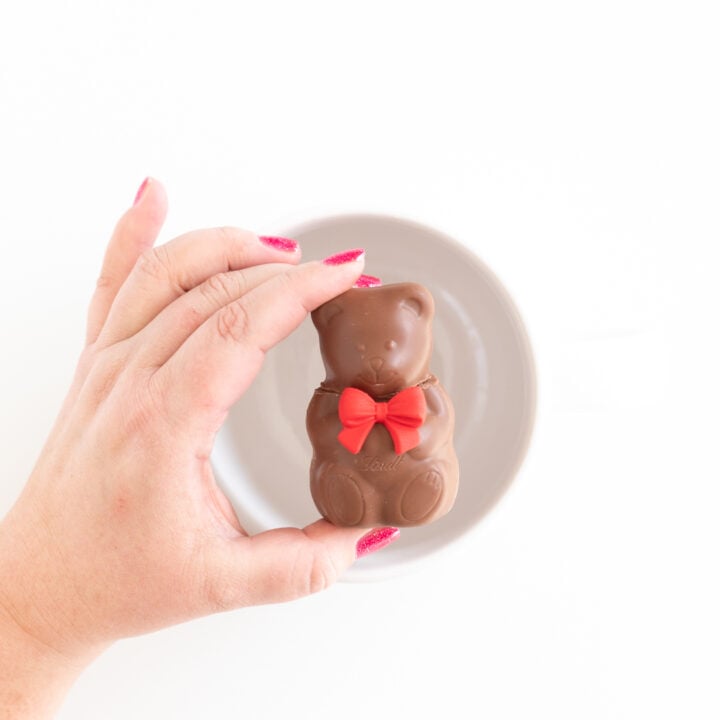
- Lindt Christmas Bear Milk Chocolate Bar, 1.4 oz
- Hot Cocoa Mix
- Mini Marshmallows
- Bow Icing Decoration
HOW TO MAKE HOT COCOA MELTS
This fun hot cocoa hack is really simple! The main thing we need to do is melt away our teddy's head so that we can fill it with the good stuff.
HOW TO CUT THROUGH HOLLOW CHOCOLATE
The best way to remove our chocolate teddy bear's head is to melt though it with a warmed knife.
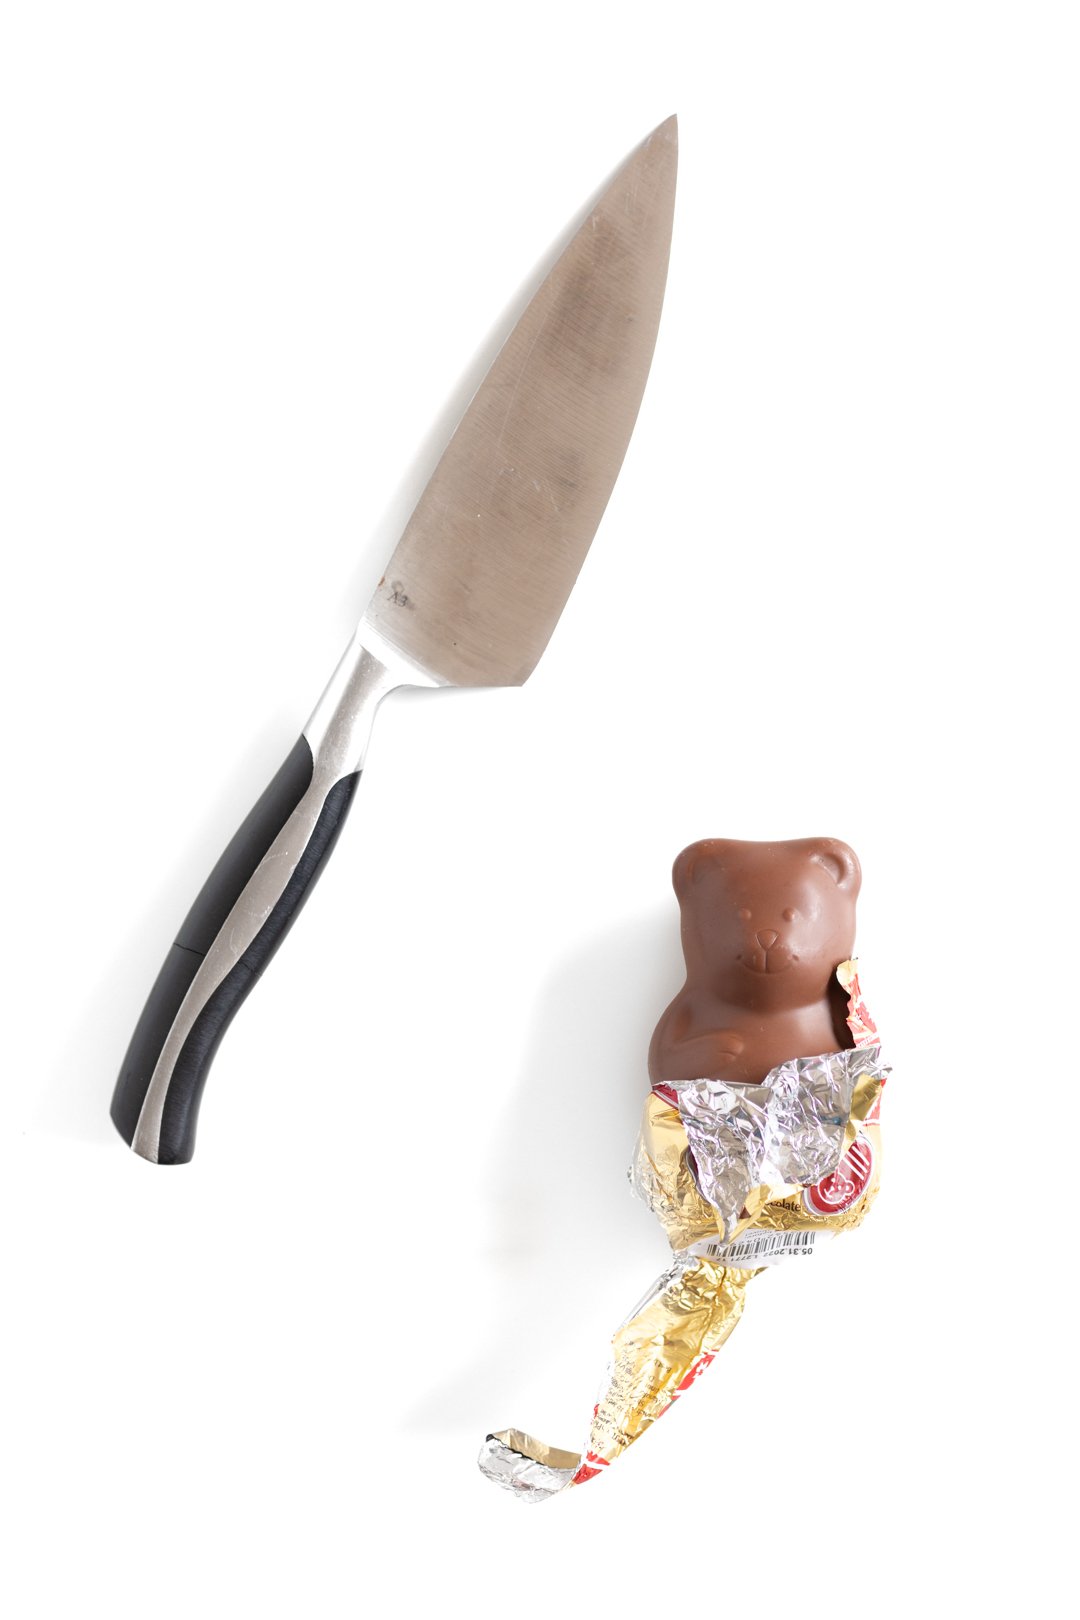
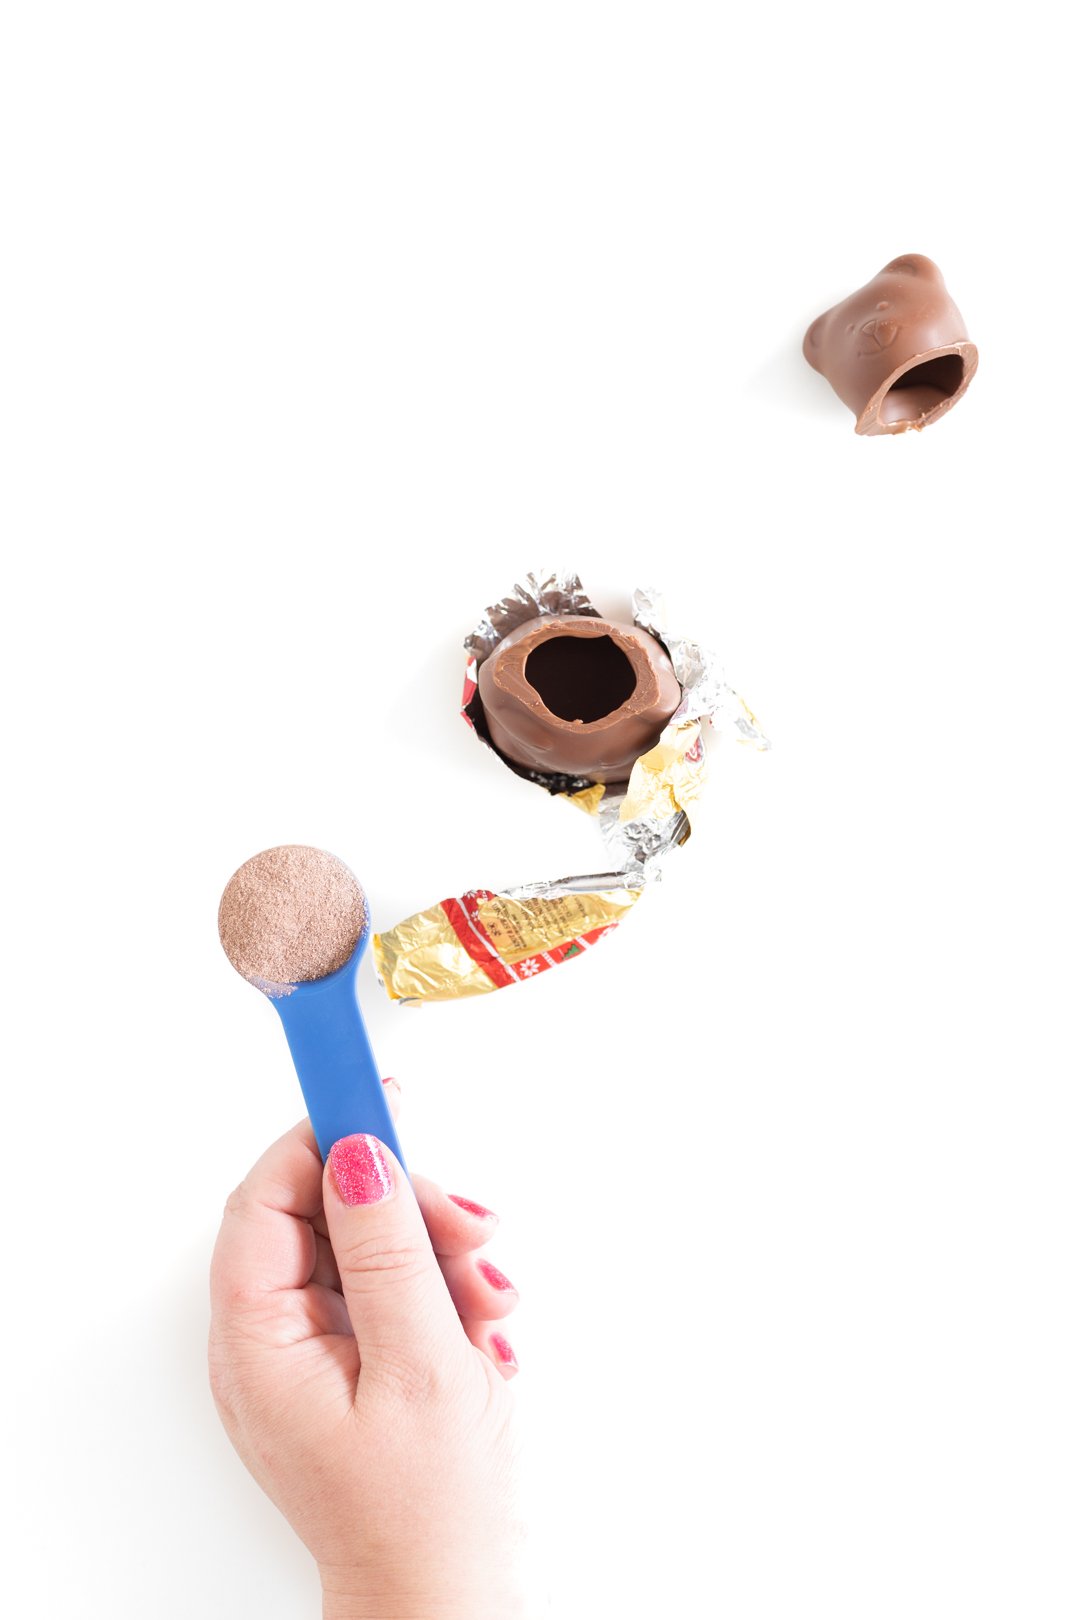
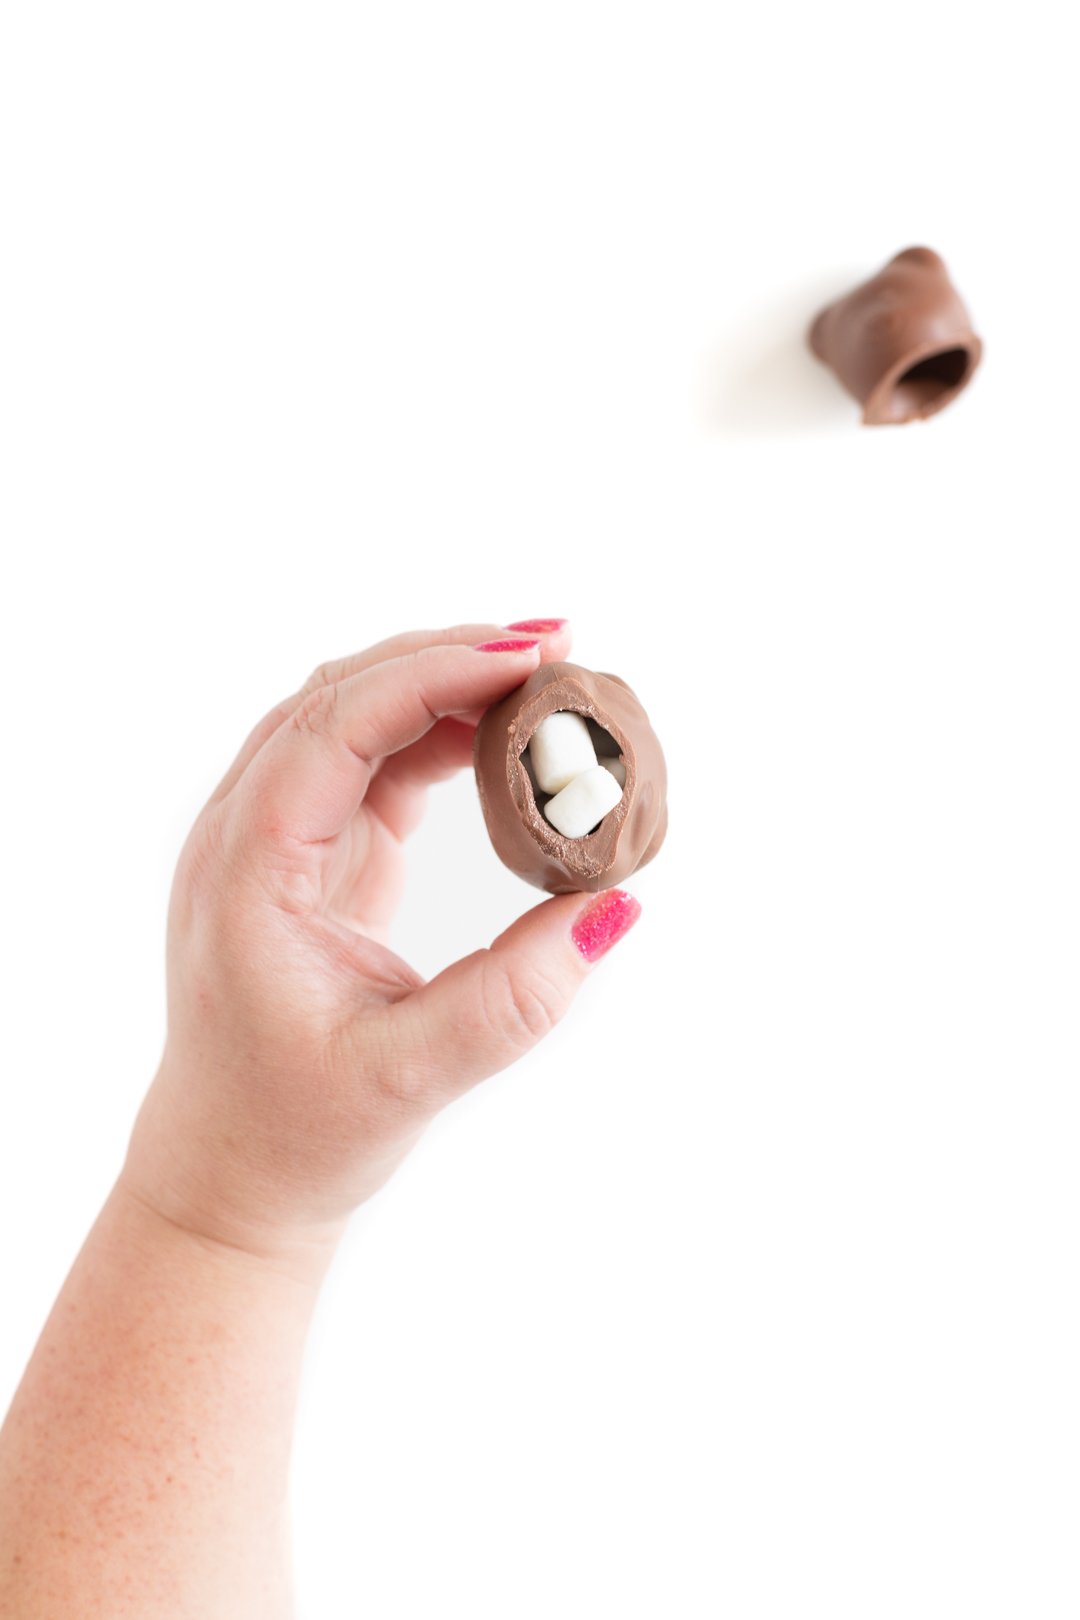
It will take a tiny bit of patience, but I feel that it's worth it. Use a heated knife and instead of forcing a cut through the chocolate, patiently press and melt through it instead. It will only take a few minutes, but you want to go slow for the cleanest break.
You're probably wondering how to heat a knife. There are two fairly simple ways that I like. One is to run under very hot water and then dry to use immediately. The other is, at your own risk, to use a lighter. You will have to reheat the knife several times in order to fully melt through your chocolate.
Once you have clearly melted through and removed the chocolate head, it's time to fill up the teddy bear with hot chocolate goodness and mini marshmallows all the way to the top.
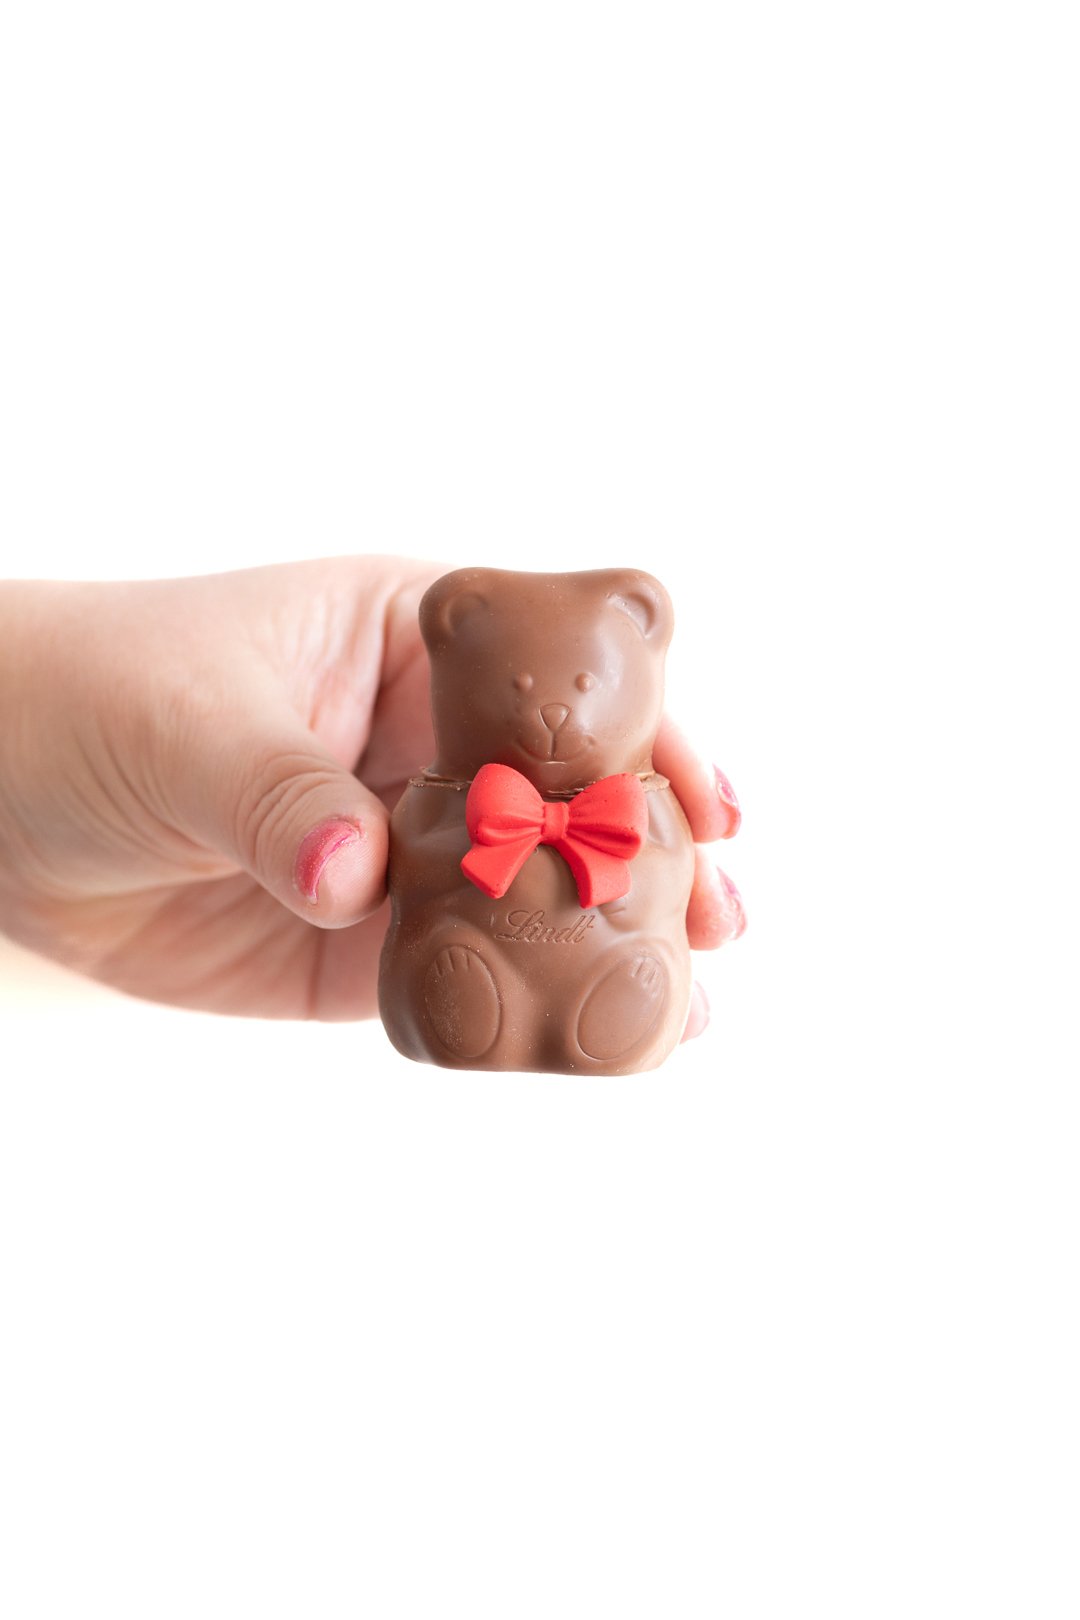
Then, to seal up the bear, use the same heated knife process or carefully at your own risk, use a lighter to gently warm the base of the bear very quickly and secure the head back on immediately.
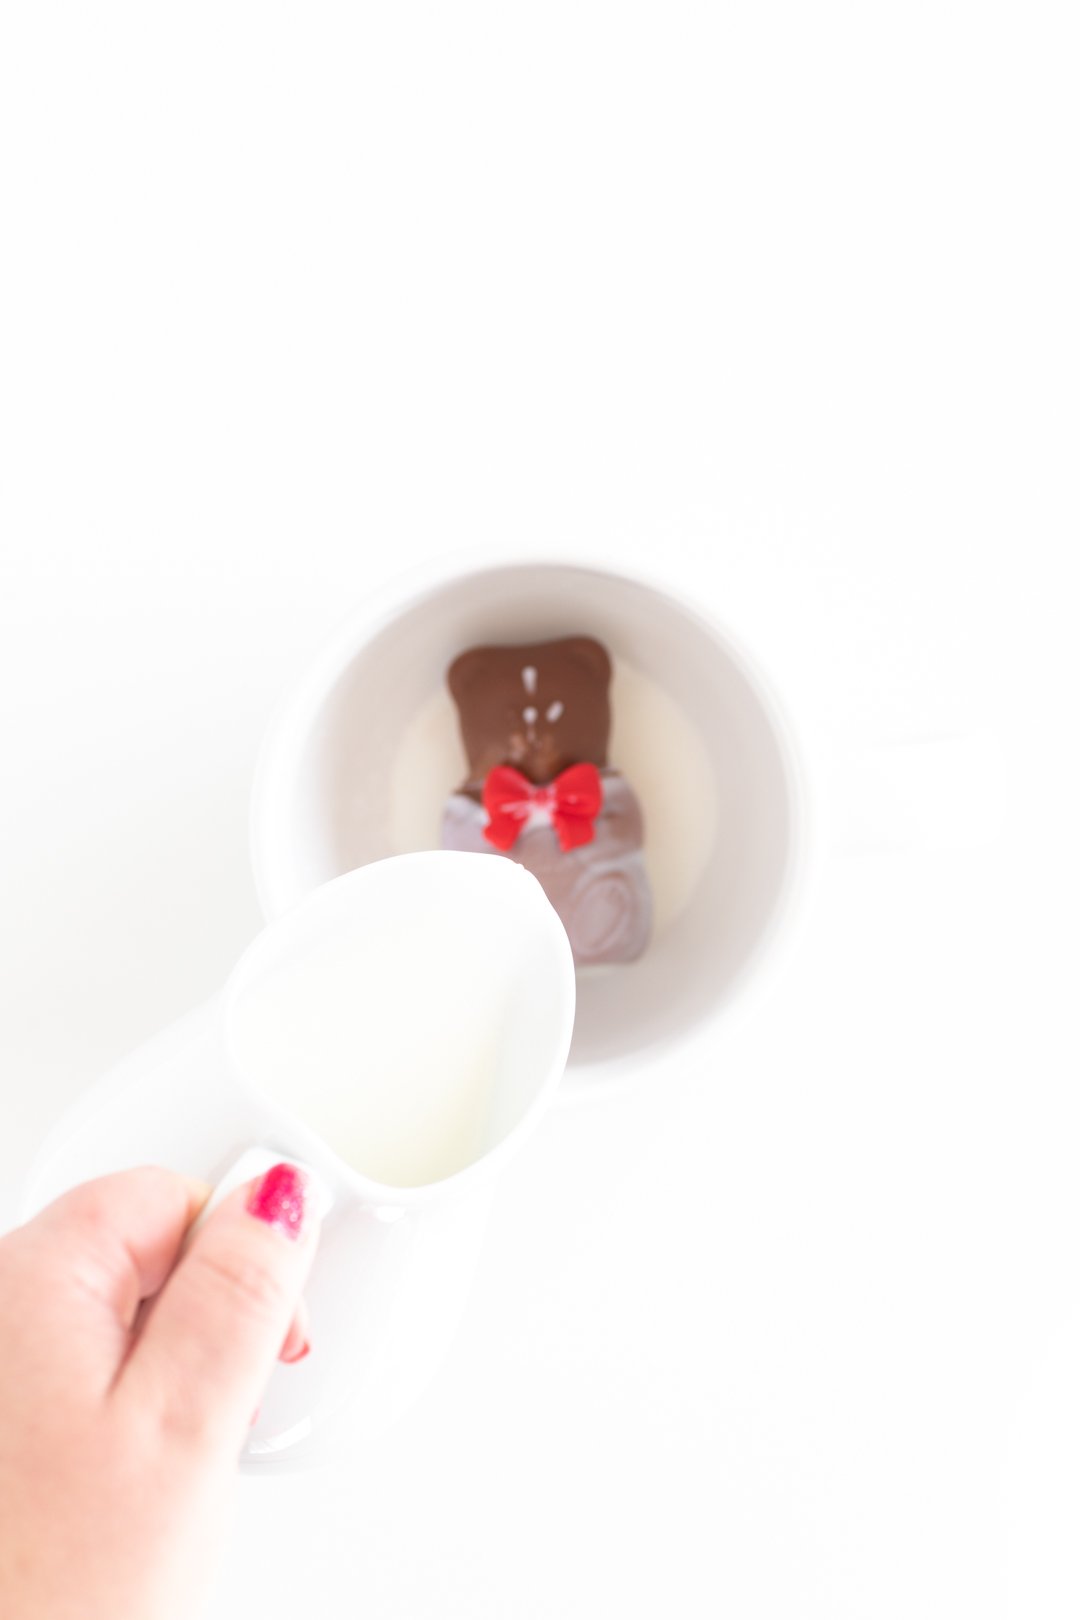
Once the chocolate is set, you can add a ribbon icing decoration by quickly warming the decoration and pressing into the bear or using a bit of chocolate or frosting to adhere it.
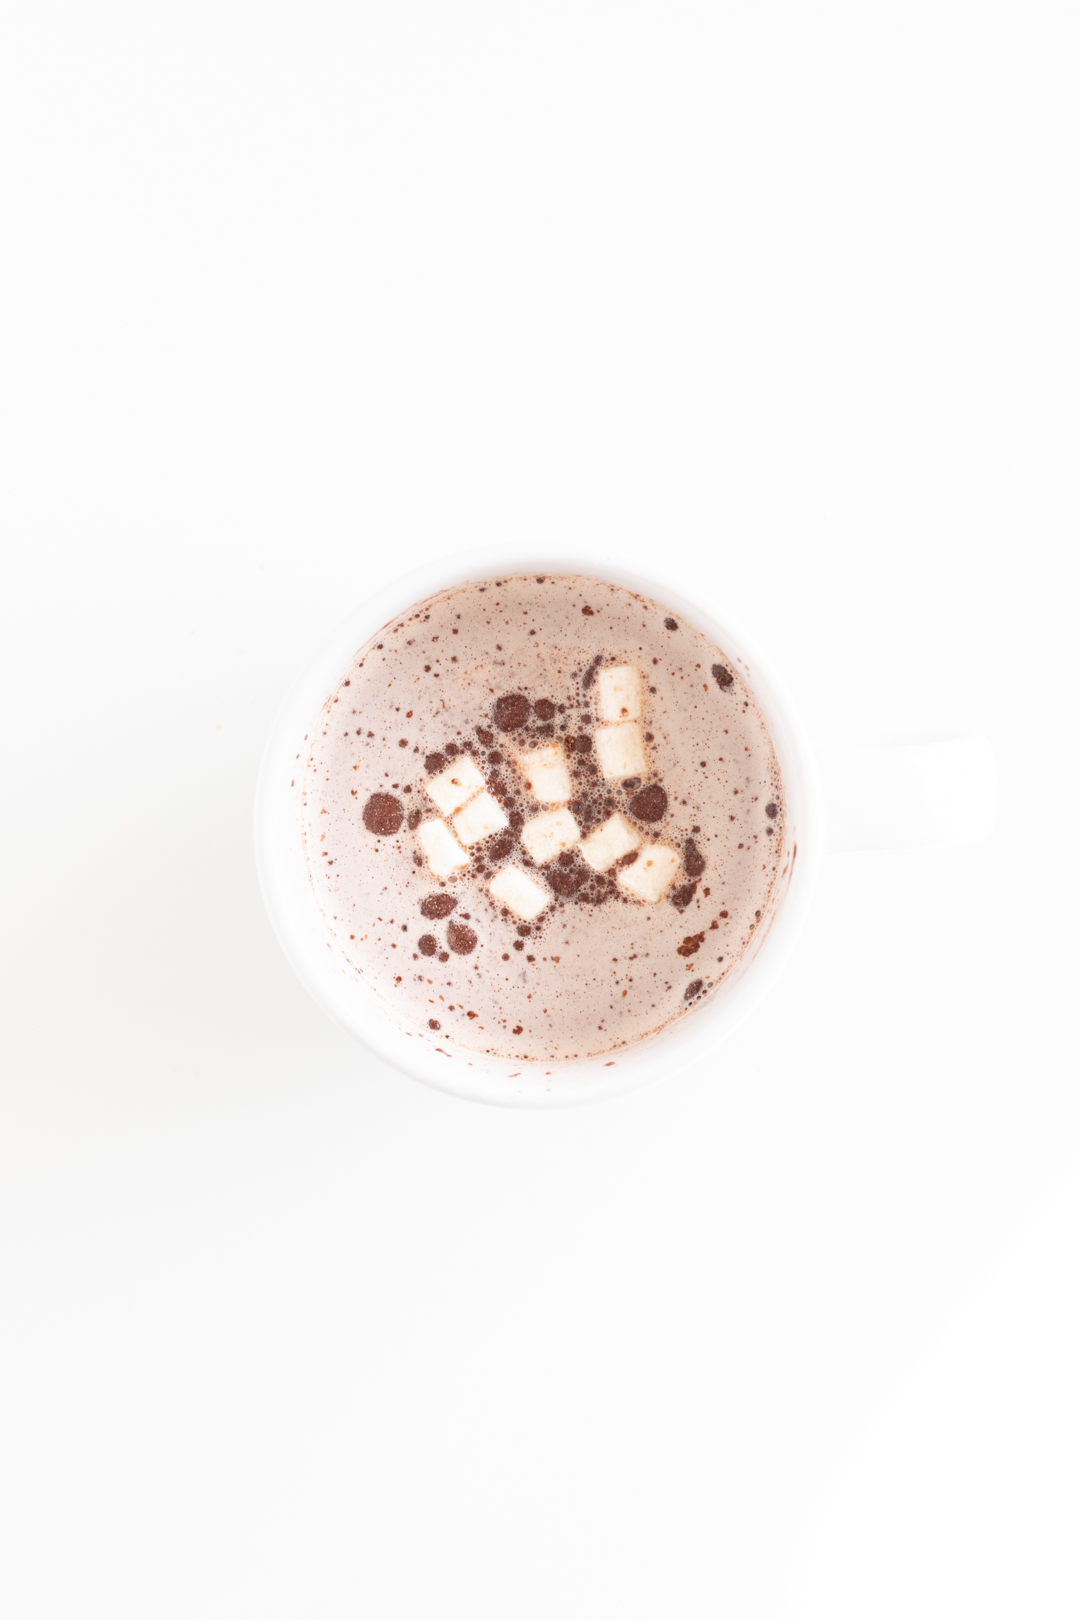
Easy peasy. Once the chocolate has set, your teddy is ready for enjoying.
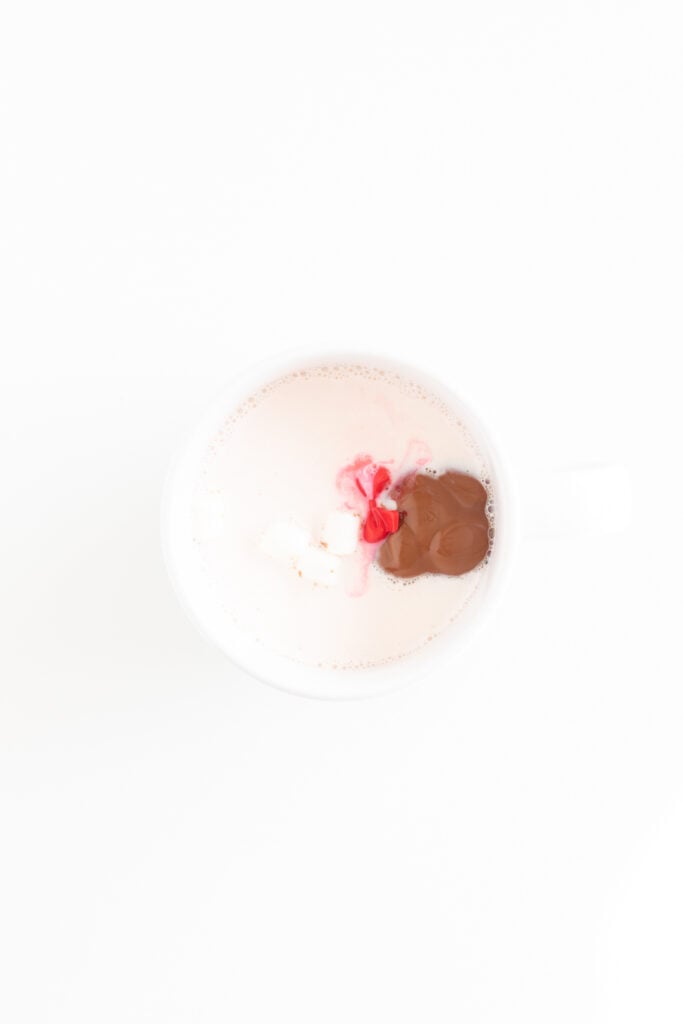
Voila! You know have the cutest hot cocoa melts for the holiday season ahead!
Now that you are now a Teddy Bear Hot Cocoa Melt Pro, it's time to do a little sharing.
I’m excited to be one of Google’s paid early testers for their Thank with Google pilot program.
Thank with Google is an experimental feature that allows you to purchase a virtual sticker and directly give positive feedback for content on my website.
As a regular reader, you will now have the ability to easily express yourself and share what my ideas mean to you... if you would like.
What I really love is that my readers get to choose and select from a variety of different stickers. Every time you decide to send a paid sticker, you can add a personal message to me.
And for me, these virtual stickers can translate into direct revenue to support the work that goes into the content that you are enjoying on my blog. There is a free option, too!
I just love that anyone can simply tap a few buttons and let me know you are enjoying my content.
You can find the Thank with Google feature on the top of each post (look for the blue button that says "thanks") AND on my sidebar or at the bottom of my blog post if you are on mobile.
I'd love if you tested it out and let me know what you think!
I appreciate ALL of your support, it really means so much. Happy Holidays!
If you like this idea, please help me by testing out the Thank with Google feature. Simply scroll to the top of this blog post and look for the blue Thanks button. Click and send a free sticker. I would be so appreciative. 🙂
Teddy Bear Hot Cocoa Melts
Use a hollow Lindt Chocolate Bear to make a deliciously cute Teddy Bear Hot Cocoa Melt.
Ingredients
- Lindt Hollow Teddy Chocolate, 1.4 oz Size
- 2 TBSP Hot Cocoa Mix
- Mini Marshmallows
- (Optional) Bow Icing Decoration
Instructions
- Unwrap your chocolate bear.
- Remove the chocolate head. Carefully using a warmed knife to gently press into the base of the head to slowly melt a hole through the entire bear. You will need to reheat the knife several times to break through cleanly. See notes for tips.
- Once head is removed, pour hot cocoa mix into the bear.
- Add mini marshmallows from the hot cocoa mix set until you fill to the top. Then, fill the head with them as well.
- Use warmed knife to lightly melt the chocolate on the head and reattach them. Let set for a few minutes for the chocolate to solidify.
- Use chocolate frosting or a tiny amount of melted chocolate to adhere the icing decorations around where the head was reattached to help conceal that line.
Notes
To heat your knife, run knife under very hot water and dry completely and use immediately. Repeat as needed. At your own risk, you can heat your knife with a lighter as well. Repeat as needed.
Please let me know what you think of it!


