Rainbow Popsicles That Will Make You Smile
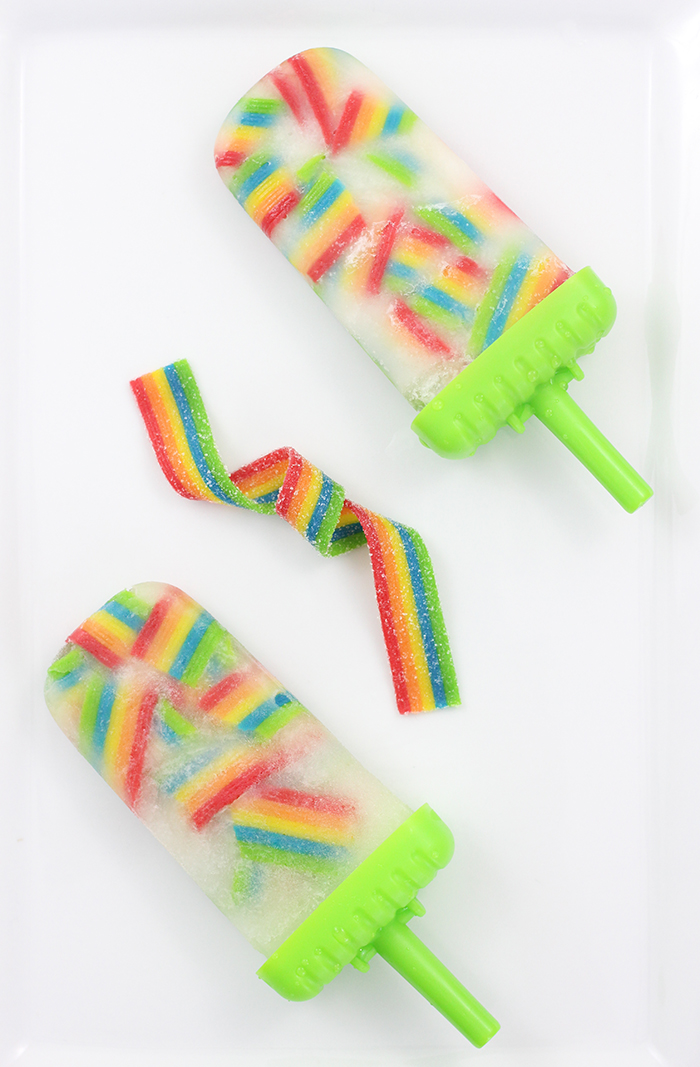
Rainbow popsicle recipe that will delight everyone that eats them. Learn how to make rainbow popsicles to celebrate summer.
I love cute and clever things and this fits the bill. These rainbow popsicles are so easy to make and pack a ton of flavor. I'm feeling summery and nothing cools you off quicker than an icy treat from the freezer. Today, I'm sharing how to make rainbow popsicles that will make anyone smile. We get to have our rainbow and eat it too. Mmm. This post contains affiliate links.
Many DIY rainbow popsicles are labor and time intensive between mixing each colored layer or waiting for layers to freeze before adding the next. While those are SO adorable, I like the idea of this quick fix recipe and they are are super cute on top of it! You can't tell me these ice pops don't make you smile big! 😉
Rainbow Popsicles Recipe
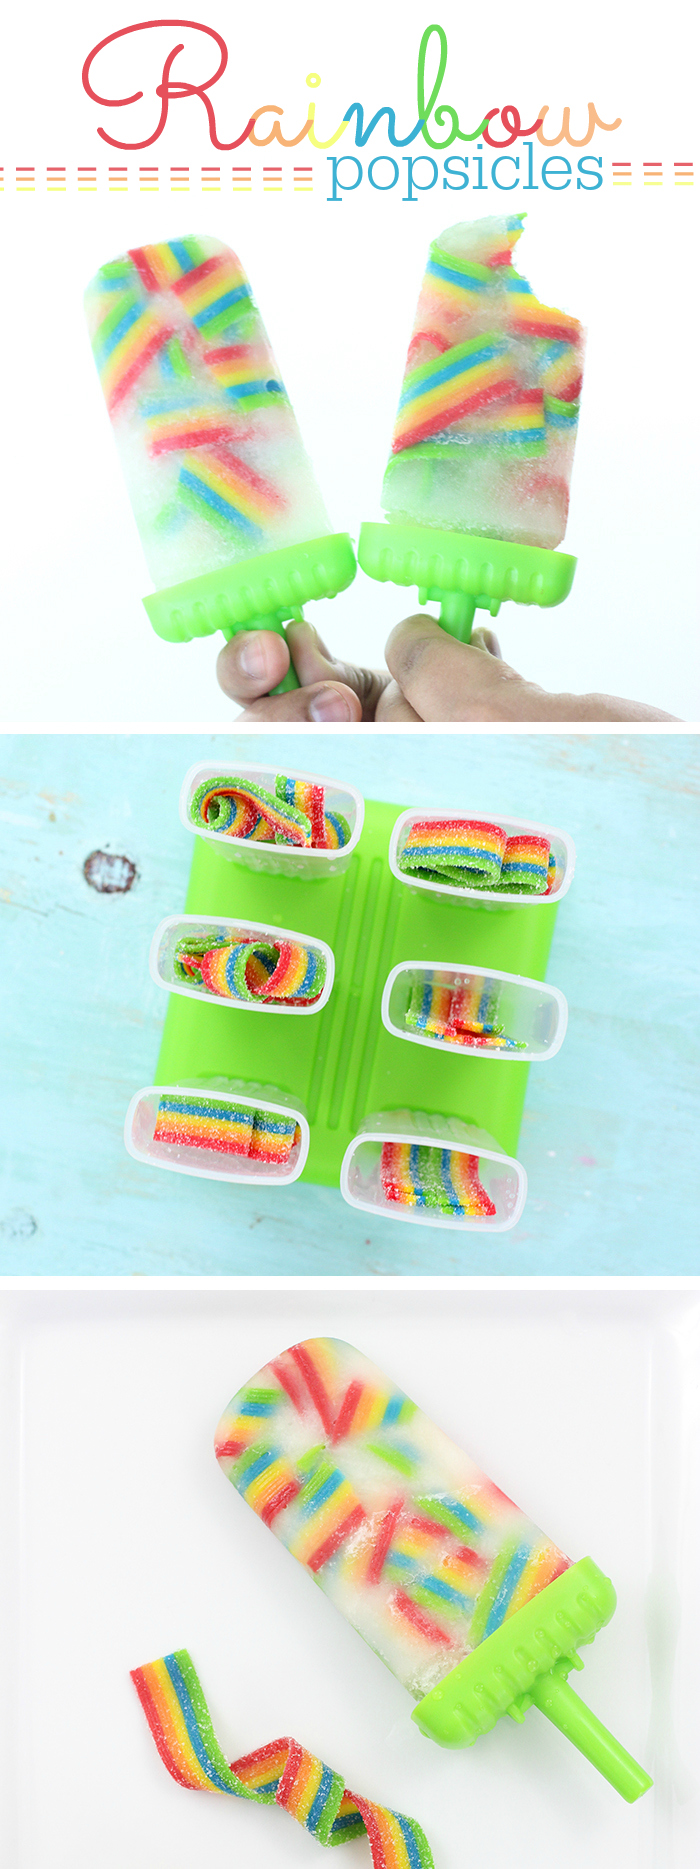
For this quick recipe, you only need Sprite or other clear lemon lime flavored soda, Rainbow Berry Airheads Extremes Sour Candy & popsicle molds. I recently bought these Ozera popsicle molds that have a drip guard (oh yeah baby!)
These two ingredients make for a ridiculously amazing looking rainbow pop that tastes like childhood in every bite.
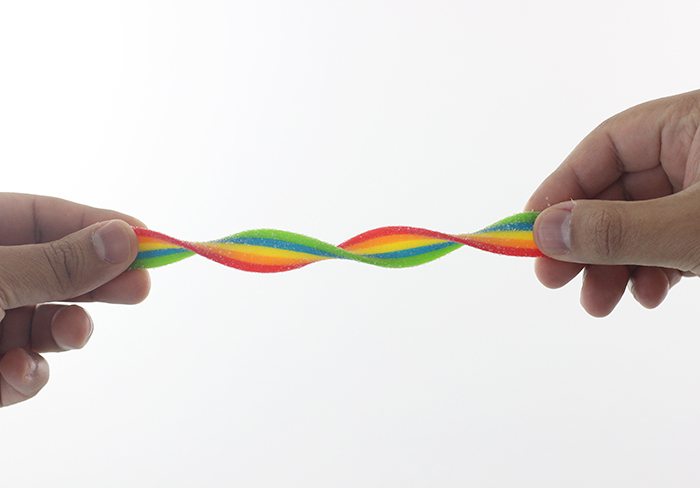
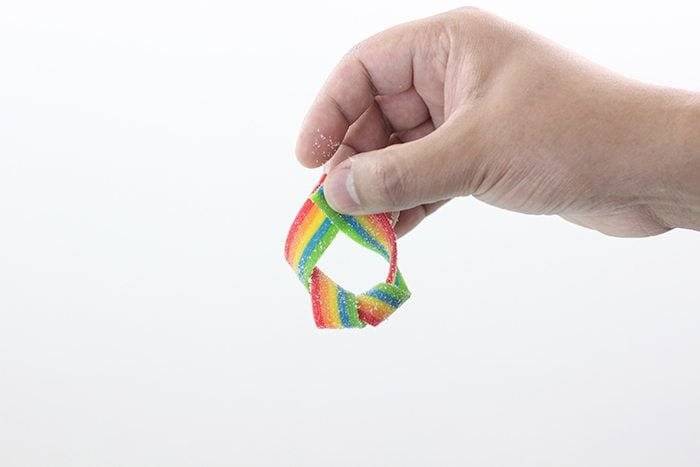
With a special little twist to the candy, you can make the perfect rainbow ice pops. I did some trial and error and this was definitely the best way to do it. Check it out!
Then pinch the ends together so they stick.
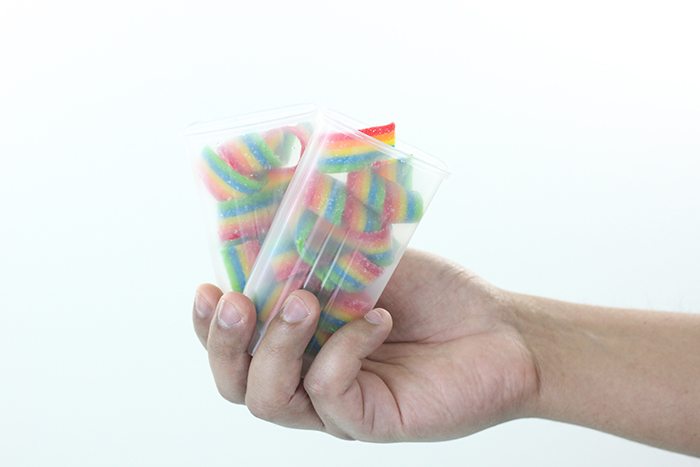
Repeat 4 times, pressing each layer into a pop mold, so that it looks like this:
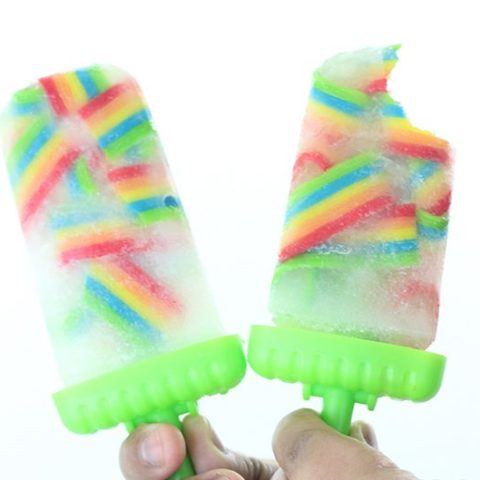
Unlike other gummy candies, these Airheads don't harden up when frozen. They actually do the opposite and get a bit softer.
The MAGIC of these pops happen when all the sugary sour goodness come off of the candy and mix right into the soda. Each bite is a sweet and sour surprise. Like the best of movie theater snacks in each nibble.
Rainbow Popsicles
Fun rainbow popsicles that are so easy to make.
Ingredients
- Sprite or Clear Lemon Lime Soda
- (24) Airheads Xtremes Sour Candy, Rainbow Berry Strips
Instructions
- Take each candy strip and twirl it 3 or 4 times.
- Then pinch the ends together so they stick.
- Repeat 4 times, pressing each layer into a pop mold.
- Each popsicle mold should have (2) strips of candy.
- Slowly pour soda into the pops, allow for the fizz to settle and continue to fill leaving about ½ at the top to allow the freezing process.
- Freeze for 4 hours or until frozen.
- Run a little warm water over you popsicle mold to easily wiggle the pops out. Enjoy!
Recommended Products
As an Amazon Associate and member of other affiliate programs, I earn from qualifying purchases.
Nutrition Information
Yield 6 Serving Size 1Amount Per ServingCalories 63Total Fat 0gSaturated Fat 0gTrans Fat 0gUnsaturated Fat 0gCholesterol 0mgSodium 17mgCarbohydrates 16gFiber 0gSugar 15gProtein 0g
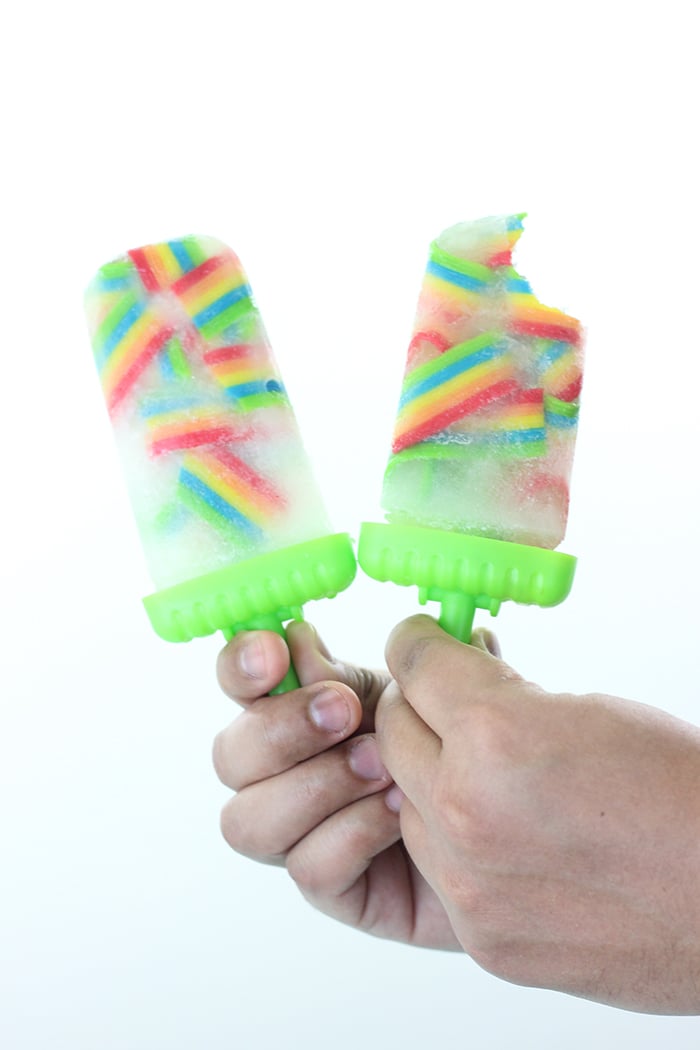
There are many ways you can add the rainbow candy in, but I definitely liked my twist method the absolute best!
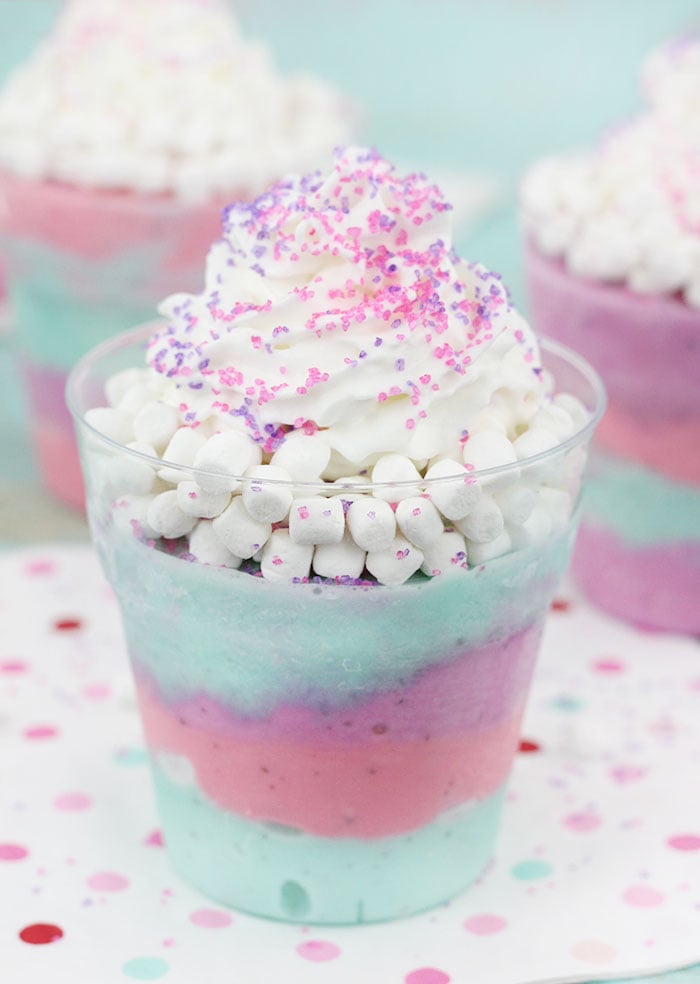
If you liked these rainbow pops, click on these Unicorn Sundaes!
MORE RAINBOW PARTY GOODIES:
 | Rainbow and Unicorn 9" Party Plates - $13.90 Celebrate magic at your child's birthday party, with these rainbow and unicorn party plates. |
| Painted Rainbow Stripe Table Runner - $24.95 Add some flair to your table with this fun and festive colorful painted stripe table runner! |
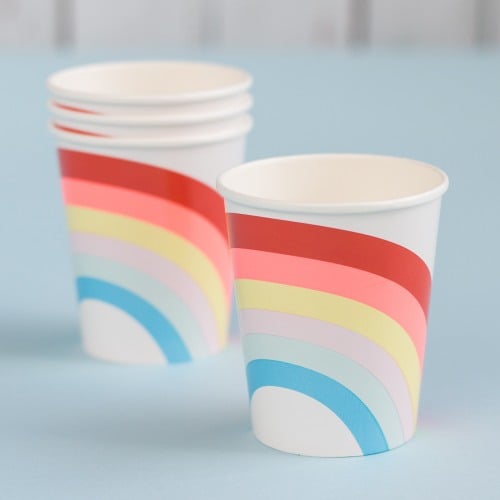 | Rainbow and Unicorn Cups - $13.00 Perk up your birthday party with all the colors of the rainbow, with these adorable rainbow and unicorn cups. |
What are your favorite homemade popsicles to make? Have you ever made your own version of a rainbow popsicle?


Clever and the perfect Summer treat! I know four kids that would love these!
Thanks so much Lisa! I hope those 4 kids find these as tasty as we did! 😉