Festive Christmas Mini Lunch Box Cakes to Sweeten Your Celebrations!
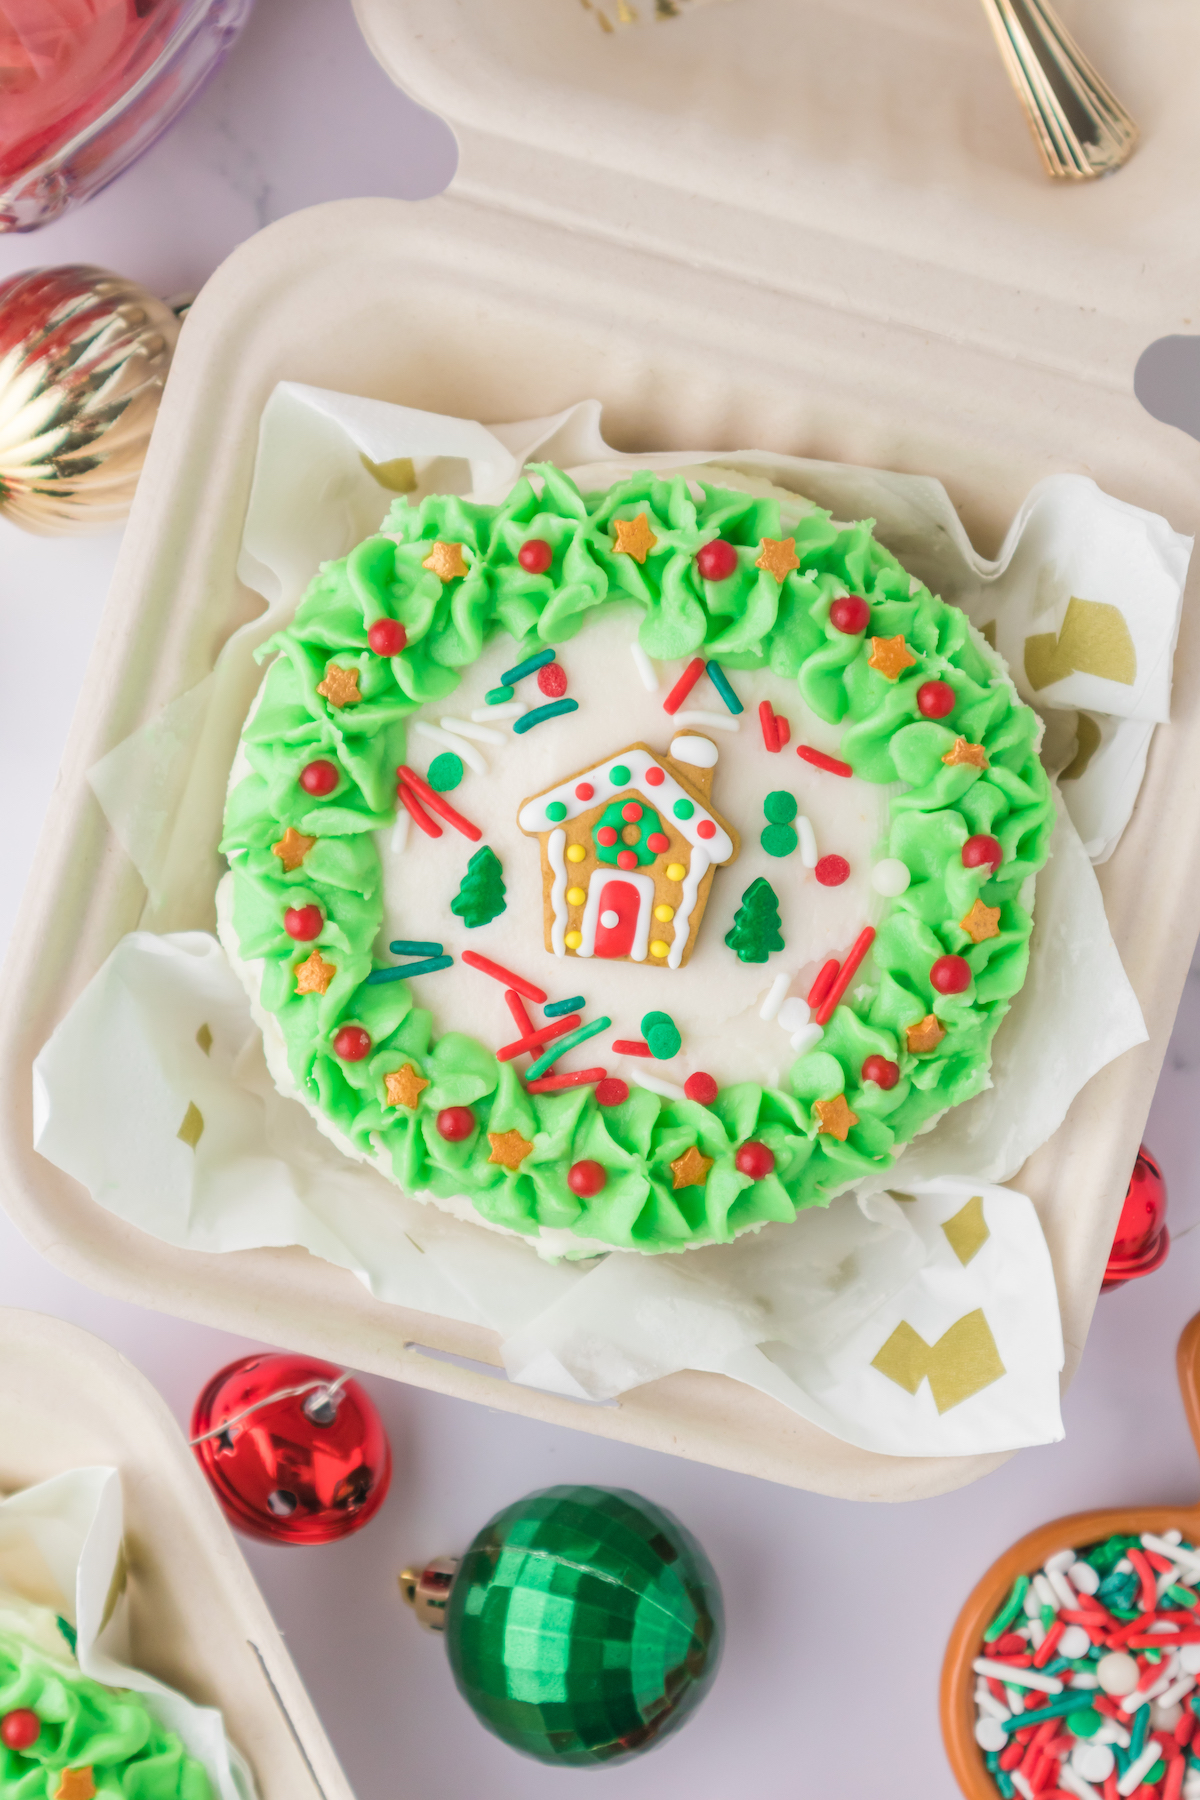
Get ready to unwrap joy with our Christmas mini lunch box cake! It's a delightful treat that'll make your taste buds dance with holiday cheer. Perfect for gifting or indulging, this little cake brings big smiles. Celebrate the season with a burst of deliciousness!

Why You'll Love Christmas Mini Lunch Box Cake
There is nothing like the perfect Christmas cake and this mini size is just so fun.
- Perfect Portion: Just the right size for a personal indulgence, satisfying your sweet cravings without overindulging.
- Festive Charm: Adorned with delightful Christmas-themed decorations, these mini cakes capture the holiday spirit in every bite.
- Convenient and Portable: Packaged in individual lunch boxes, they're easy to carry, making them ideal for parties, gatherings, or even cozy nights in.
- Variety of Flavors: Indulge in a range of flavors, from classic vanilla to rich chocolate, ensuring there's a taste for every palate. This vanilla recipe makes it easy to change the flavors.
- Versatile Gifting: Share the joy by gifting these mini cakes to friends, family, or coworkers, spreading holiday happiness with every box.
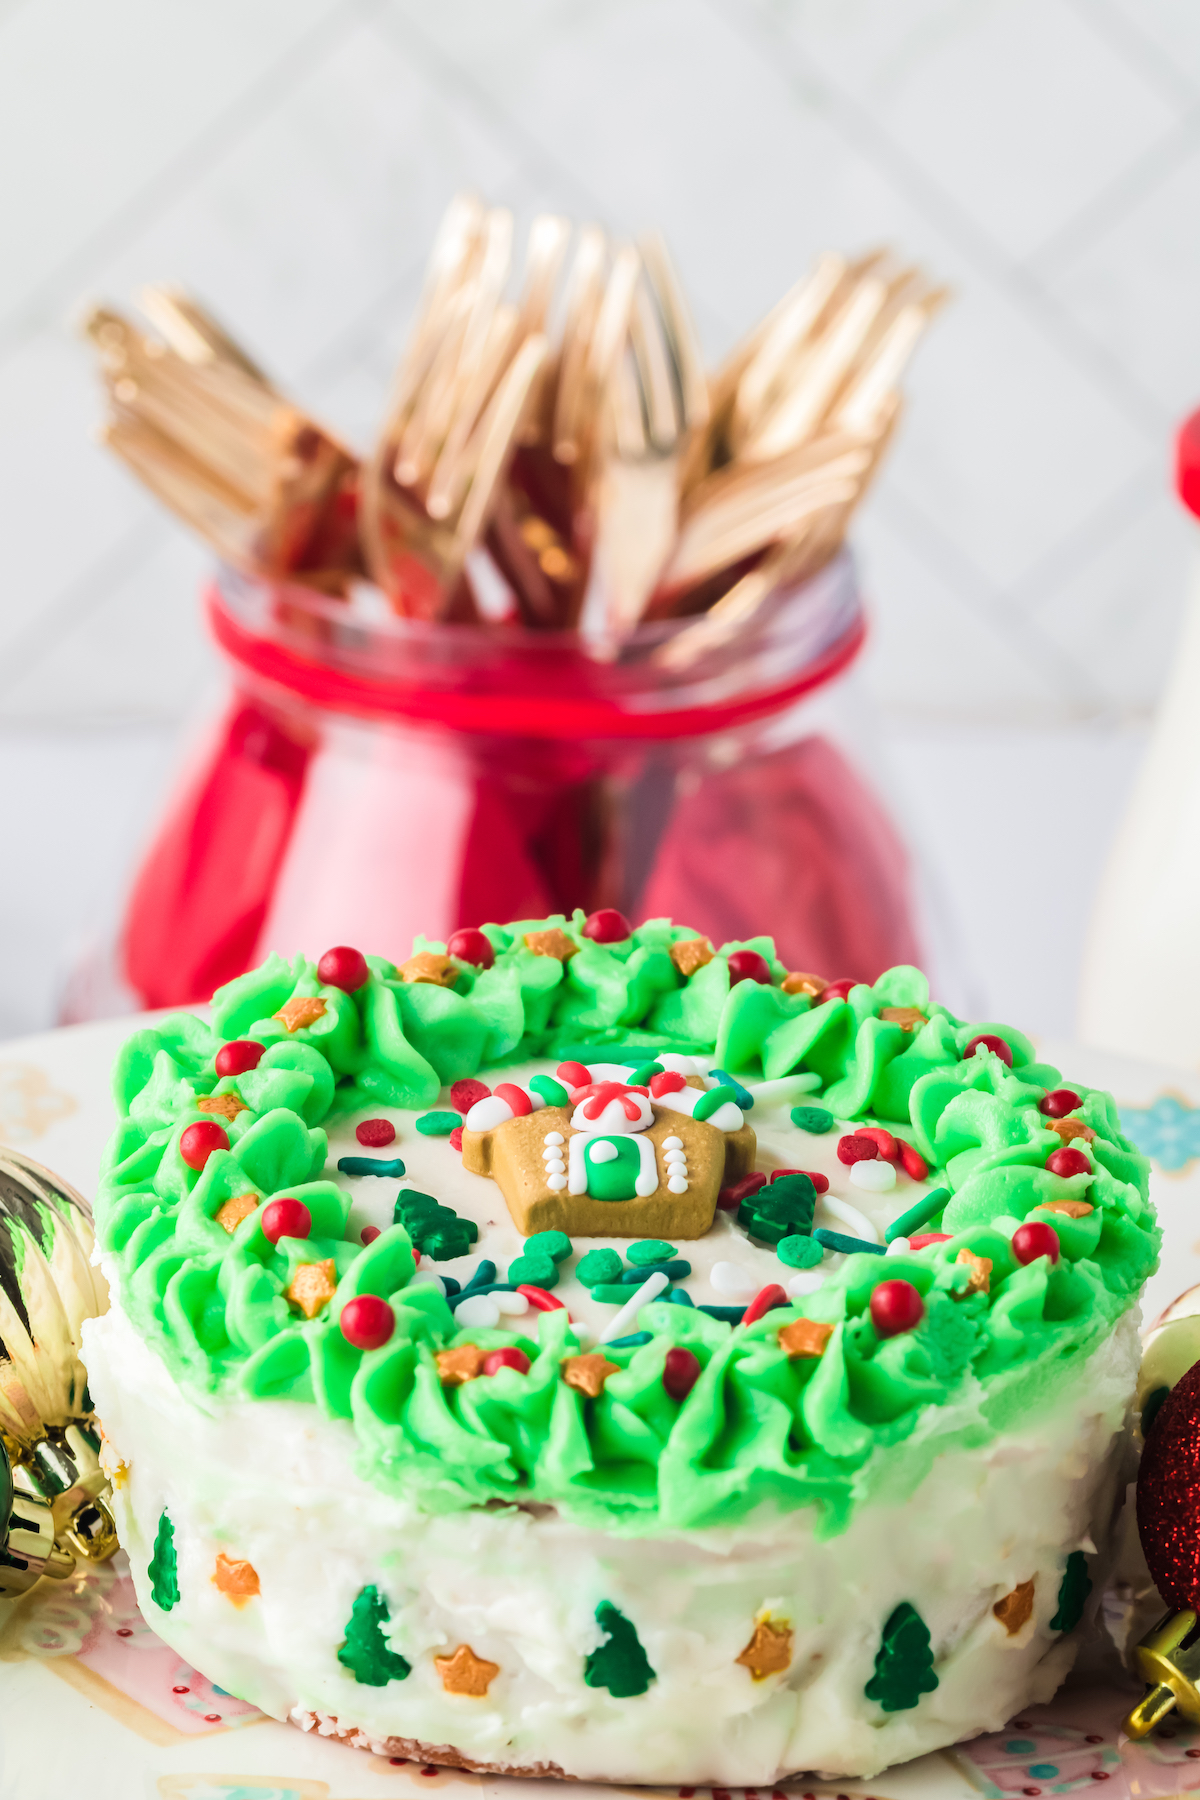
Ingredients
For the Cake:
- All-purpose flour
- Baking powder
- Butter
- Sugar
- Eggs
- Milk
- Vanilla
For the Icing
- Butter
- Shortening
- Powdered sugar
- Vanilla
- Salt
- Milk
*optional: food coloring (green, red), Christmas sprinkles or other decorations for the Christmas Mini Lunch Box Cake
How to Make Christmas Mini Lunch Box Cakes
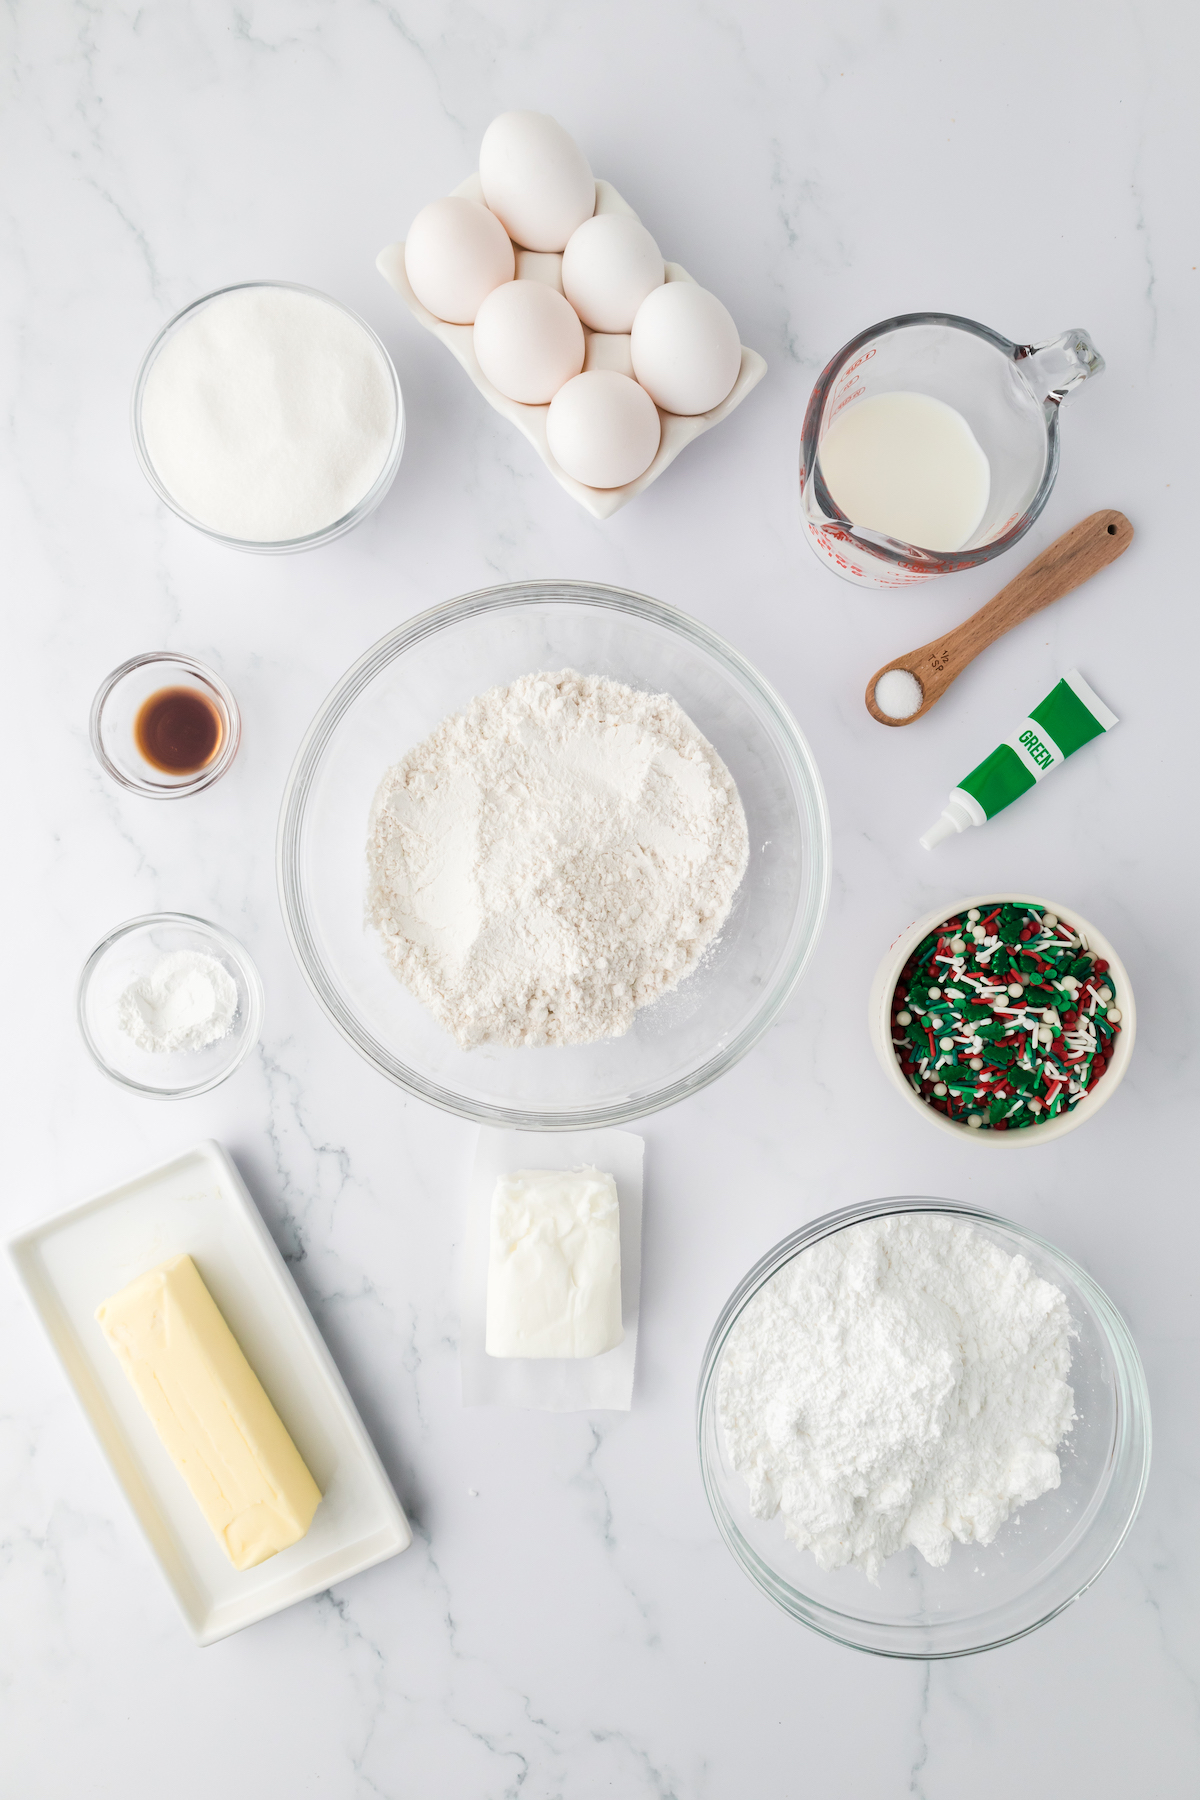
Make the Cakes: Preheat the oven and prep the 4 inch baking pans. In a mixing bowl, combine the dry ingredients. In another bowl. cream the butter and sugar. Add the vanilla and eggs. Slowly add the dry ingredients to the wet ingredients, alternating with adding the milk ingredients as well. Add the cake batter to the greased pans. Bake 30 minutes until the centers are done and a tooth pick come out clean. Let the cakes cool for 10 minutes.
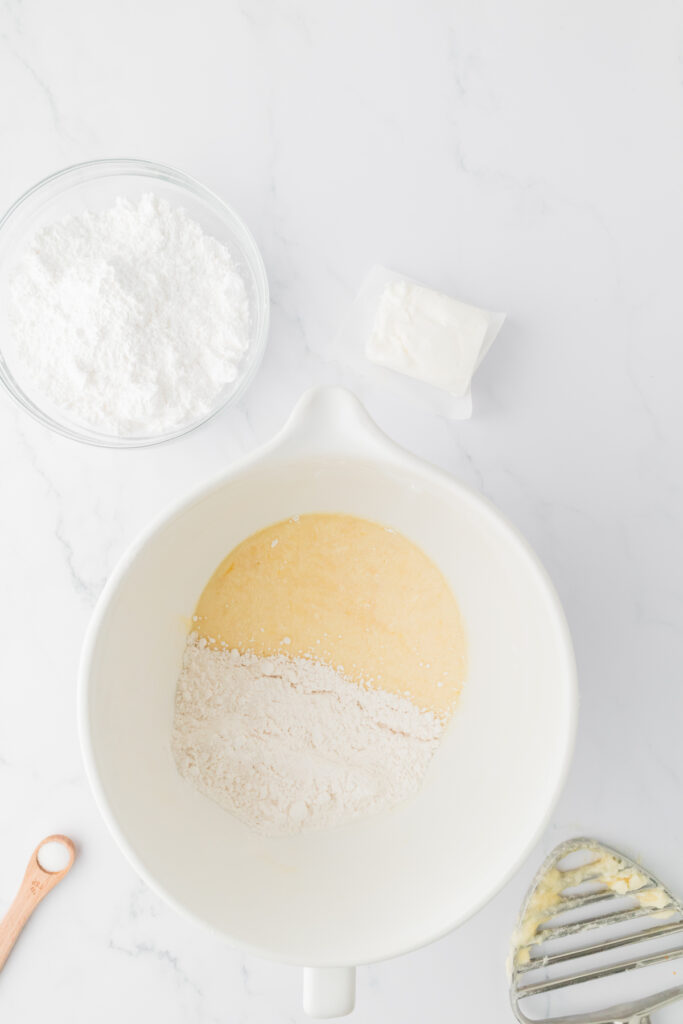
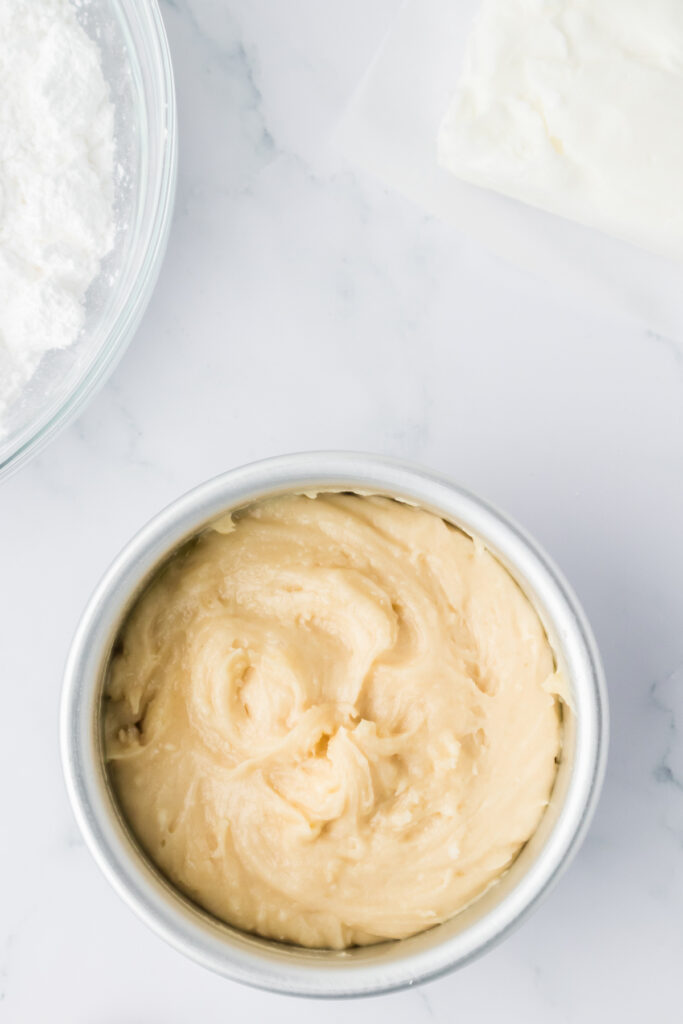
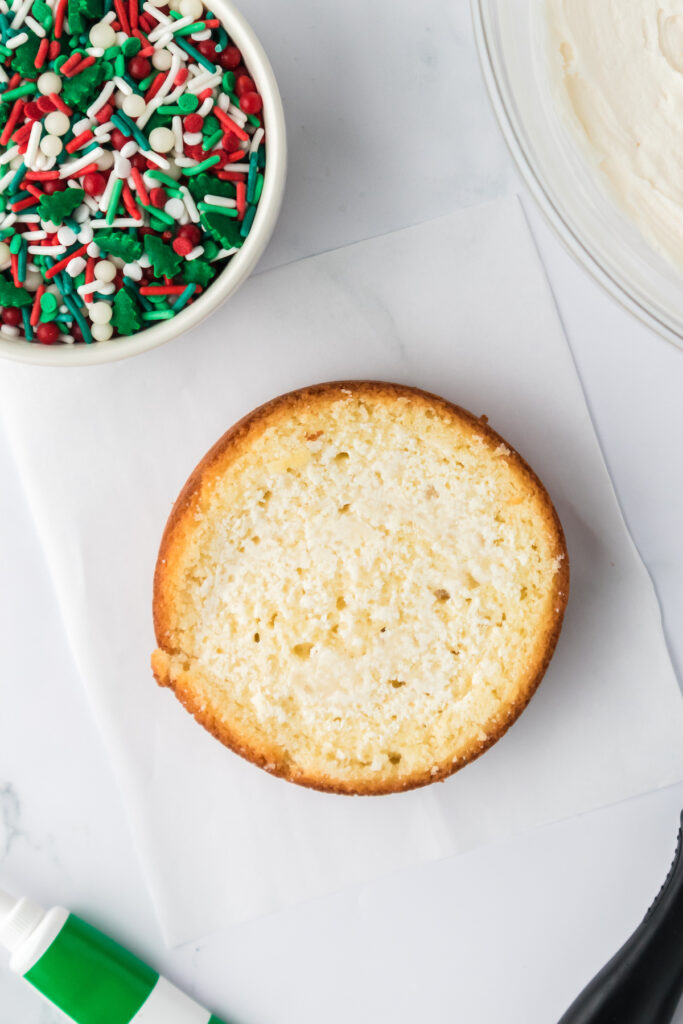
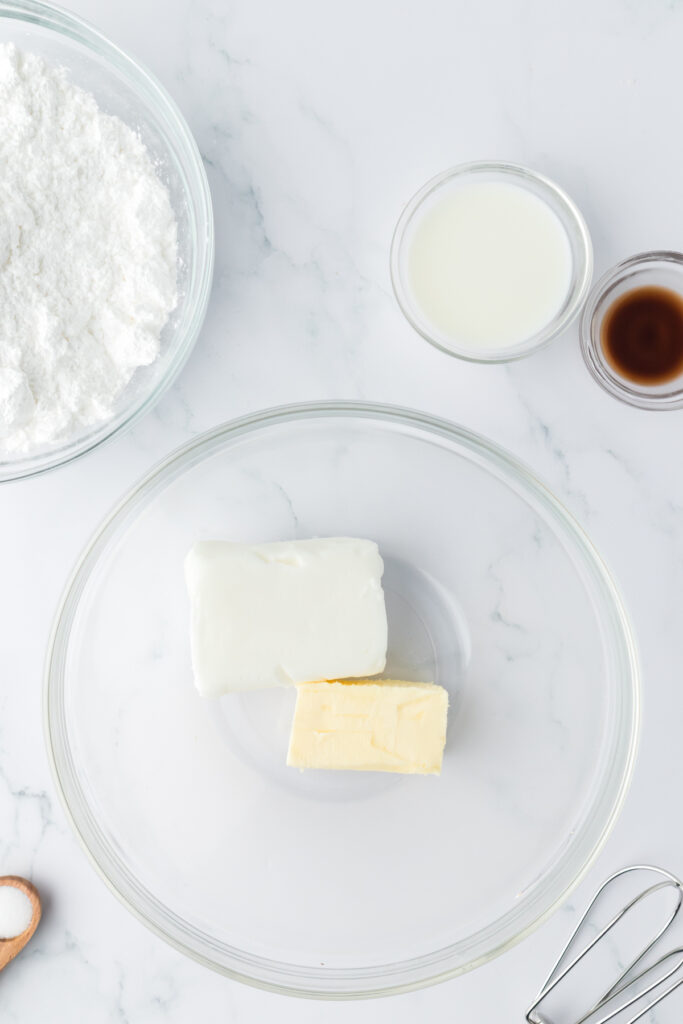
Make the Icing: Cream the butter and shortening together using a mixer. Slowly add the powdered sugar. Beat in the vanilla and salt. Slowly add in milk until you get the desired consistency. Mix in food coloring if desired.
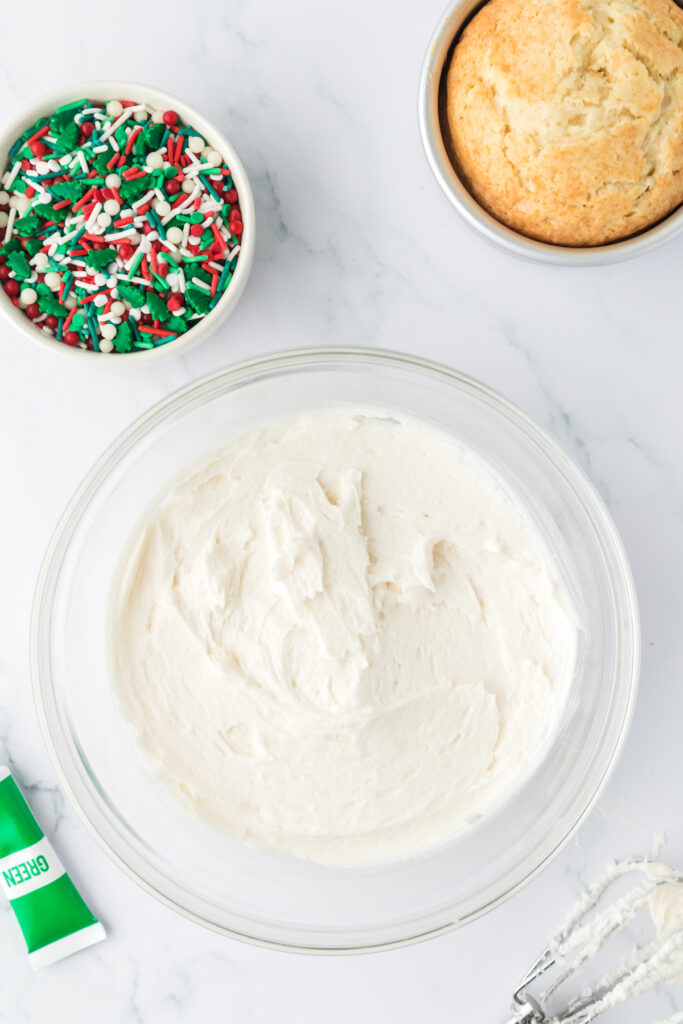
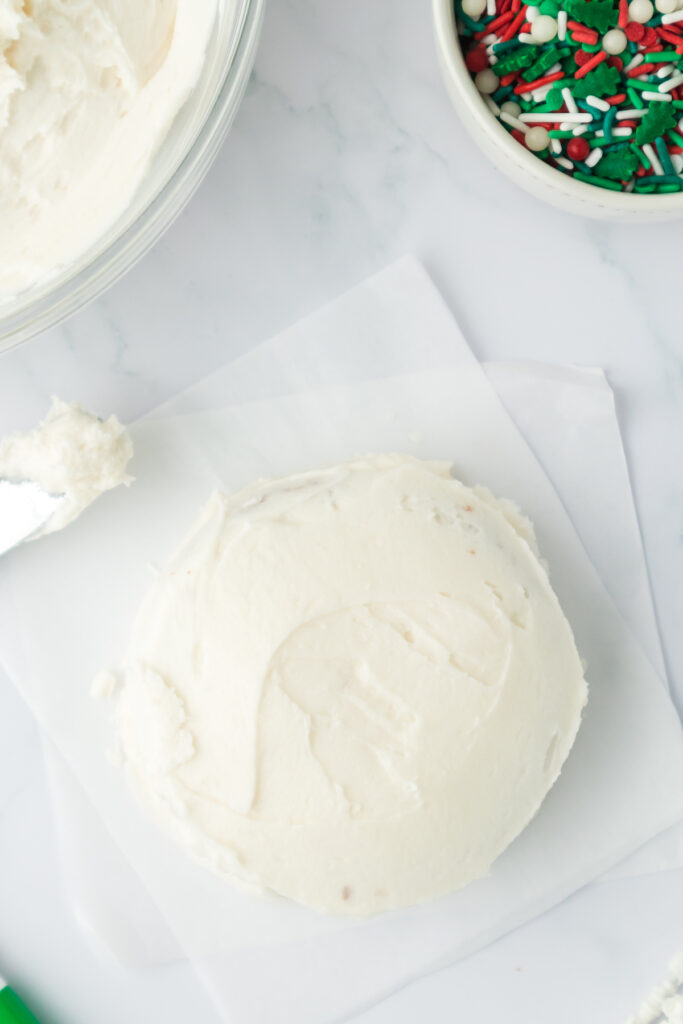
Frost the cakes: Place a mount of frosting on the top of the cake and smooth it out over the sides and top. Spread with a knife or spatula. Pipe different designs, add sprinkles, or add writing to the cake as desired. Serve and enjoy.
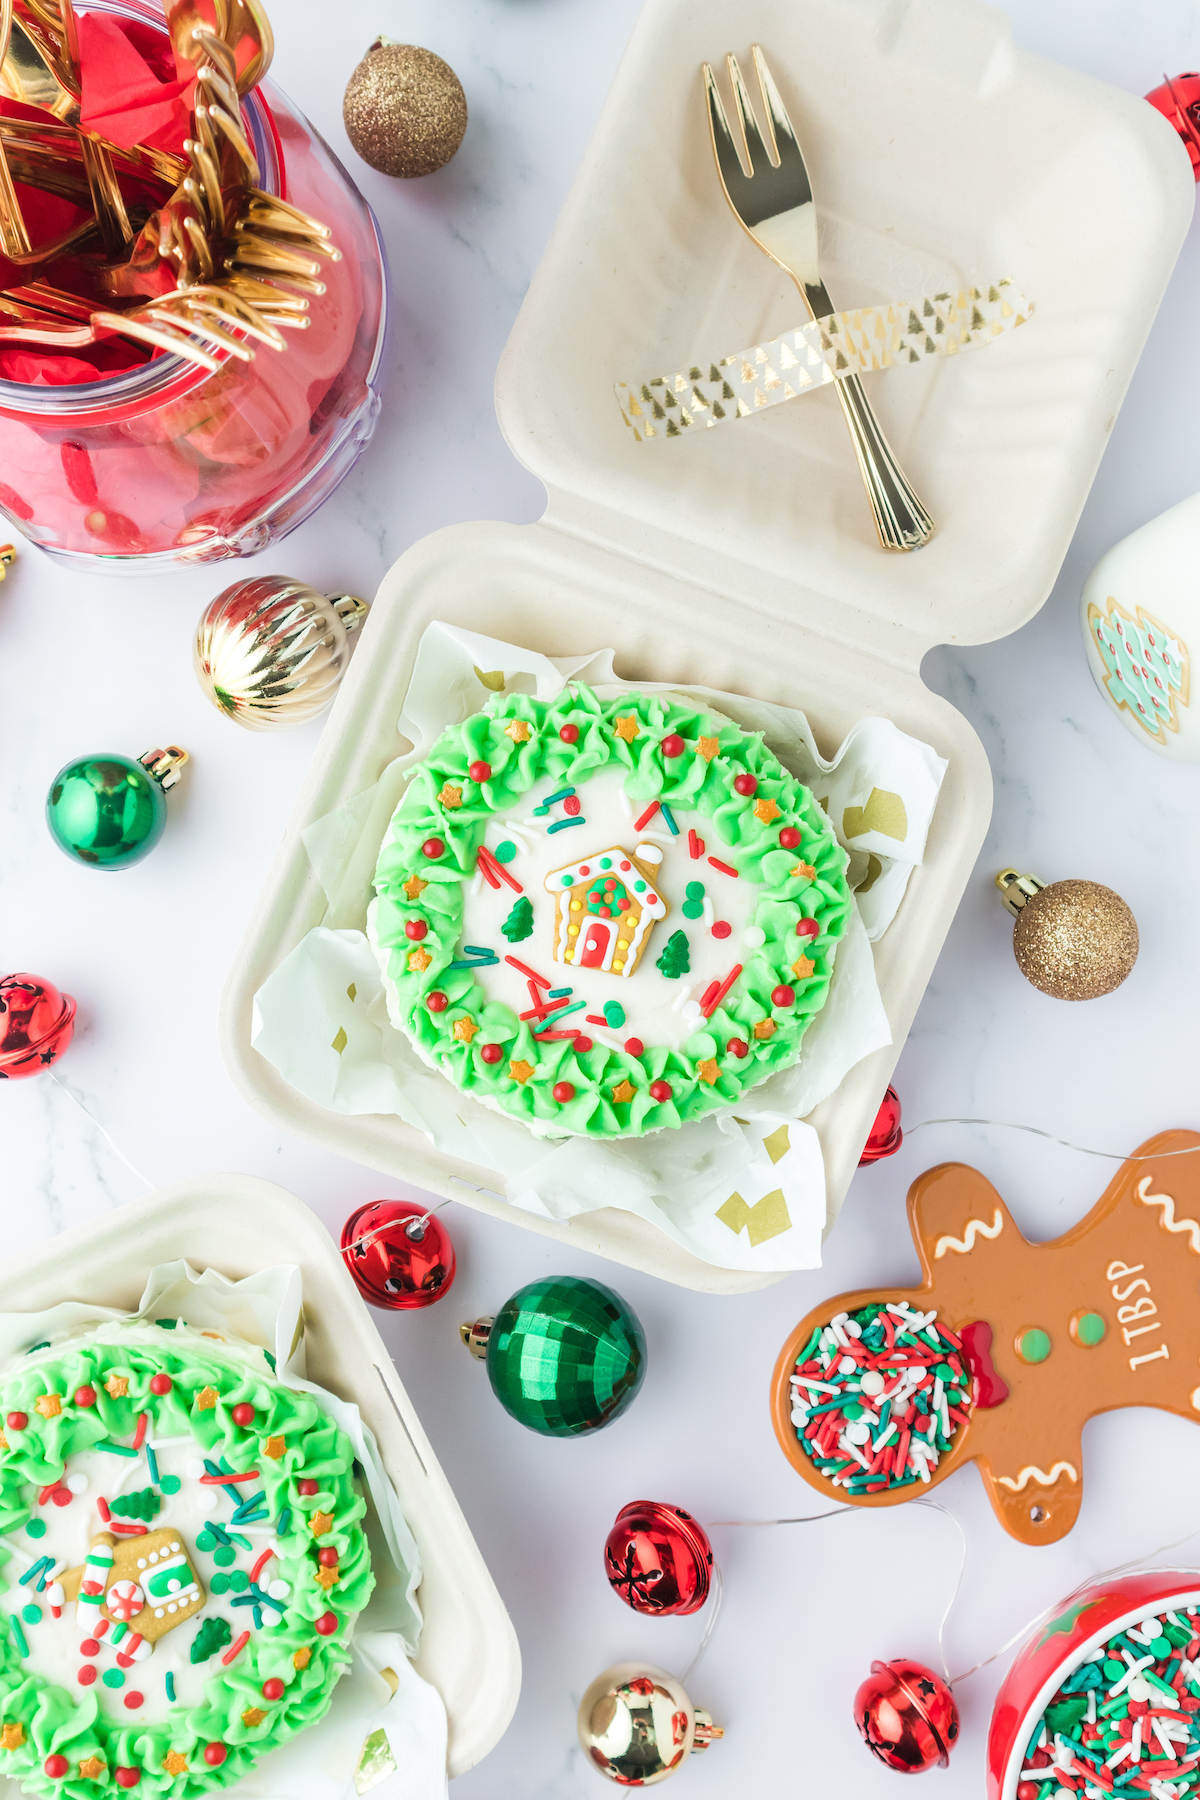
Can this recipe be used for cupcakes?
This recipe can be changed to a cupcake recipe. It will make 24 cupcakes. Then add the frosting on top of each one.
I can’t find 4-inch pans, can I use something else?
If you can't find 4 inch pans at your local stores, you can also buy these cute pans online. If you prefer to use something else instead of adding more pans to your collection, you can use a 13x9 inch pan and then use 4 inch Christmas cookie cutters to cut the cake into different shapes. After cutting out the shapes, stack 2 of the same shapes together with a layer of frosting in the middle. Then frost over the top. This creates a different style of Christmas Mini Lunch Box Cake.
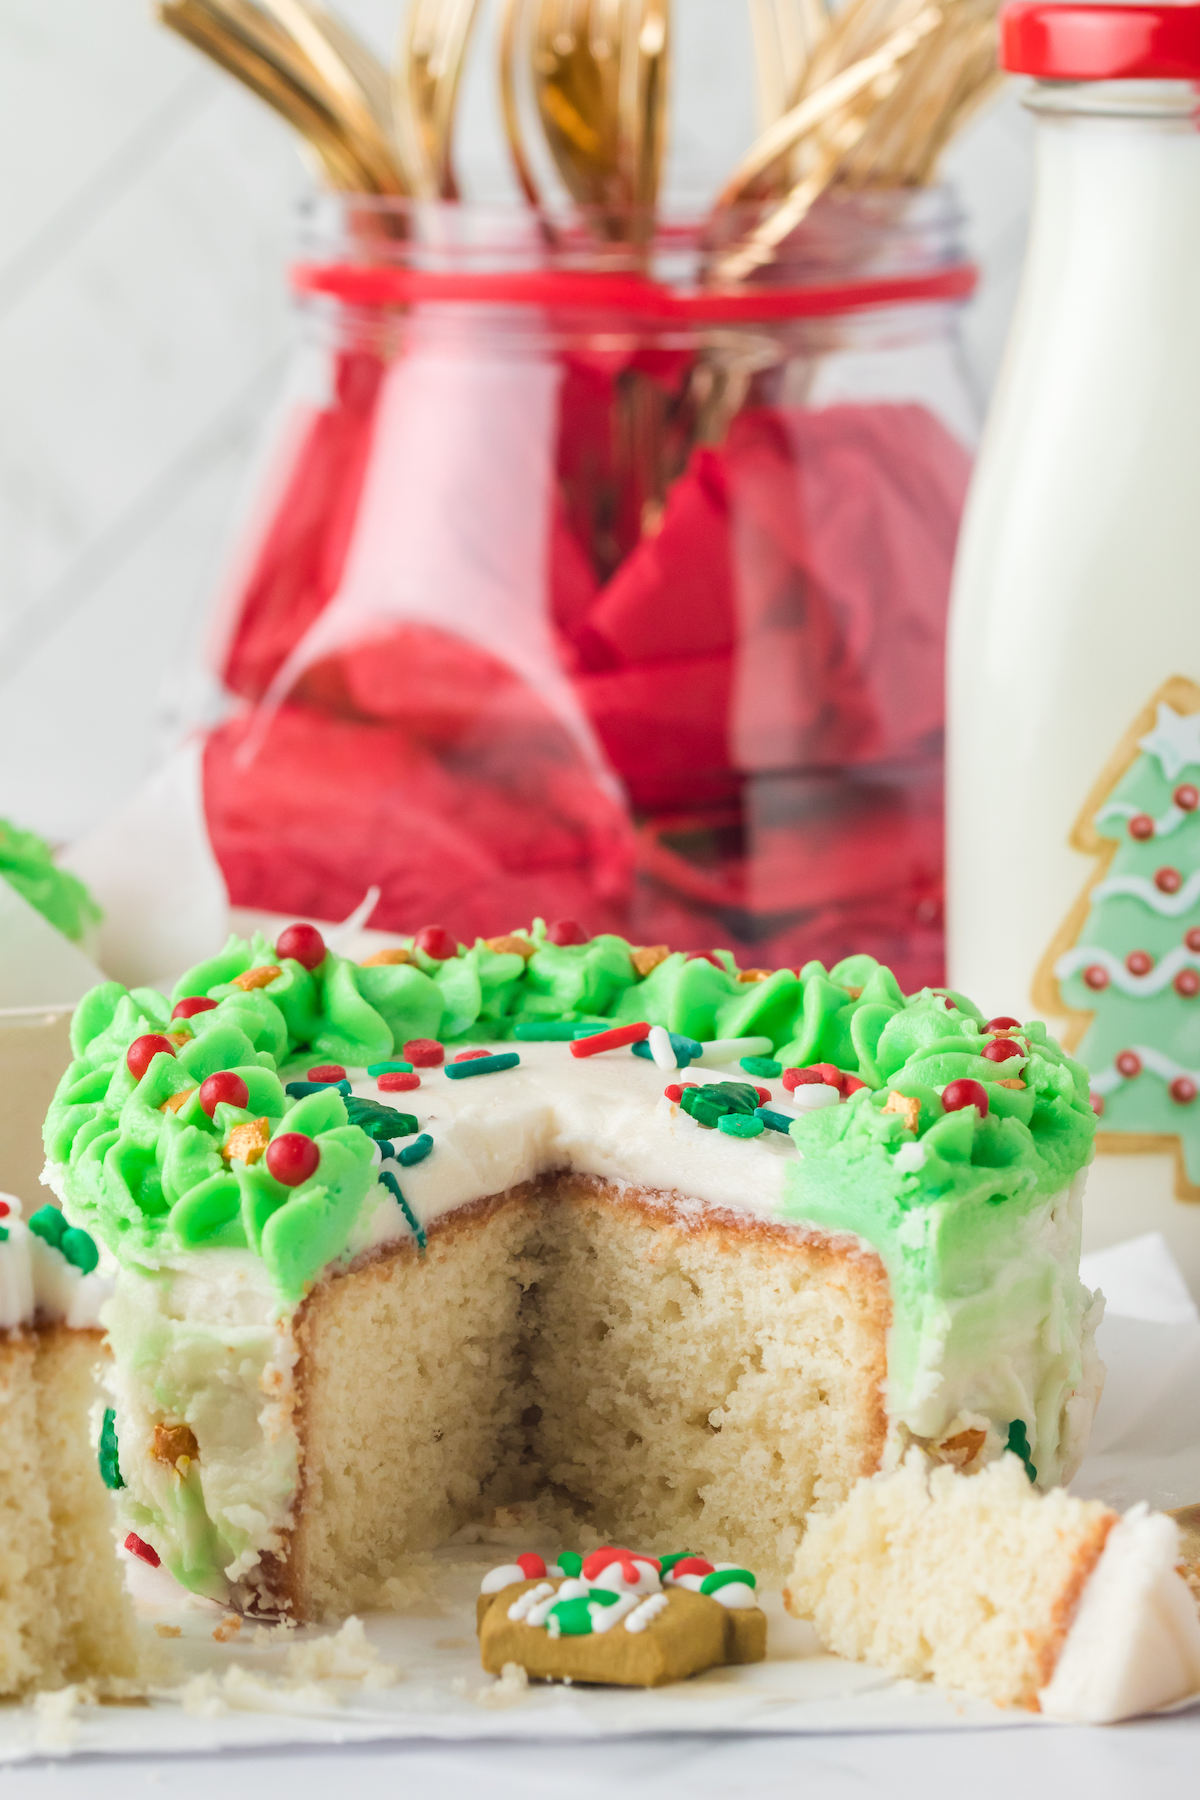
Where can I find the To-Go Boxes?
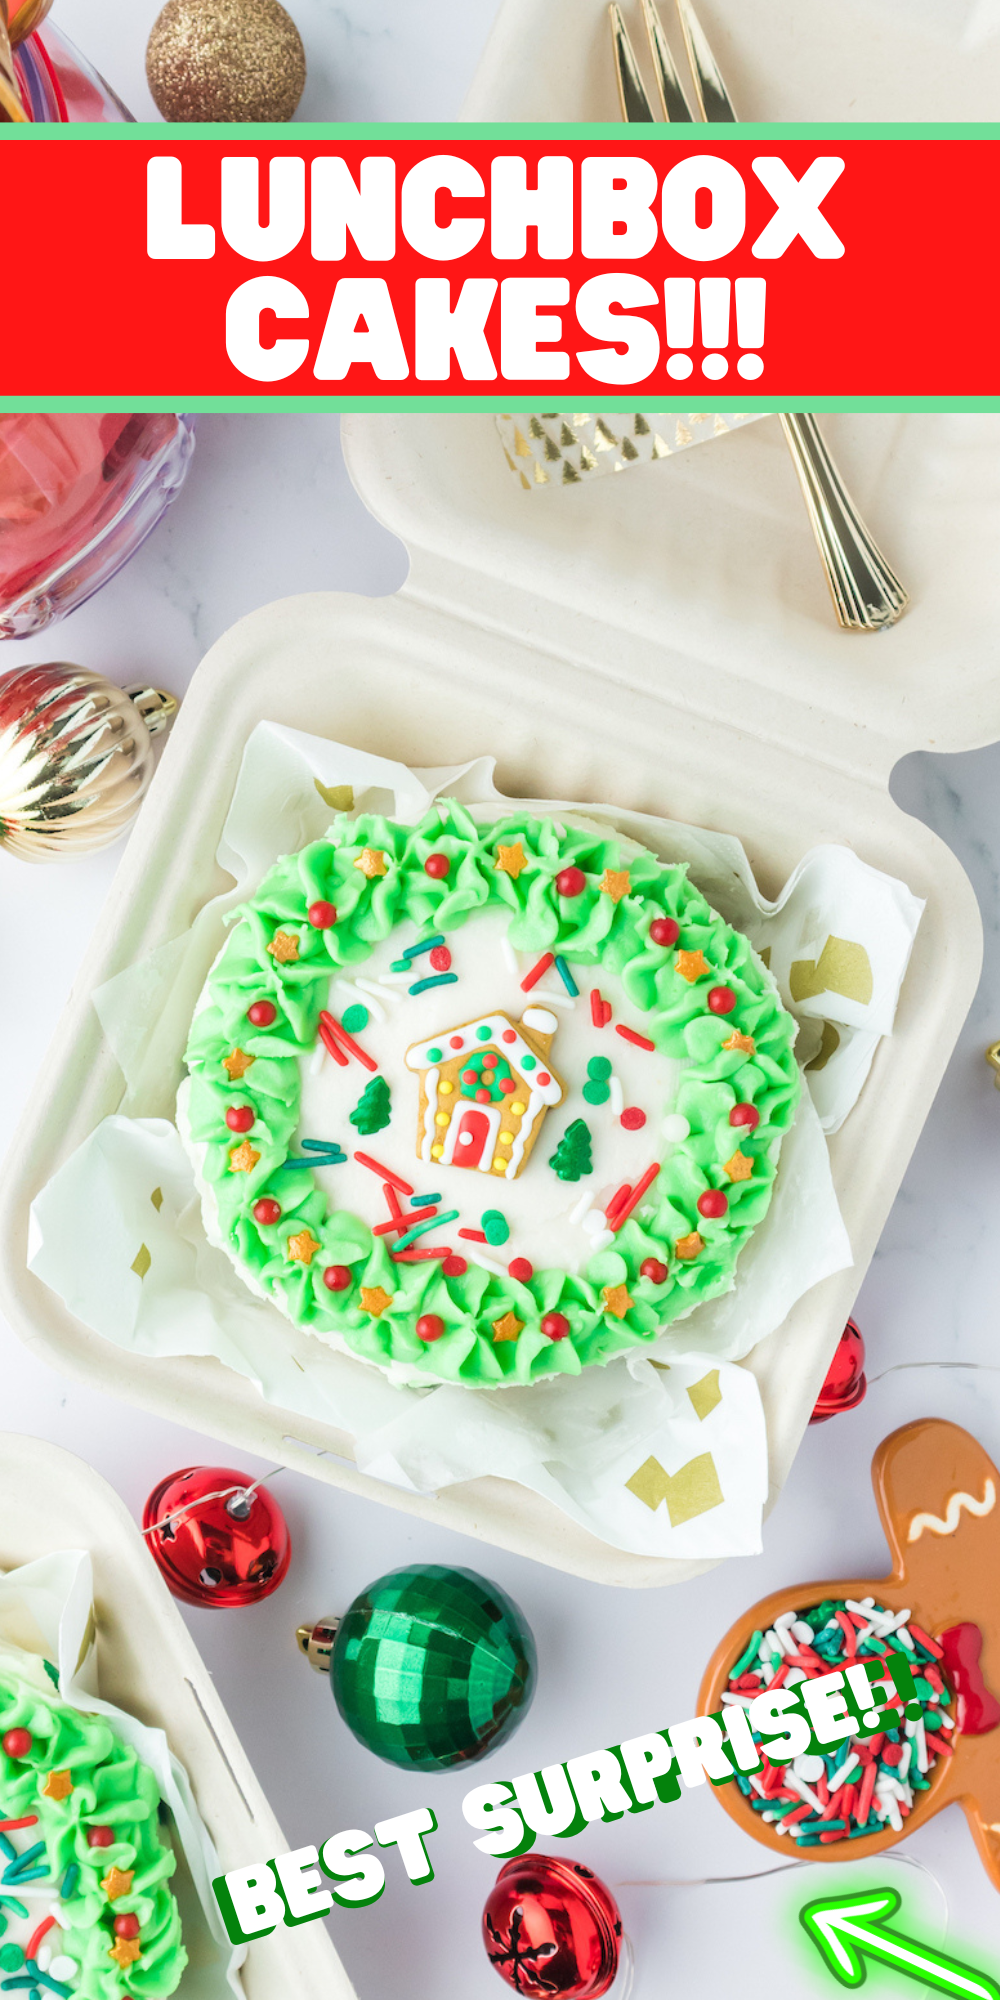
Amazon has these 6-inch boxes in both white and cream colored. I love this set because they are also bio degradable so you can add them to the compost bin.
How are these cakes stored?
These mini lunch box cakes can be stored at room temperature for about a week. If you decide to add variations to the recipe and add things like fruit or cream cheese frosting, it will need to be stored in the refrigerator.
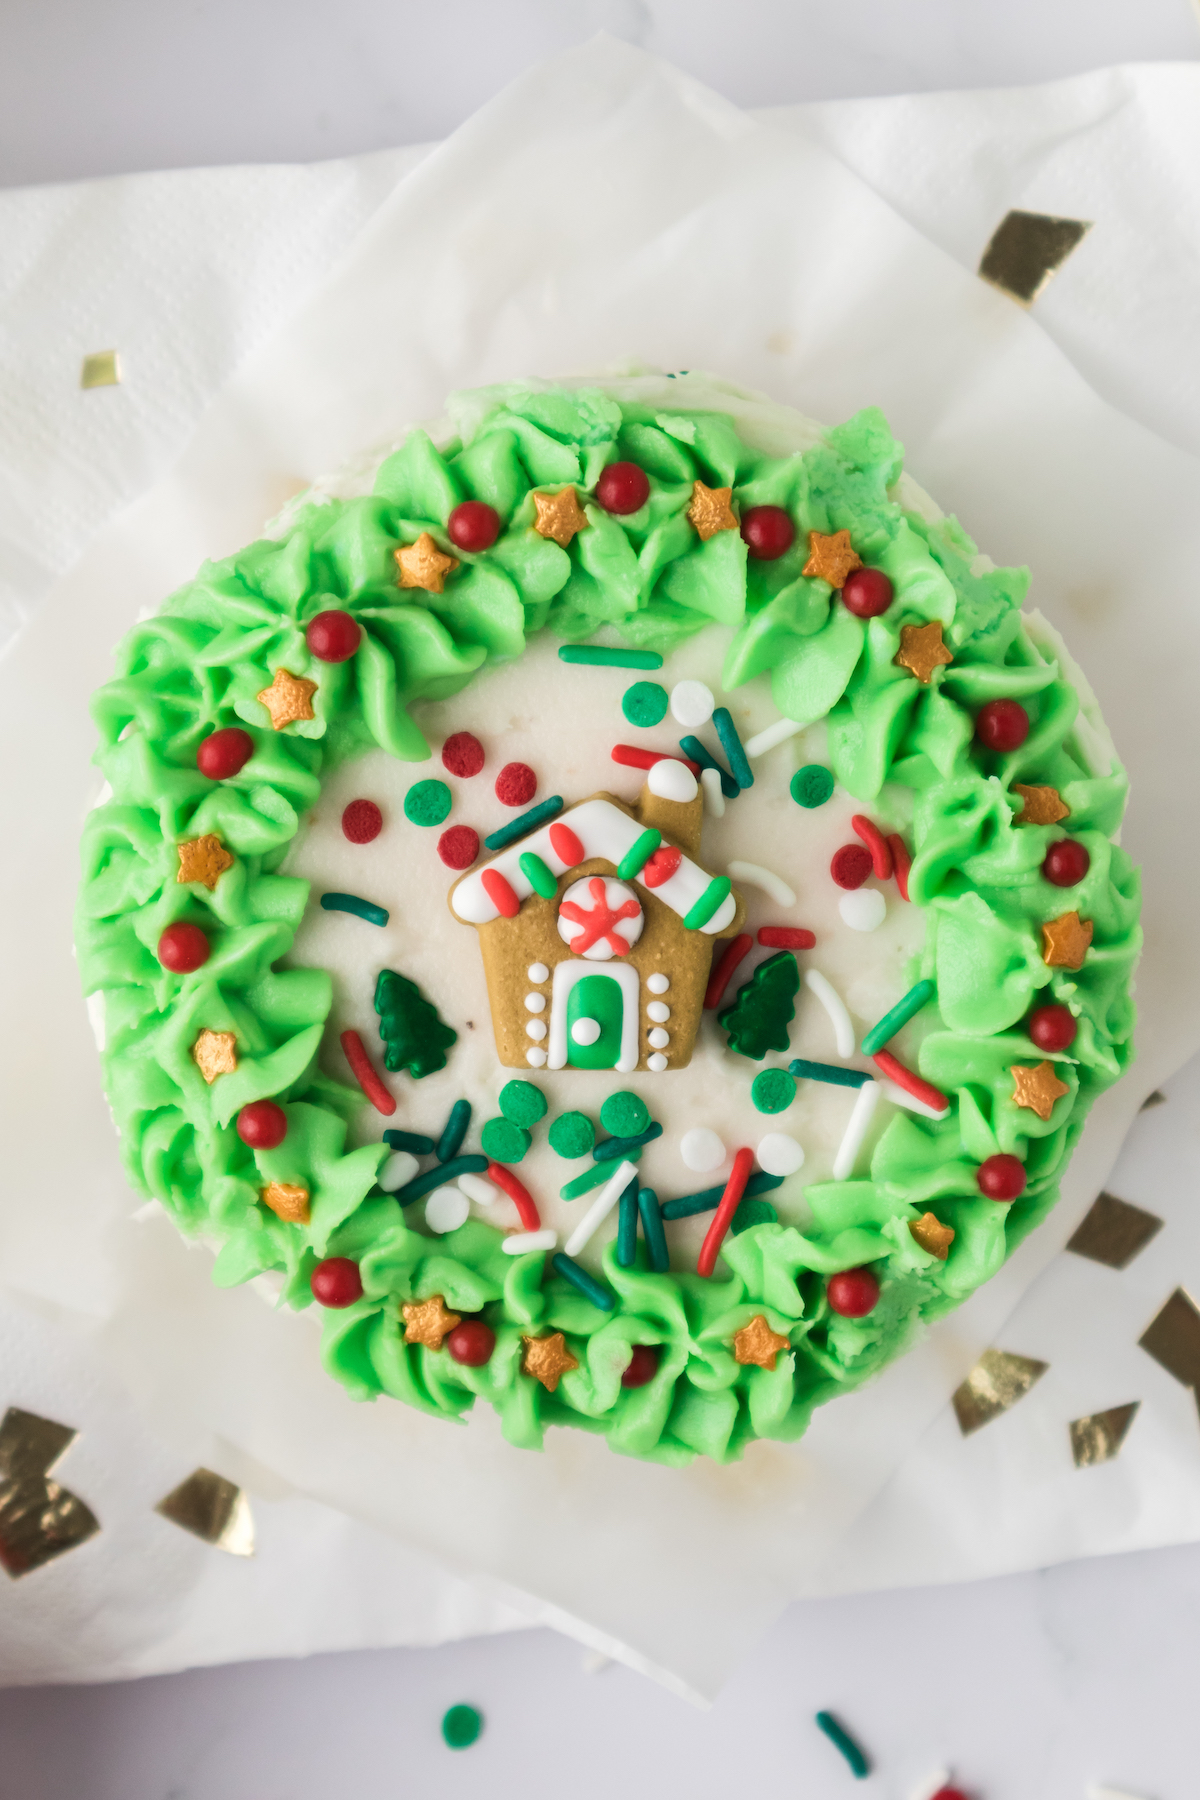
Can you freeze these cakes?
These cakes are great to make ahead and freeze. I love to make a batch and leave the uniced and freeze them. Wrap them well in plastic wrap and then in a layer of foil. This will keep them fresh for 3 months.
You can also freeze the cakes with the frosting on them. In this case, place the cakes in the freezer, first for about 2 hours. This allows the frosting to freeze and not stick to the plastic. Wrap the cake plastic and foil. When you are ready to thaw, be sure to unwrap the cake while it is frozen, first, so the plastic doesn't stick to the thawed frosting.
Tips for Frosting the Cake
If you hate crumbs in your cake, freeze the cake for 2-3 hours. This helps the crumbs not get in the frosting.
To decorate the cakes, you can use a cake decorator tool, a piping bag or a Ziplock bag with the tip cut off.
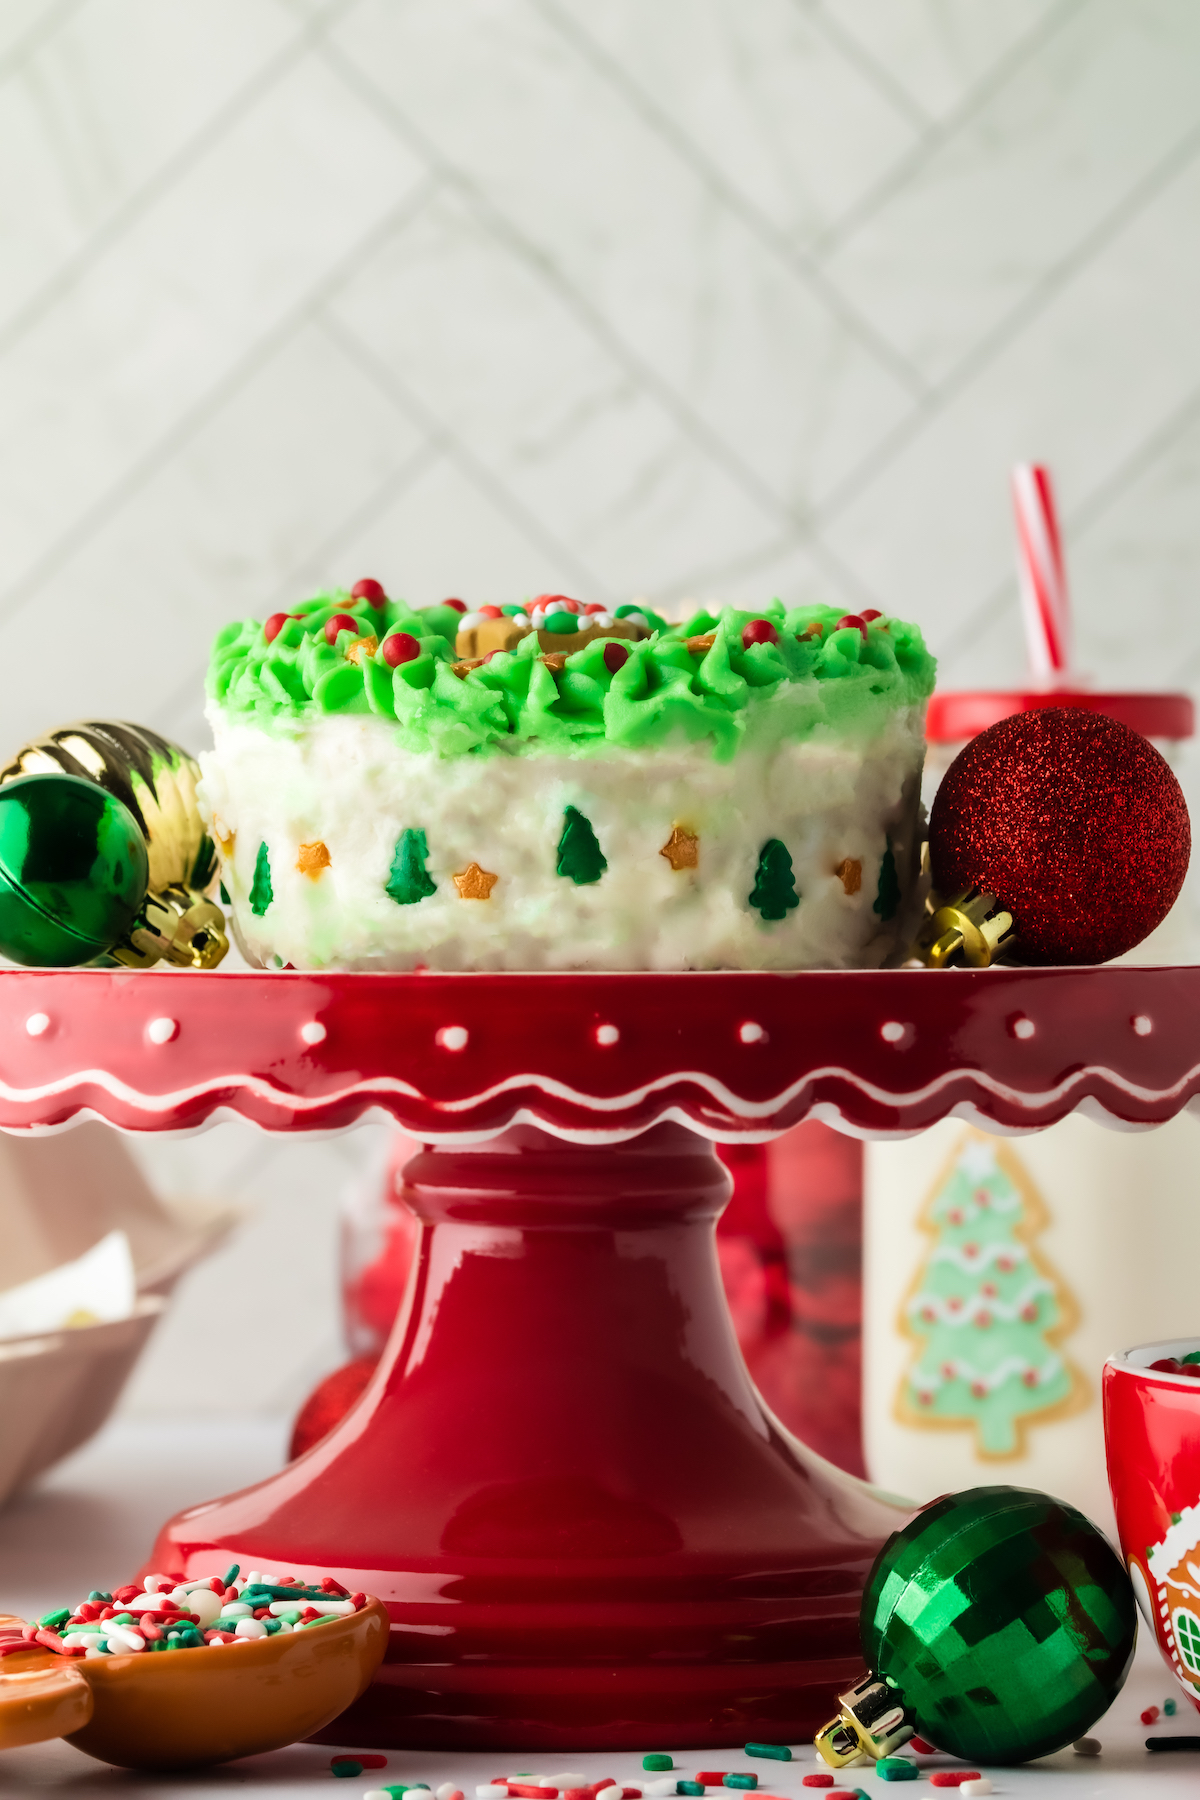
Variations
- Santa's Delight: Create a blend of peppermint and chocolate, topped with candy cane crumbles for a merry twist.
- Winter Wonderland: Fluffy vanilla cake topped with snowy coconut flakes, and decorated with a winter landscape.
- Joyful Berry Blast: Bursting with the flavors of mixed berries, this cake is a fruity delight, topped with fresh berries for a vibrant touch.
- Eggnog Elegance: Replace the milk with eggnog creating a Rich eggnog-flavored cake with velvety eggnog frosting.
- Peppermint Patty Pleasure: Decadent chocolate cake paired with peppermint buttercream, creating a delightful combination reminiscent of a favorite holiday treat.
- Caramel Apple Cheer: Indulge in the sweet crunch of caramelized apples on top of the cake with caramel drizzle over it all.
- Cozy Spice Surprise: Embrace the warmth of the season with a blend of cinnamon, cloves, and nutmeg, creating a spiced cake that feels like a comforting hug on a chilly day.
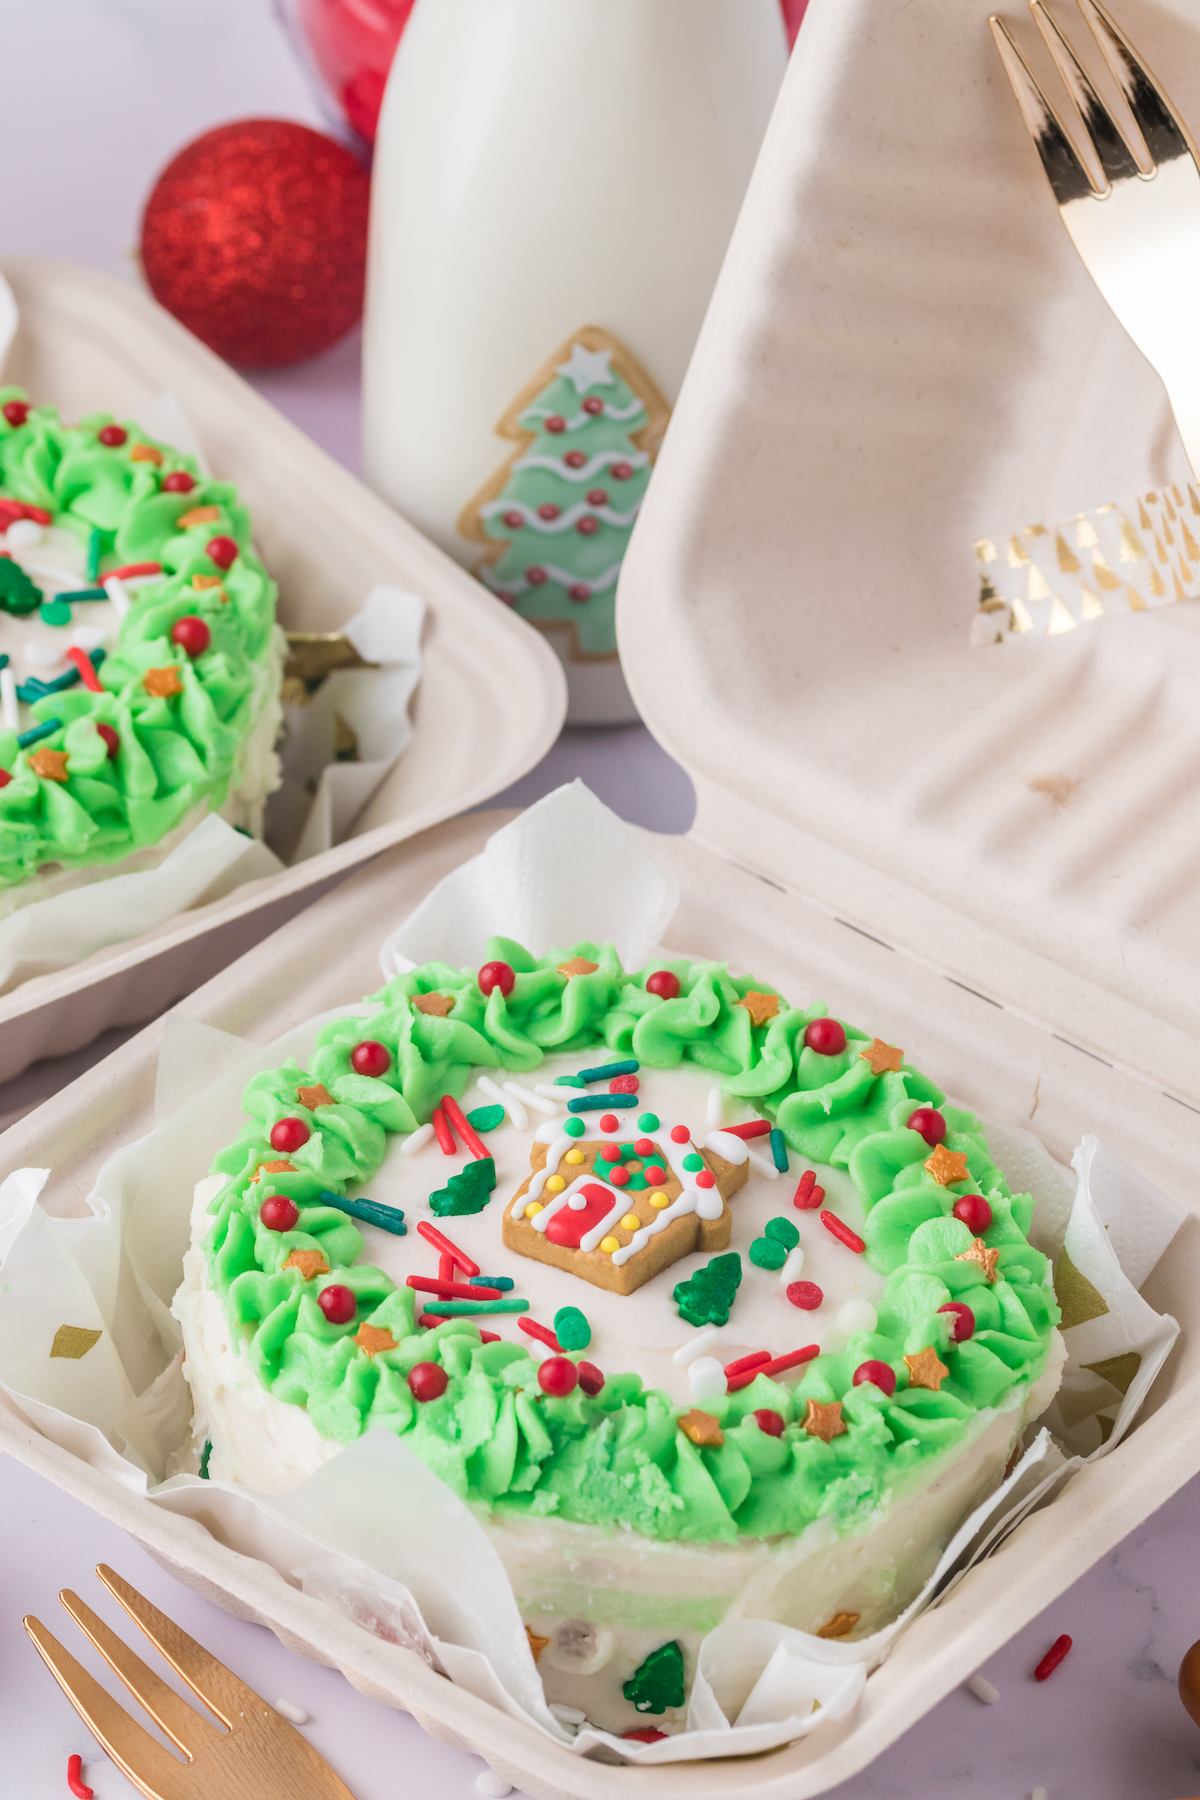
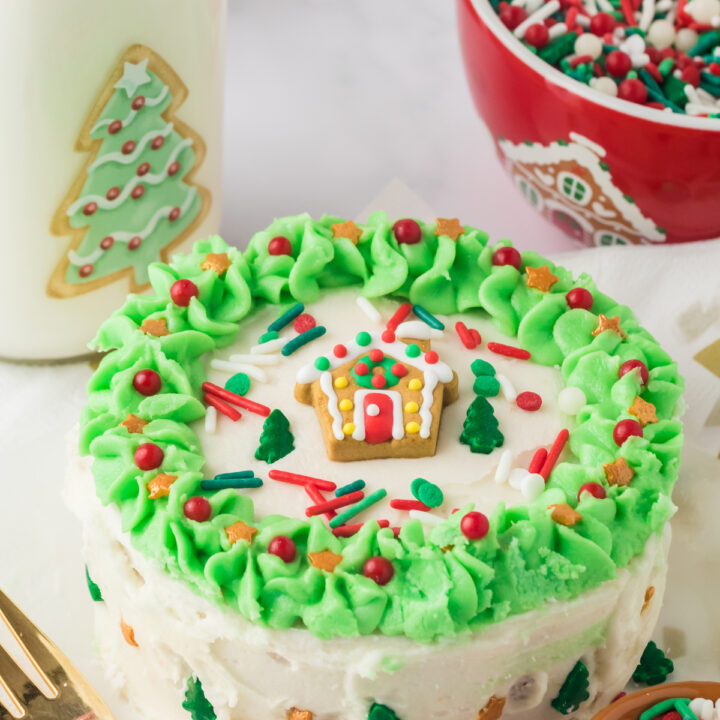
Christmas Mini Lunch Box Cake
Get ready to unwrap joy with our Christmas mini lunch box cake! It's a delightful treat that'll make your taste buds dance with holiday cheer. Perfect for gifting or indulging, this little cake brings big smiles. Celebrate the season with a burst of deliciousness!
Ingredients
Cake
- 1 ⅔ cups of all-purpose flour
- 1 ½ teaspoons of baking powder
- ½ cup (1 stick) of butter, softened
- 1 cup of sugar
- 2 eggs
- ½ cup of milk
- 1 teaspoon of vanilla
Icing
- ½ cup (1 stick) of butter, softened
- ½ cup of shortening
- 2-3 cups of powdered sugar, (start with two, add a little extra as needed to thicken frosting)
- 1 teaspoon of vanilla
- a dash of salt
- 3 Tablespoons of milk
- *optional: food coloring (green, red), Christmas sprinkles or other decorations
Instructions
- Preheat oven to 375 degrees. Coat three 4-inch round baking pans with cooking spray and set aside.
- In a medium mixing bowl, combine flour and baking powder.
- Using a stand mixer or hand mixer, cream together butter and sugar until smooth.
- Add in vanilla and eggs, and mix until well combined
- Gradually pour in dry ingredients a little at a time, alternating with milk, ending with flour mixture.
- Pour into greased pans, filling them ⅔ full.
- Bake for 25-30 min, or until golden brown and the center comes out clean with tested with a toothpick.
- Let cakes cool for 10 min before frosting.
- While the cakes are cooling, cream together butter and shortening, using a hand mixer.
- Gradually add in powdered sugar and mix on a medium speed.
- Add in vanilla and salt.
- Add in milk, a tablespoon at a time until the desired consistency is met.
- Optional: mix in food coloring to create the desired color.
- Place a heaping amount of frosting on the top of the cake, then smooth sides and top with a knife or spatula.
- Optional: Pipe on different designs, add sprinkles or add writing to the cake.
- Serve and enjoy.
Recommended Products
As an Amazon Associate and member of other affiliate programs, I earn from qualifying purchases.
Nutrition Information
Yield 6 Serving Size 3Amount Per ServingCalories 1801Total Fat 43gSaturated Fat 18gTrans Fat 0gUnsaturated Fat 23gCholesterol 158mgSodium 406mgCarbohydrates 344gFiber 2gSugar 286gProtein 13g
This nutritional information is for reference only. We are not responsible for these calculations.

![PAMI Sugarcane 100% Biodegradable PFAS-Free 6” Clamshell Food Containers with Lids [Pack of 50] - Compostable Burger Takeout Containers- Eco Bagasse To-Go Boxes- Disposable Microwavable Boxes](https://m.media-amazon.com/images/I/41pJ0j20pwL._SL500_.jpg)
Everything mini is just cuter! I love this idea for Christmas!