Add OREO Mummies To Your Pinterest Board Now
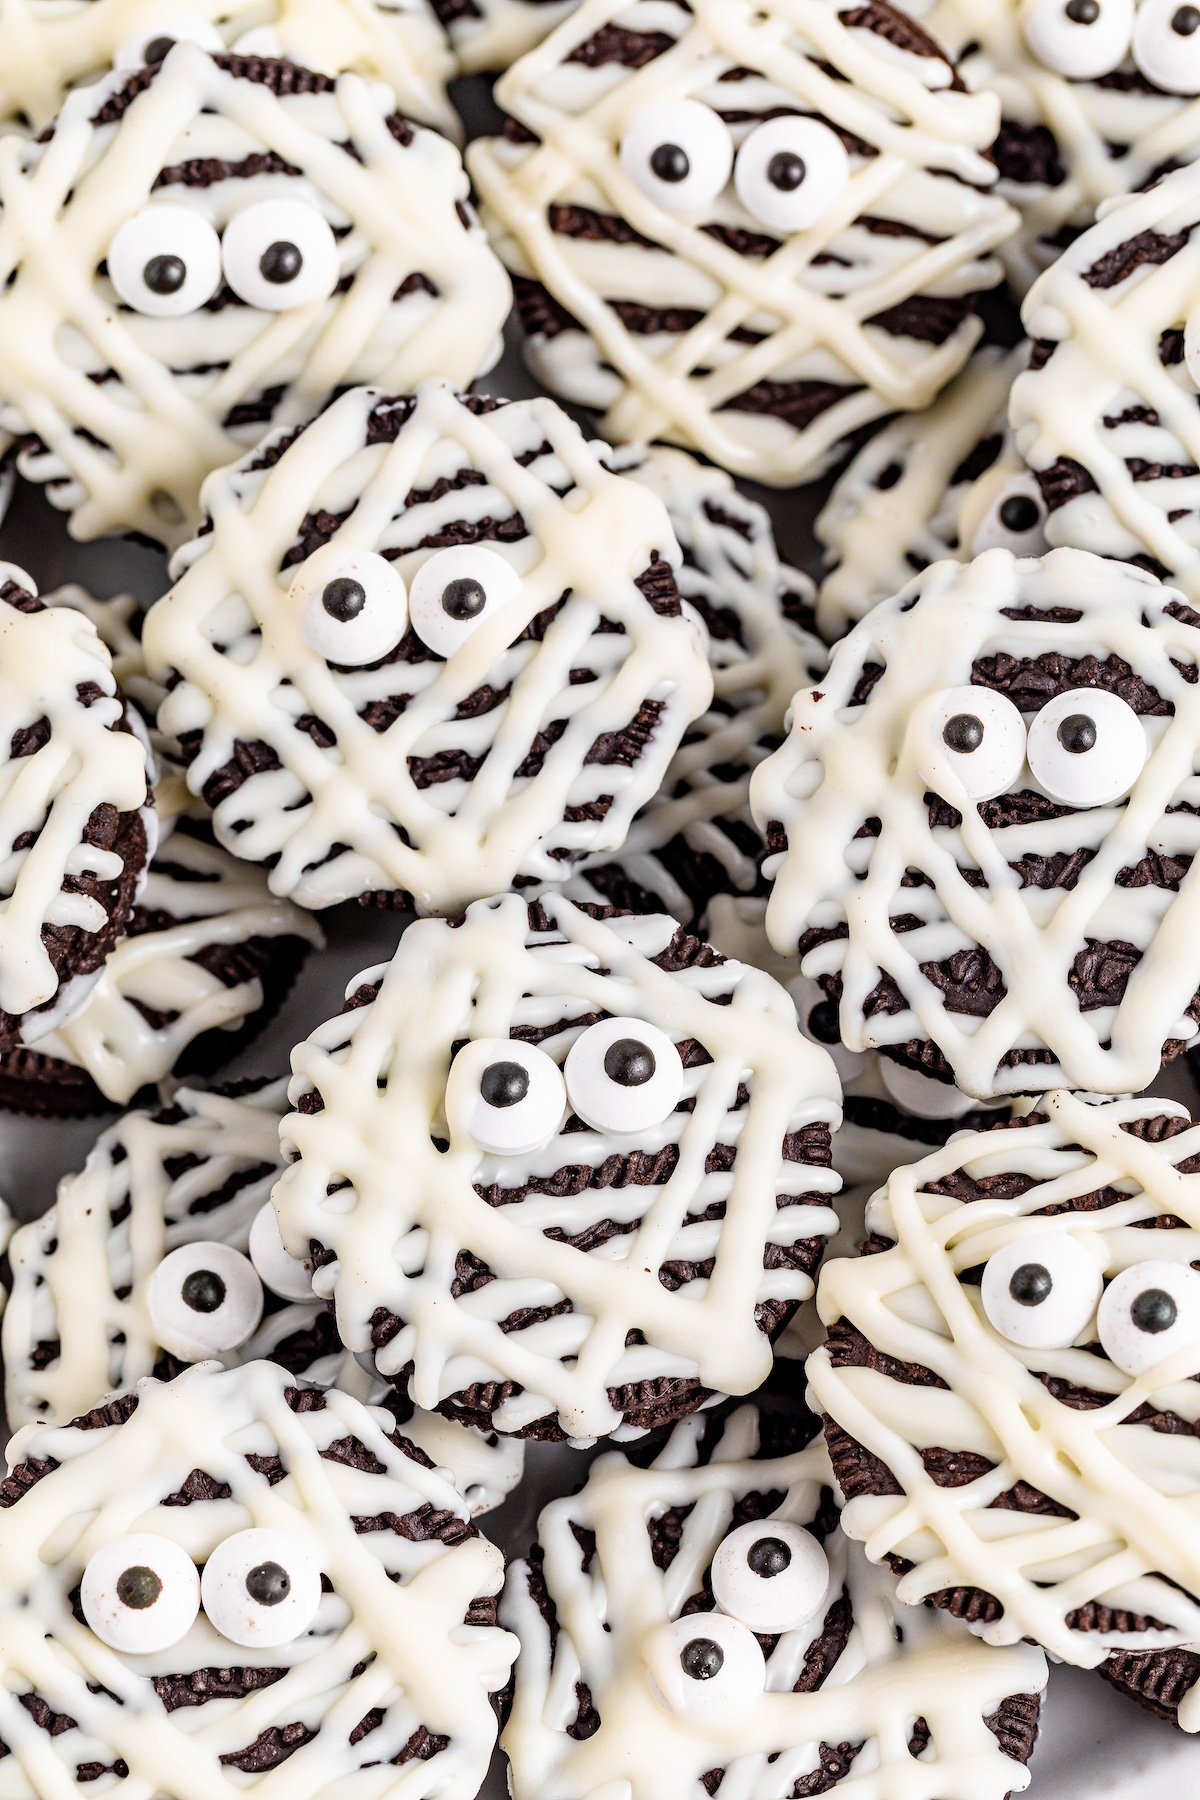
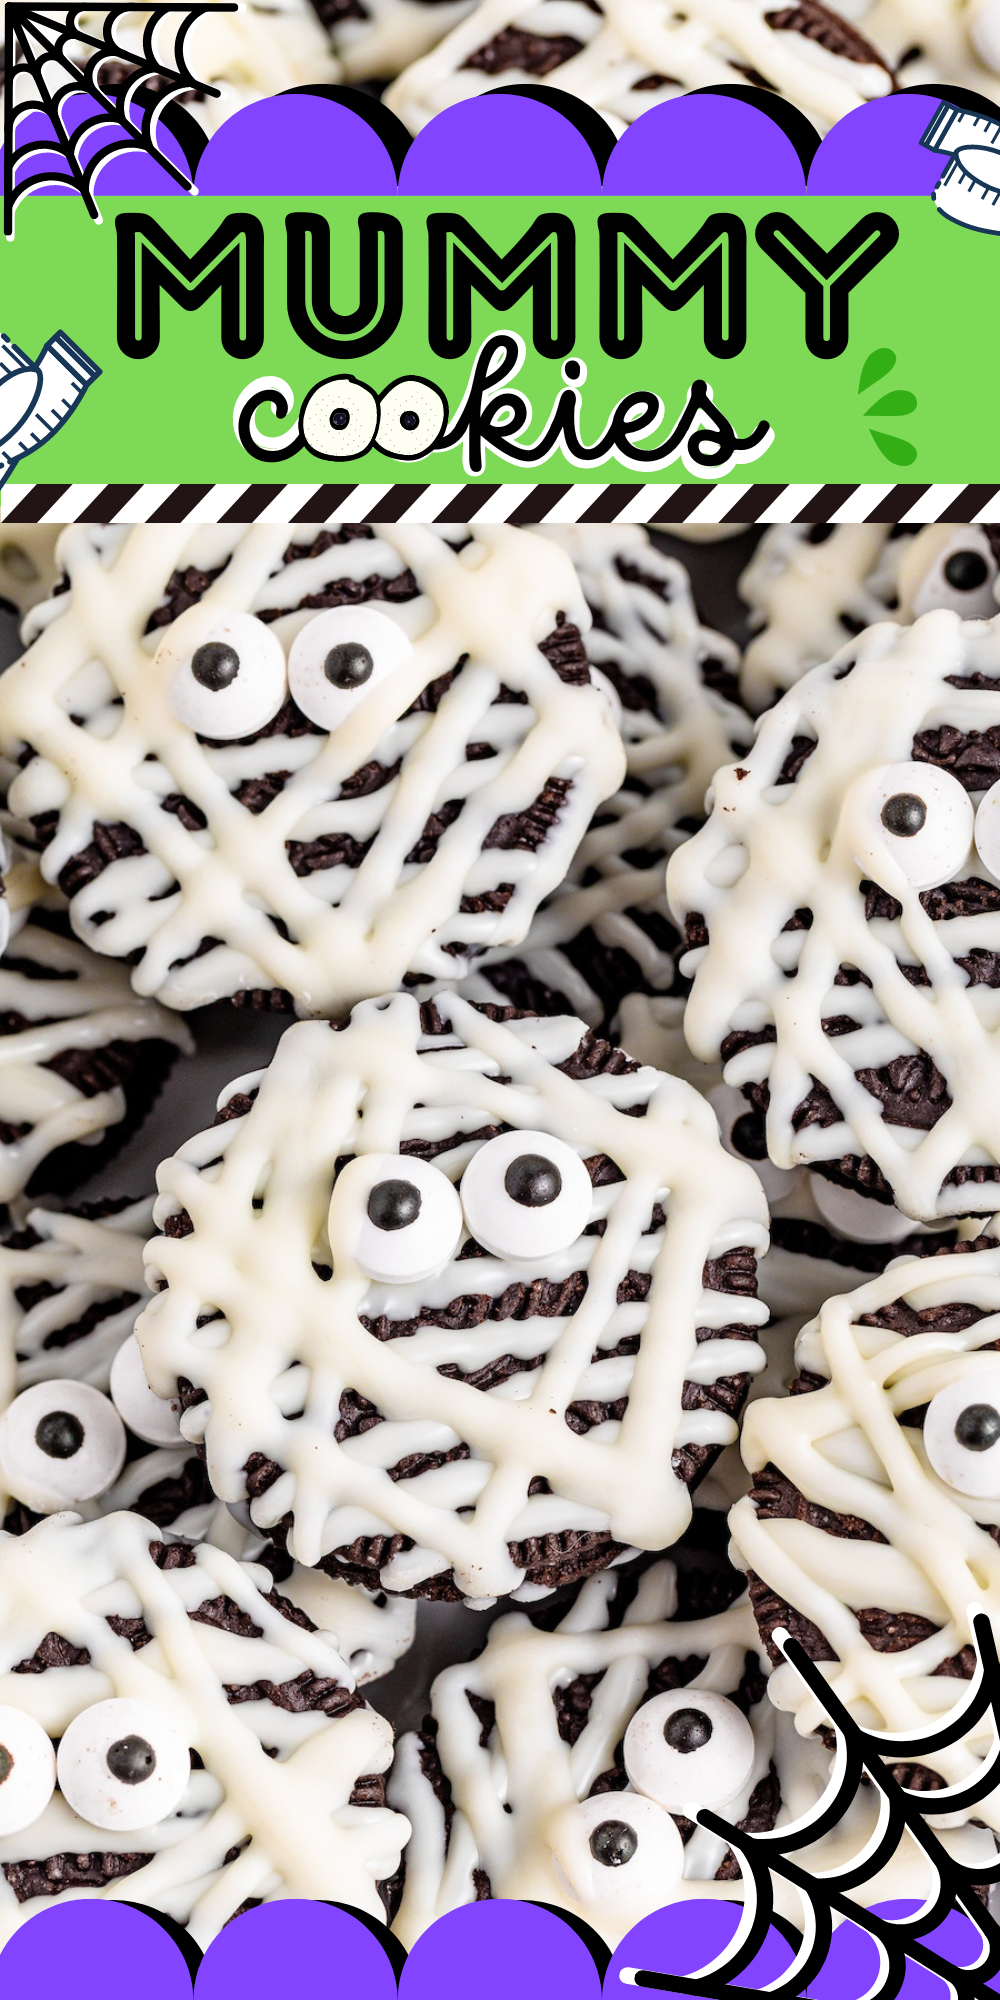
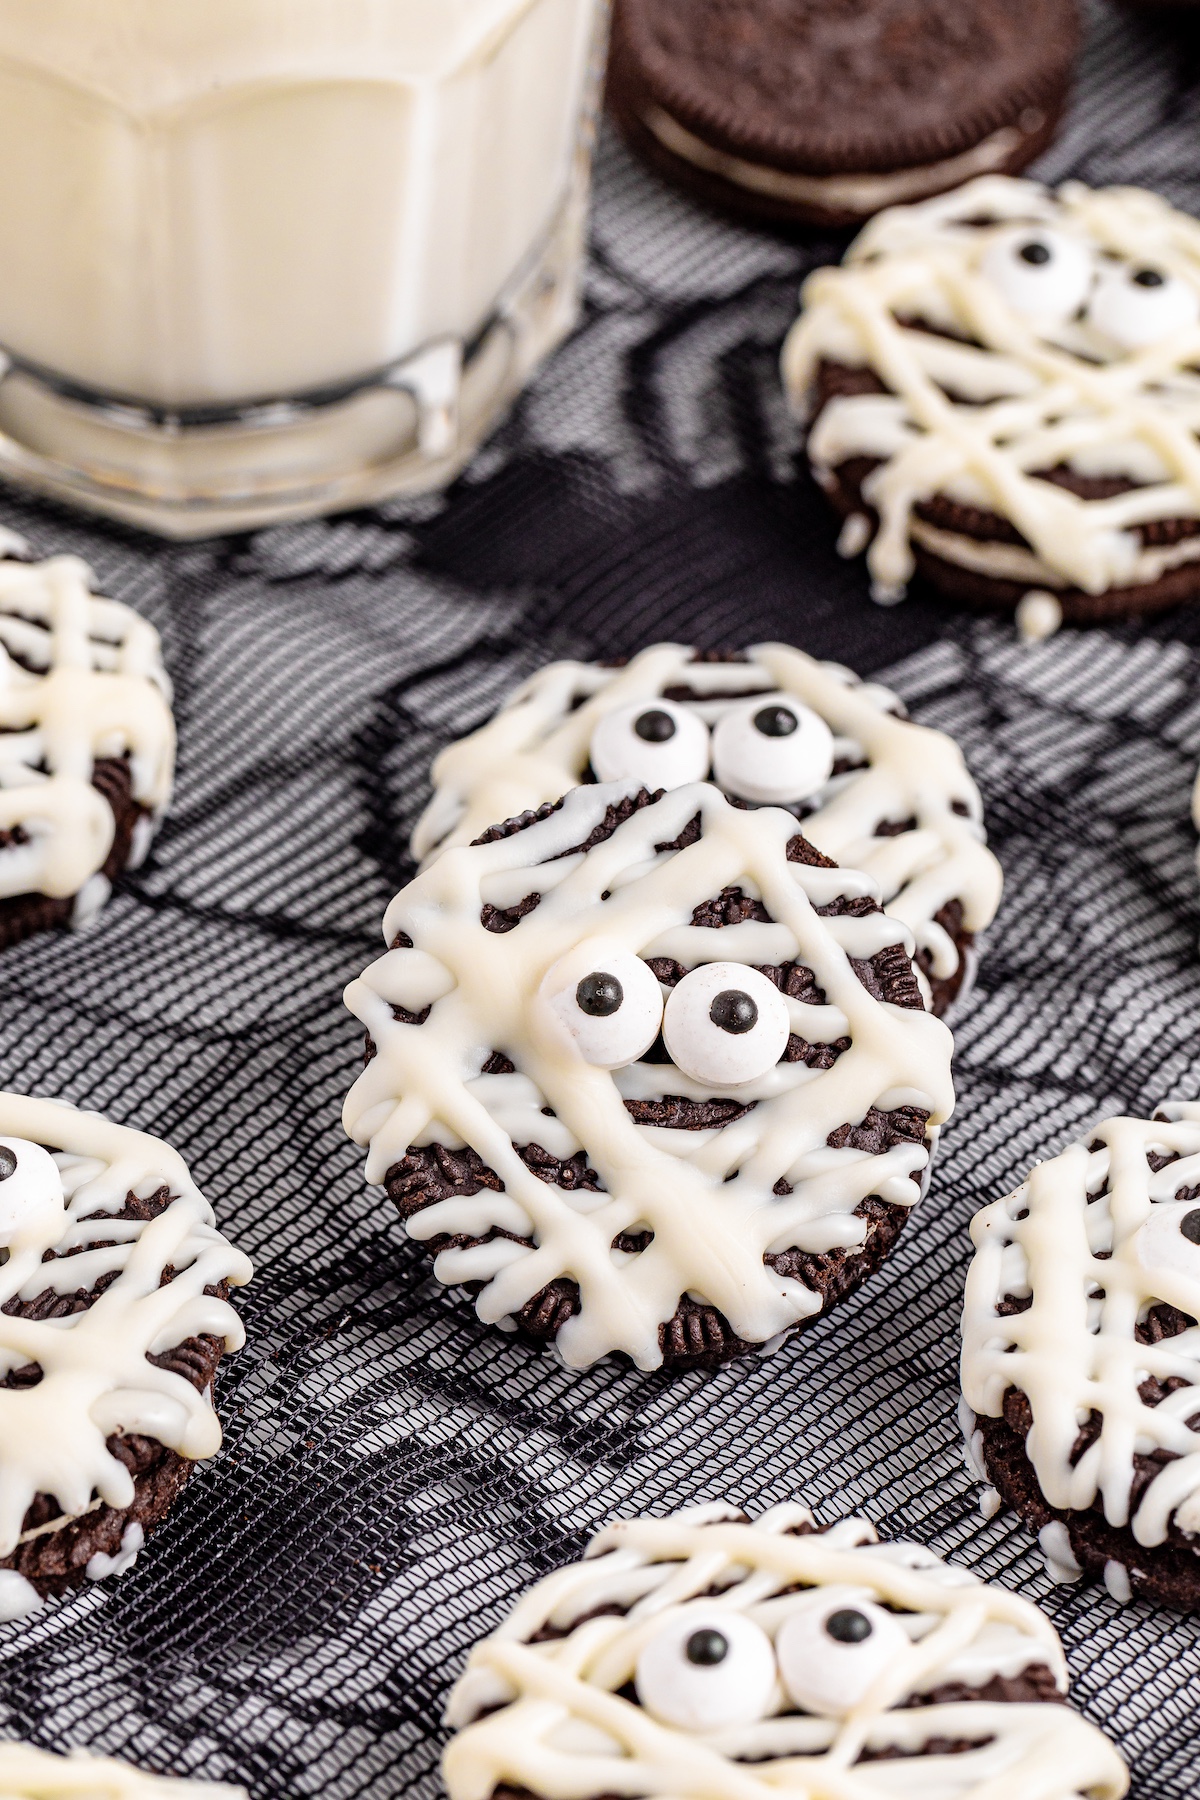
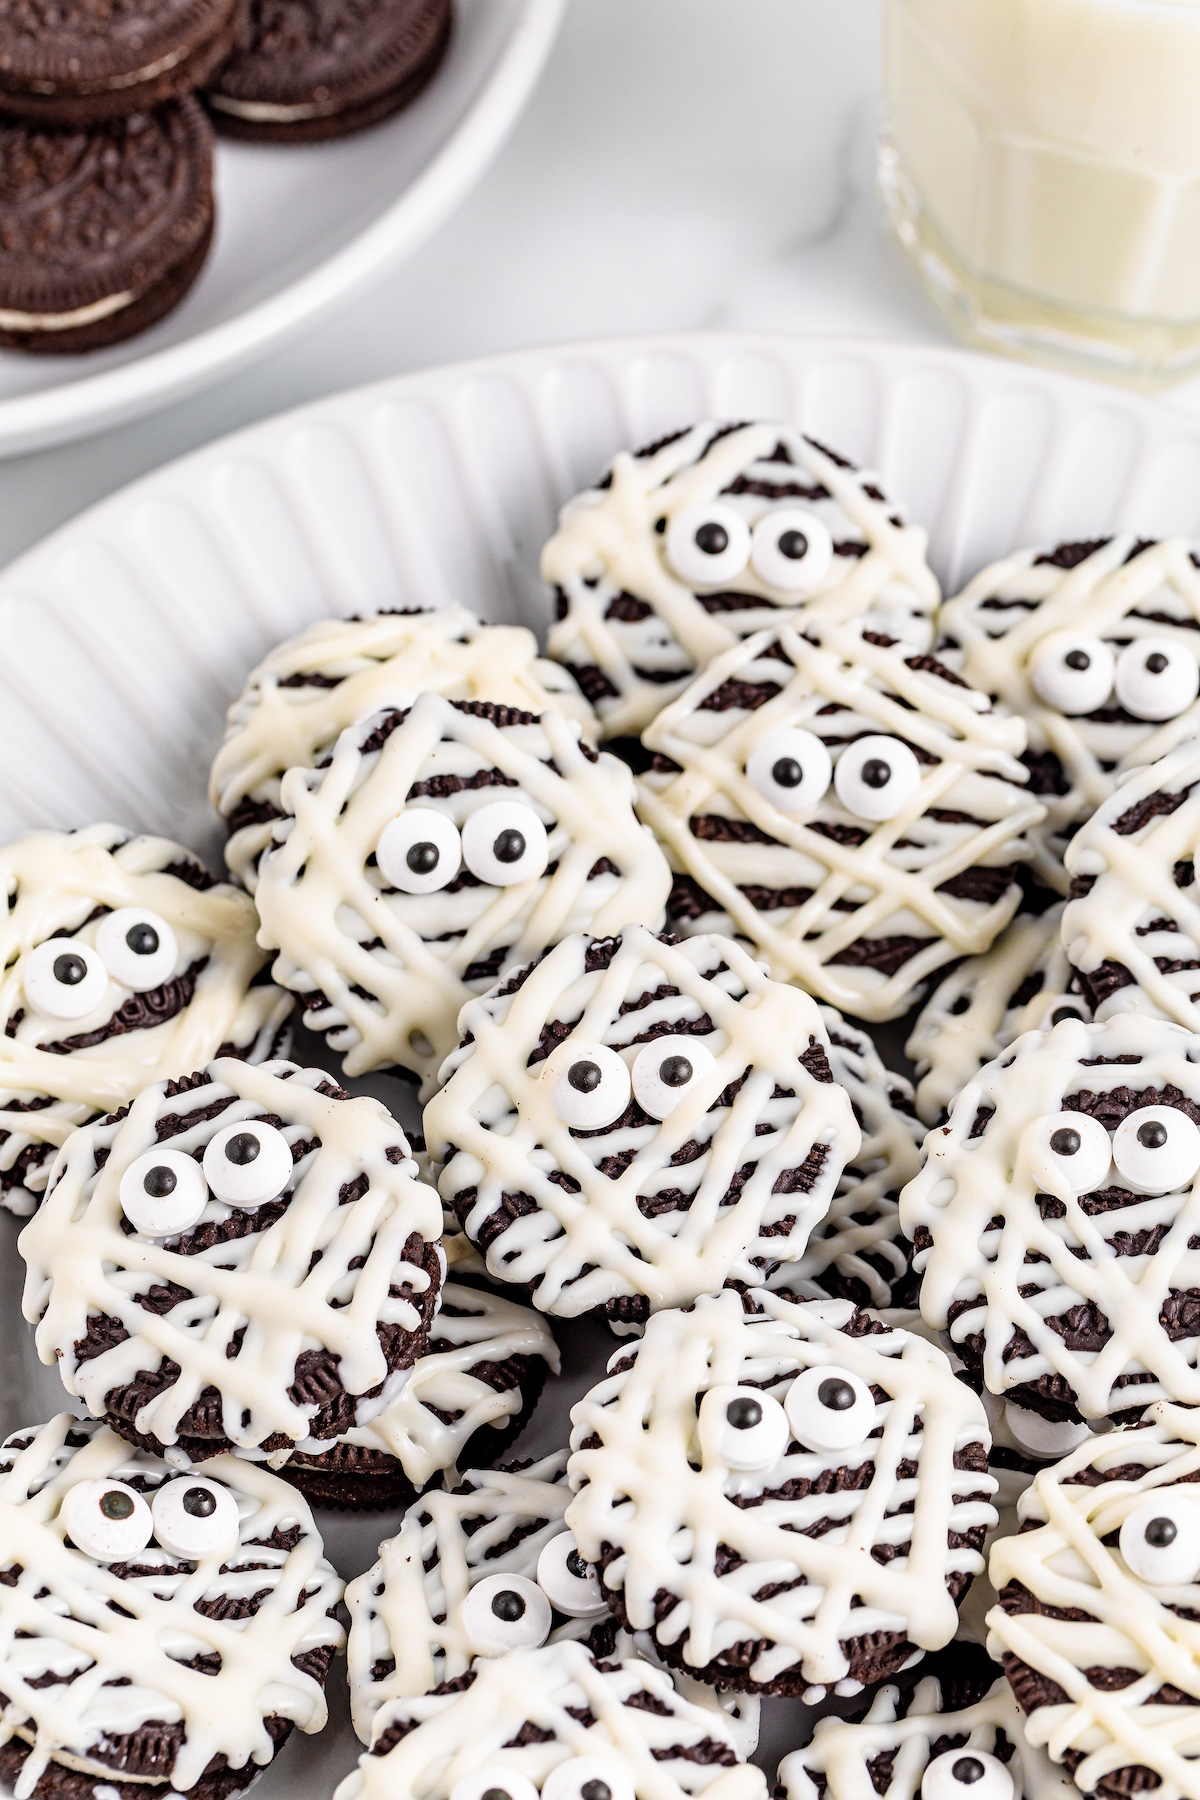
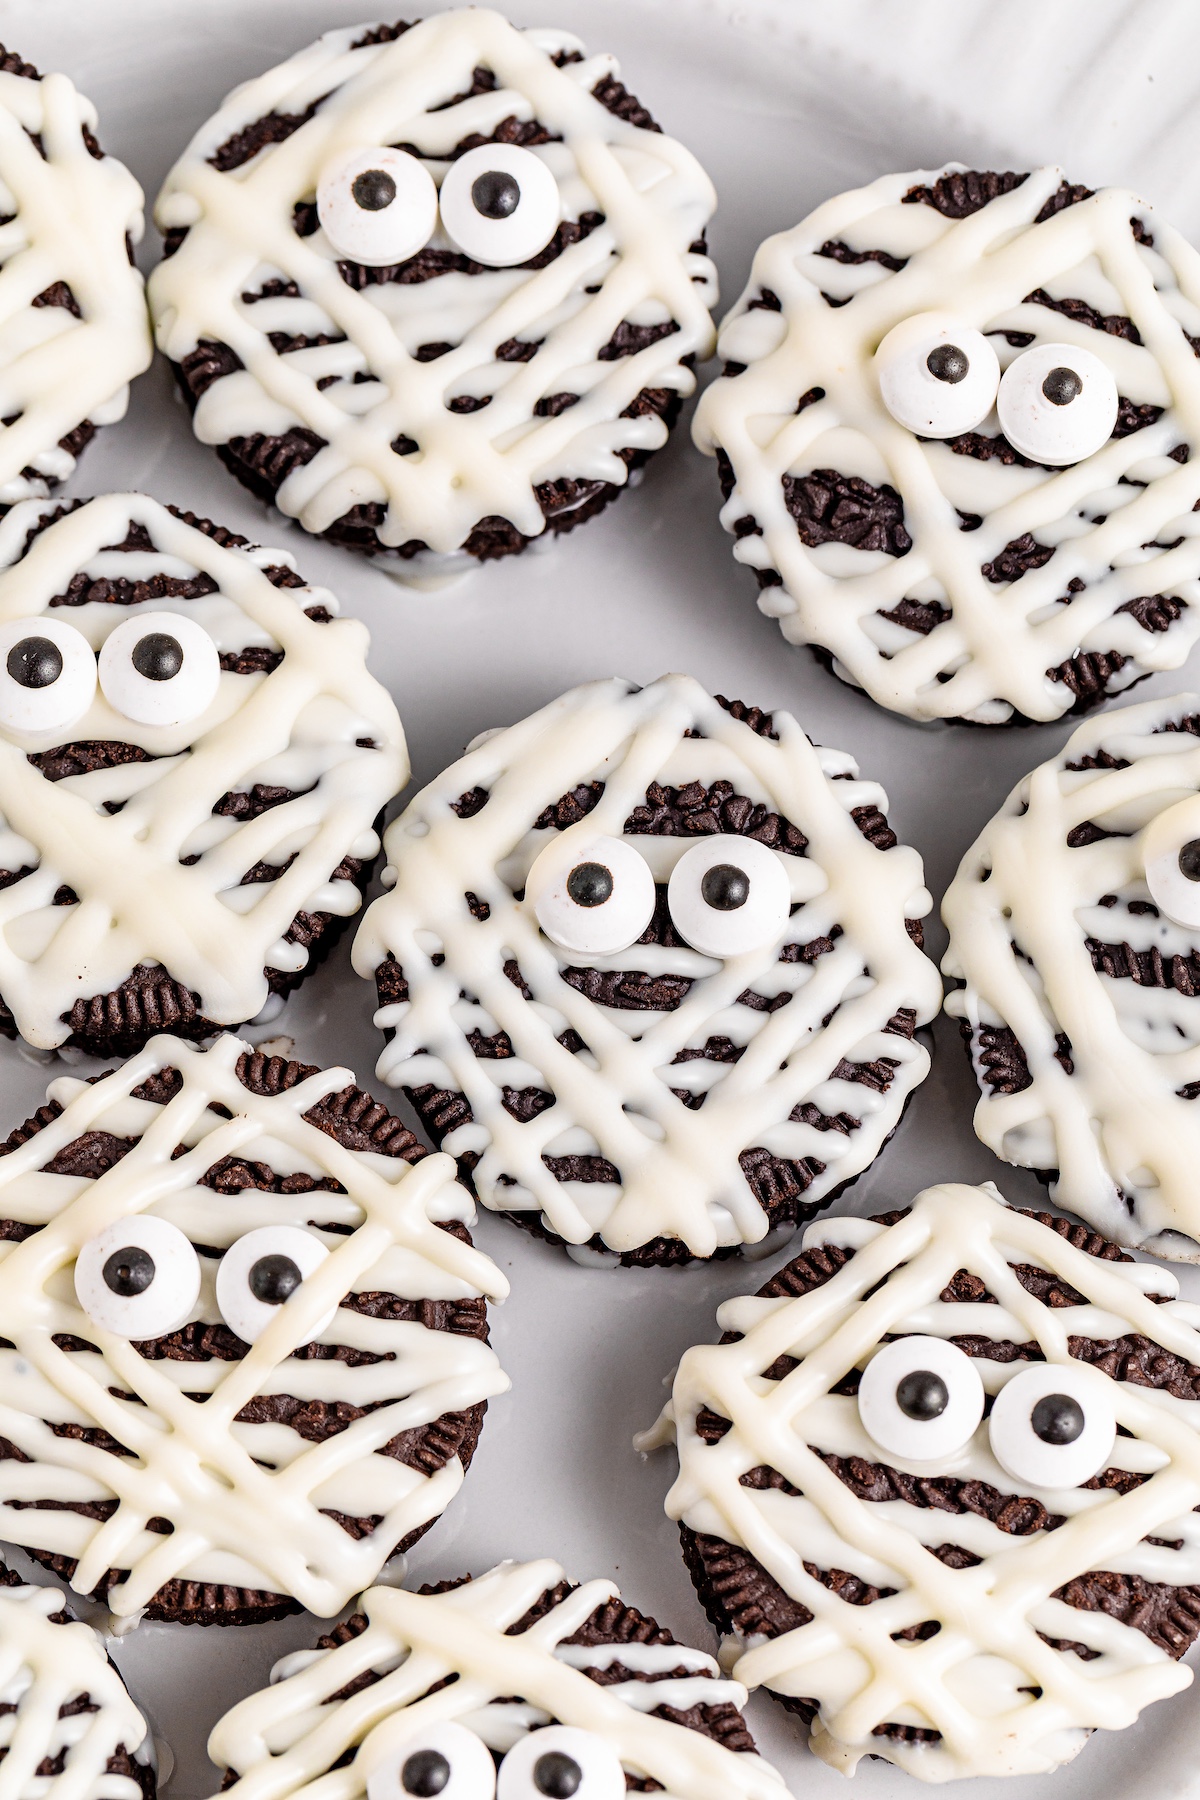
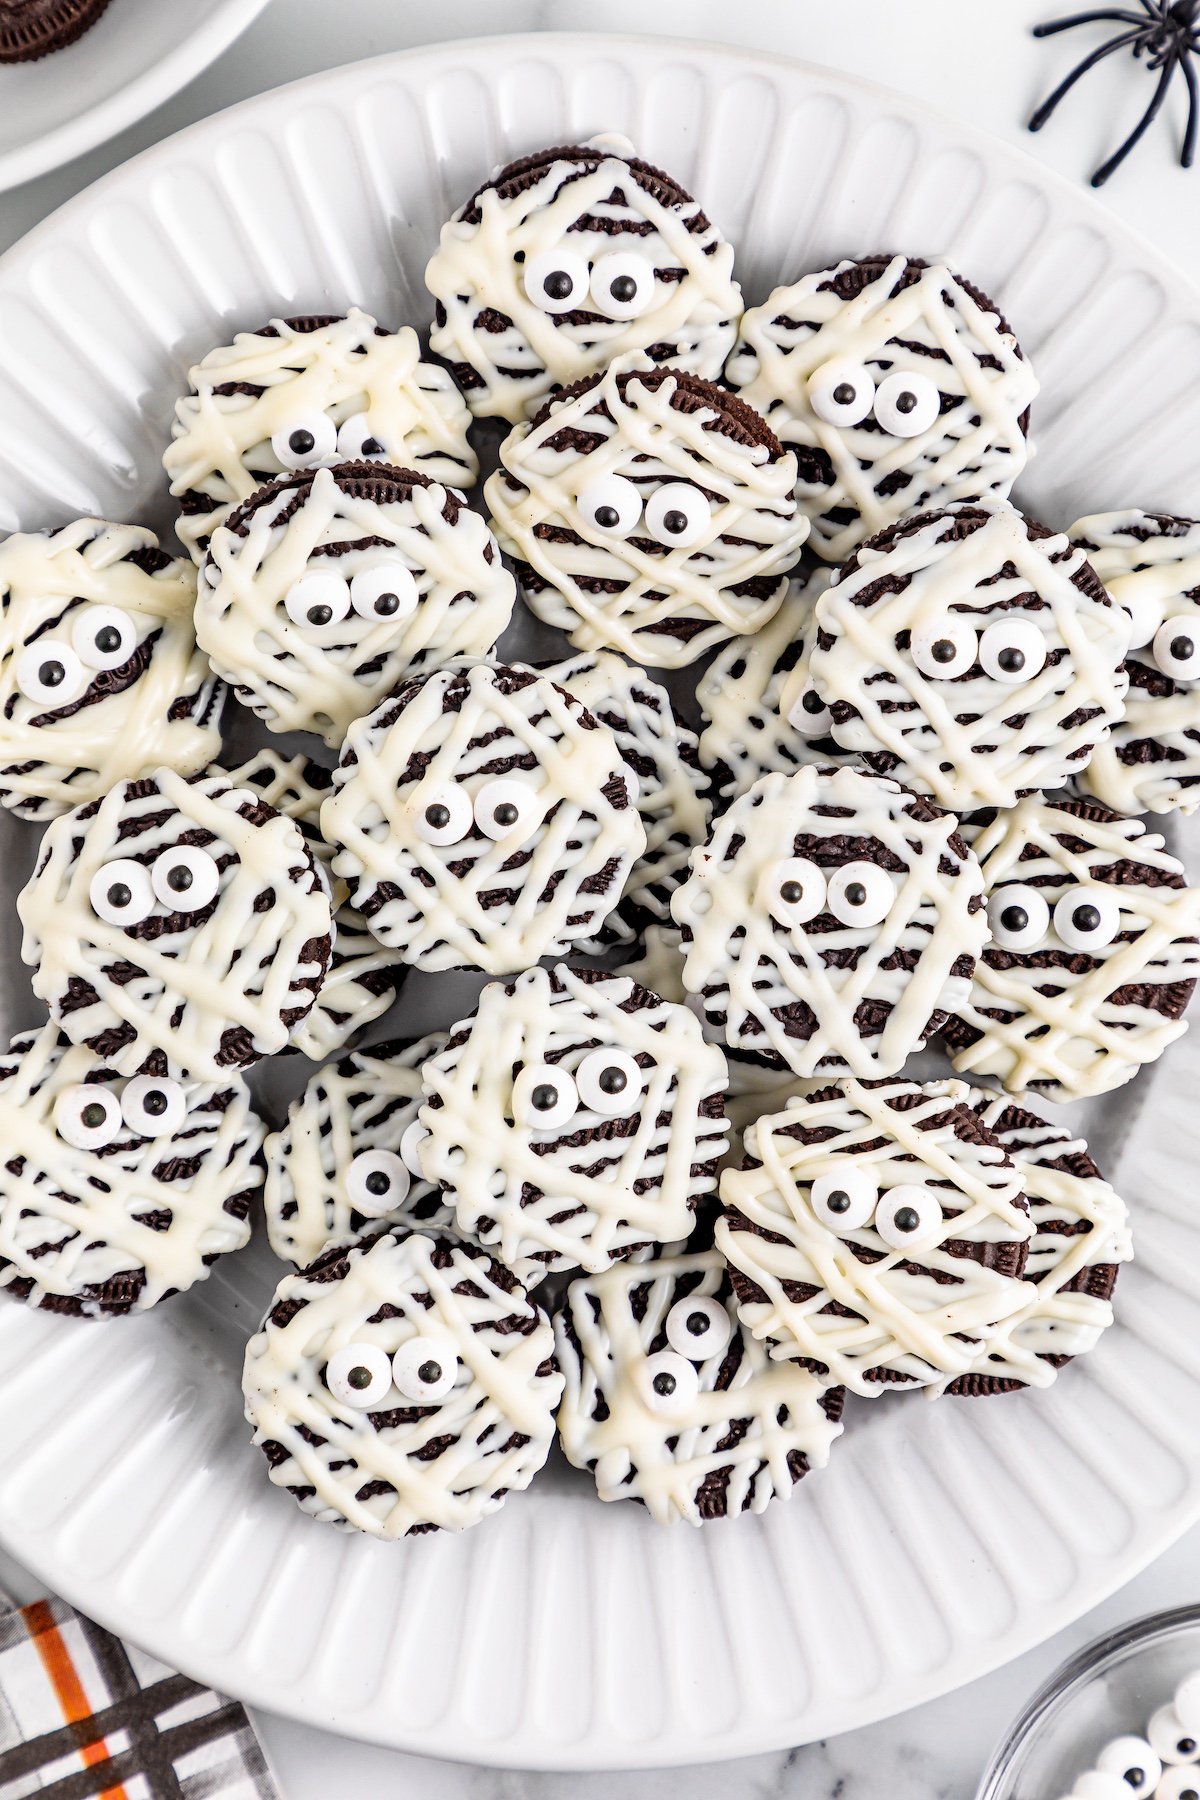
OREO Mummies are adorable treats that are so easy to make and add the perfect festive touch to your Halloween parties. Imagine the delight on everyone's faces when they see these cute mummies staring back at them.
Why You'll Love It
- Easy to Make
- Perfect for Parties
- Fun for Kids
Making treats with Oreo cookies is super easy. Anybody can do it. Serve these cookies with OREO Bats or Blood Spatter OREO Cookies. Create Sunflower Cookies with Candy Ladybugs for fall or early summer, or try Easy Crab OREO Cookies for a beach party.
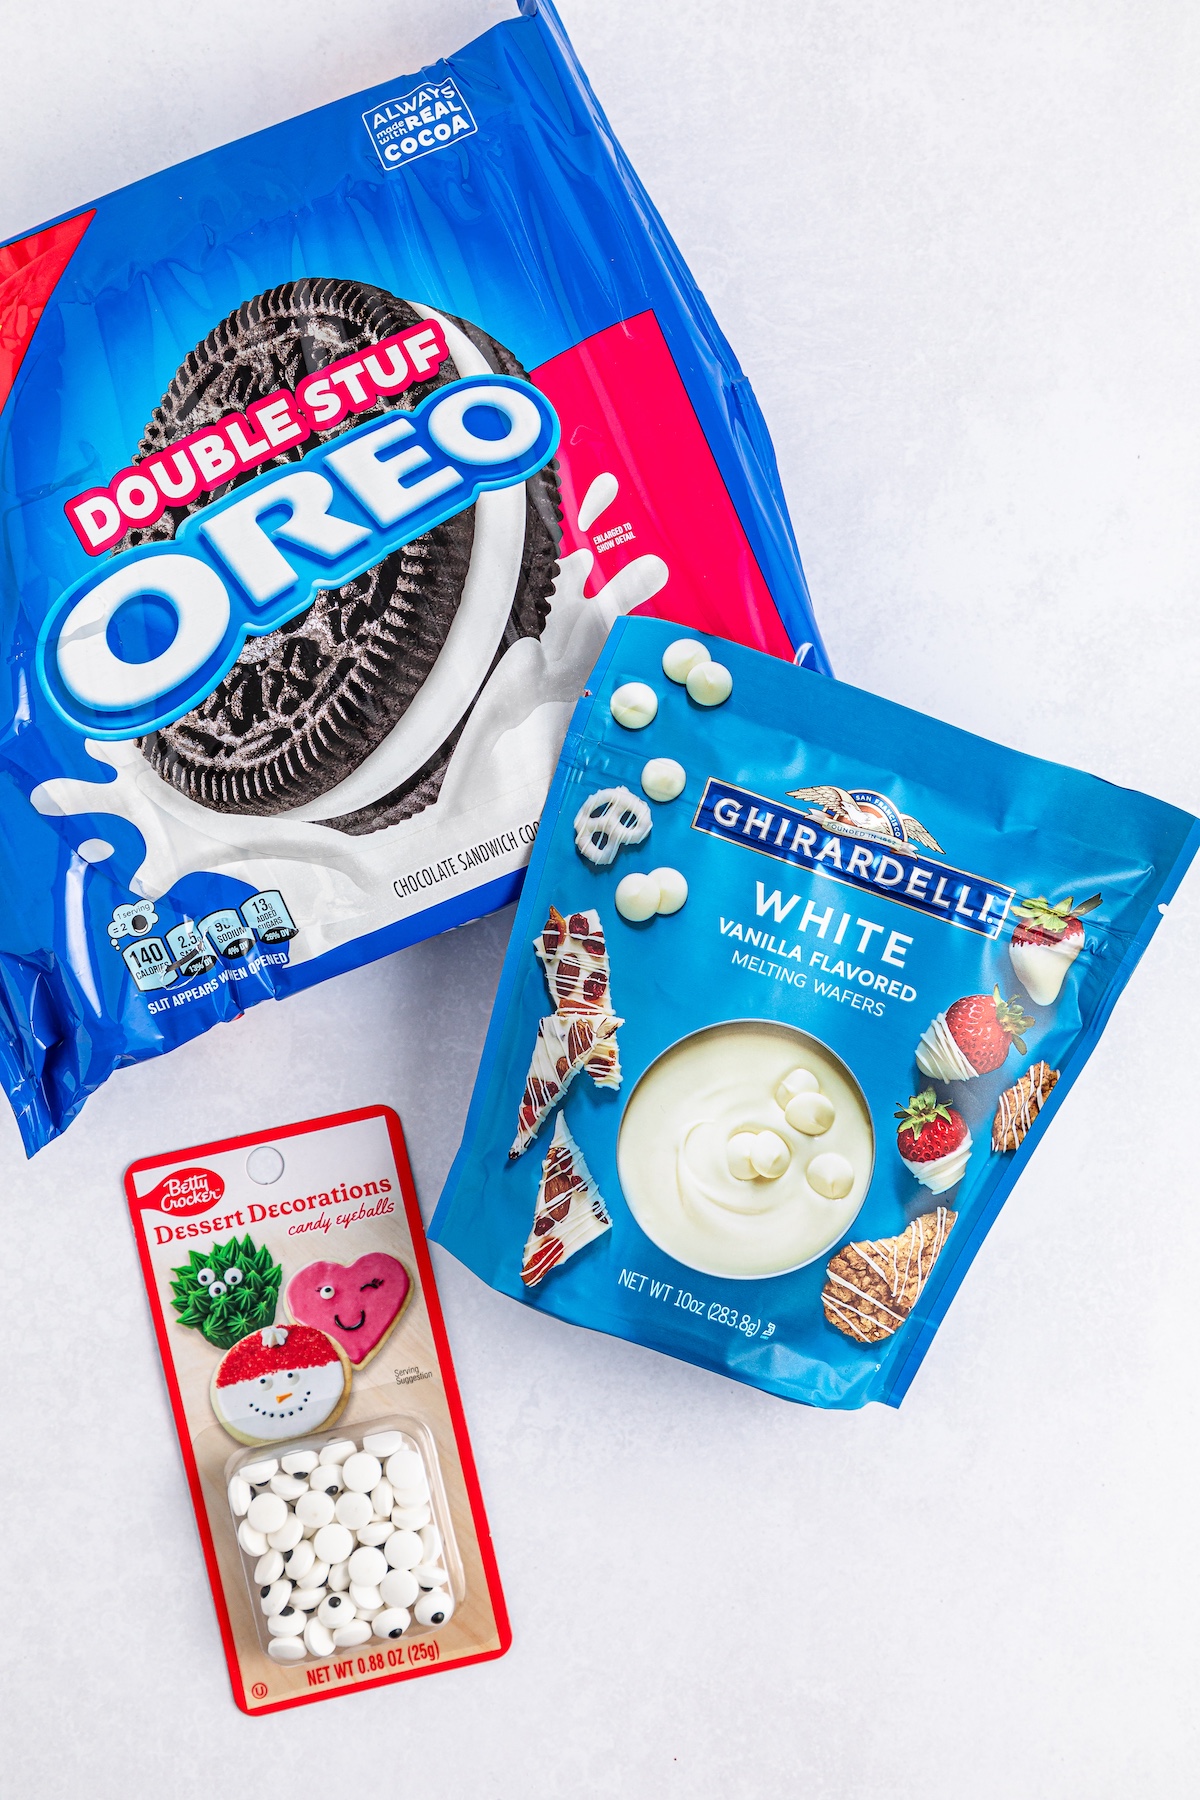
Ingredients
Extras
How to Make OREO Mummy Cookies
Line a baking sheet with parchment paper and set it aside.
Place white melting wafers in a microwave-safe piping bag. Microwave on a low or defrost setting in 30-second intervals. Massage the bag between intervals. Let it cool for 3-5 minutes until the bag is cool to the touch.
Arrange the OREO Cookies on the lined baking sheet, spacing them a few inches apart.
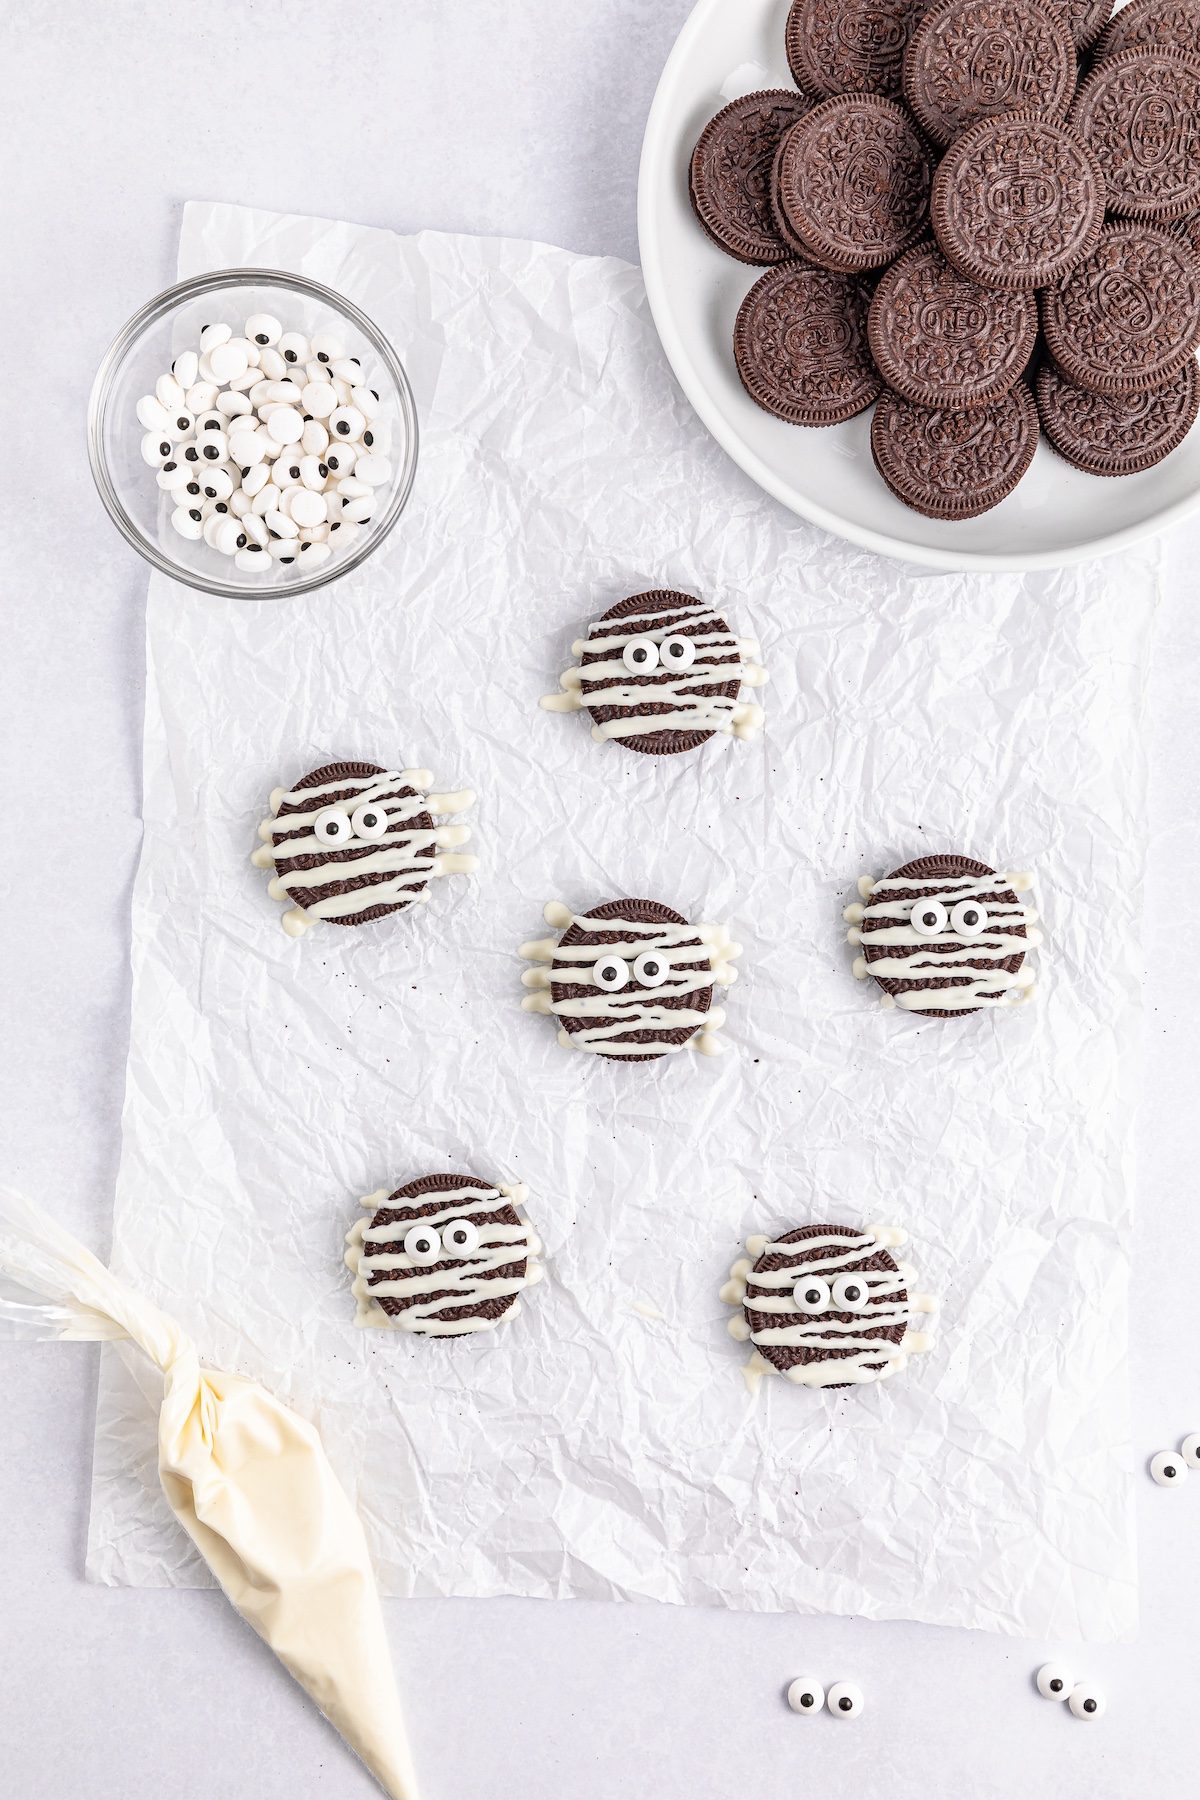
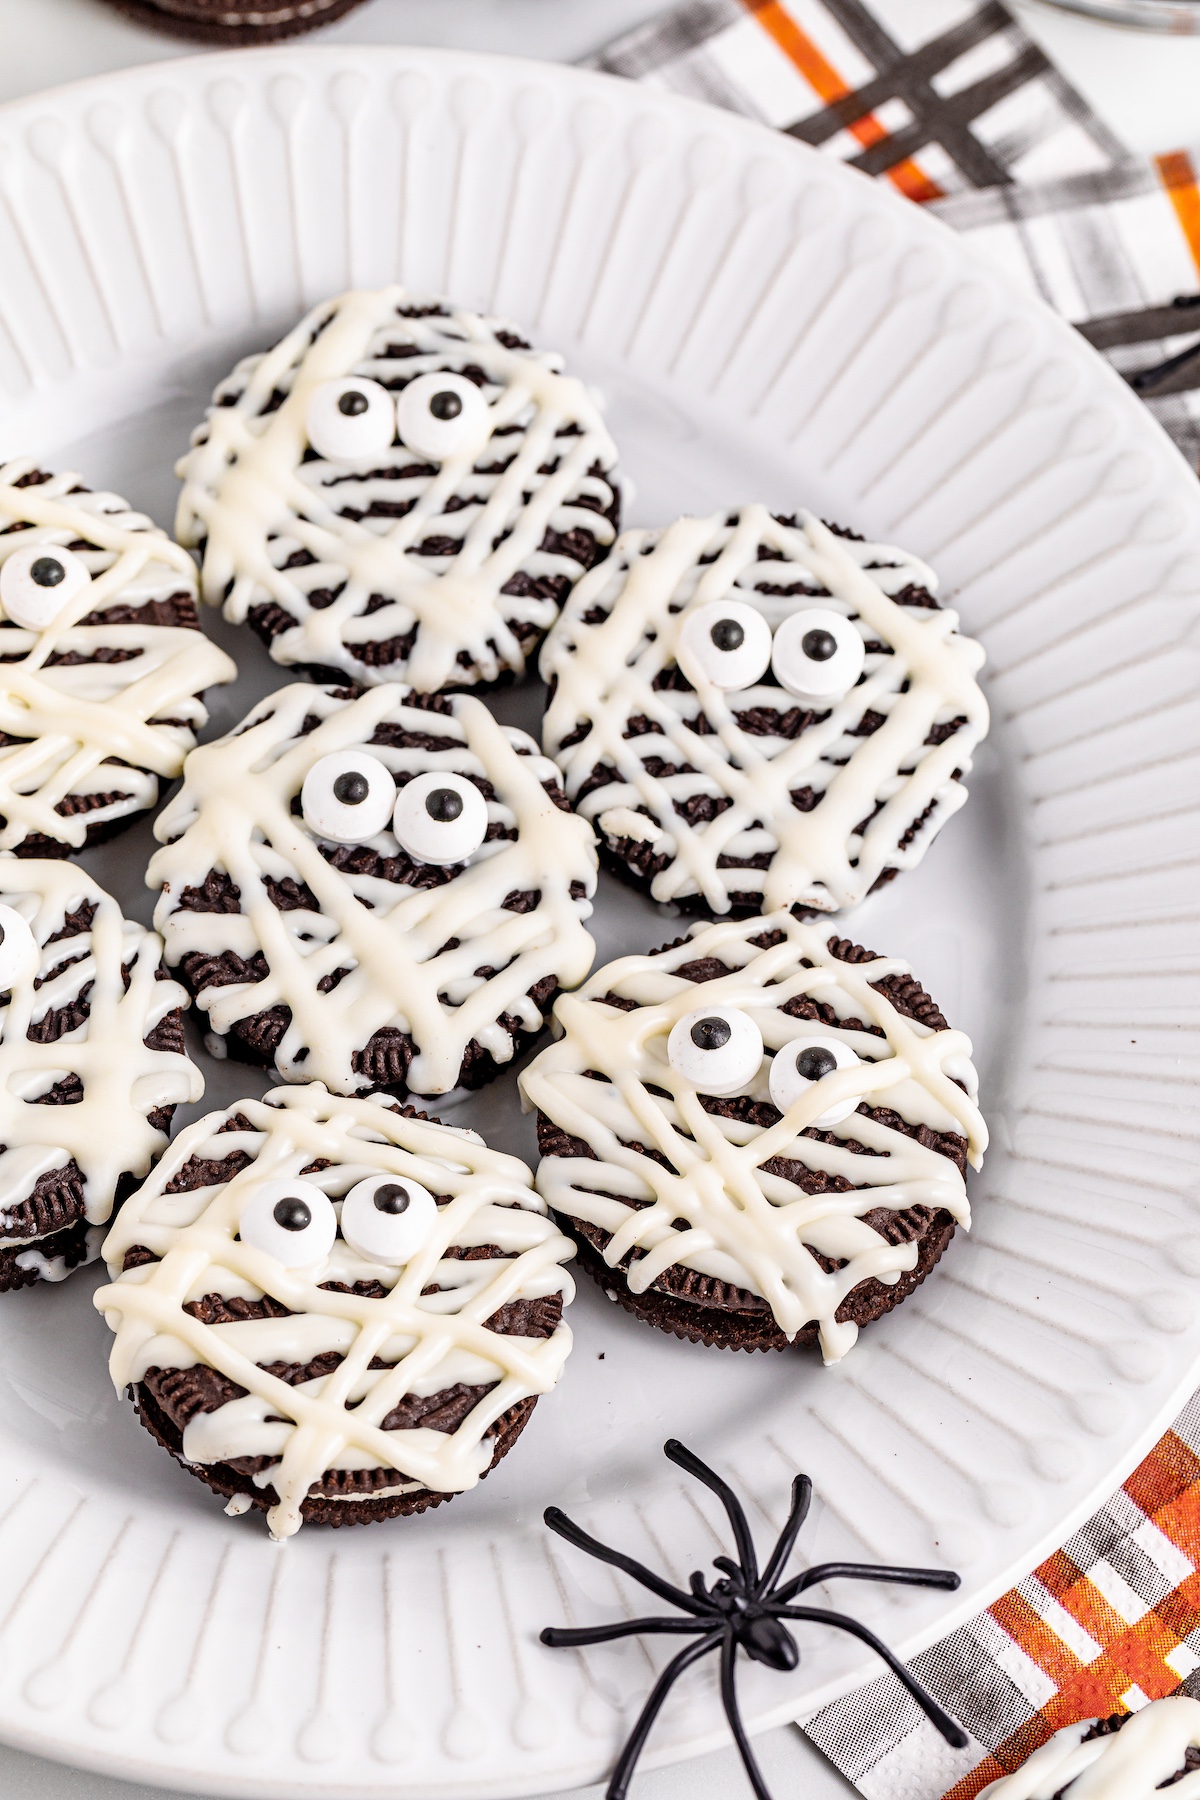
Cut off the corner of the piping bag. Drizzle the melted candy over the cookies to create "bandages," moving from left to right.
Quickly add the eyes before the candy sets so they stick.
Drizzle more "bandages" over each cookie, adding diagonal lines for a fun look.
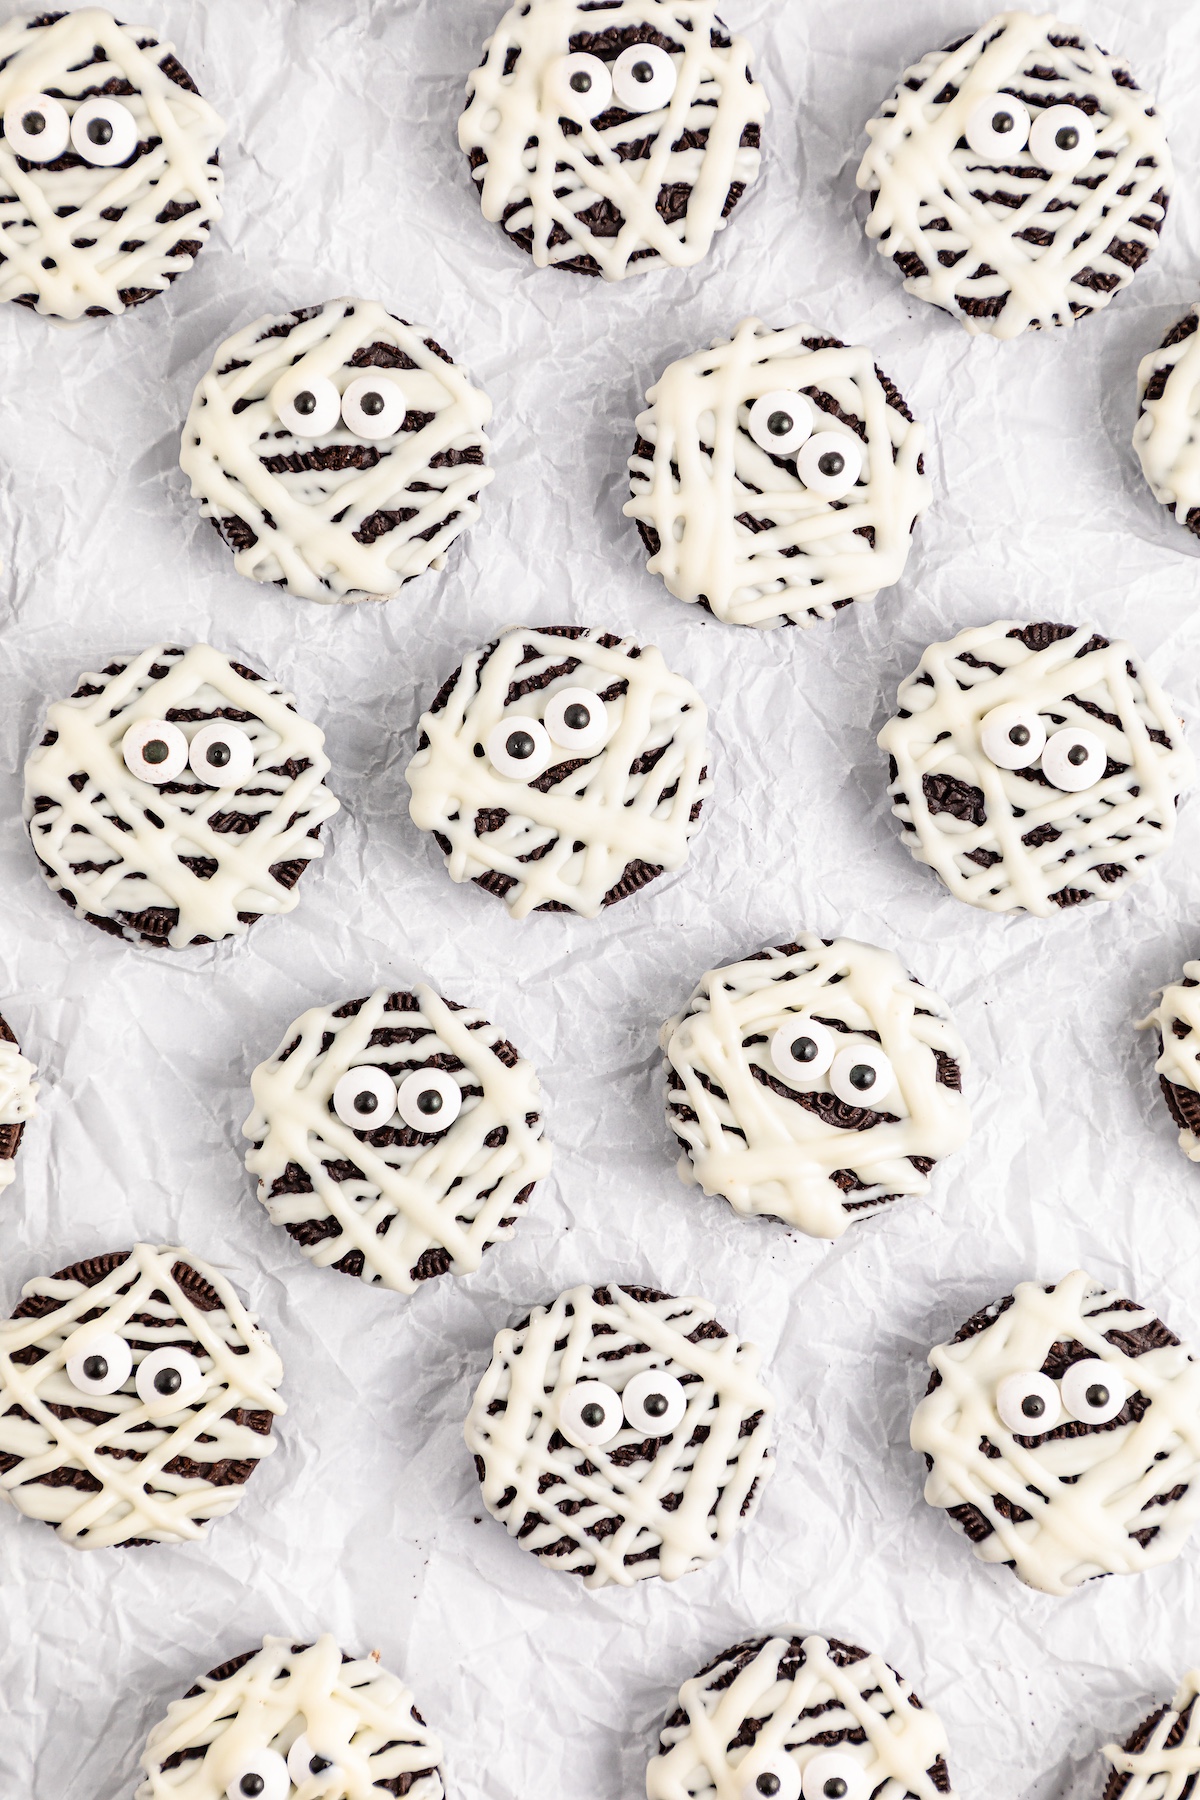
Let the chocolate set before serving. To speed up the process, refrigerate for 15-30 minutes until set.
Tips and Tricks for Oreo Mummies
Candy Melts vs. Chocolate
Next up is deciding what to use for the mummy bandages. You have two great options: candy melts and chocolate. Each has its own perks:
- Candy Melts: These are super easy to work with. They melt smoothly and come in various colors. Vanilla-flavored melts are a great choice for white bandages.
- Melted White Chocolate Chips: These give a more decadent flavor but can be a bit trickier to handle. They require gentle heating to avoid burning.
- Vanilla Almond Bark: This is a good middle ground. It melts smoothly and has a rich flavor that pairs well with the OREOs.
Achieving the Perfect Drizzle
The final touch for your OREO Mummies is the drizzle, which forms the mummy’s “bandages.” Getting this right is key to creating a cool, creepy look. Here are some techniques:
- Use a Piping Bag: Fill a small piping bag with your melted candy or chocolate. Snip a small corner off the end. This gives you better control and helps you get thin, even lines.
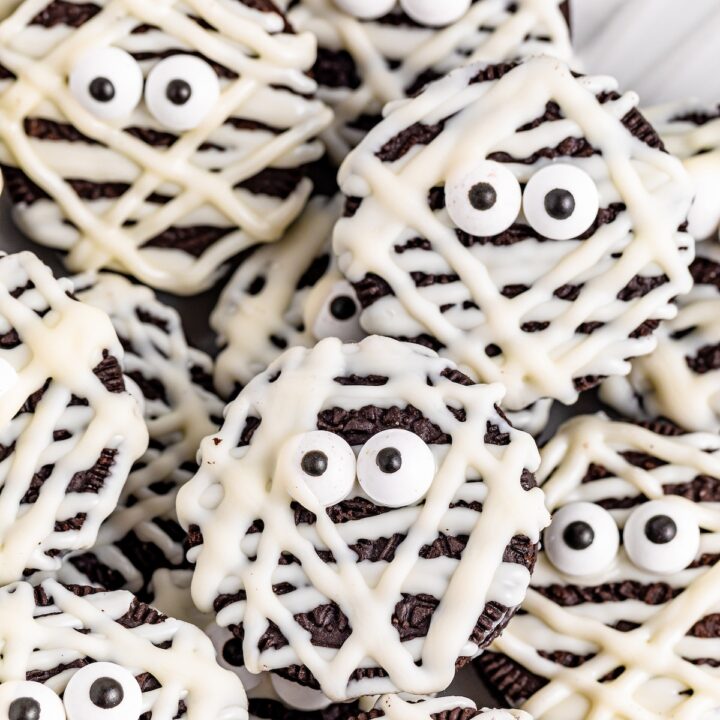
- Zig-Zag Motion: Move the piping bag back and forth in a zig-zag motion over each cookie. Don’t worry about perfection; uneven lines add to the spooky effect.
- Layering: Once the first layer sets, add another layer diagonally. This makes the bandages look more realistic.
- Quick Setting: Have your candy eyeballs ready and place them on the cookies before the drizzle sets. This makes sure they stick well.
Variations and Substitutions
When making OREO Mummies, you can get creative with variations and substitutions. This will keep things interesting and cater to different tastes.
Different Cookie Options
Switching up the type of cookie you use can provide a unique twist on the classic OREO Mummies. Here are a few ideas:
- Golden OREO Cookies: Use Golden OREO Cookies instead of the traditional chocolate ones. The vanilla flavor pairs nicely with the white melting wafers.
- Mint OREO Cookies: For a refreshing change, try using Mint OREO Cookies. The hint of mint can be a pleasant surprise.
- Chocolate Chip Cookies: If you're a chocolate chip fan, go for it! They still hold the decorations well and offer a different texture.
- Peanut Butter OREO Cookies: For a rich, nutty taste.
- Nutter Butters: These peanut-shaped cookies make great mummies too.
- Homemade Cookies: If you love baking, why not make your own cookies?
Adding Flavor
- Vanilla Extract: A few drops of vanilla extract added to the white melting wafers can enhance the sweetness.
- Almond Extract: Add a nutty, slightly sweet taste with almond extract. It's strong, so just a little will do.
- Peppermint Extract: For a holiday twist, infuse the wafers with a tiny bit of peppermint extract.
- Spices: Sprinkle some cinnamon or nutmeg into the melted wafers for a warm, autumnal flavor.
FAQs About OREO Mummies
How long do they last?
OREO Mummies can last quite a while if stored properly.
- Use airtight containers: After you've allowed the chocolate to set completely, place your OREO Mummies in an airtight container. This helps keep out moisture and air, which can make the cookies go stale.
- Room temperature storage: If you plan to eat them within a week, storing them at room temperature is perfectly fine. Just keep them in a cool, dry place away from any direct sunlight.
- Refrigeration: For longer storage, you can refrigerate your OREO Mummies. They'll stay fresh for up to two weeks.
Can I freeze them?
Yes, you can freeze OREO Mummies if you want to make them well in advance.
- Preparation: Before freezing, make sure the melting wafers and candy eyeballs are completely set.
- Freezing process: Place your OREO Mummies in a single layer on a baking tray and put them in the freezer for about an hour. This step helps them firm up so they won't stick together.
- Storage: Once frozen, transfer the mummies to a freezer-safe container or bag. They can be stacked with parchment paper in between layers to prevent sticking.
- Your OREO Mummies can stay fresh in the freezer for up to three months.
More Halloween Dessert Ideas
- The Halloween Dessert Board You Need to Make
- This Jack Skellington Dessert Board IS Halloween...
- Surprise Everyone with a Beetlejuice Dessert Board for Halloween
- Hocus Pocus Halloween Sheet Pan Cookies
- Oogie Boogie Gelatin Cups for Halloween
Oreo Mummies
OREO Mummies are adorable treats that are so easy to make and add the perfect festive touch to your Halloween parties. Imagine the delight on everyone's faces when they see these cute mummies staring back at them.
Instructions
- Line baking sheet with parchment paper then set it aside.
- In a microwave safe piping bag add the white melting wafers and microwave on a low or defrost setting in 30-second increments. Massage bag in between each increment. Then, allow it to cool for approx 3-5 minutes until bag is cool to the touch.
- Lay the OREO Cookies out on the lined baking pan. Space each cookie a few inches apart.
- Snip off the corner of the piping bag. Drizzle the “bandages" onto the mummies, moving from left to right.
- Quickly add the eyes before the melted candy sets so that they will adhere.
- Then go back over each cookies and drizzle on more “bandages” and then drizzle diagonally in different directions to make it fun.
- Allow the chocolate to set before serving. To make this process faster, plate in refrigerator for about 15-30 minutes until set.
Notes
Baking tray
Parchment paper
Small piping bag
Microwave or double boiler, to melt the wafers/chocolate
You can opt to use any OREO flavor you like for this recipe. See post for suggestions. You could even do this with Fudge Covered OREO Cookies.
You can also opt to use other cookies such as Nutter Butters.
You can swap the candy melts with melted white chocolate chips or vanilla almond bark if you like.
STORING
Leftovers can be stored in an airtight container on the counter for up to 5 days. They can also be stored in an airtight container in the refrigerator for up to 2 weeks.
Nutrition Information
Yield 25 Serving Size 1Amount Per ServingCalories 102Total Fat 2gSaturated Fat 1gTrans Fat 0gUnsaturated Fat 1gCholesterol 0mgSodium 52mgCarbohydrates 20gFiber 0gSugar 11gProtein 0g
This nutritional information is for reference only. We are not responsible for these calculations.