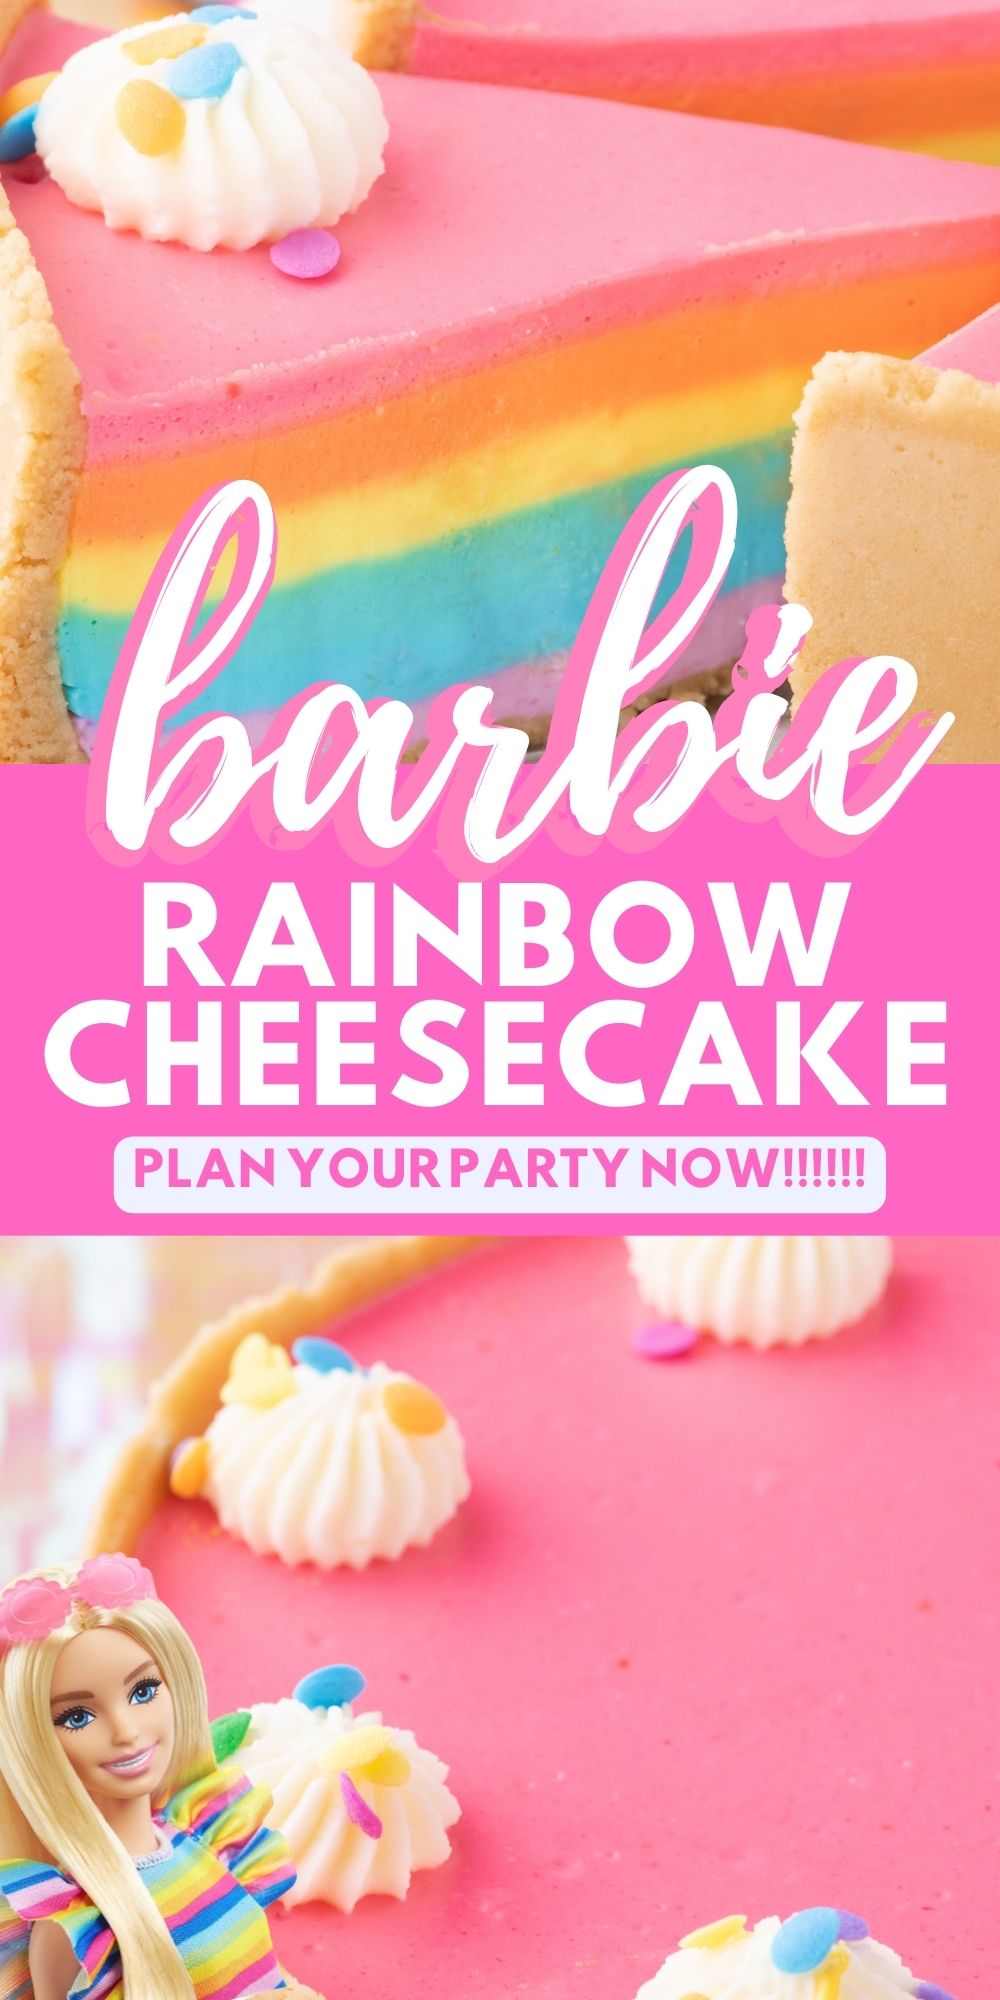
How to make a show-stopping Barbie No Bake Rainbow Cheesecake
If you're looking for a dessert that's both visually stunning and delicious, then you should try making a no bake rainbow cheesecake. This vibrant dessert is inspired by the upcoming Barbie movie. It's sure to impress and satisfy your sweet tooth in the most colorful way possible.
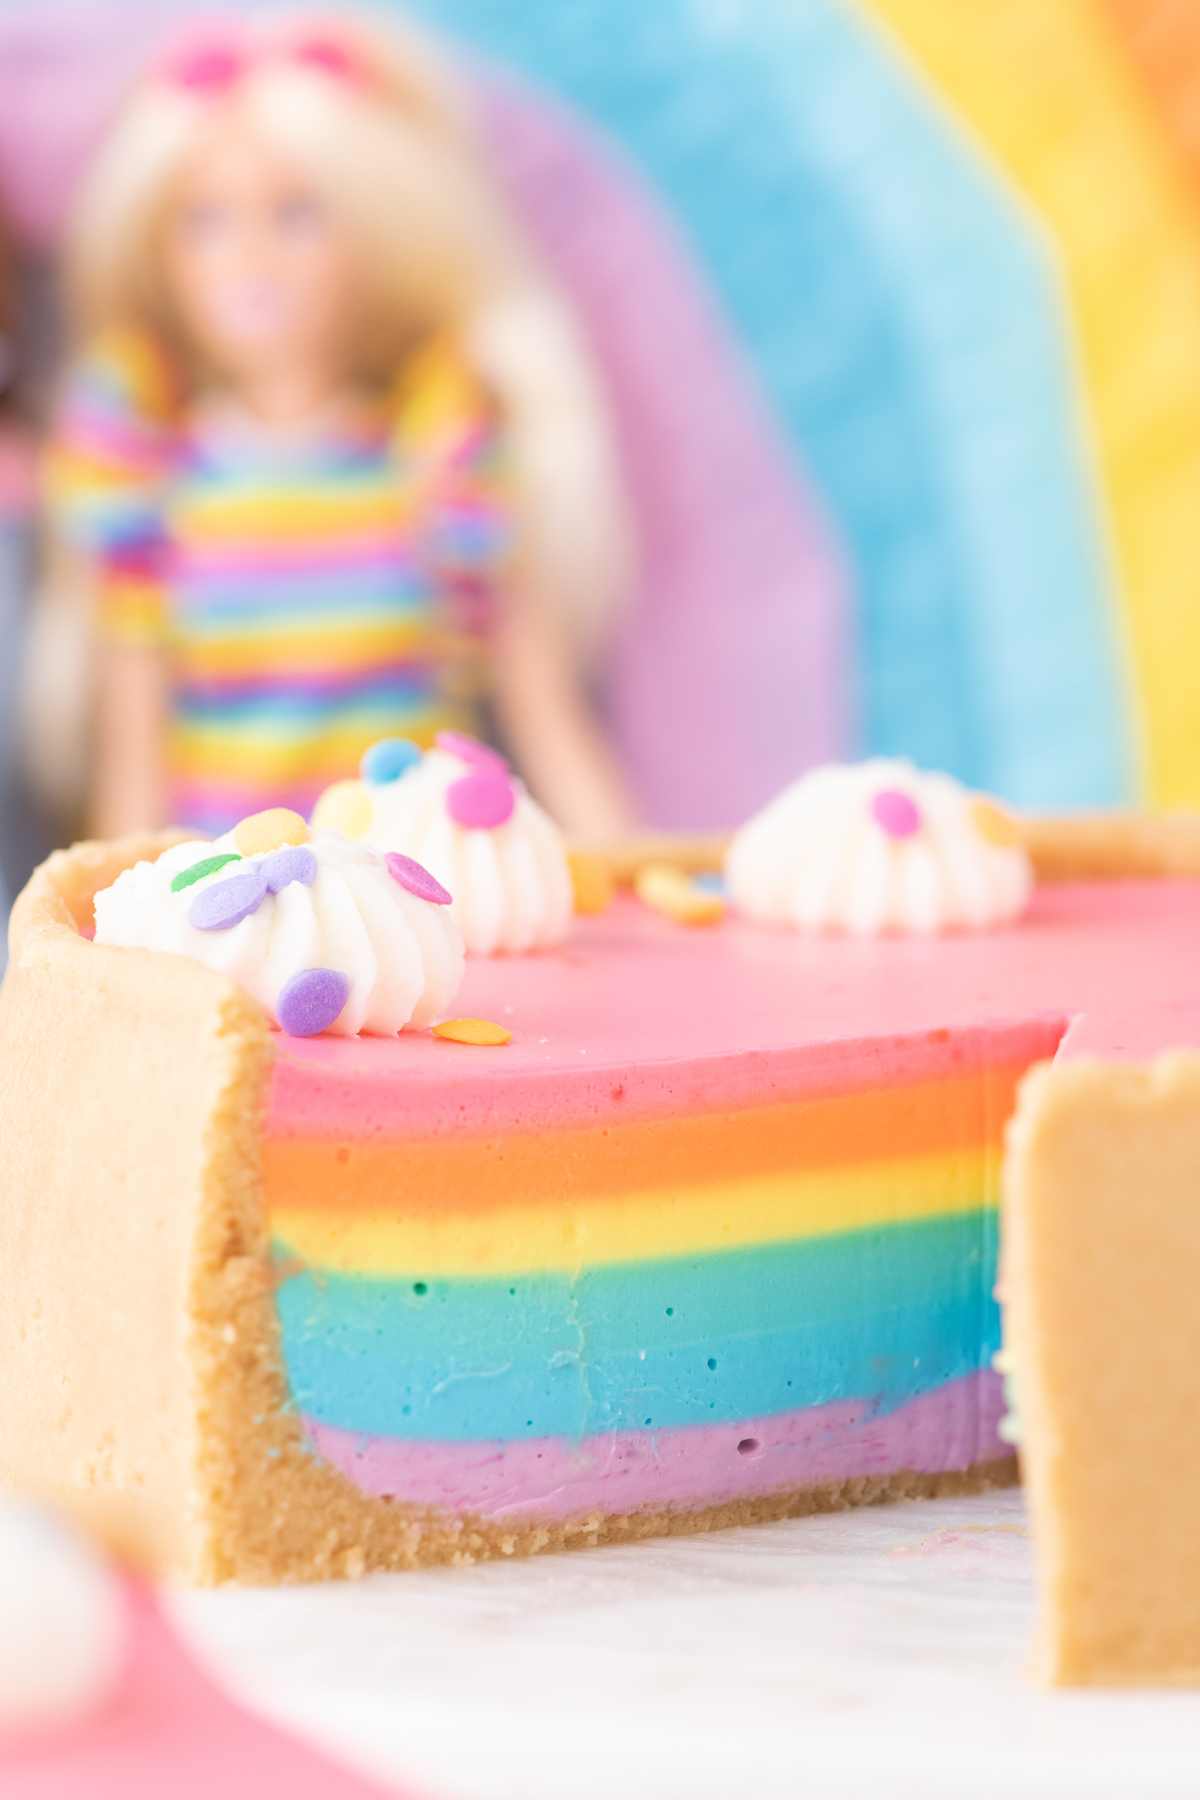
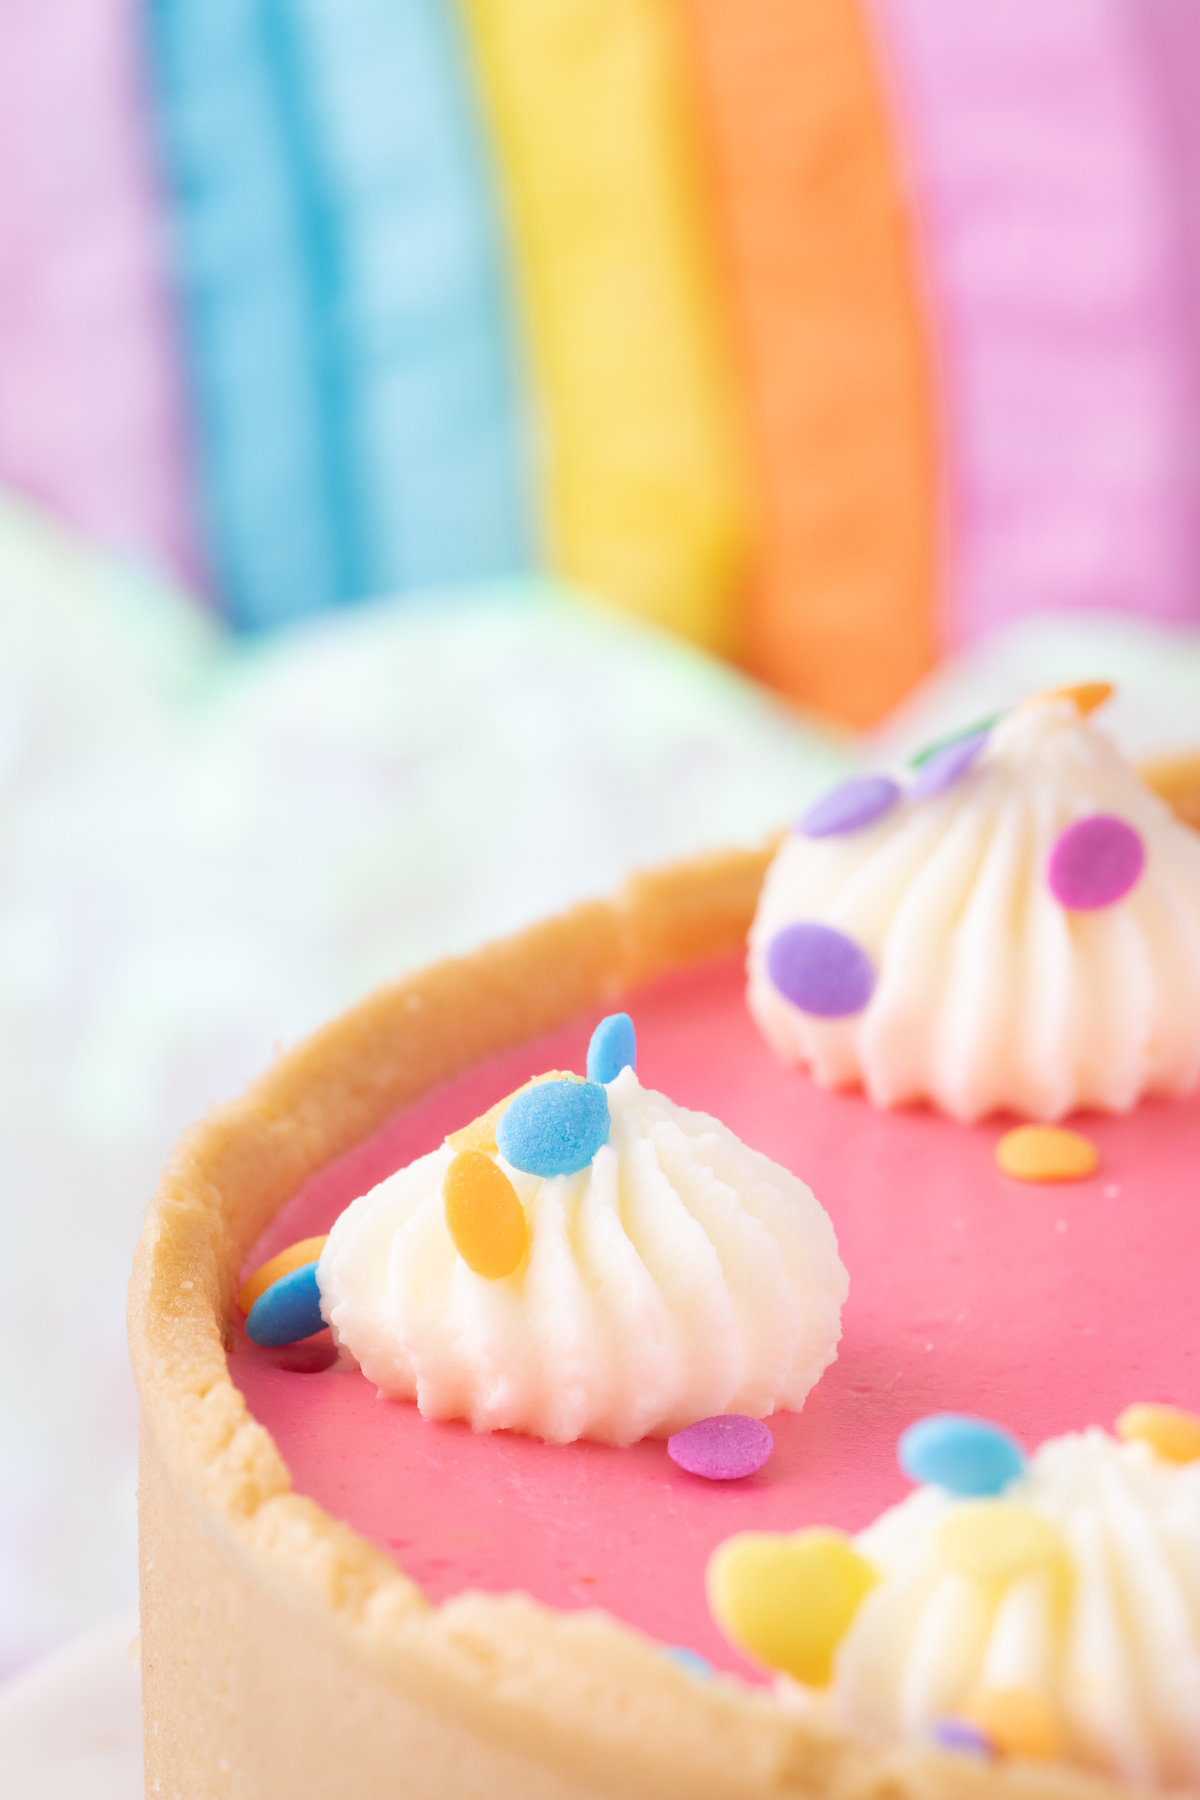
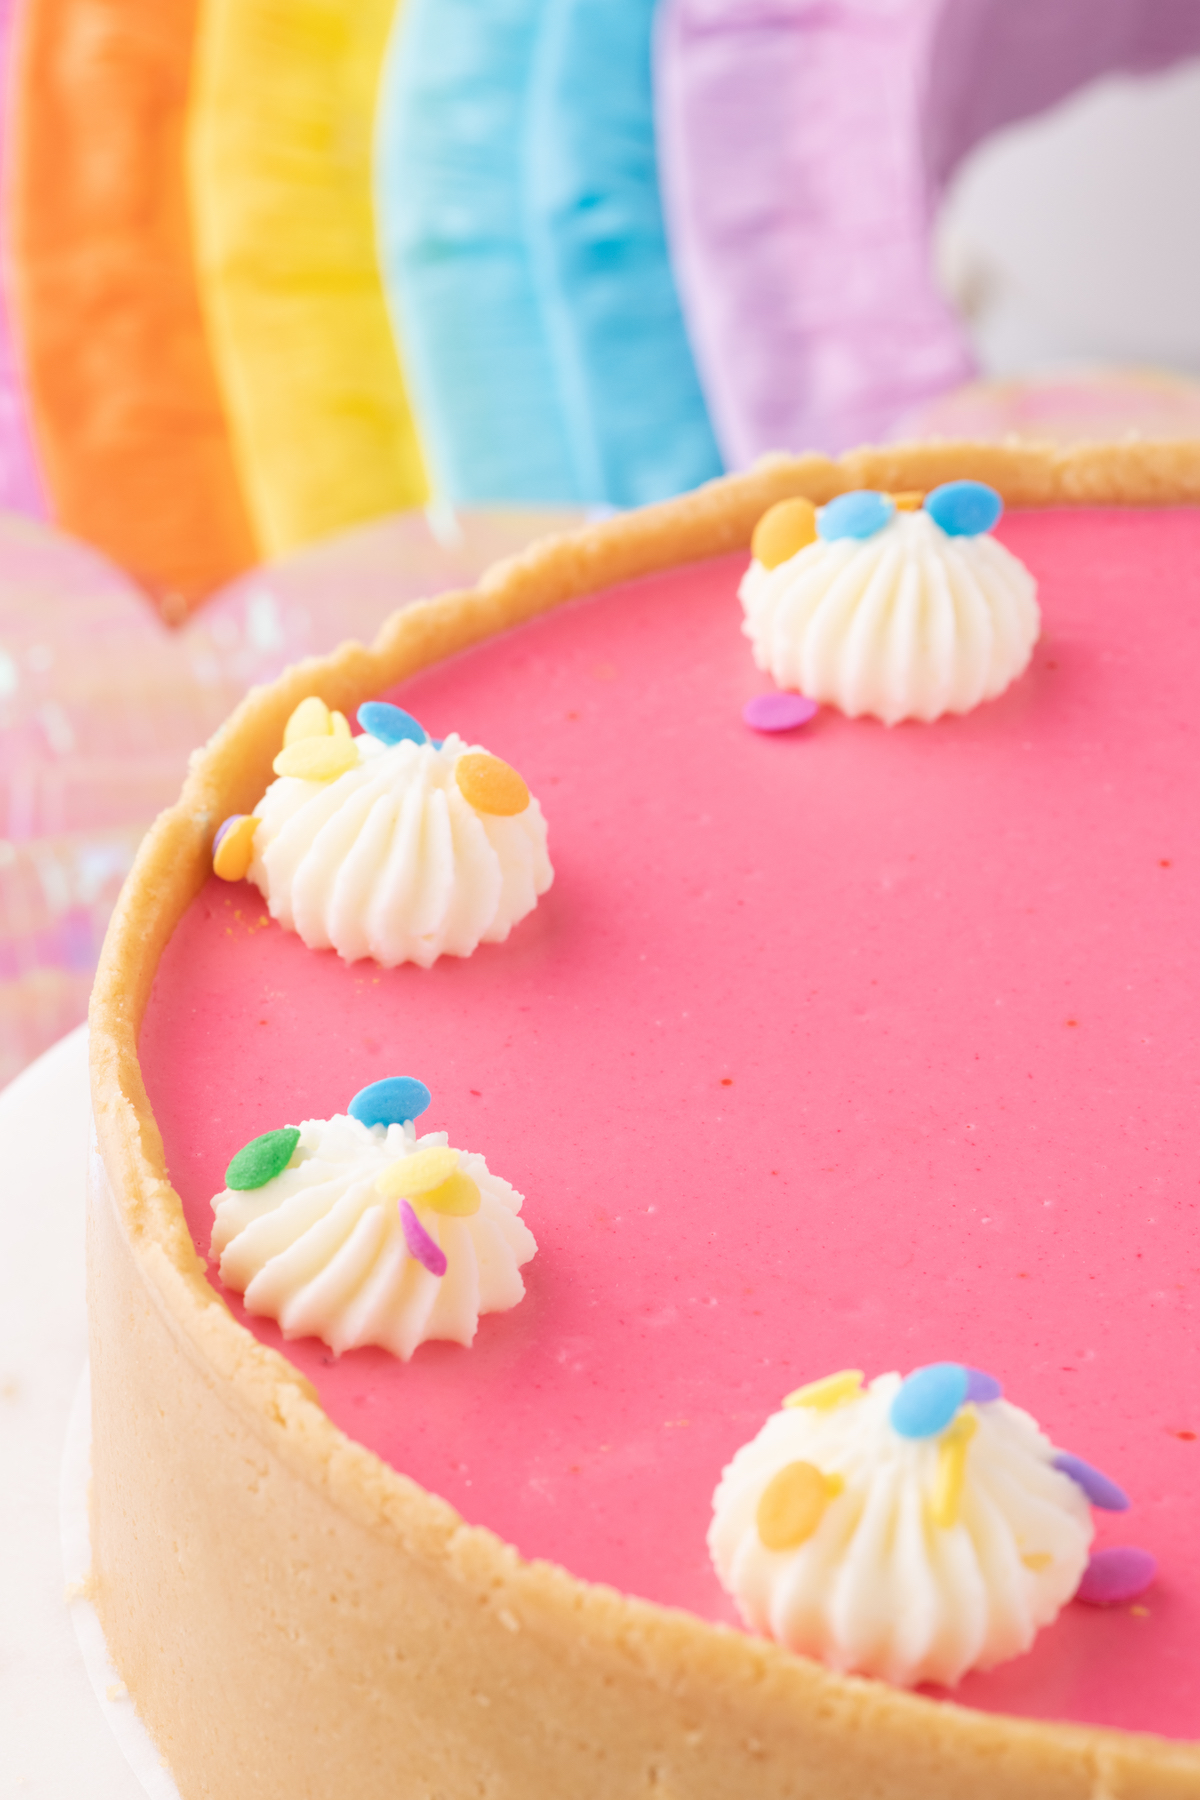
This pretty pastel rainbow cake is inspired by this Barbie Fashionistas Doll with a pretty rainbow dress and sunglasses. It would be the highlight of a themed movie night!
Let me show you why you should make no-bake rainbow cheesecake for your Barbie parties and celebrations and share some helpful tips on how to make it.
One of the great things about this no-bake rainbow cheesecake is that it doesn't require baking. This means you won't have to use the oven and worry about overcooking or burning the dessert. Total score!
NO BAKE RAINBOW CHEESECAKE RECIPE
Let's make a Barbie inspired dessert by using simple ingredients like cream cheese, heavy cream, and gelatin, you can easily create a smooth and creamy base for your cheesecake. The hardest part is waiting for it to set in the fridge!

Here are the reasons you will want to make this rainbow colored treat. Be sure to scroll down to the recipe card to get exact measurements and instructions.
1. Easy to Make
One of the great things about no-bake rainbow cheesecake is that it doesn't require baking. This means you won't have to use the oven and worry about overcooking or burning the dessert. By using simple ingredients like cream cheese, heavy cream, and gelatin, you can easily create a smooth and creamy base for your cheesecake. The hardest part is waiting for it to set in the fridge!
2. Eye-catching Dessert
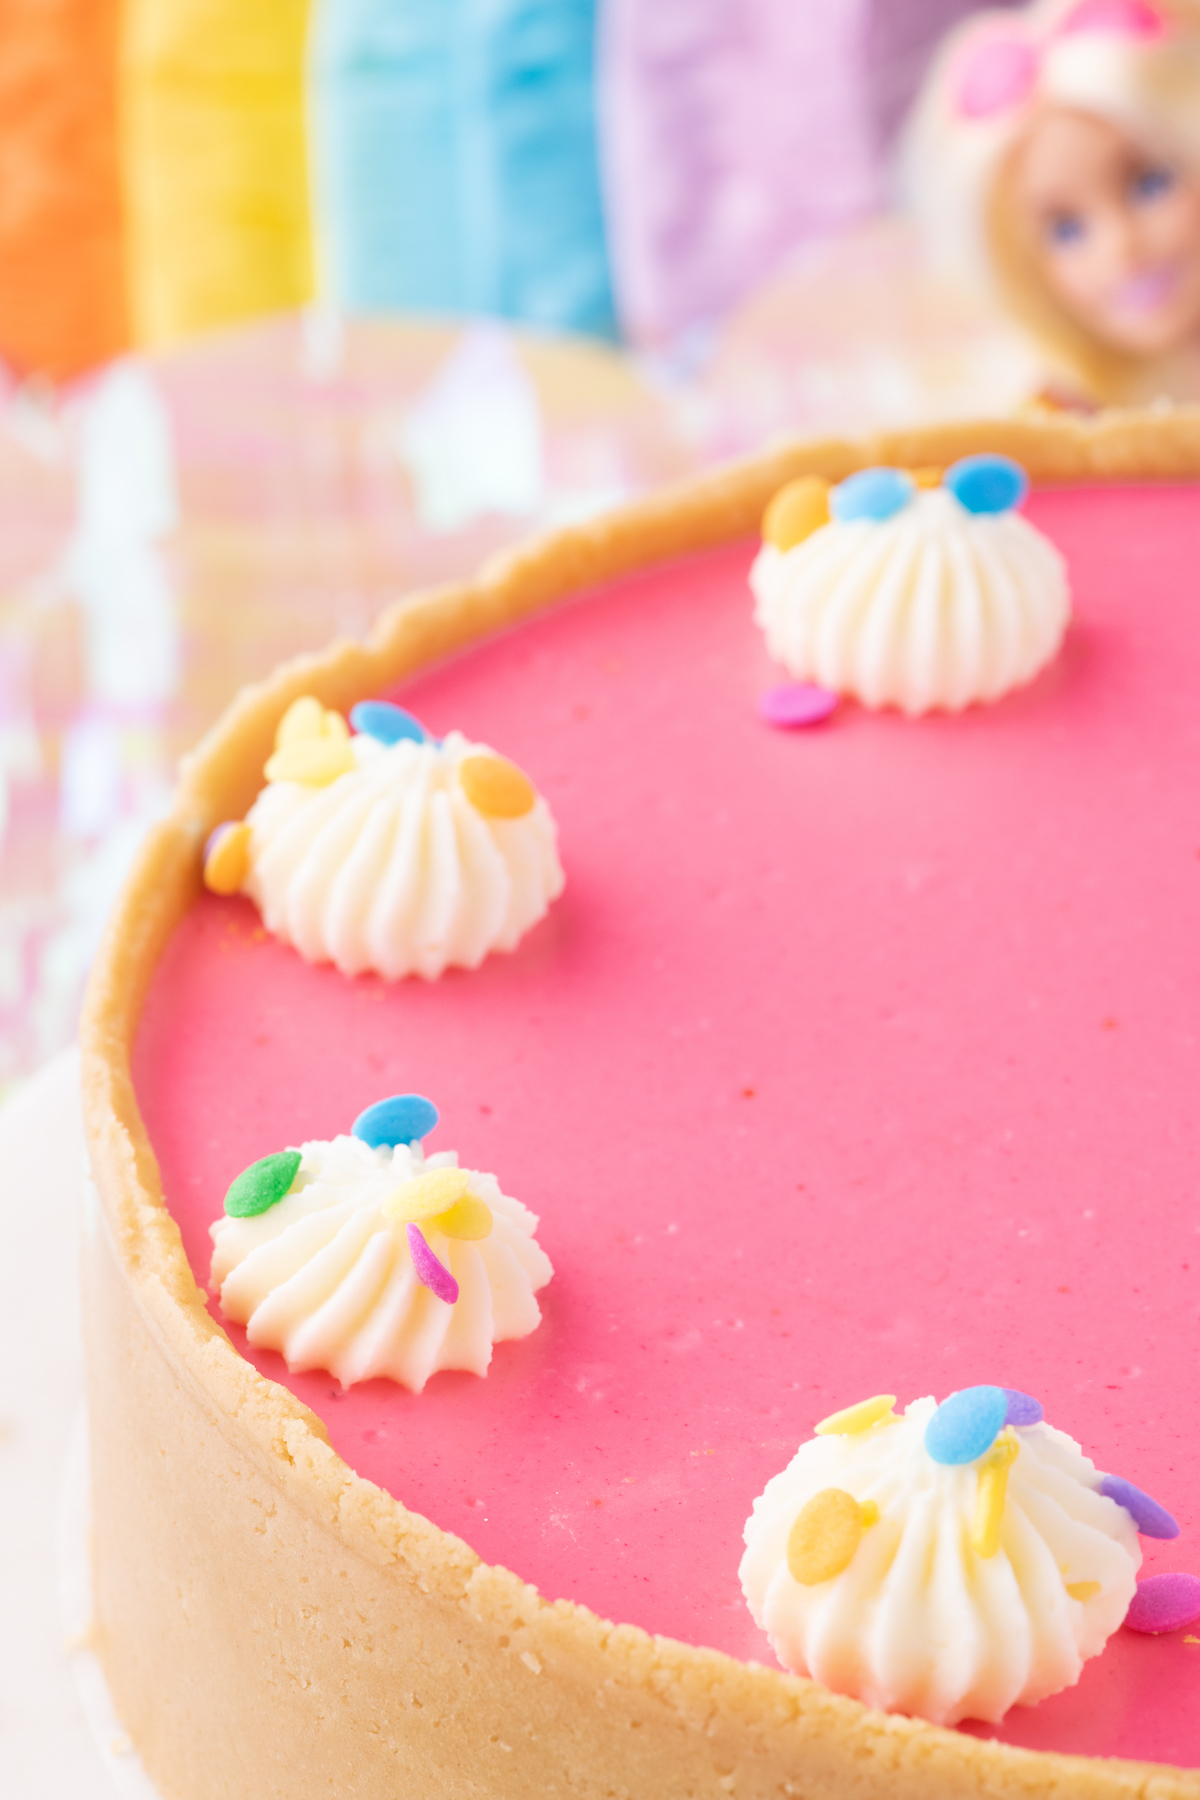
No doubt, one of the best things about this colorful cheesecake is how it looks. With rainbow layers of different colors, it's a true showstopper that will definitely impress your guests or family. You can even play around with the colors and customize it to the theme of your event or special occasion.
3. Perfect for Parties
If you're planning a rainbow-themed party or event, then a no-bake rainbow cheesecake is the perfect dessert. It's easy to make in large quantities and can be easily sliced into pieces to serve to all your guests. You can even make mini versions in cupcake liners for individual servings.
4. Fun to Make with Kids
Getting your kids involved in the kitchen is always a fun and rewarding activity. With no-bake rainbow cheesecake, there are many opportunities for kids to get creative and help out. They can help mix the ingredients, add color to the cheesecake layers, and decorate the finished product. This is a great way to bond with your kids while teaching them important kitchen skills.
5. Tastes Great
Last but not least, no-bake rainbow cheesecake is simply delicious. With its creamy and sweet texture and fruity flavors, it tastes like a dream. By adding fresh fruit toppings or flavored whipped cream, you can take the taste to the next level and make it even more delicious.
In conclusion, no-bake rainbow cheesecake is a dessert that everyone should try making at least once in their life. It's easy to make, visually stunning, perfect for parties, and tastes great. Whether you're a mom looking for a fun activity to do with your kids, or a party planner looking for a show-stopping dessert, no-bake rainbow cheesecake is a dessert that will never let you down. So why not give it a try and see for yourself?
RAINBOW CHEESECAKE NOTES
- The cookie crumb mixture should go up the sides of the pan so that it is just ¼-inch below the top.
- To get a smooth and even thickness to the crust, you can use the back of a large spoon to even out where the bottom meets the sides of the pan
- Each of the 6 bowls of cream cheese should weigh approximately 590 grams
- These are the Americolor Food Gel colors that were used in the layers: 103 sky blue, 107 lemon yellow, 113 orange, 114 deep pink, 110 teal, and 127 fuscia.
- To get the layers to set more evenly, warm each color in the microwave oven for 30 seconds. This will make for easier pouring and even/flat distribution of layers.
TIPS FOR RAINBOW CHEESECAKE SUCCESS
What does it mean to ‘bloom’ the gelatin?
This simply means to soften the gelatin before using it by soaking it in cold water before using which will get rid of any clumps.
How do you get nice clean cuts?
Run a sharp knife under warm water and dry off before slicing, do this before cutting each slice.
Can this be made in advance?
You can prepare this cheesecake one or two days before being served (just add the whipped cream and sprinkles before serving).
EASY RAINBOW RECIPES
Looking for more fun rainbow recipes for your fun celebrations? Here are some fun starter ideas for you.
I'm obsessed with this gorgeous rainbow crispy rice cake.
Make a batch of cupcakes and top them with rainbow candy for a quick dessert.
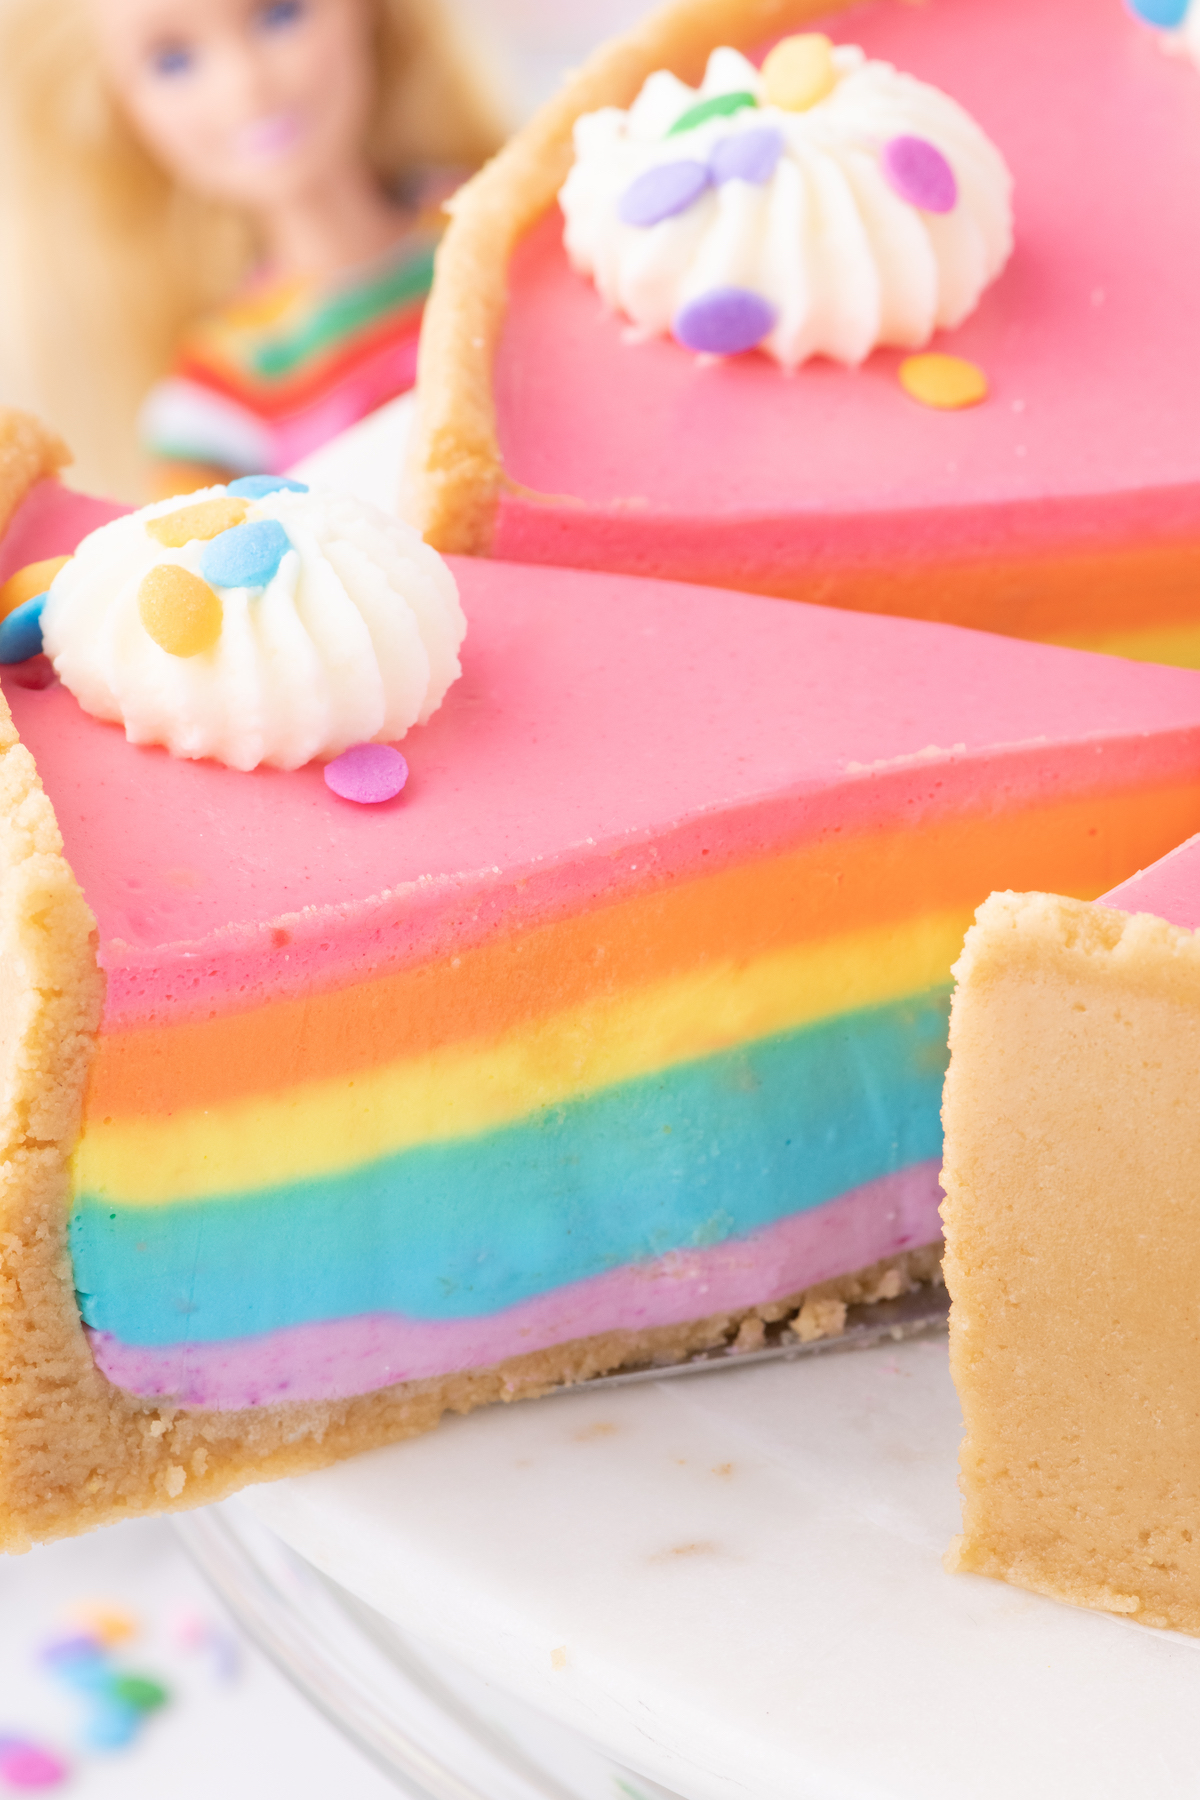
No Bake Rainbow Cheesecake
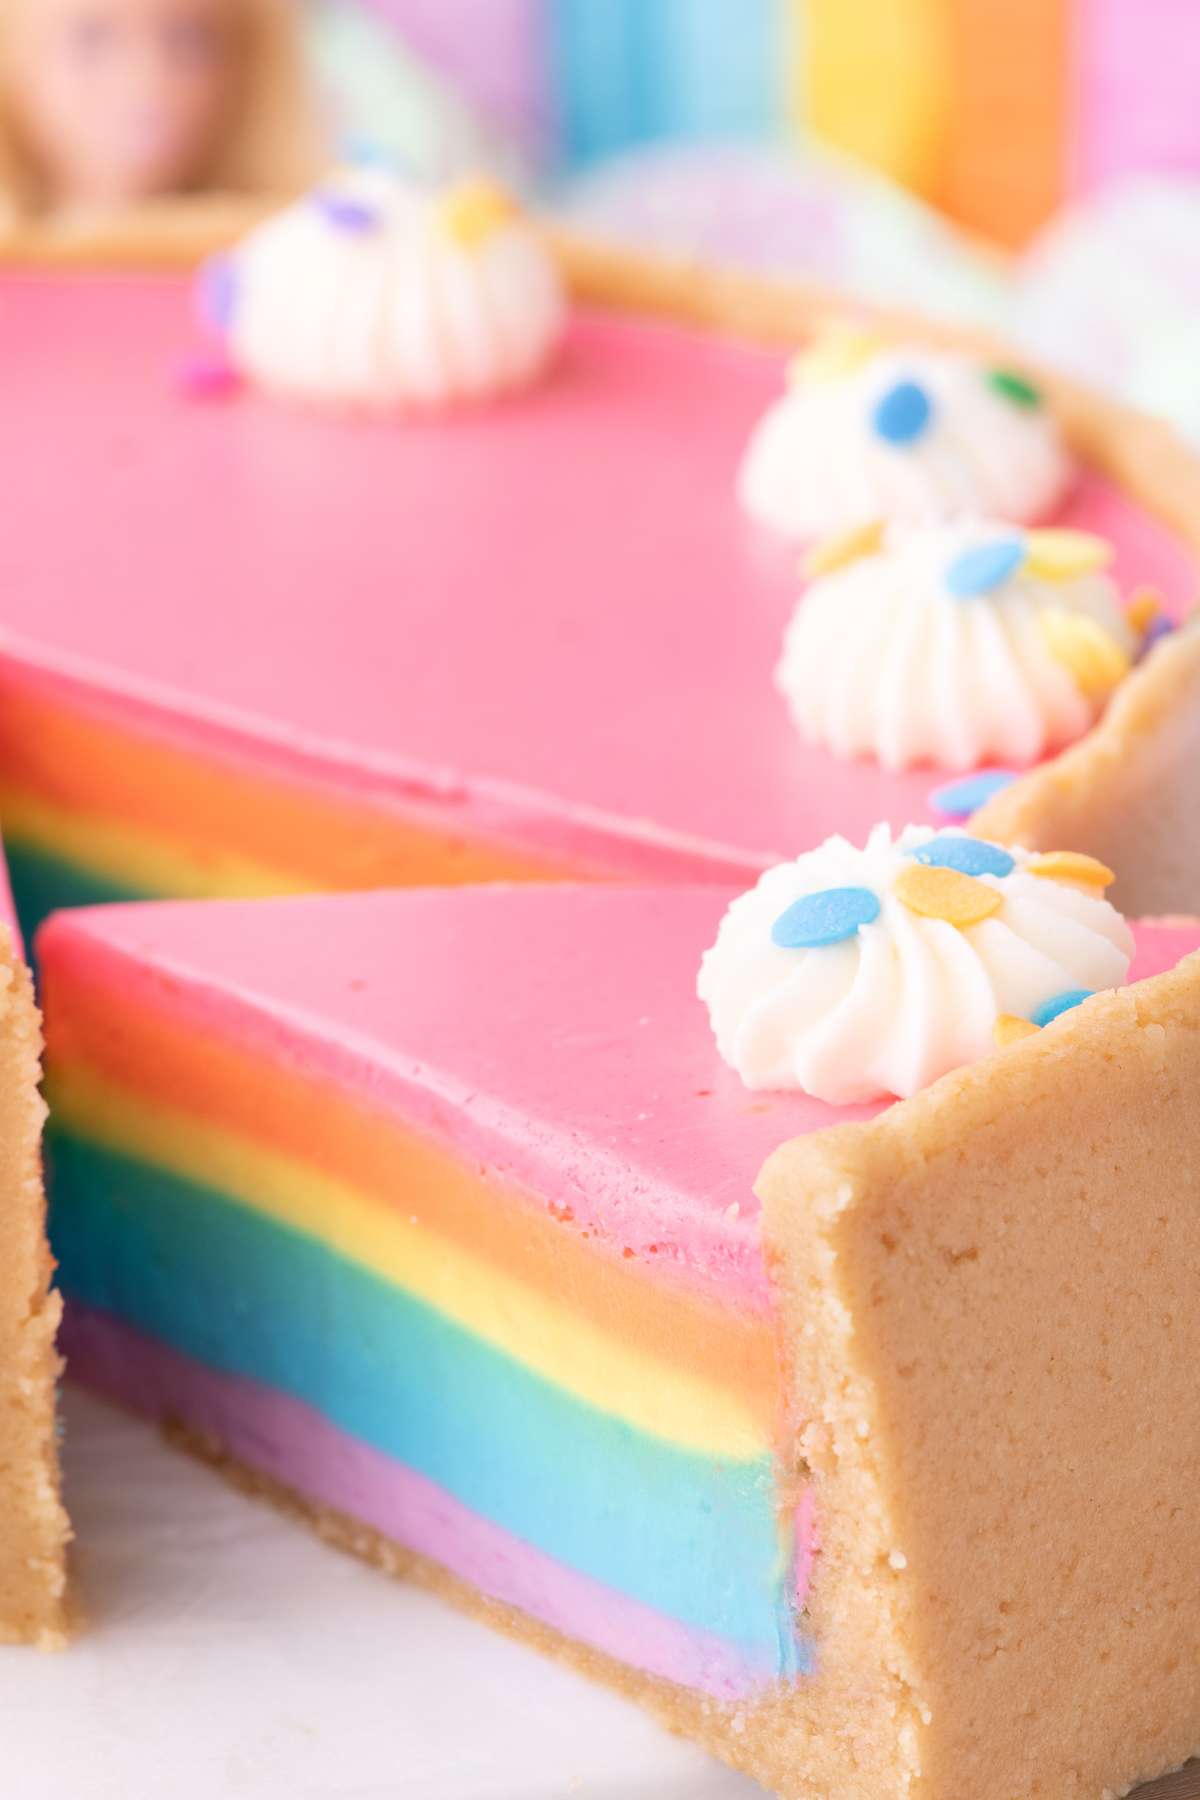
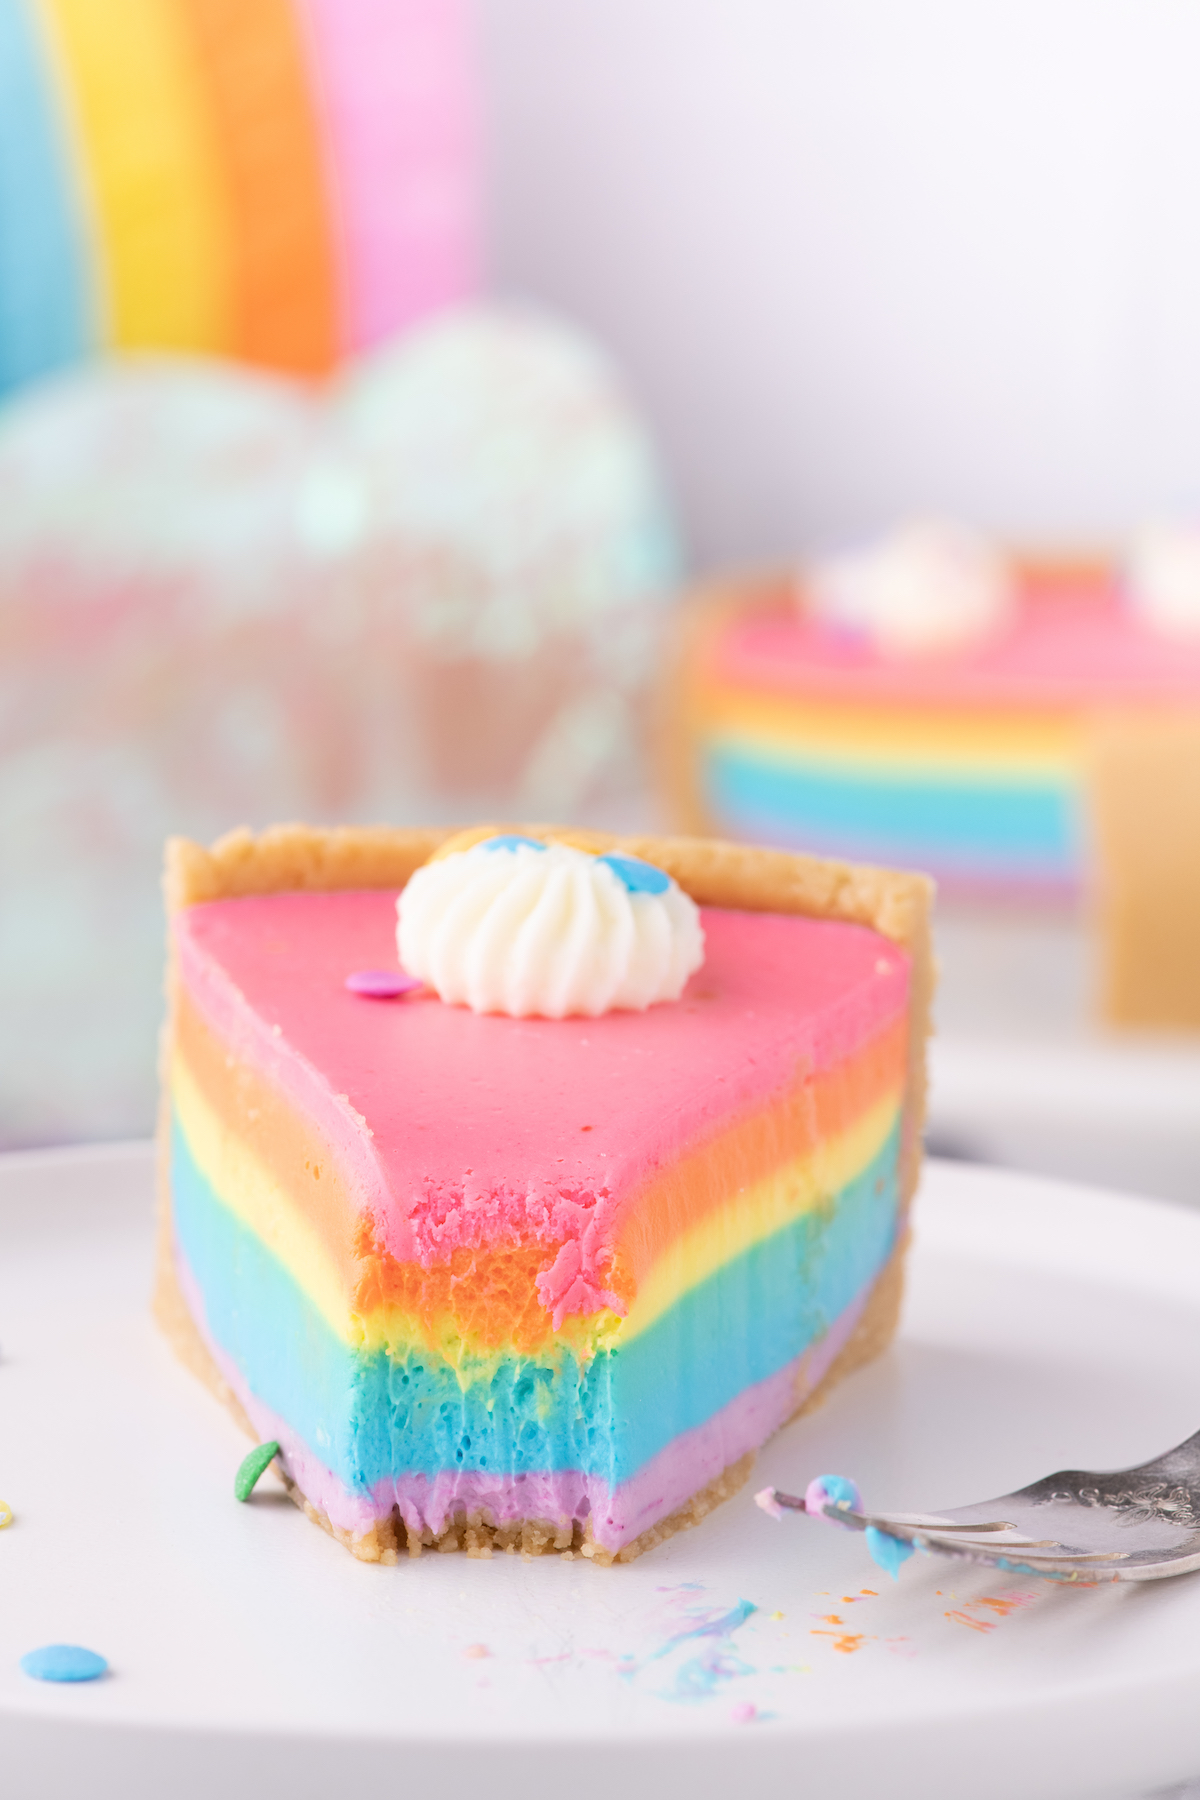
You can’t help but feel pure joy when you cut into this cake and a rainbow of bright colors appear! A show-stopper of a cake, not only is this No-Bake Cheesecake vibrant in color but it also has a deliciously creamy and smooth texture with a sweet vanilla taste that will have you coming back for another slice of happiness.
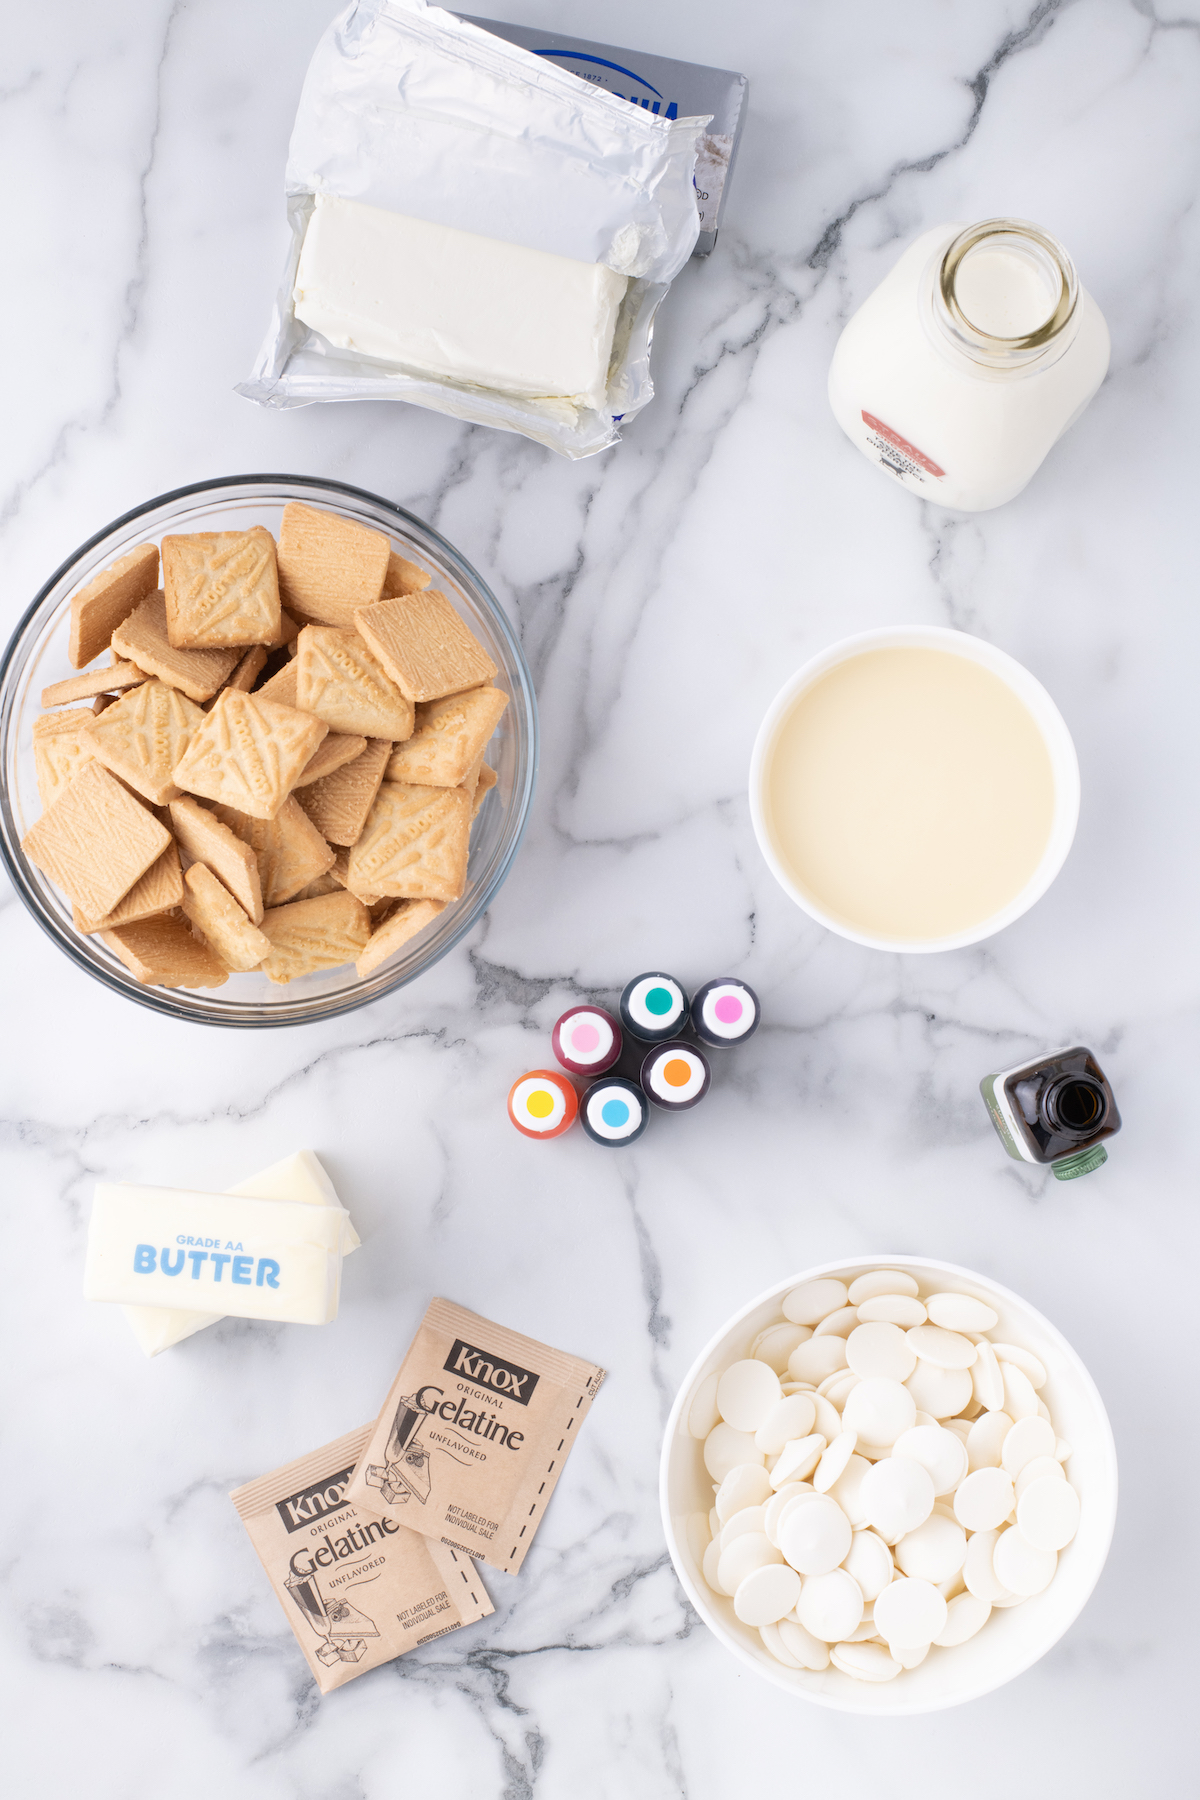
Ingredients
- 4 ½ cups (450 g) shortbread cookies (I used Lorna Doones)
- ½ cup (1 stick) unsalted butter
- 2 tablespoons unflavored gelatin powder
- ½ cup cold water (125ml)
- 32 ounces (4 packages) cream cheese, room temperature
- ½ cup (125 ml) sweetened condensed milk
- 1 ¼ cups (375 ml) heavy cream
- 2 cups (400 g) white chocolate
- 1 teaspoon vanilla extract
- Gel food color (I used Americolor brand)
- Store-bought whipped cream
- Rainbow confetti sprinkles
Instructions
Melt butter in the microwave oven or stovetop if preferred.
Place shortbread cookies in the bowl of a food processor and pulse until they resemble a fine crumb.
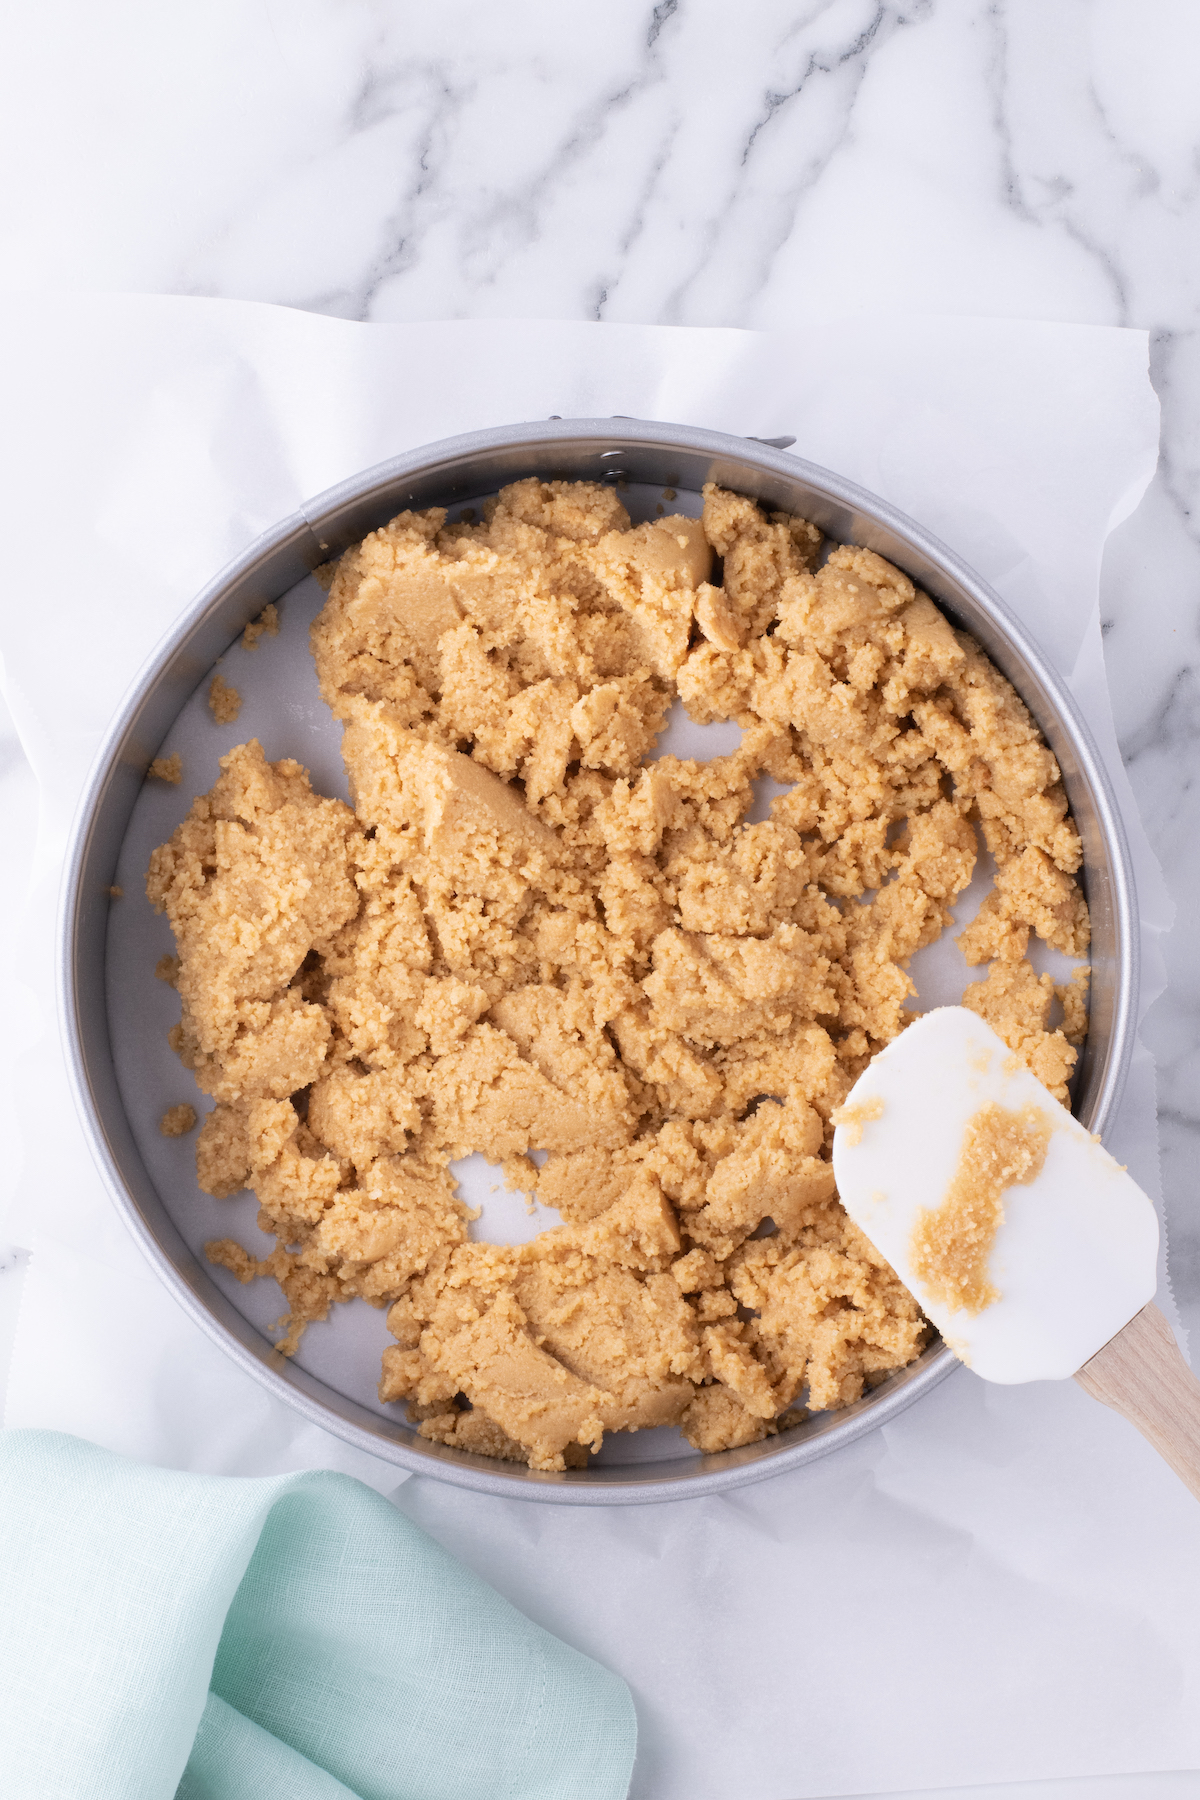
Add the melted butter to cookie crumbs and continue to pulse until it resembles wet sand.
Prepare a 9-inch springform pan by placing a sheet of parchment paper on the base and clamping the springform around it (this is to prevent any leakage).
Add the cookie crumb mixture to the bottom of the springform pan and up along the sides. Flatten to create a smooth and solid base with the help of a large spoon.
Chill in the fridge for half an hour until the crust has set.
In a small bowl add ½ cup of cold water and sprinkle 2 tablespoons of powdered gelatin over top. Mix with a fork and wait 5 minutes to allow the gelatin to bloom. Once the gelatin has thickened, place it in the microwave for 30 seconds to liquefy and set it aside.
Clean the food processor bow; from any residual cookie crumbs, then add cream cheese and condensed milk. Pulse until smooth. Add the heavy cream and mix again until incorporated.
In a microwave-safe bowl add the white candy melts and cook for 30-second intervals, stirring between each set until smooth. Make sure to not let your candy melts scorch! Add the melted chocolate to the cream cheese mixture and pulse until well combined
Lastly, place liquified gelatin into the food processor along with vanilla and pulse to combine.
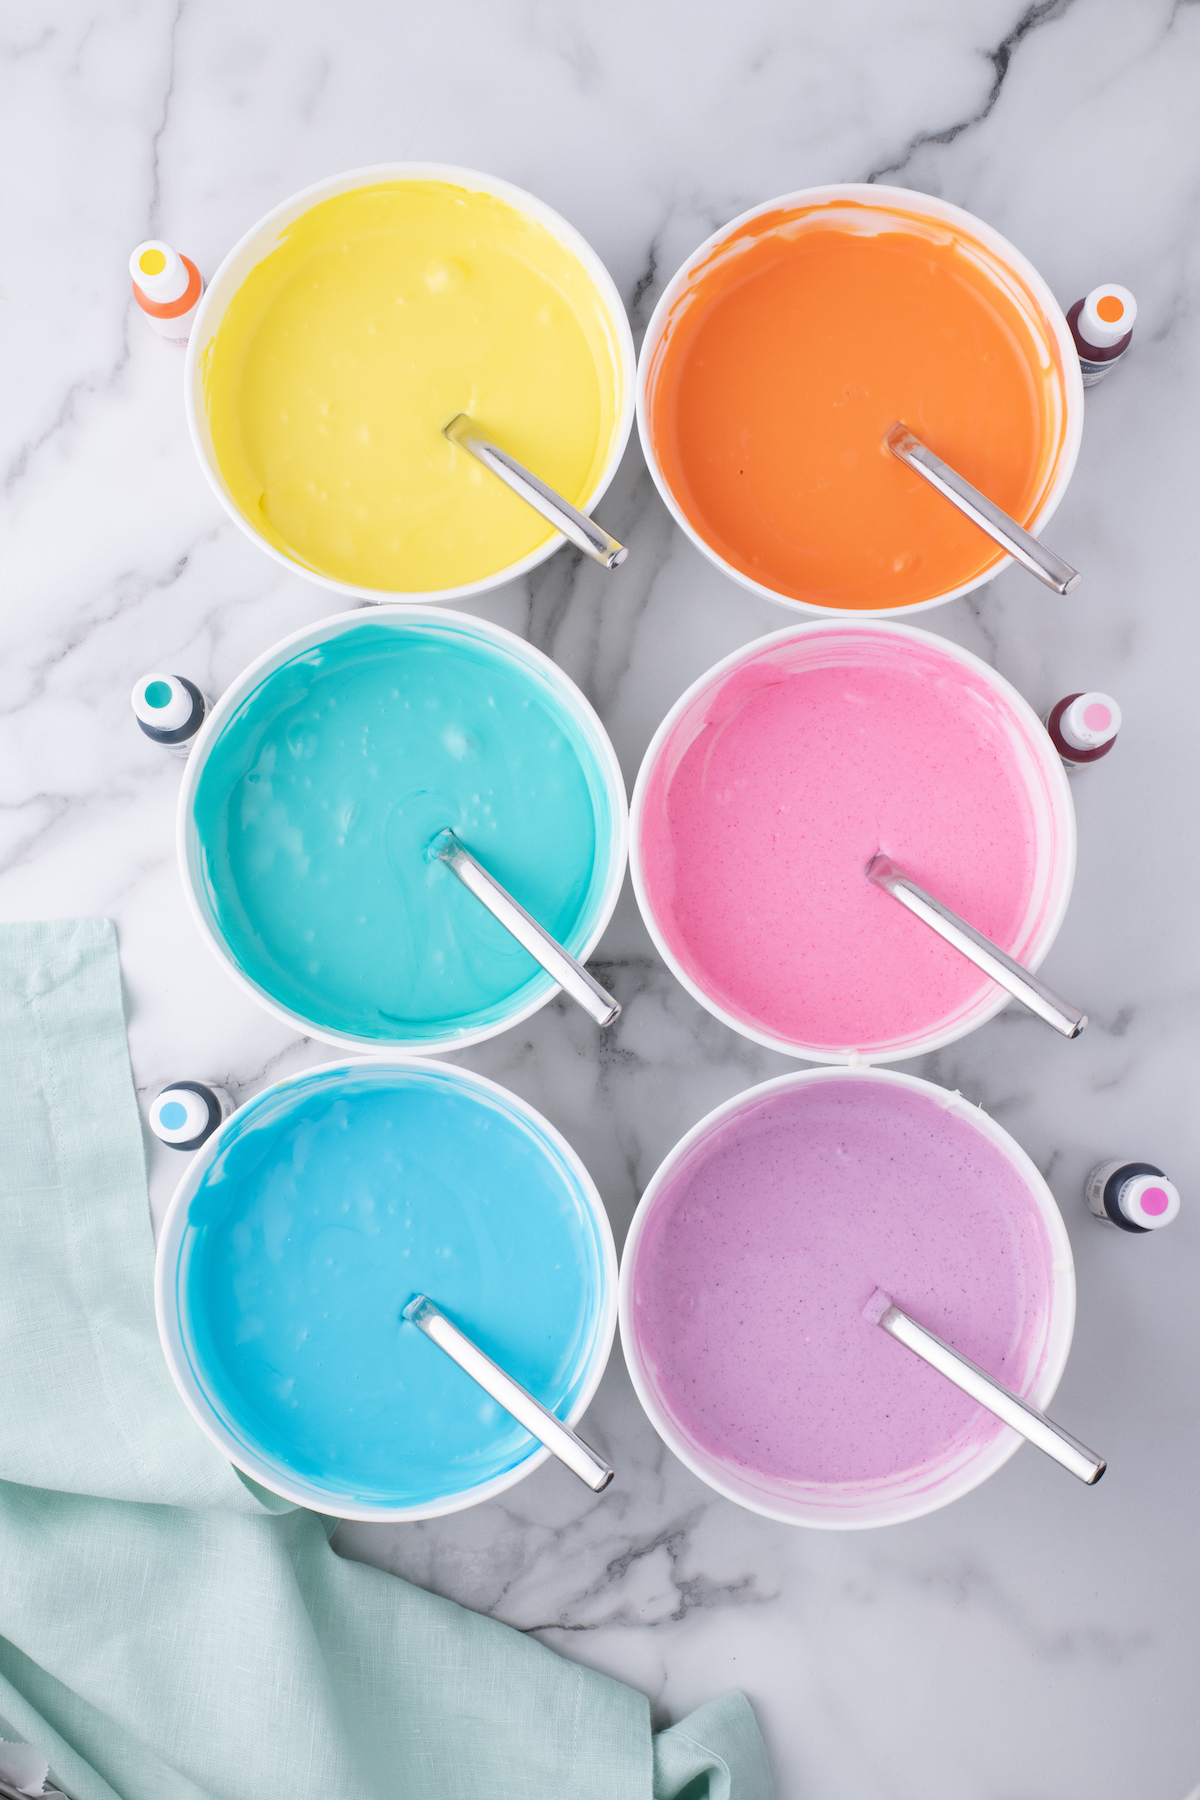
Divide the cream cheese mixture evenly among 6 soup-sized bowls.
Add 2 to 3 drops of food gel color to each of the bowls and stir to evenly distribute the color.
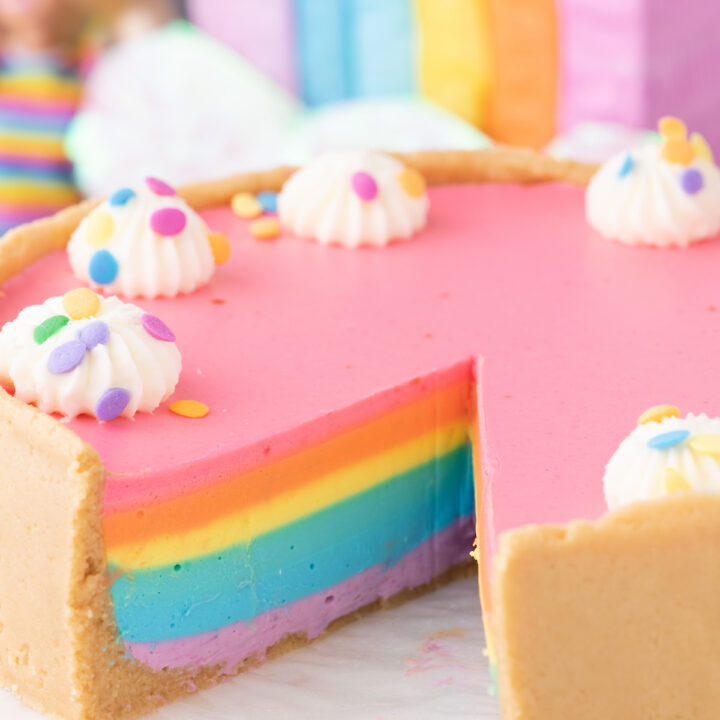
Pour your first color onto the base of the crust allowing it to coat the sides evenly and place the springform pan in the freezer for 5-10 minutes to help set it more quickly.
Repeat with the remaining colors. The final layer should come to just below the top of your crust.
Top with your favorite store-bought whipped cream and rainbow sprinkles
Chill in the fridge for 3-5 hours before serving.
Notes
- The cookie crumb mixture should go up the sides of the pan so that it is just ¼-inch below the top.
- To get a smooth and even thickness to the crust, I like to use the back of a large spoon to even out where the bottom meets the sides of the pan
- Each of the 6 bowls of cream cheese should weigh approximately 590 grams
- These are the Americolor Food Gel colors that were used in the layers: 103 sky blue, 107 lemon yellow, 113 orange, 114 deep pink, 110 teal, and 127 fuscia.
- To get the layers to set more evenly, warm each color in the microwave oven for 30 seconds. This will make for easier pouring and even/flat distribution of layers.
Recommended Products
As an Amazon Associate and member of other affiliate programs, I earn from qualifying purchases.
-
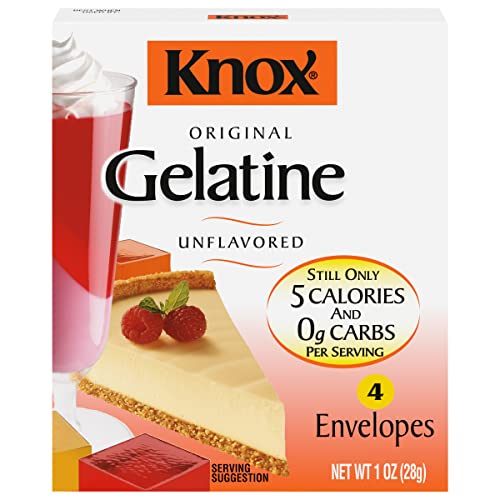
 Knox Unflavored Gelatin (4 Envelopes)
 -
Food Coloring AmeriColor Student - Kit 12 .75 Ounce Bottles Soft Gel Paste Colors
-
Amazon Basics Stainless Steel Digital Kitchen Scale with LCD Display, Batteries Included
-
Cuisinart 14 Cup Food Processor, Includes Stainless Steel Standard Slicing Disc (4mm), Medium Shredding Disc, & Stainless Steel Chopping/Mixing Blade, DFP-14BCNY
-
Wilton Candy Melts, Bright White, 12 oz.
-
Farberware Nonstick Bakeware Springform Baking Pan / Nonstick Springform Cake Pan / Nonstick Cheesecake Pan, Round - 9 Inch, Gray


Hi, just wondering where to add in the heavy cream? It's on the ingredients list but not the method. Thanks!