A Unique Way to Celebrate Easter: DIY Glitter Easter Eggs!
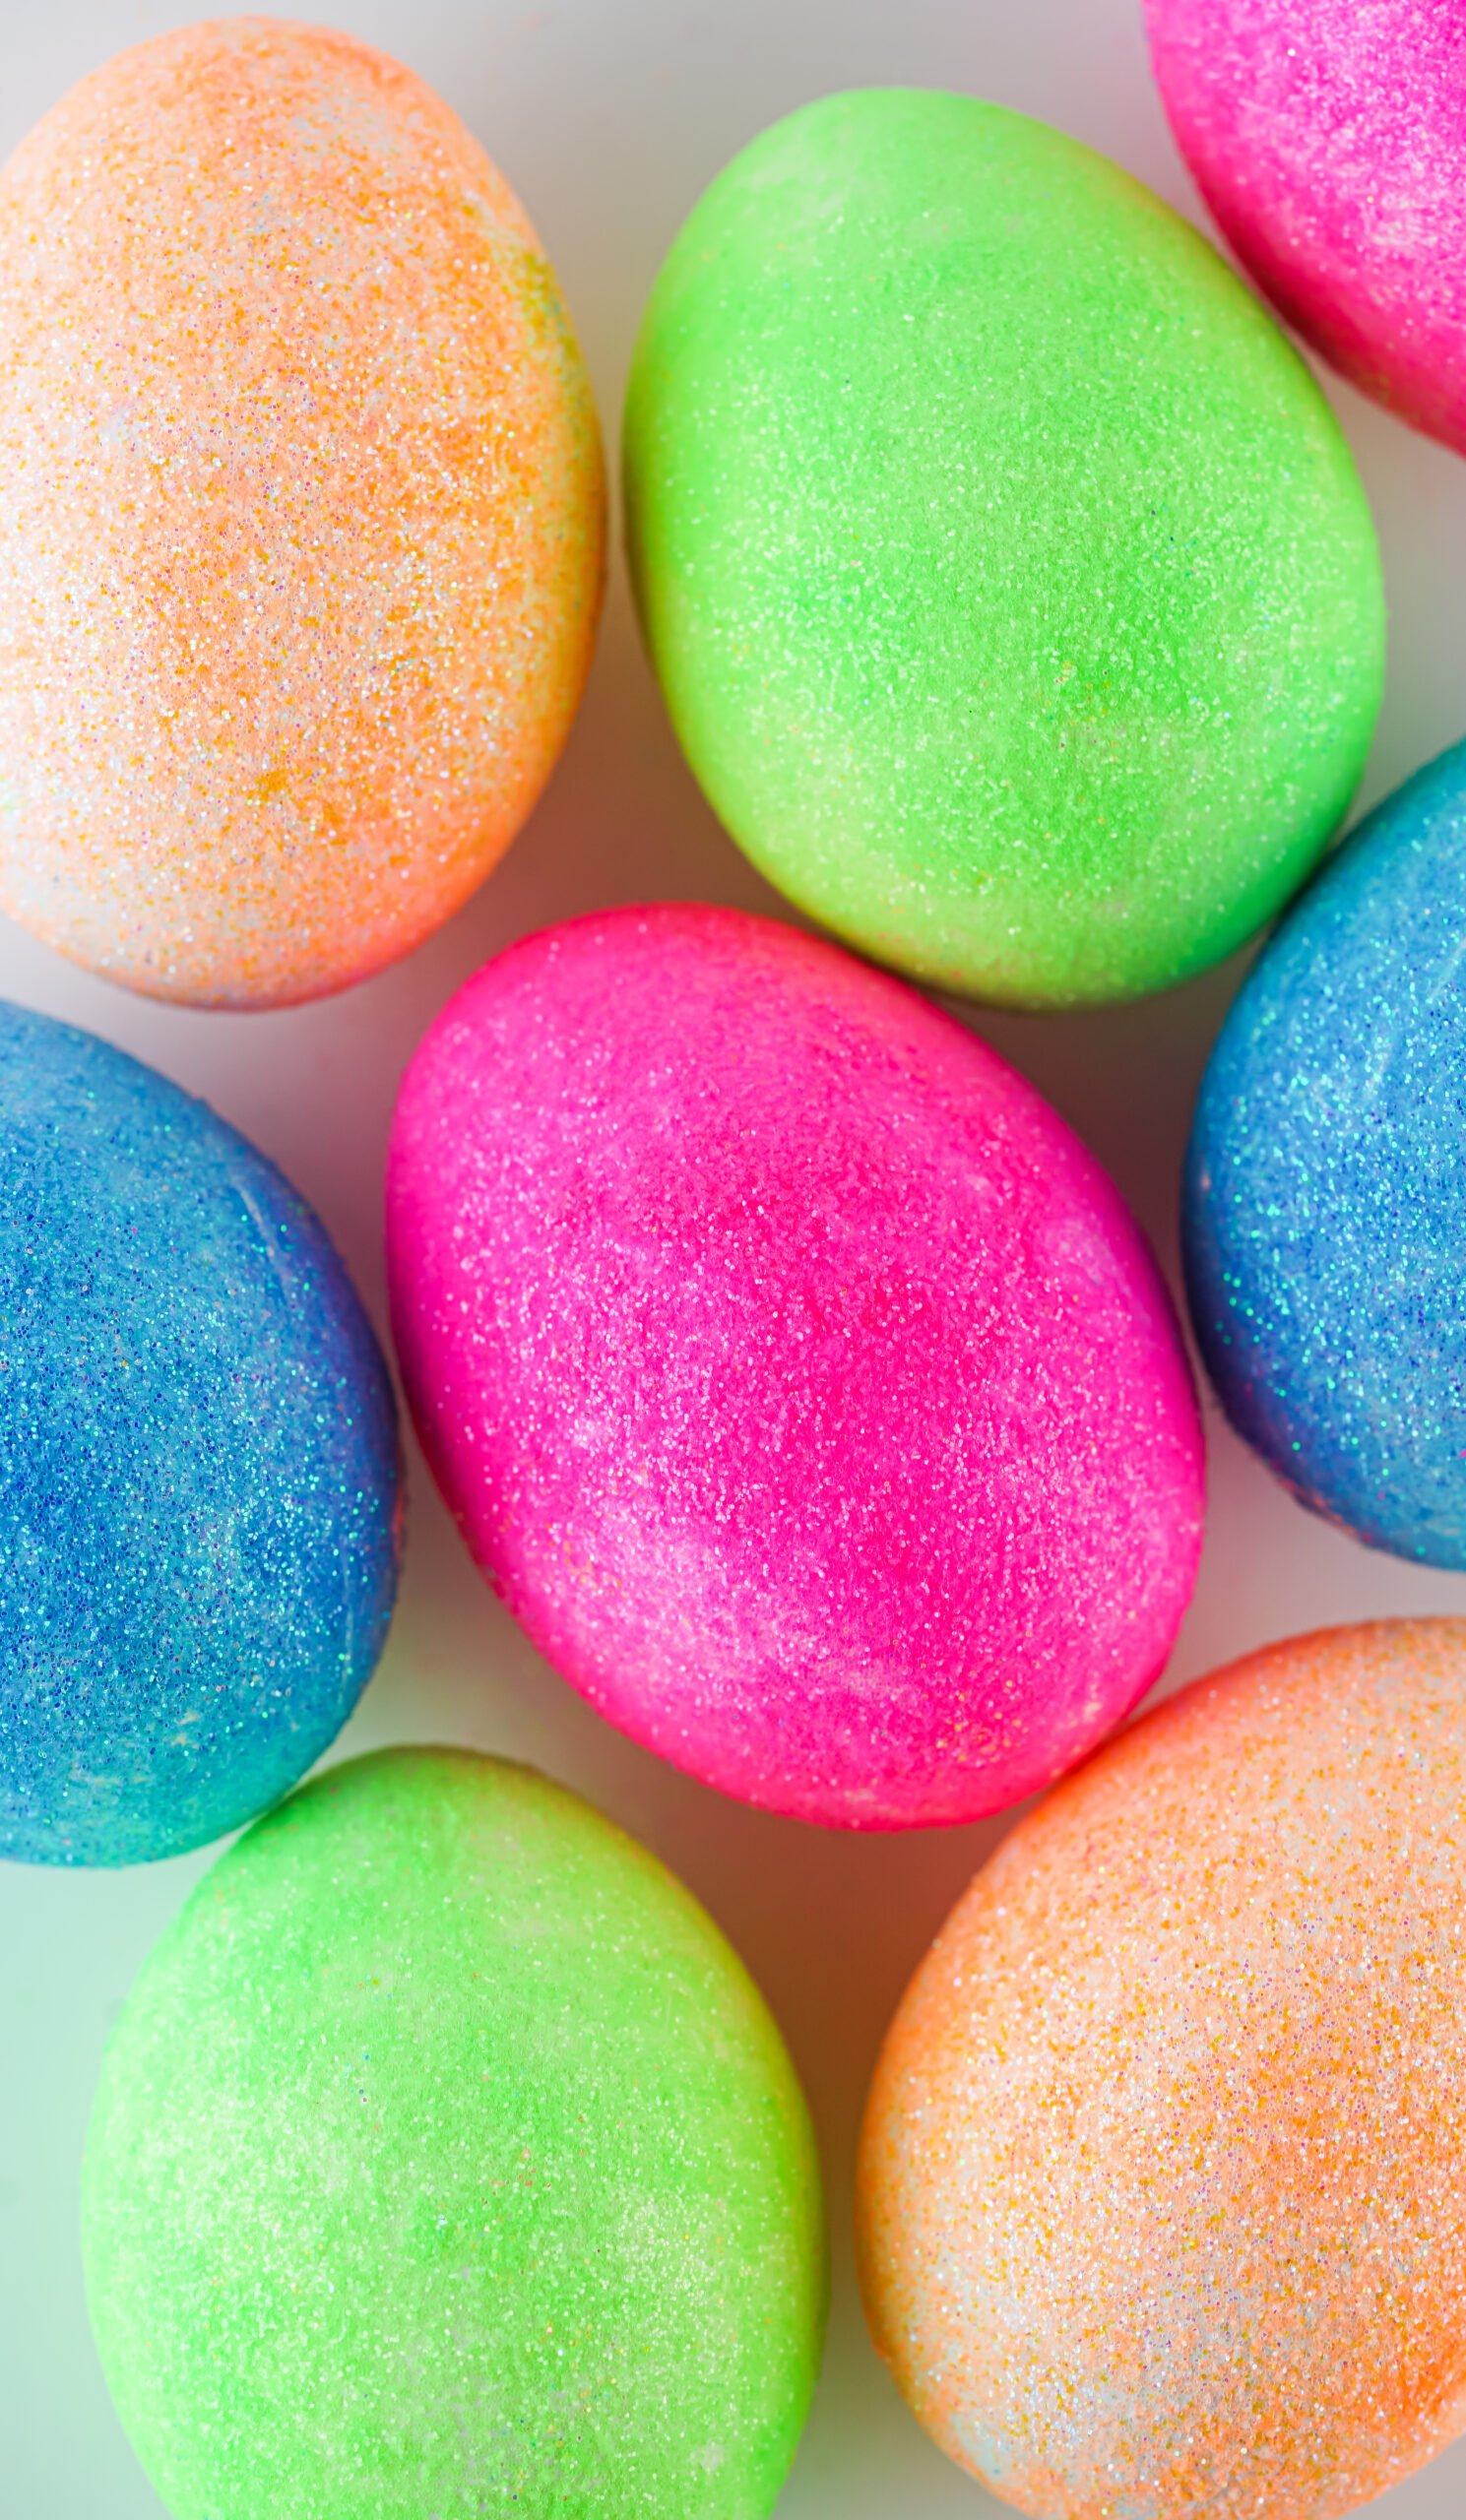
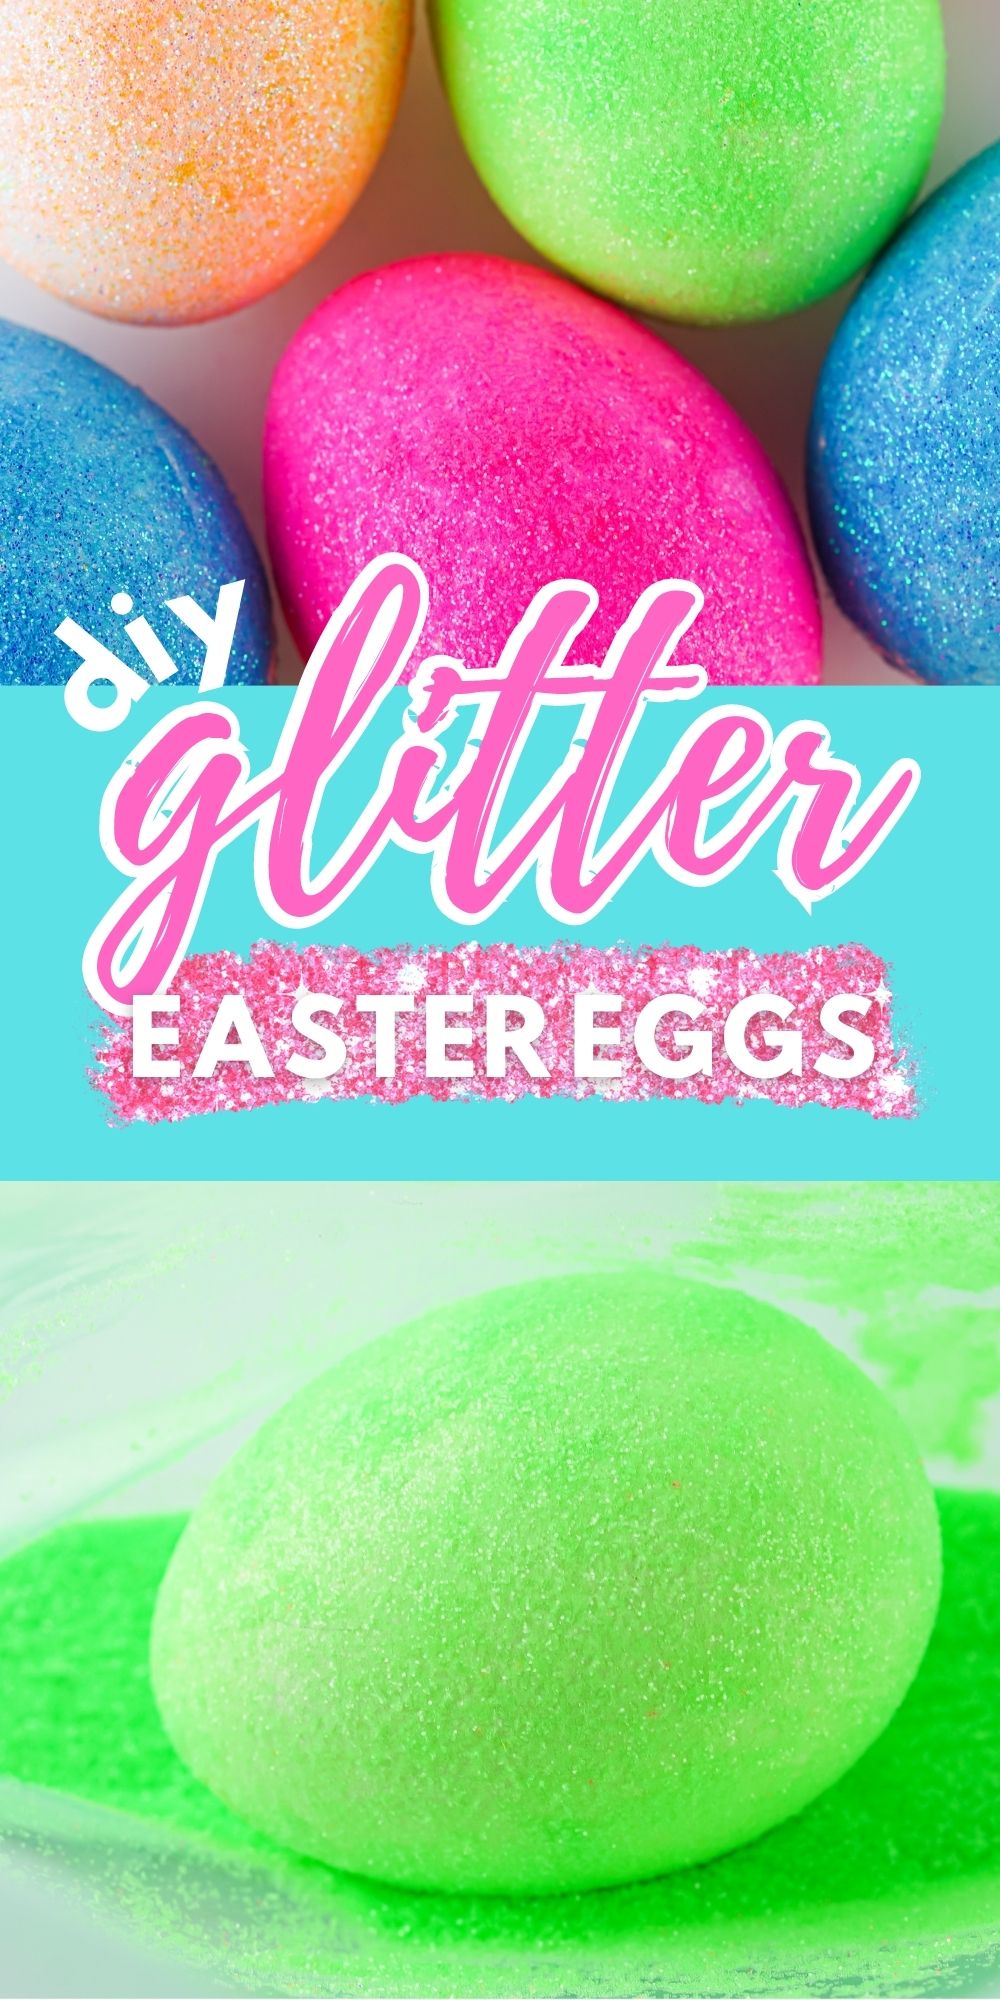
Easter is just around the corner, and this year why not try something new? Instead of traditional hard-boiled eggs, embrace your creativity and make diy glitter Easter eggs! Not only are these fun to make but they also look gorgeous and sparkly when finished. Here’s what you need to know about making glitter Easter eggs that will wow your family and friends!
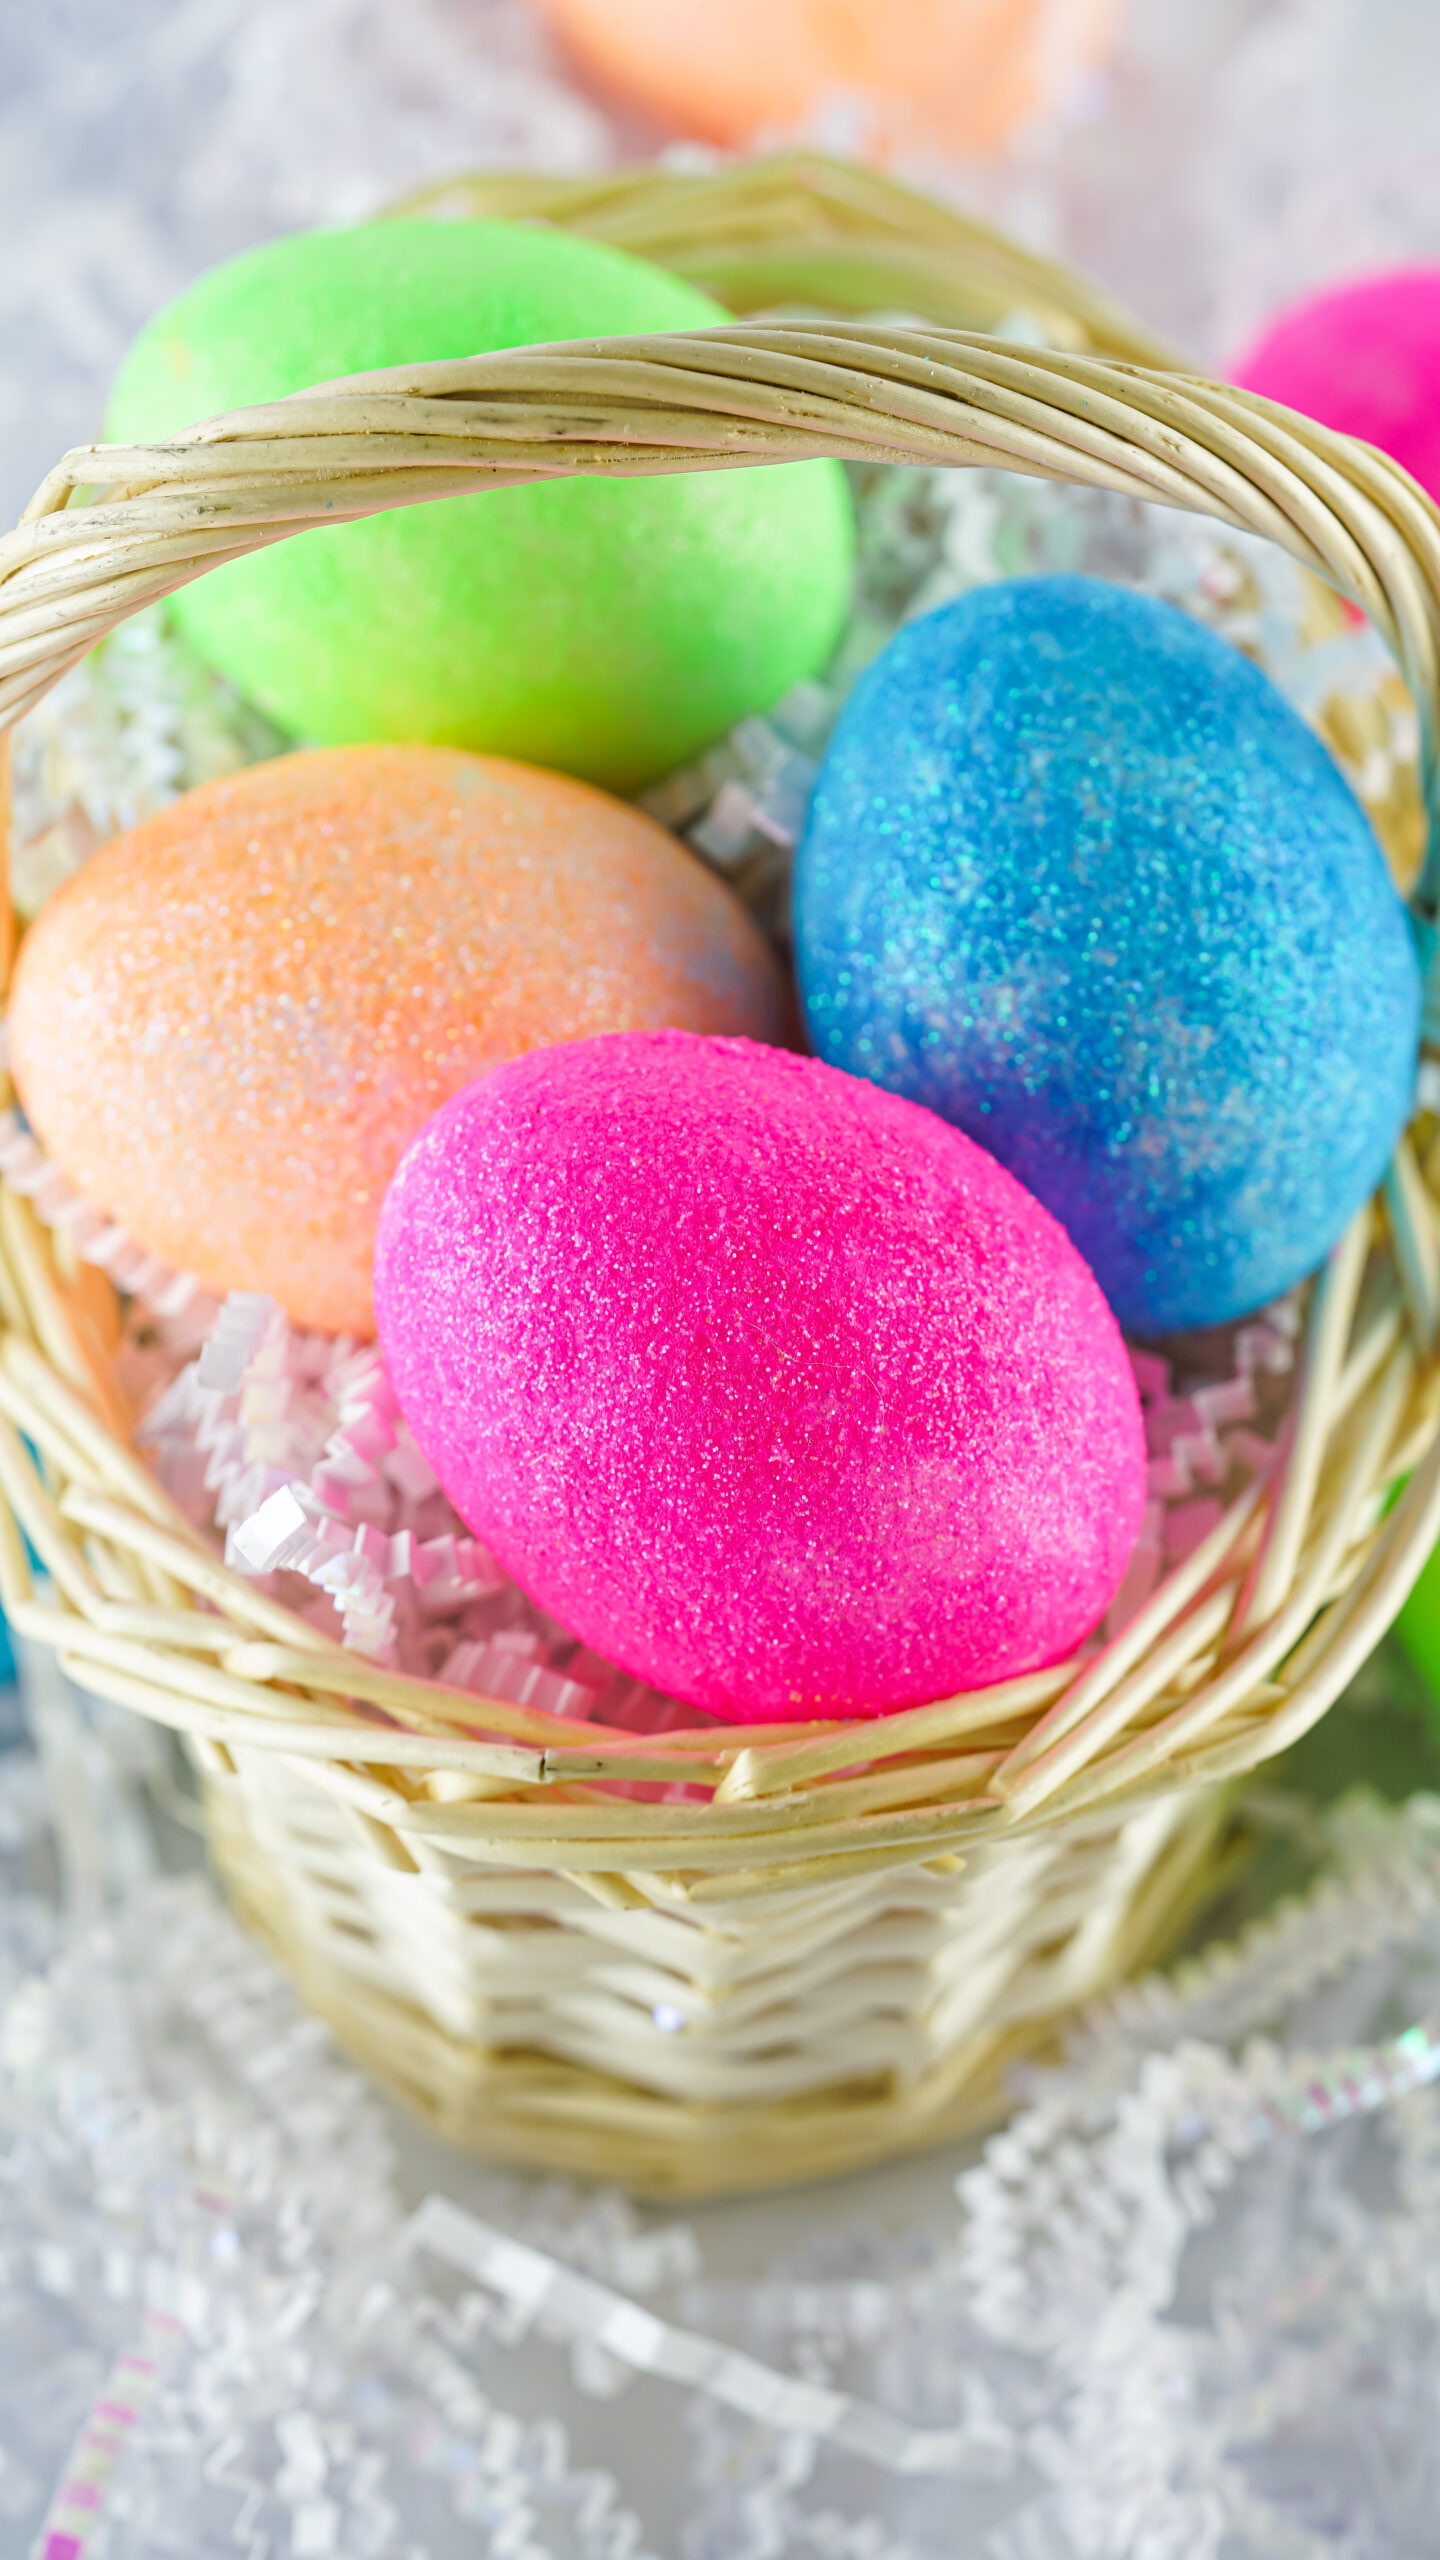
Please note that this highly effective method of making glitter eggs makes them inedible. The glitter used is not food grade and the adhesive used are certainly not either. Please make this crafting activity at your own risk.
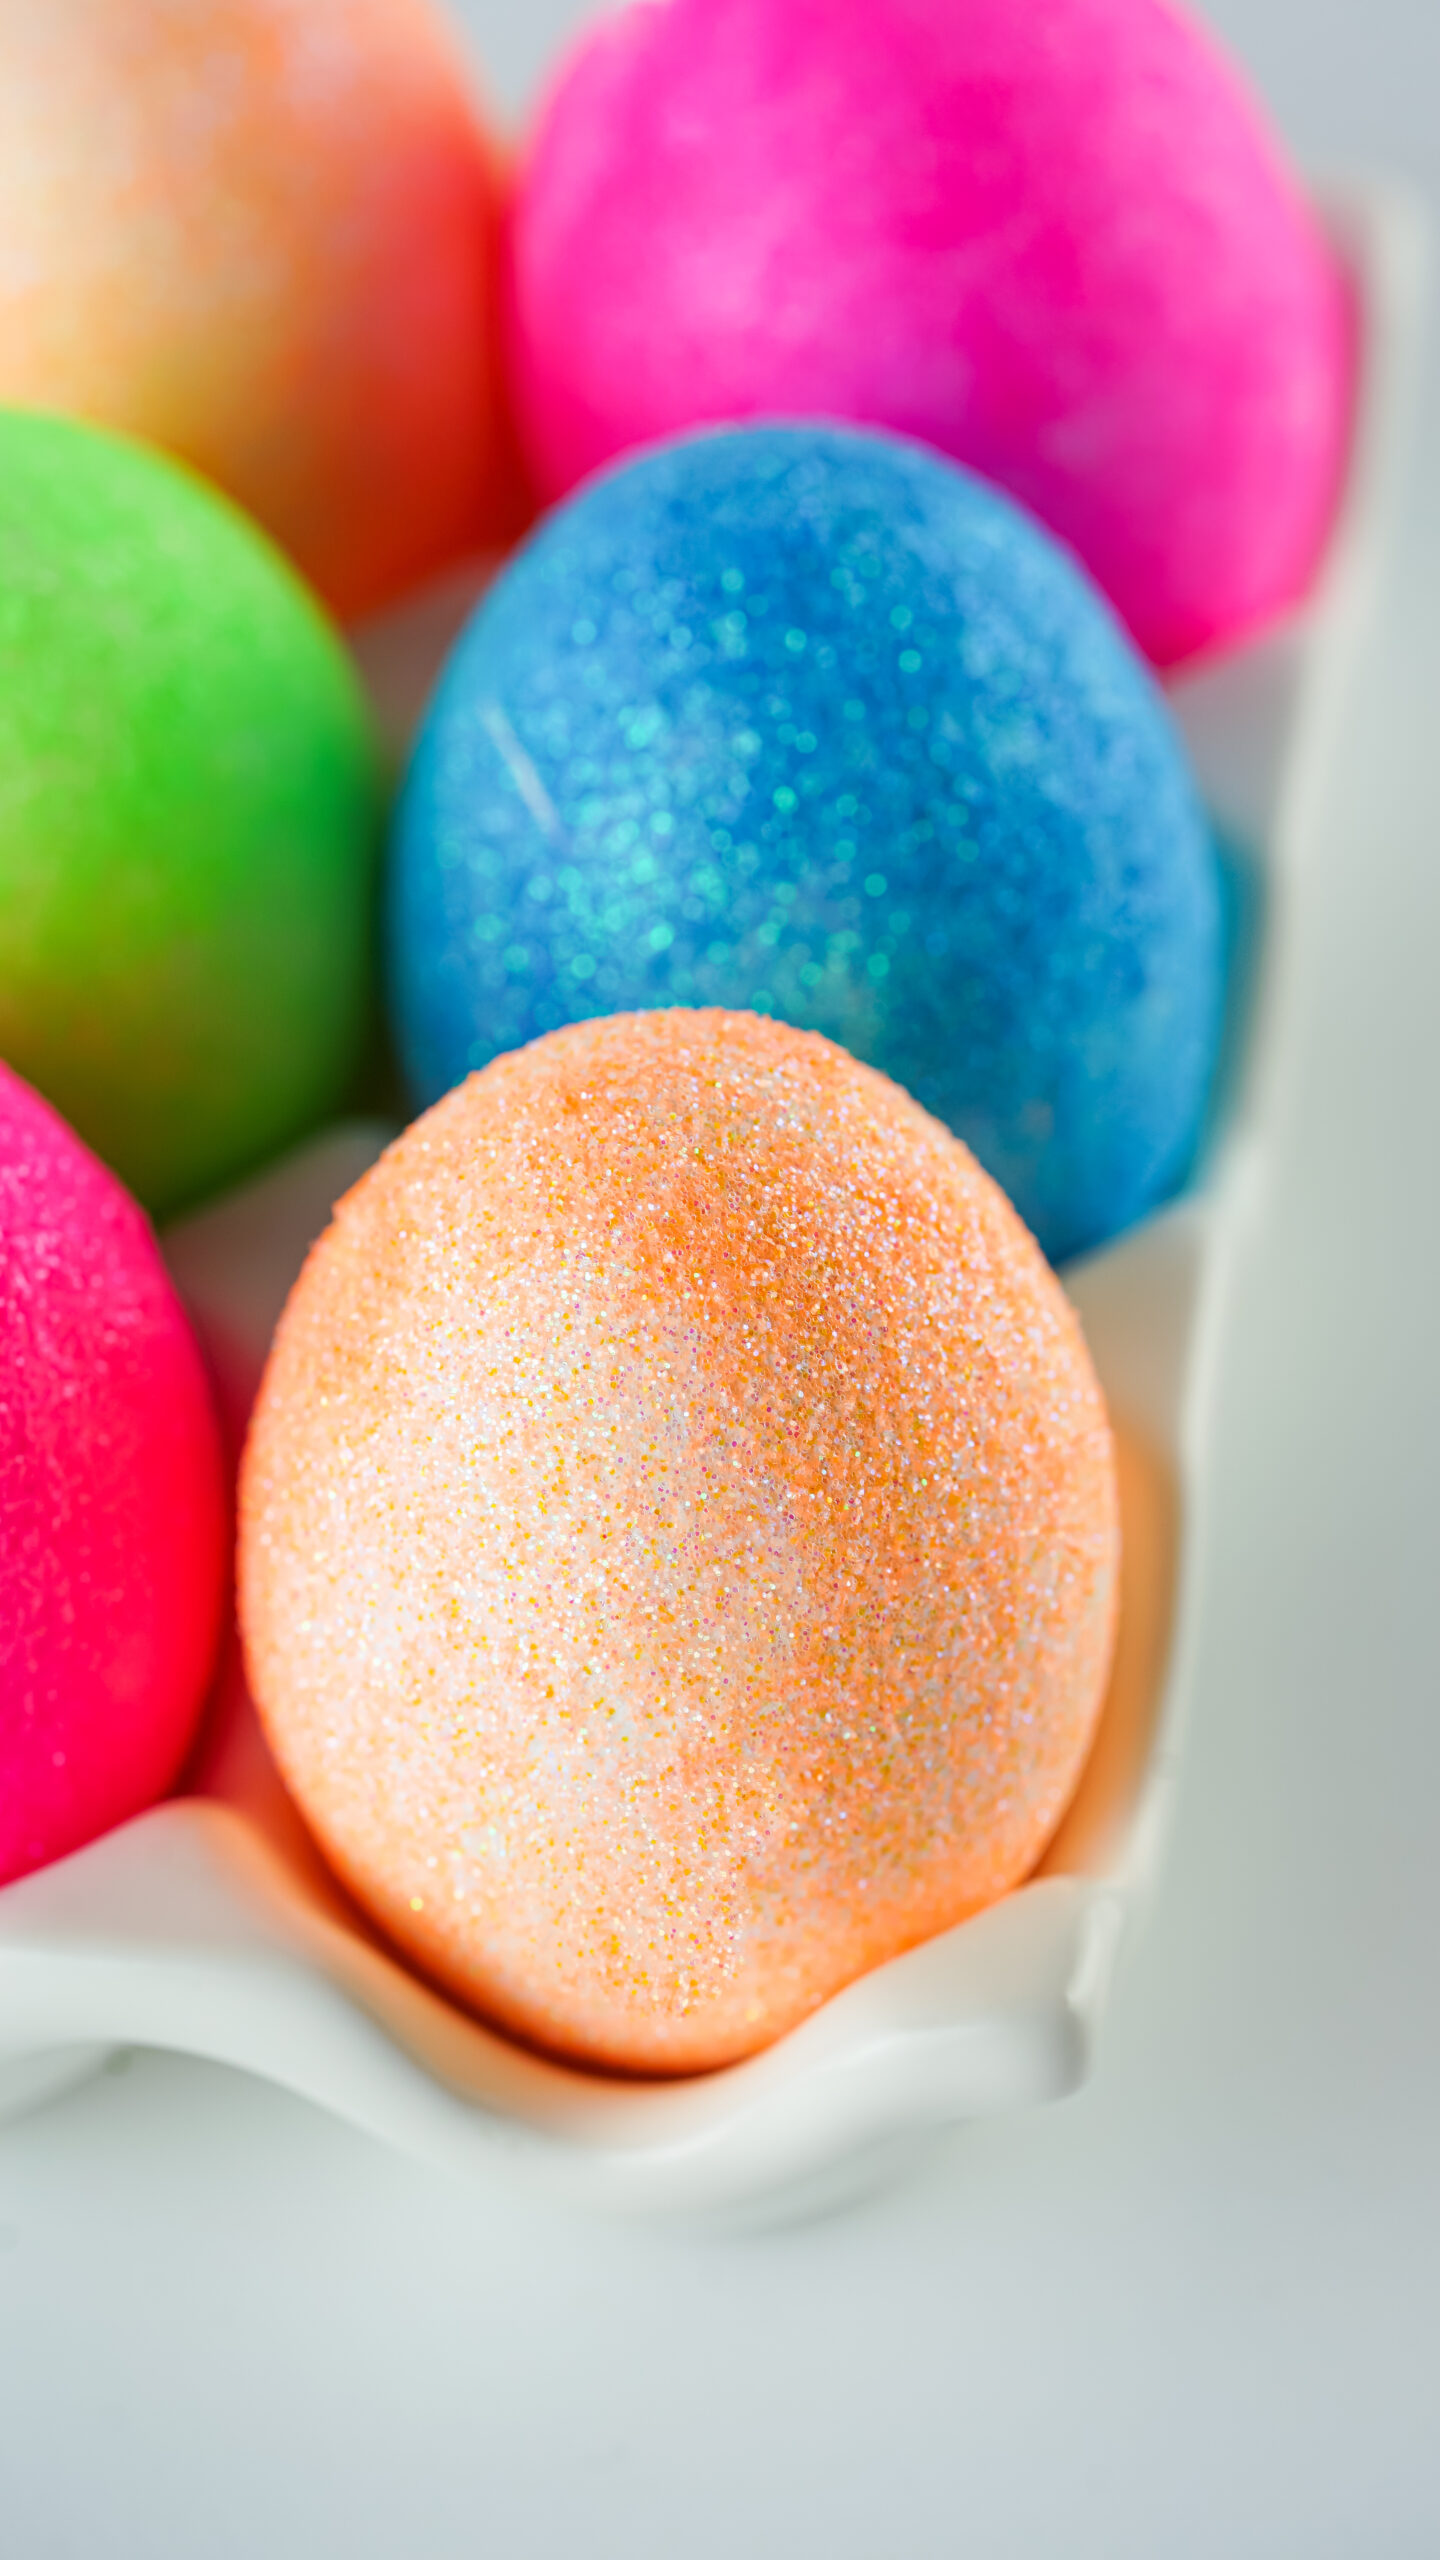
Making glitter Easter eggs is super easy, but it does require a few supplies which I will share below. The best thing about this project is that you can use whatever colors you like, the brighter the better if you ask me.
DIY GLITTER EASTER EGGS
Learn how to make the best glitter Easter Eggs with this easy tutorial. With just a few supplies you will see just how to make and decorate the best hard cooked eggs.

It’s an easy project that everyone can enjoy, whether you’re a creative foodie hostess looking for unique decorations for your Easter table or a parent wanting something fun for the kids to do over spring break!
DIY GLITTER EASTER EGG SUPPLIES
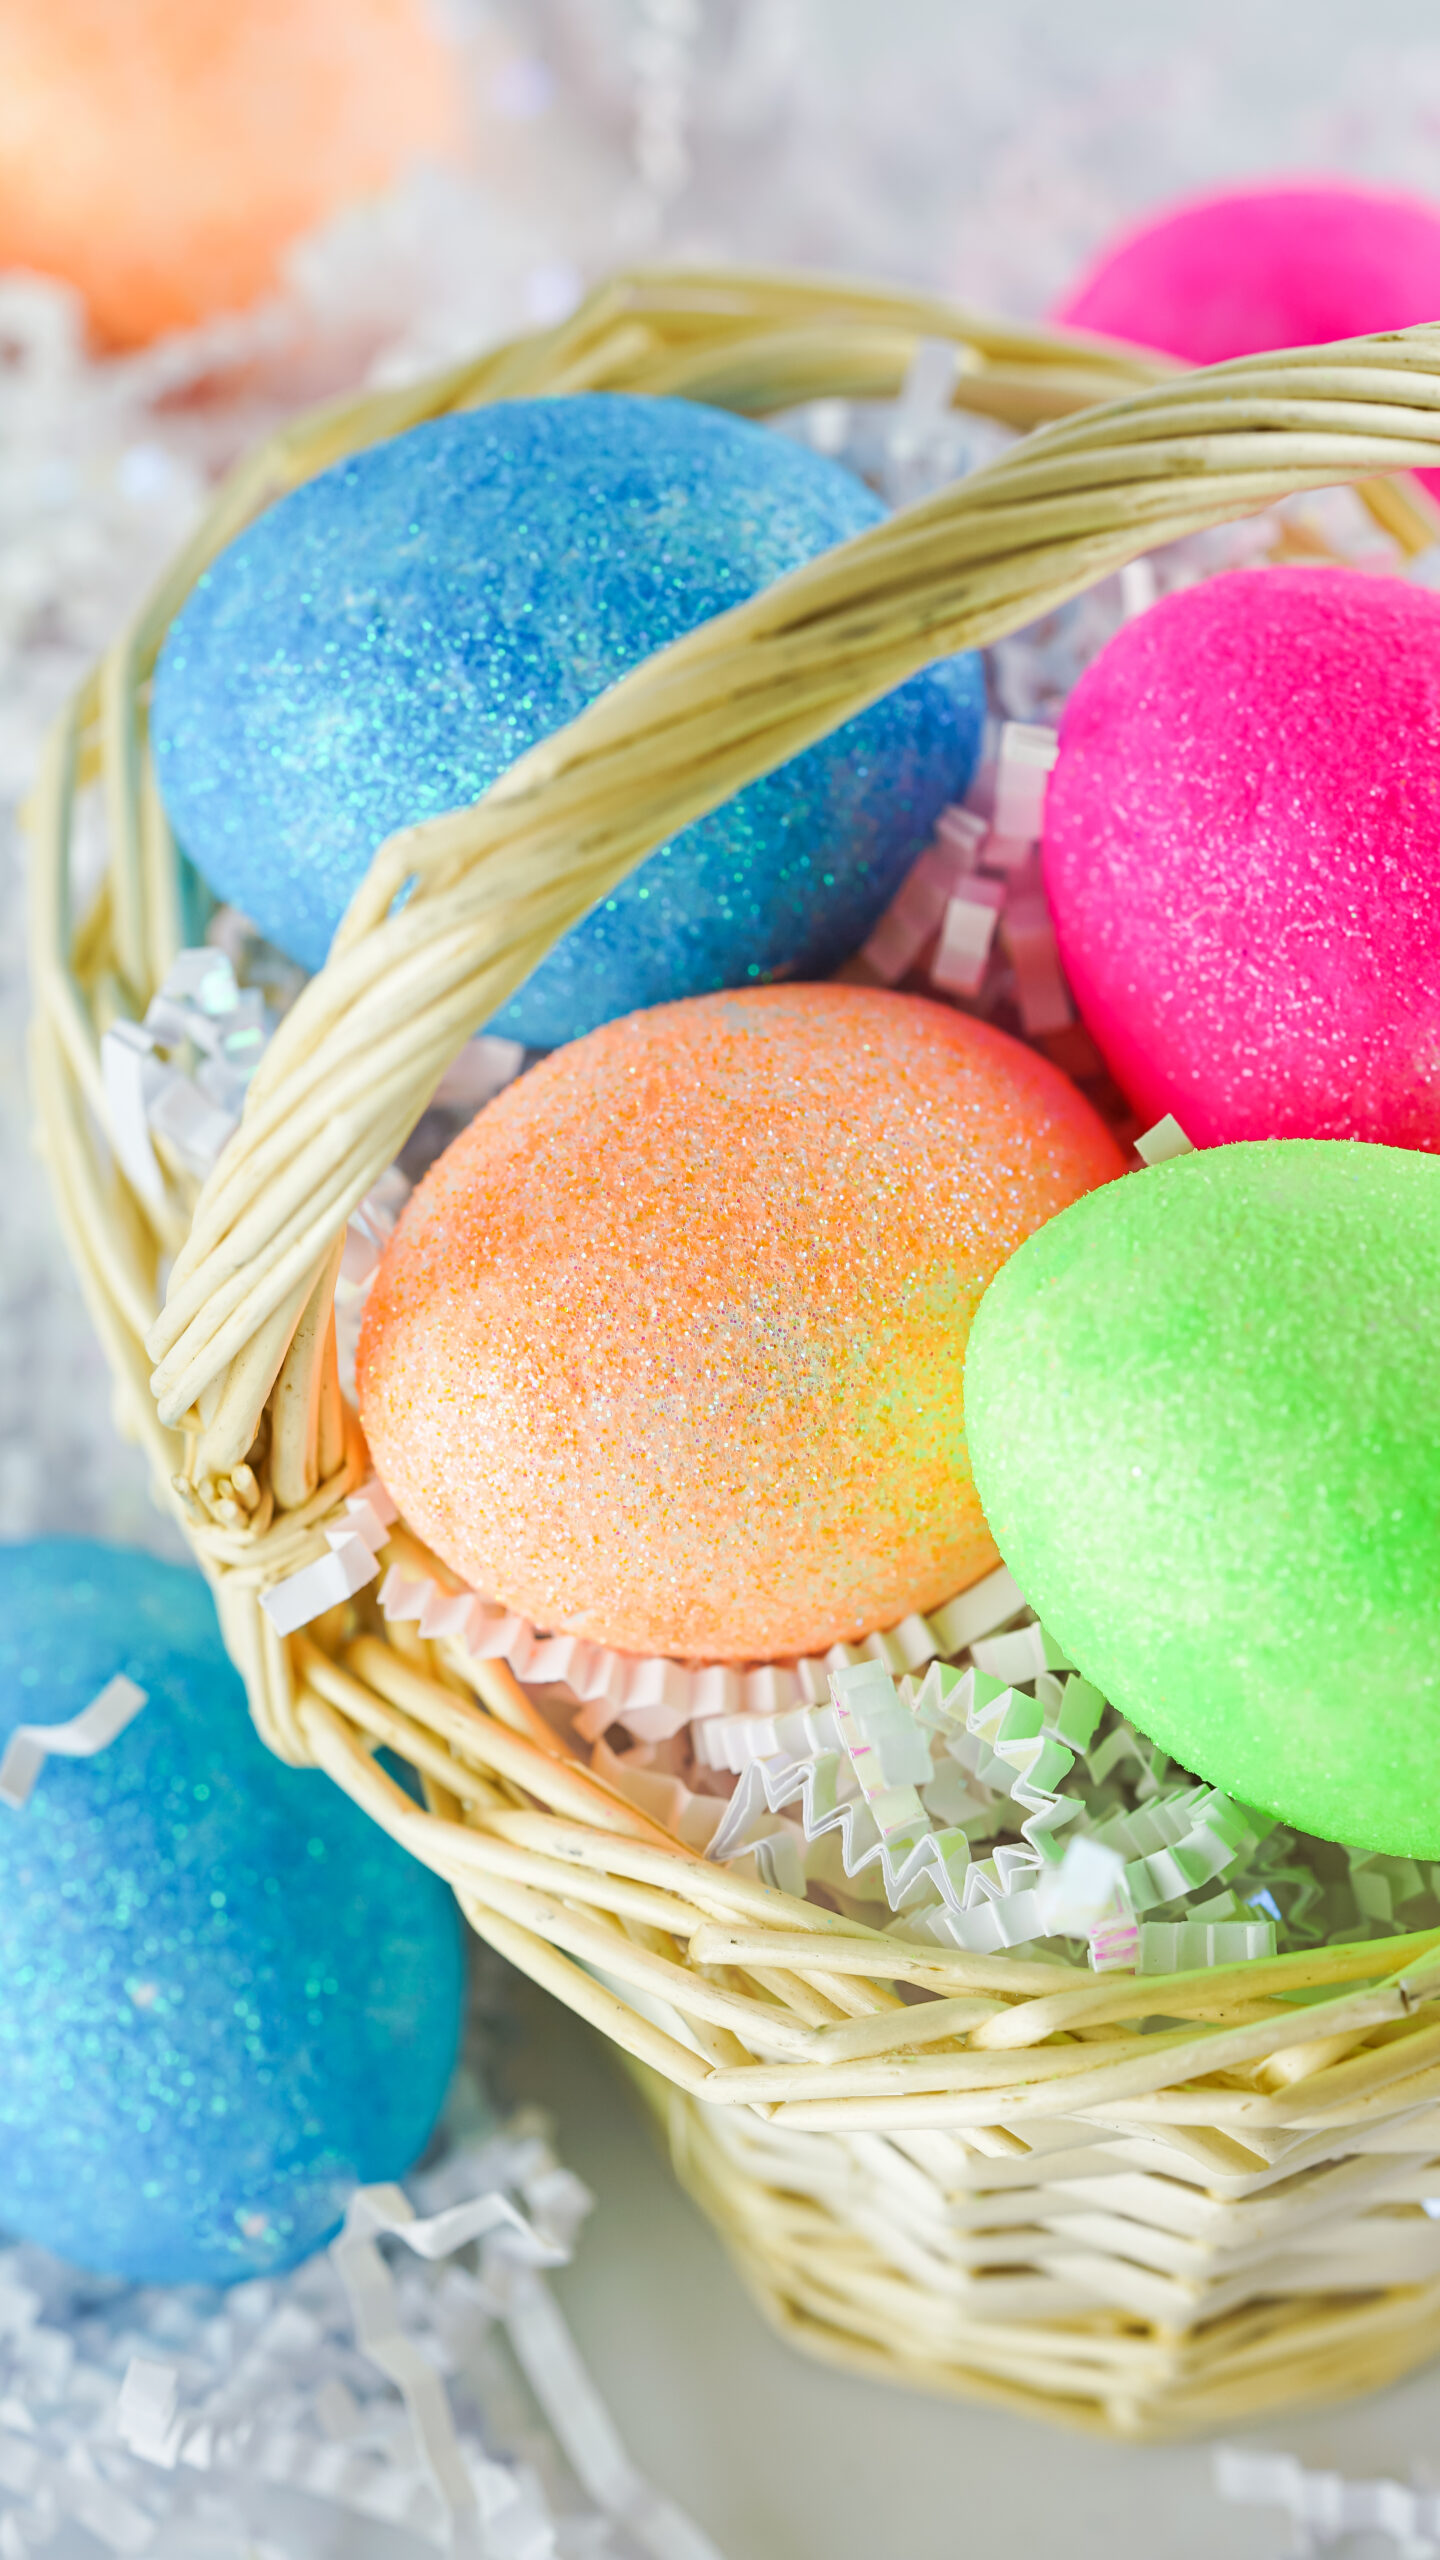
These glittery eggs will add some shimmer and shine to your holiday celebration this year! All you need are some simple supplies and some colorful glitter for beautiful results. Here is the list of items used:
- Boiled Eggs
- Fine Glitter
- White Craft Glue
- Paint Brush
- Quart Sized Baggies
- Hairspray (optional)
HOW TO MAKE DIY GLITTER EASTER EGGS
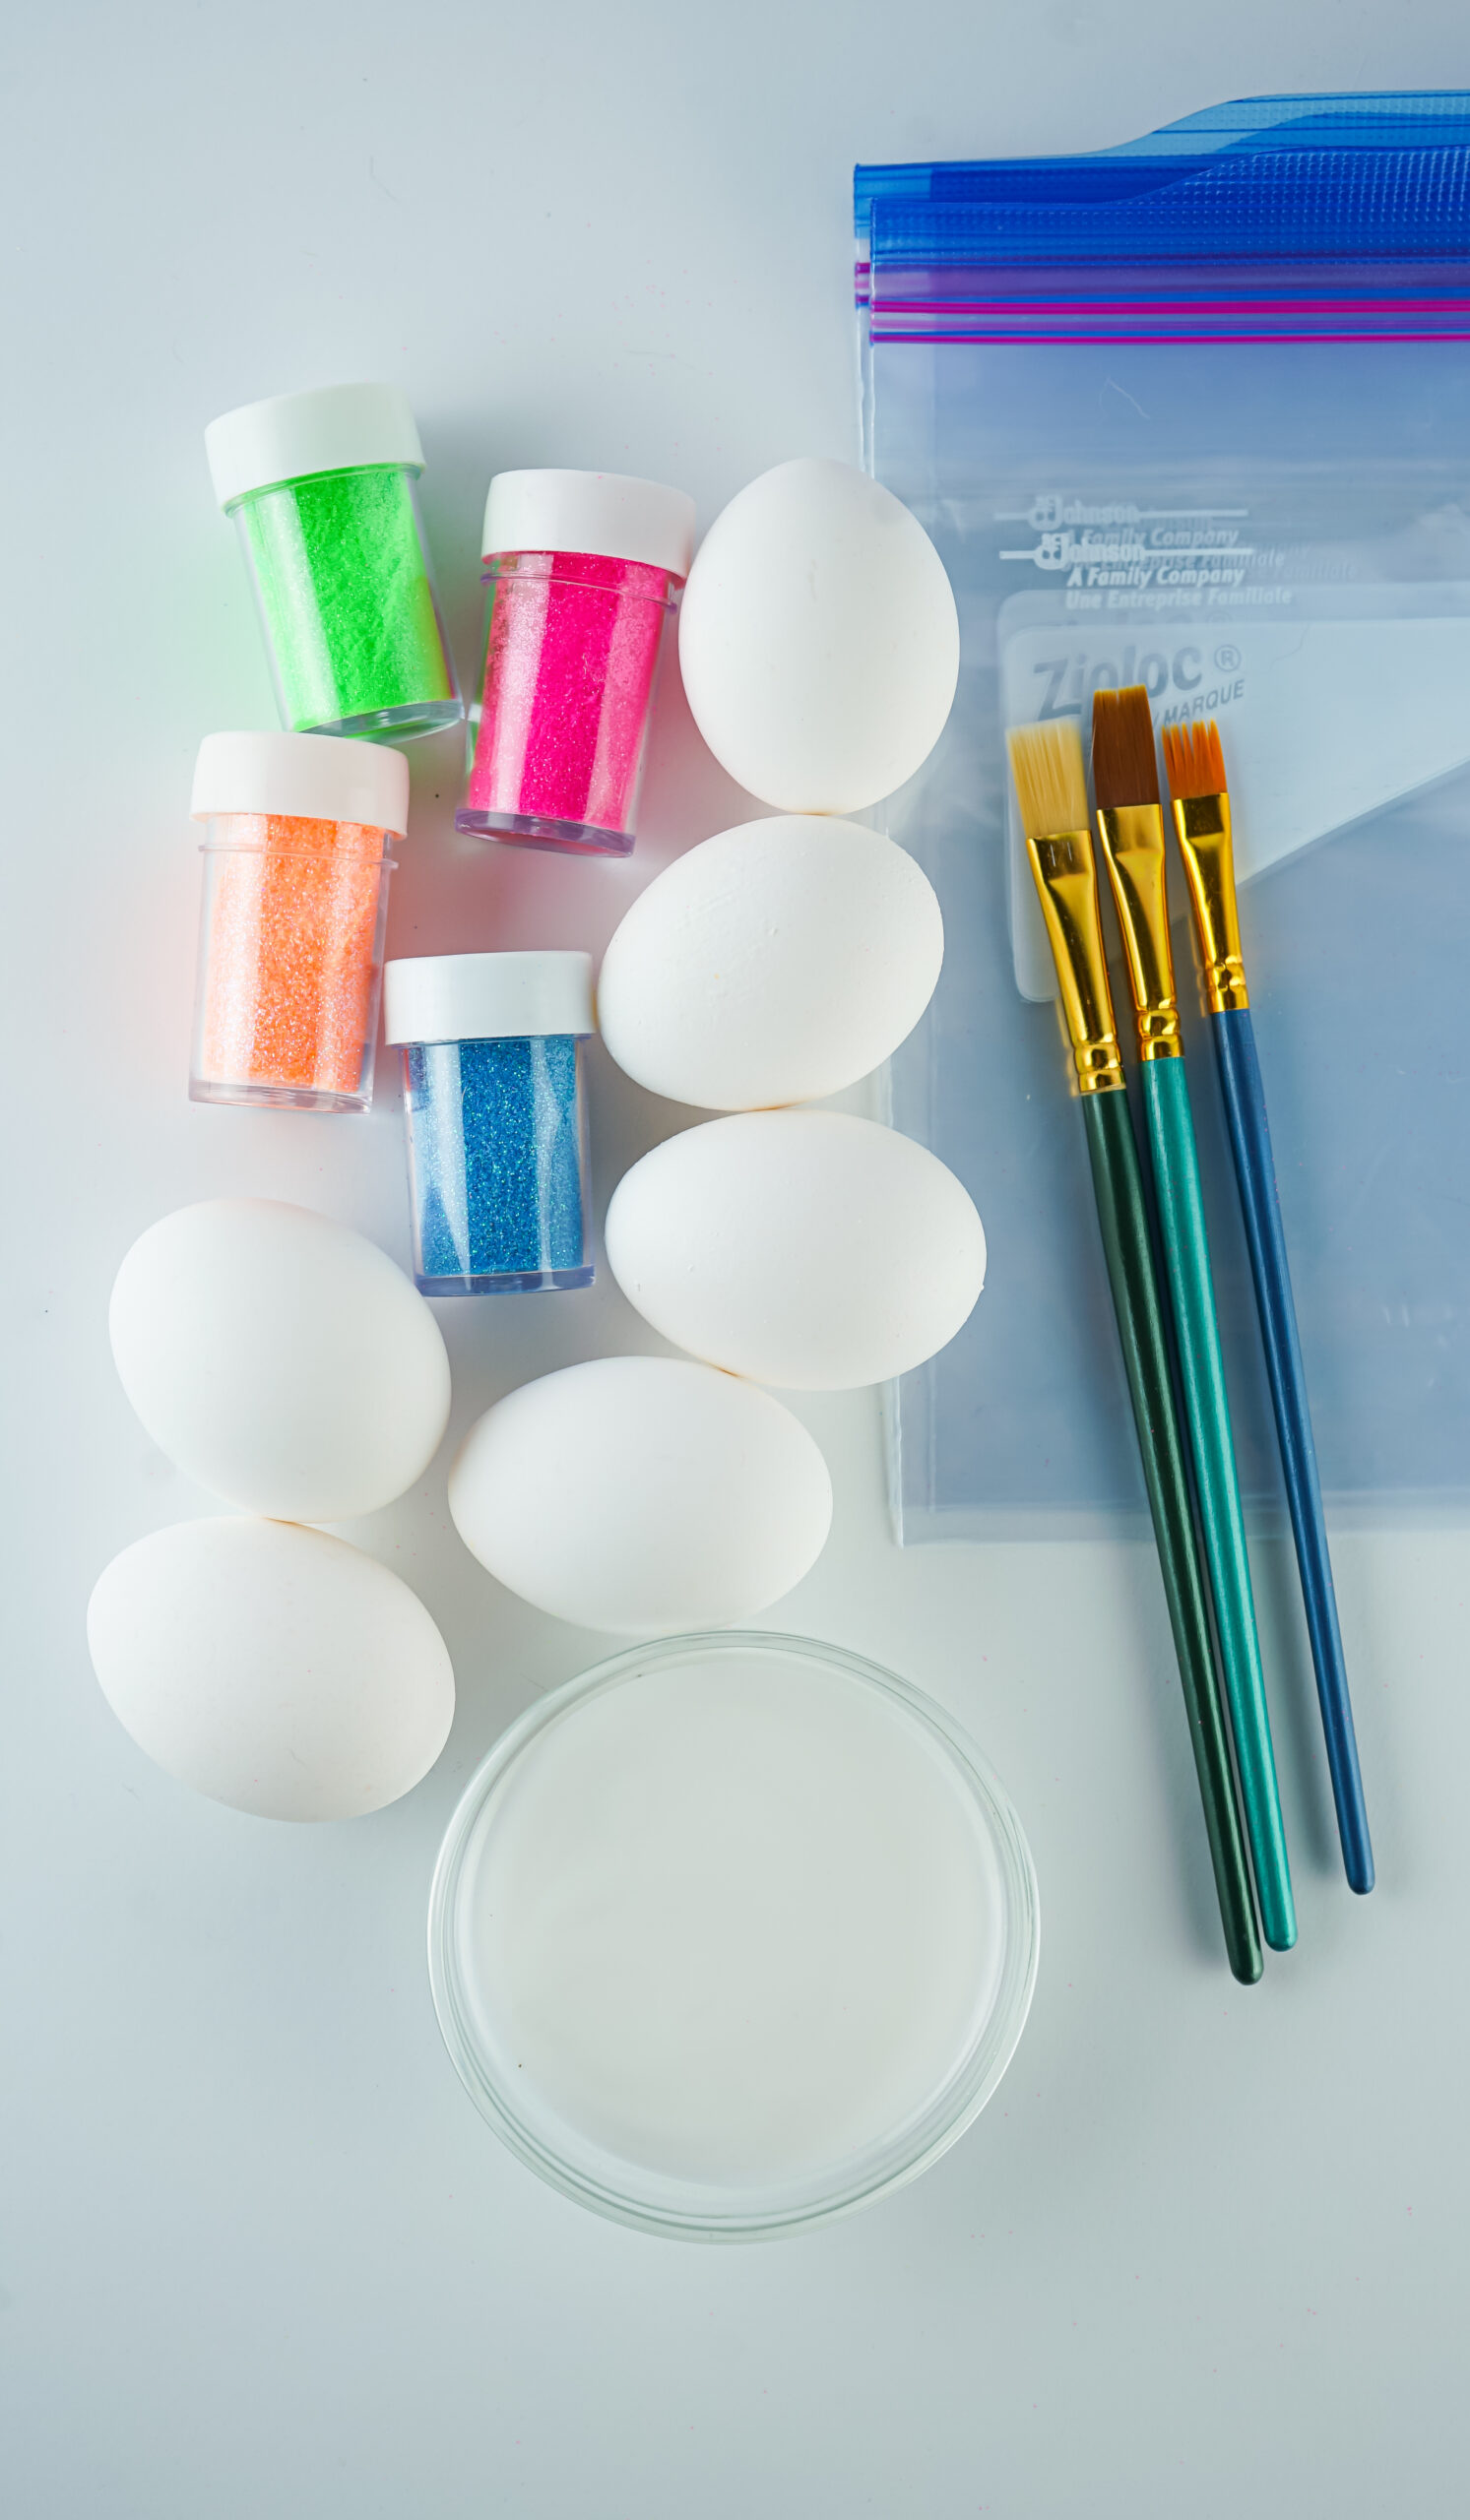
Add a touch of sparkle to your Easter Sunday! Making glitter eggs is the perfect way to make this holiday extra special and add some creative flair. So grab your supplies today and get ready for an unforgettable Easter celebration with these wonderful sparkling creations!
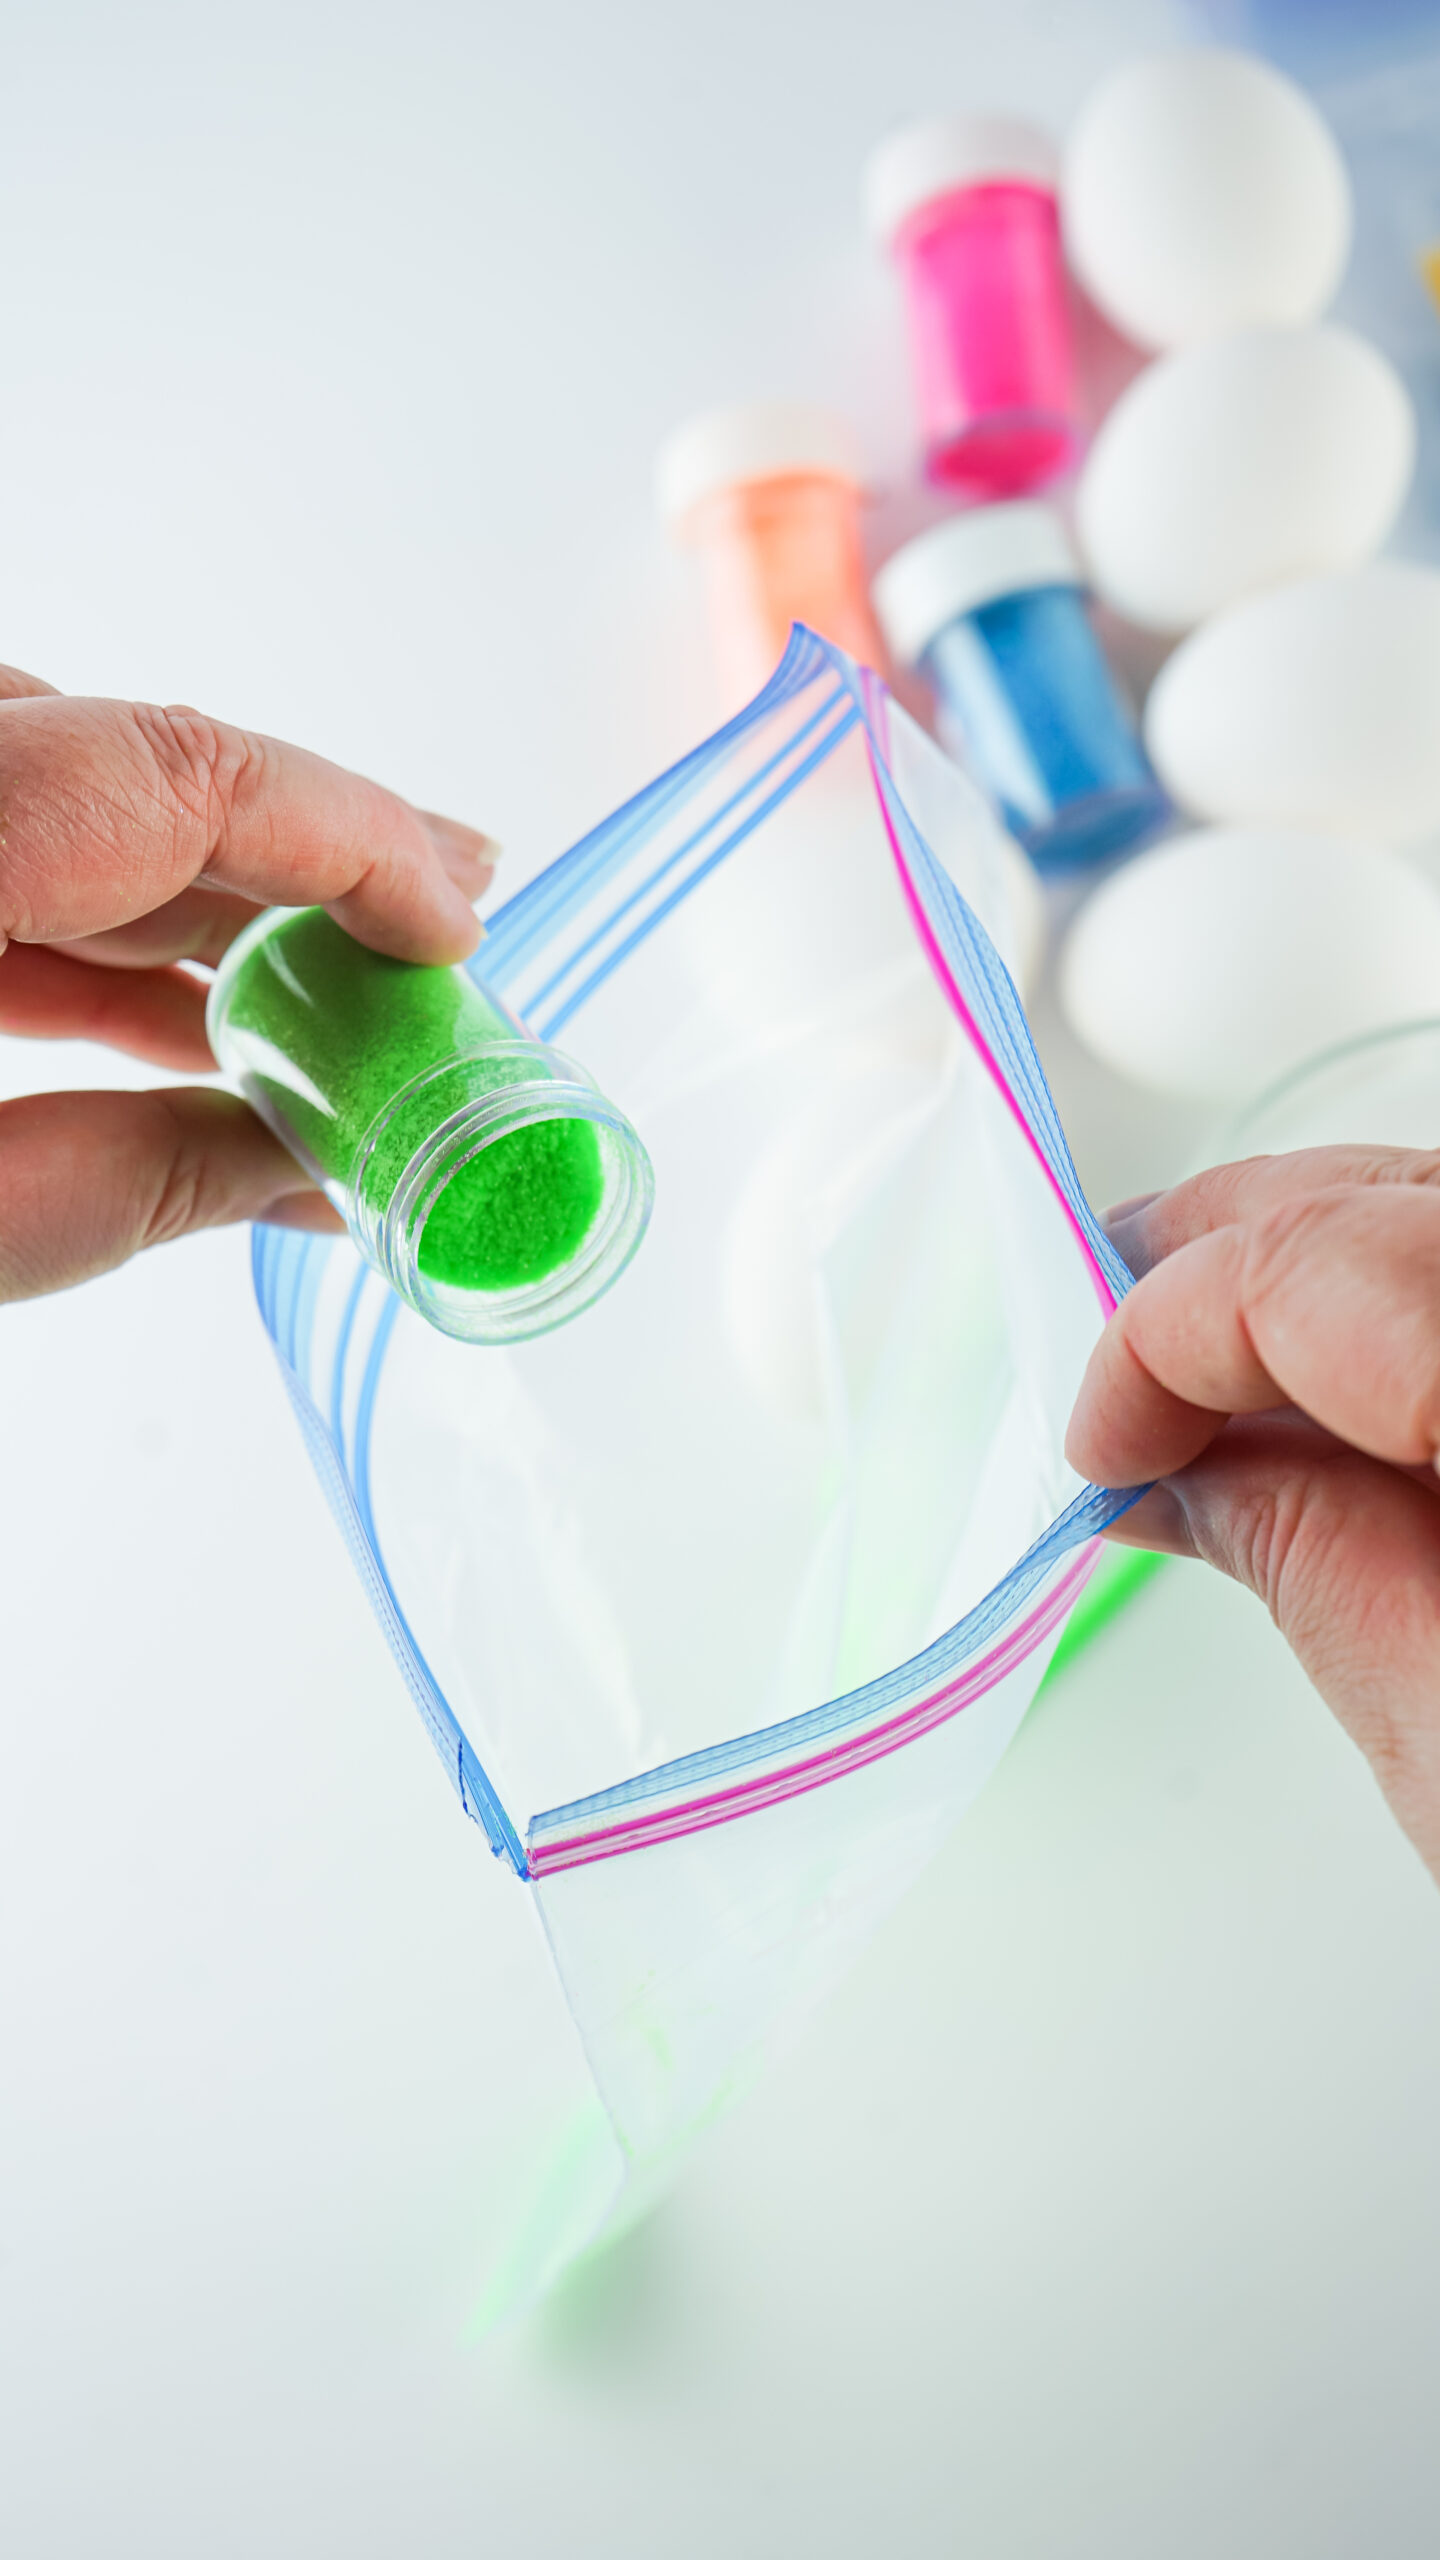
Here are the simple steps to make these. Be sure to save or print in the craft card below.
Begin this craft by placing a small amount of white craft glue into a small bowl.
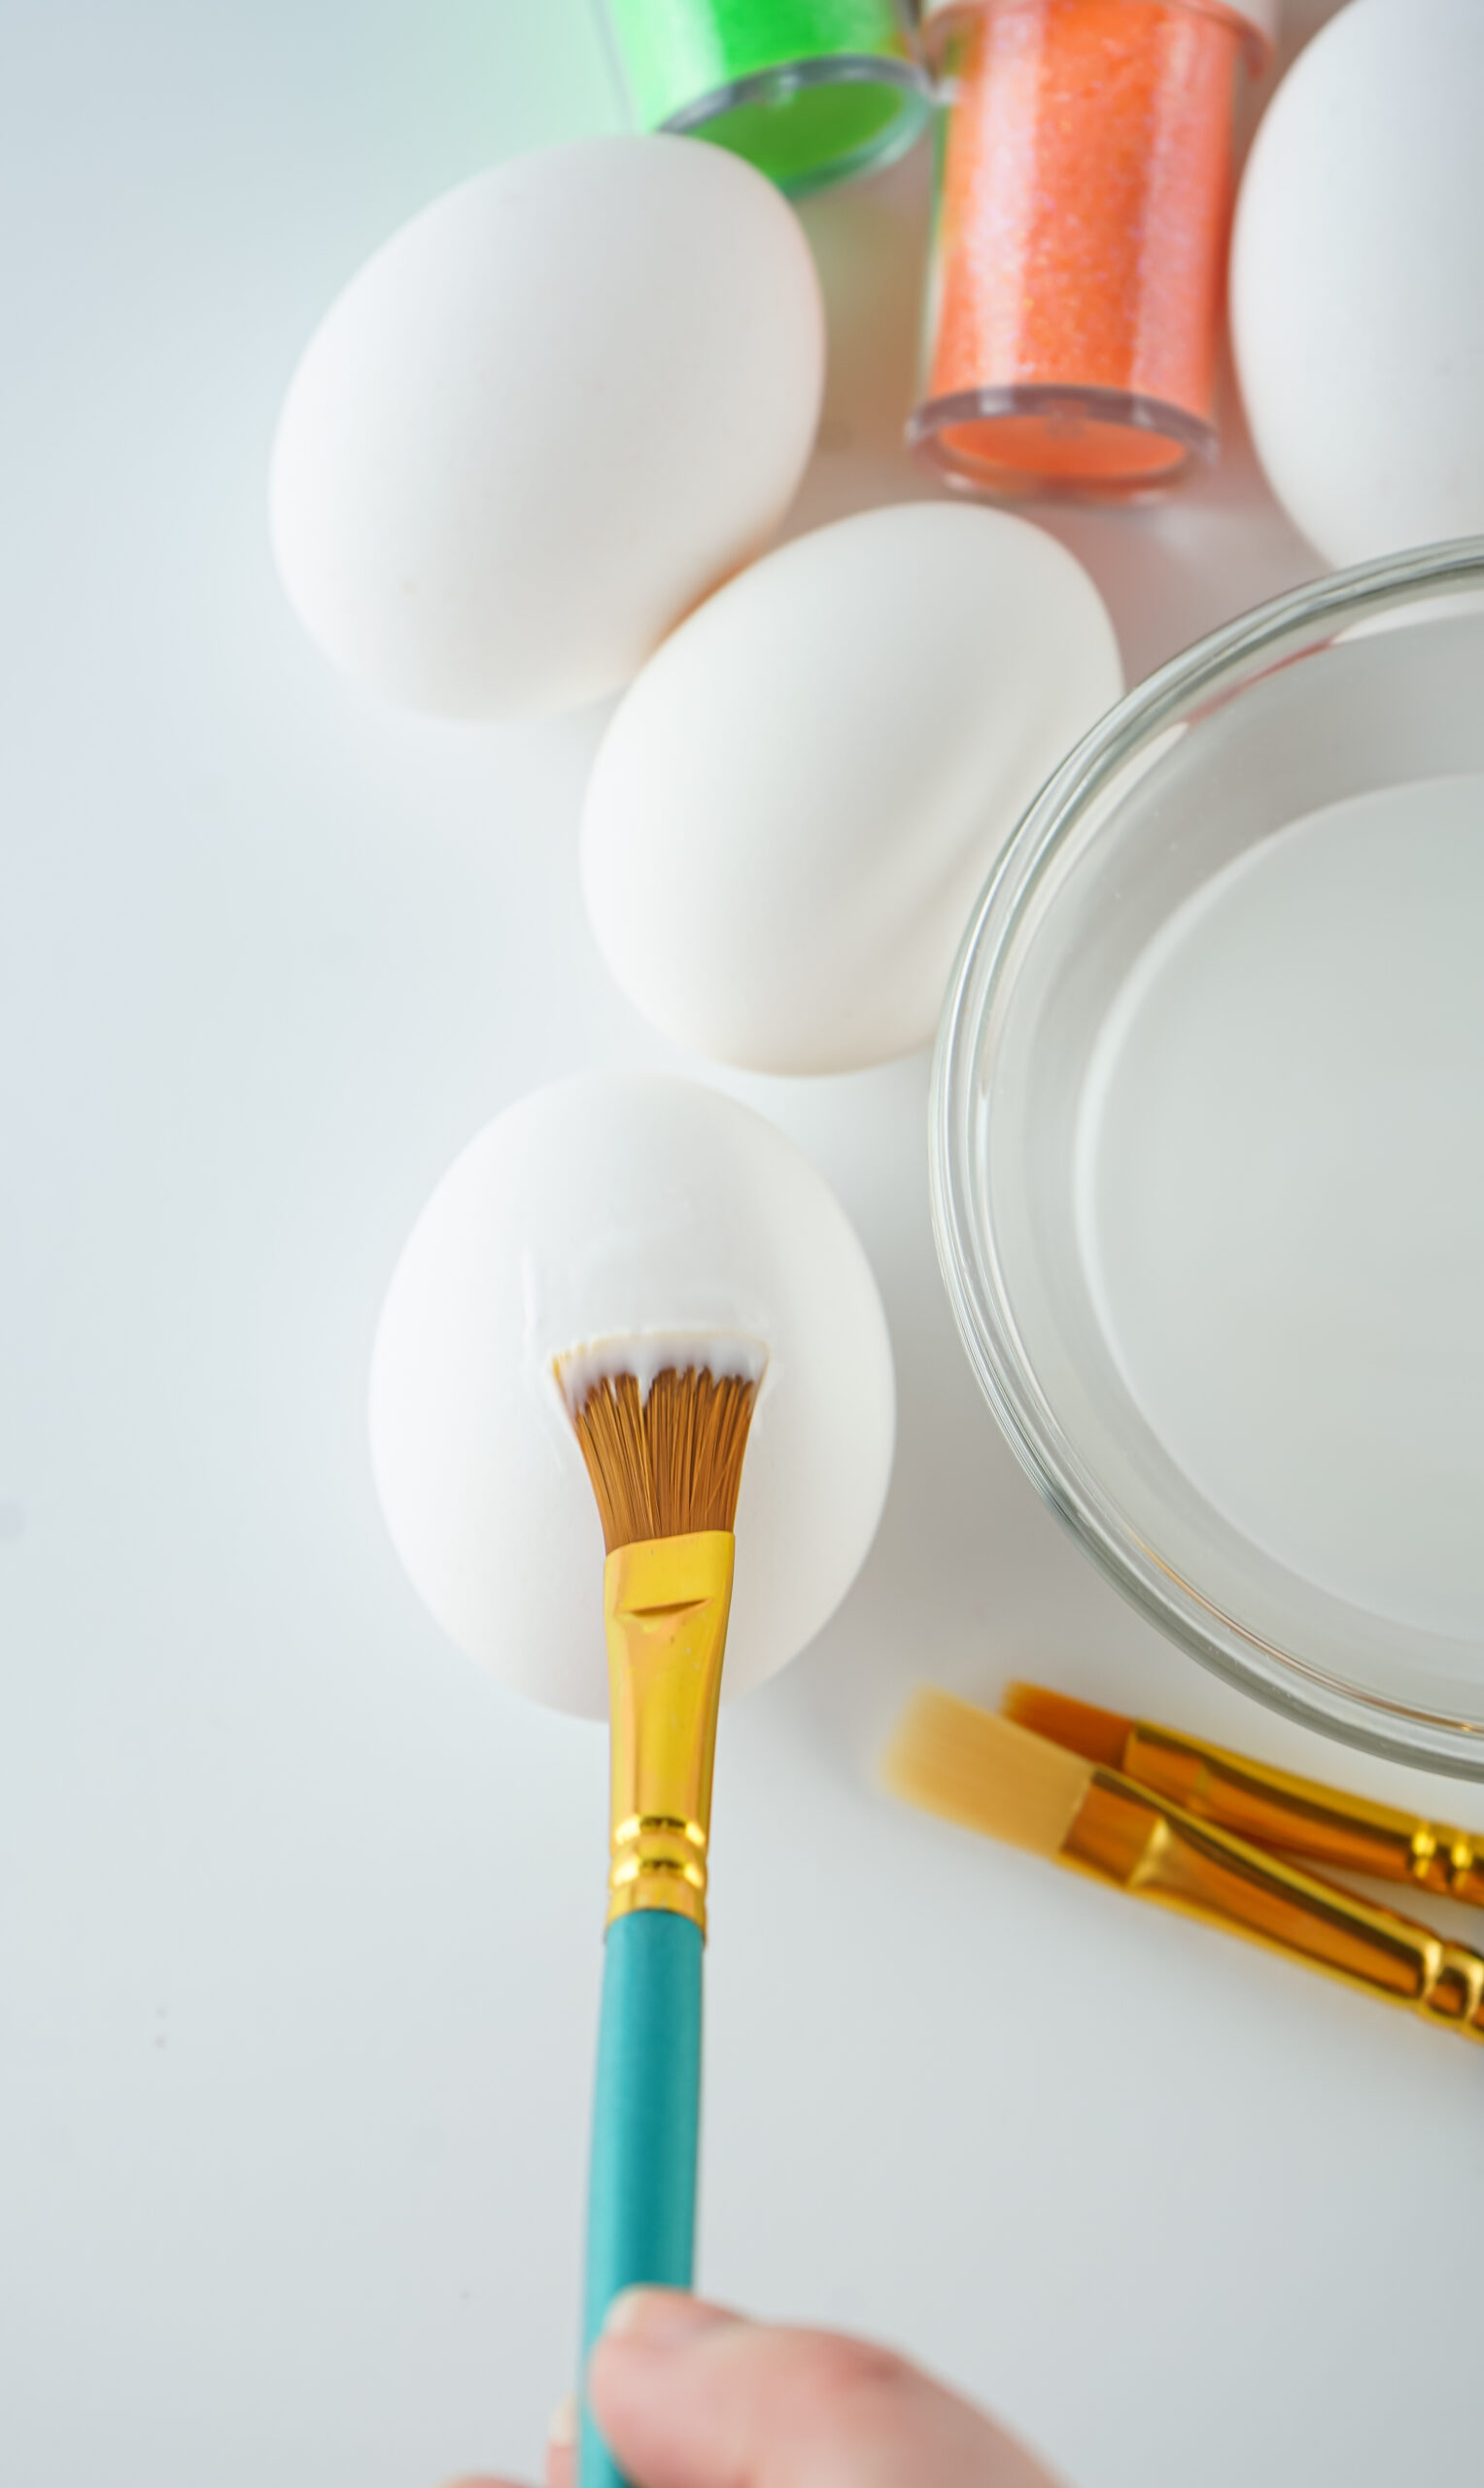
Be sure that your boiled eggs are nice and dry before getting starting.
In quart-sized plastic baggies, add some of each color of glitter. Don't mix the colors. Add a couple tablespoons of each color into separate baggies.
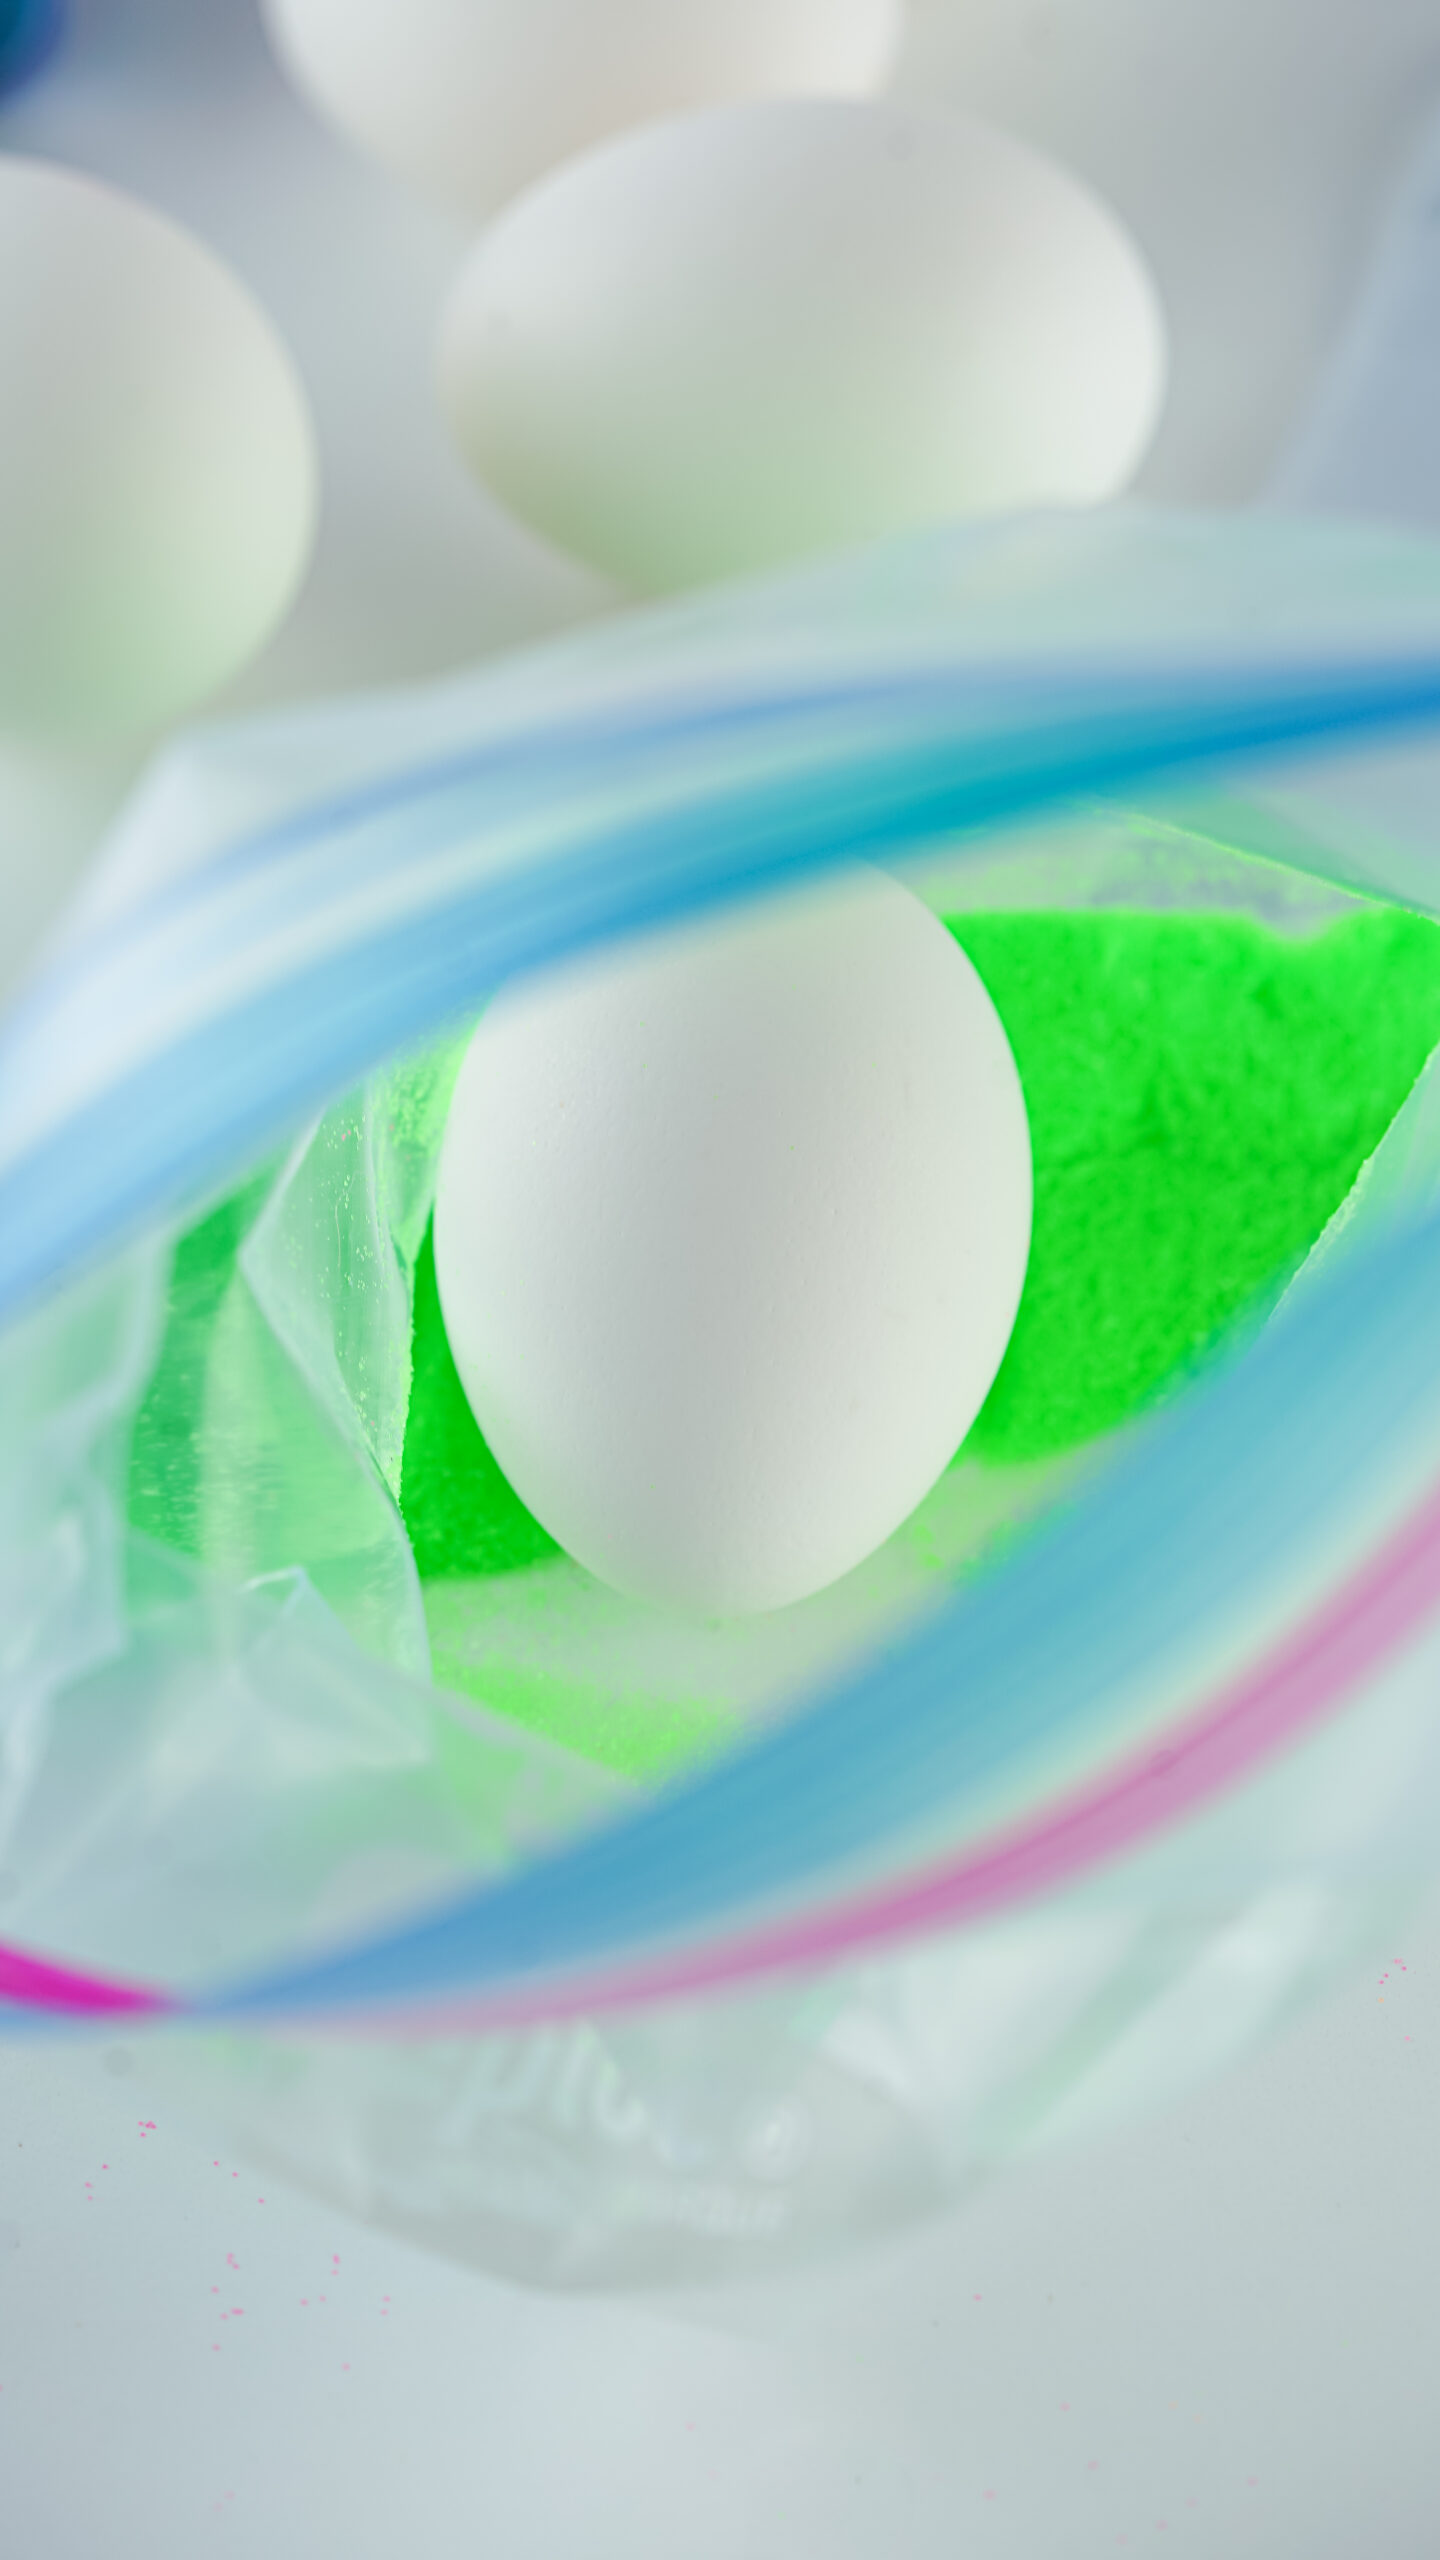
Use the paint brushes to coat one egg at a time in the glue. Make sure you check carefully to cover every area of the eggs.
Gently drop each coated egg in the bag of colored glitter of your choosing. Gently roll it around in the glitter, being careful not to let the egg touch against the sides of the bag too much.
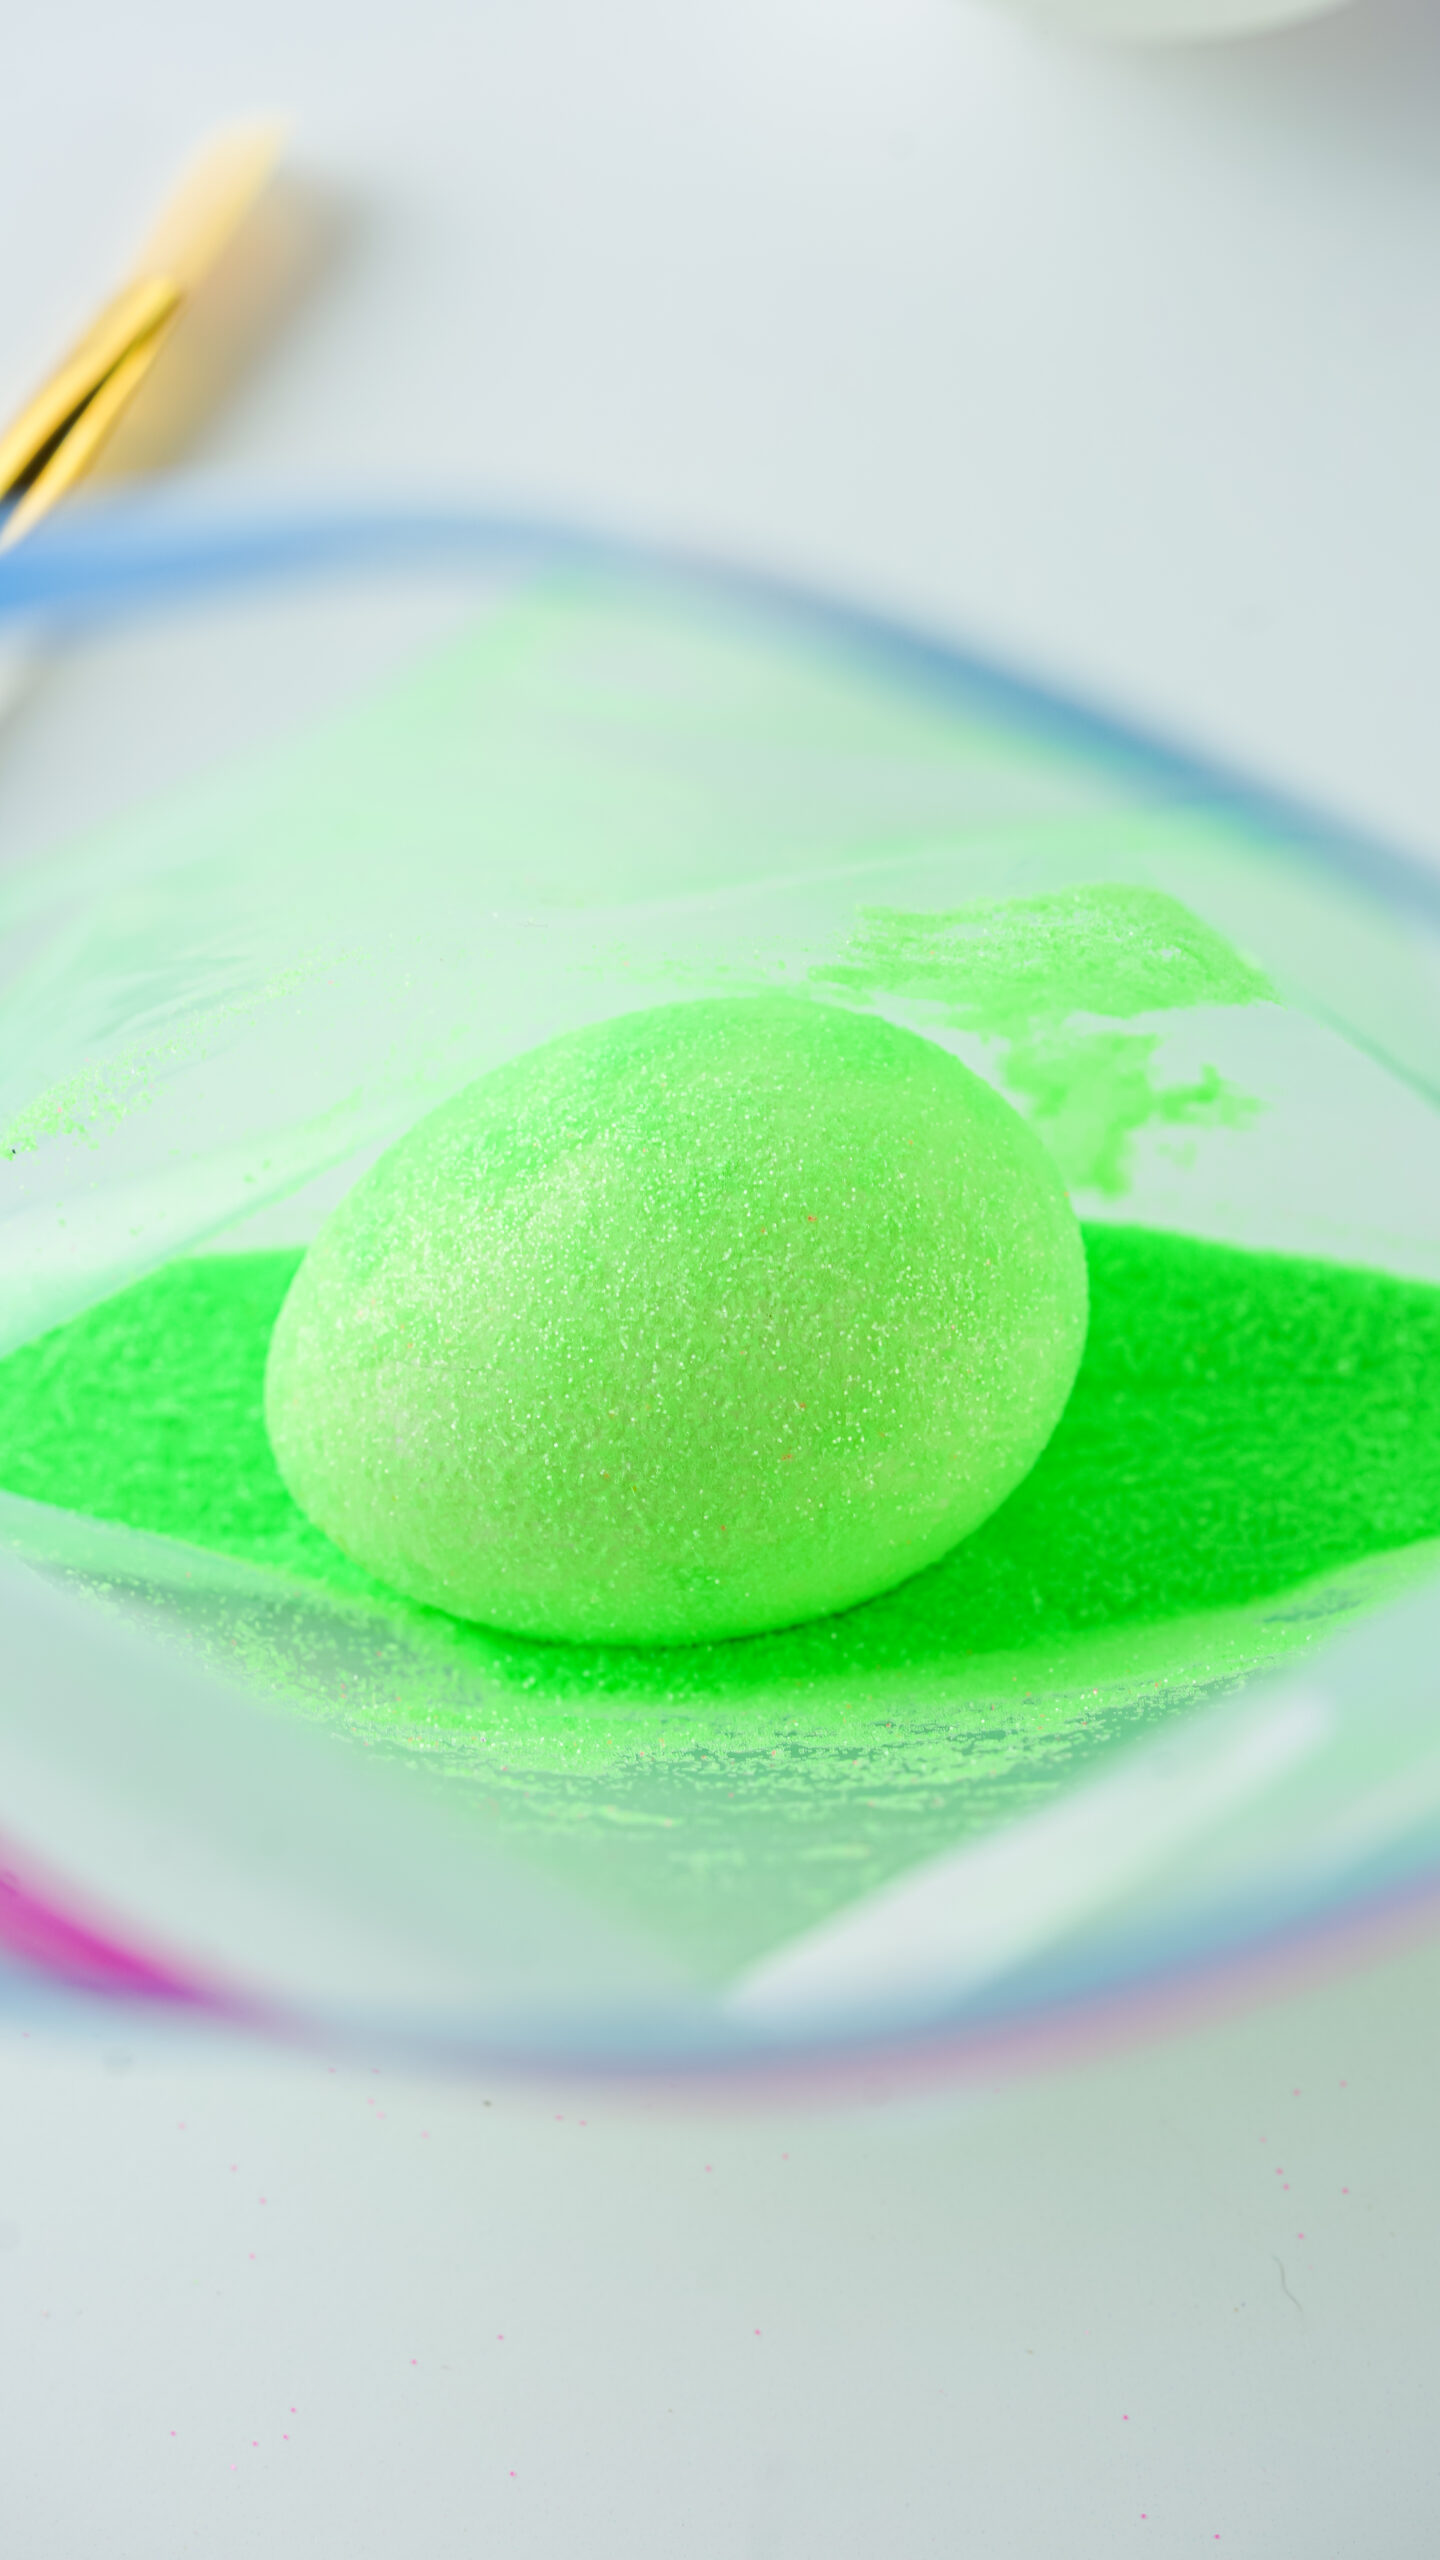
When each egg is nice and coated, leave it in the bag and lay it flat for about about 2 minutes each.
Carefully remove the egg from the bag and if there are any spots that didn’t get coated, you can gently apply glue in just those spots. Then place the egg back in the bag. Repeat the process before moving on.

Once each egg is coated to your liking, you can spray the egg with hairspray and gently sit it down without scraping the sides to let it dry for about 8 minutes.
The hairspray helps the glitter to not shed near as much which is a brilliant hack.
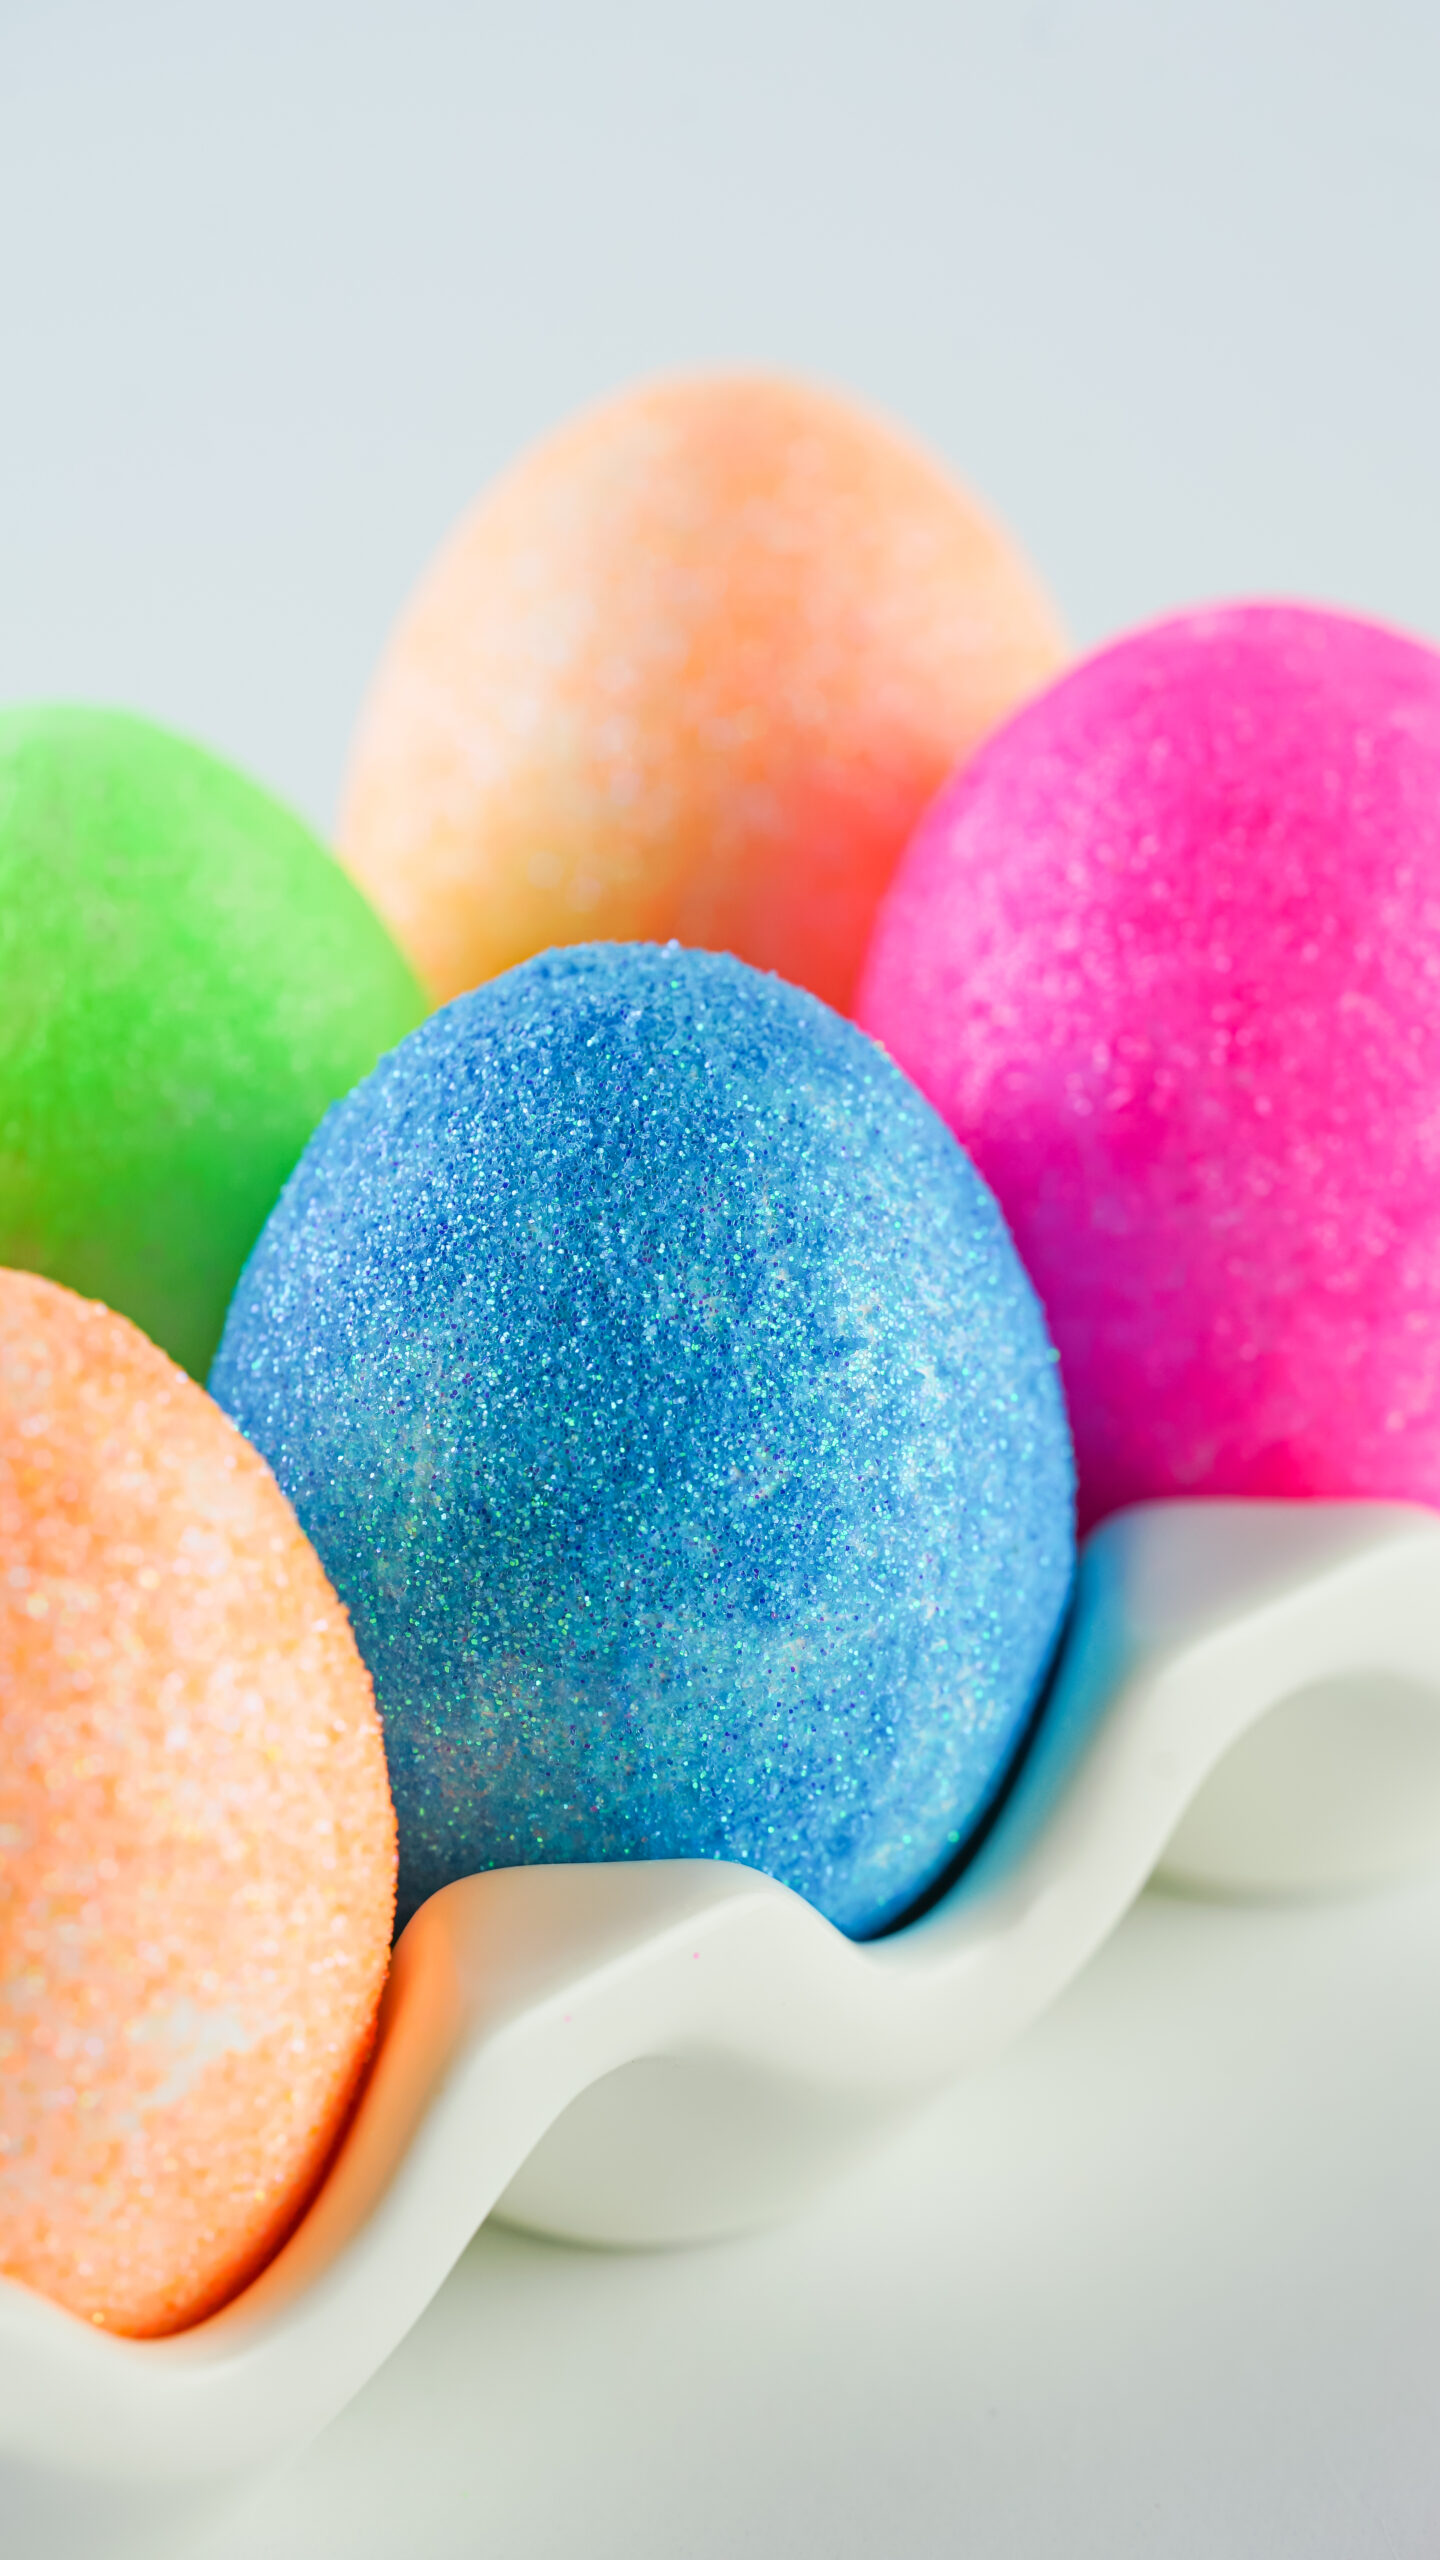
Once the eggs are completely dry, enjoy displaying them this Easter.
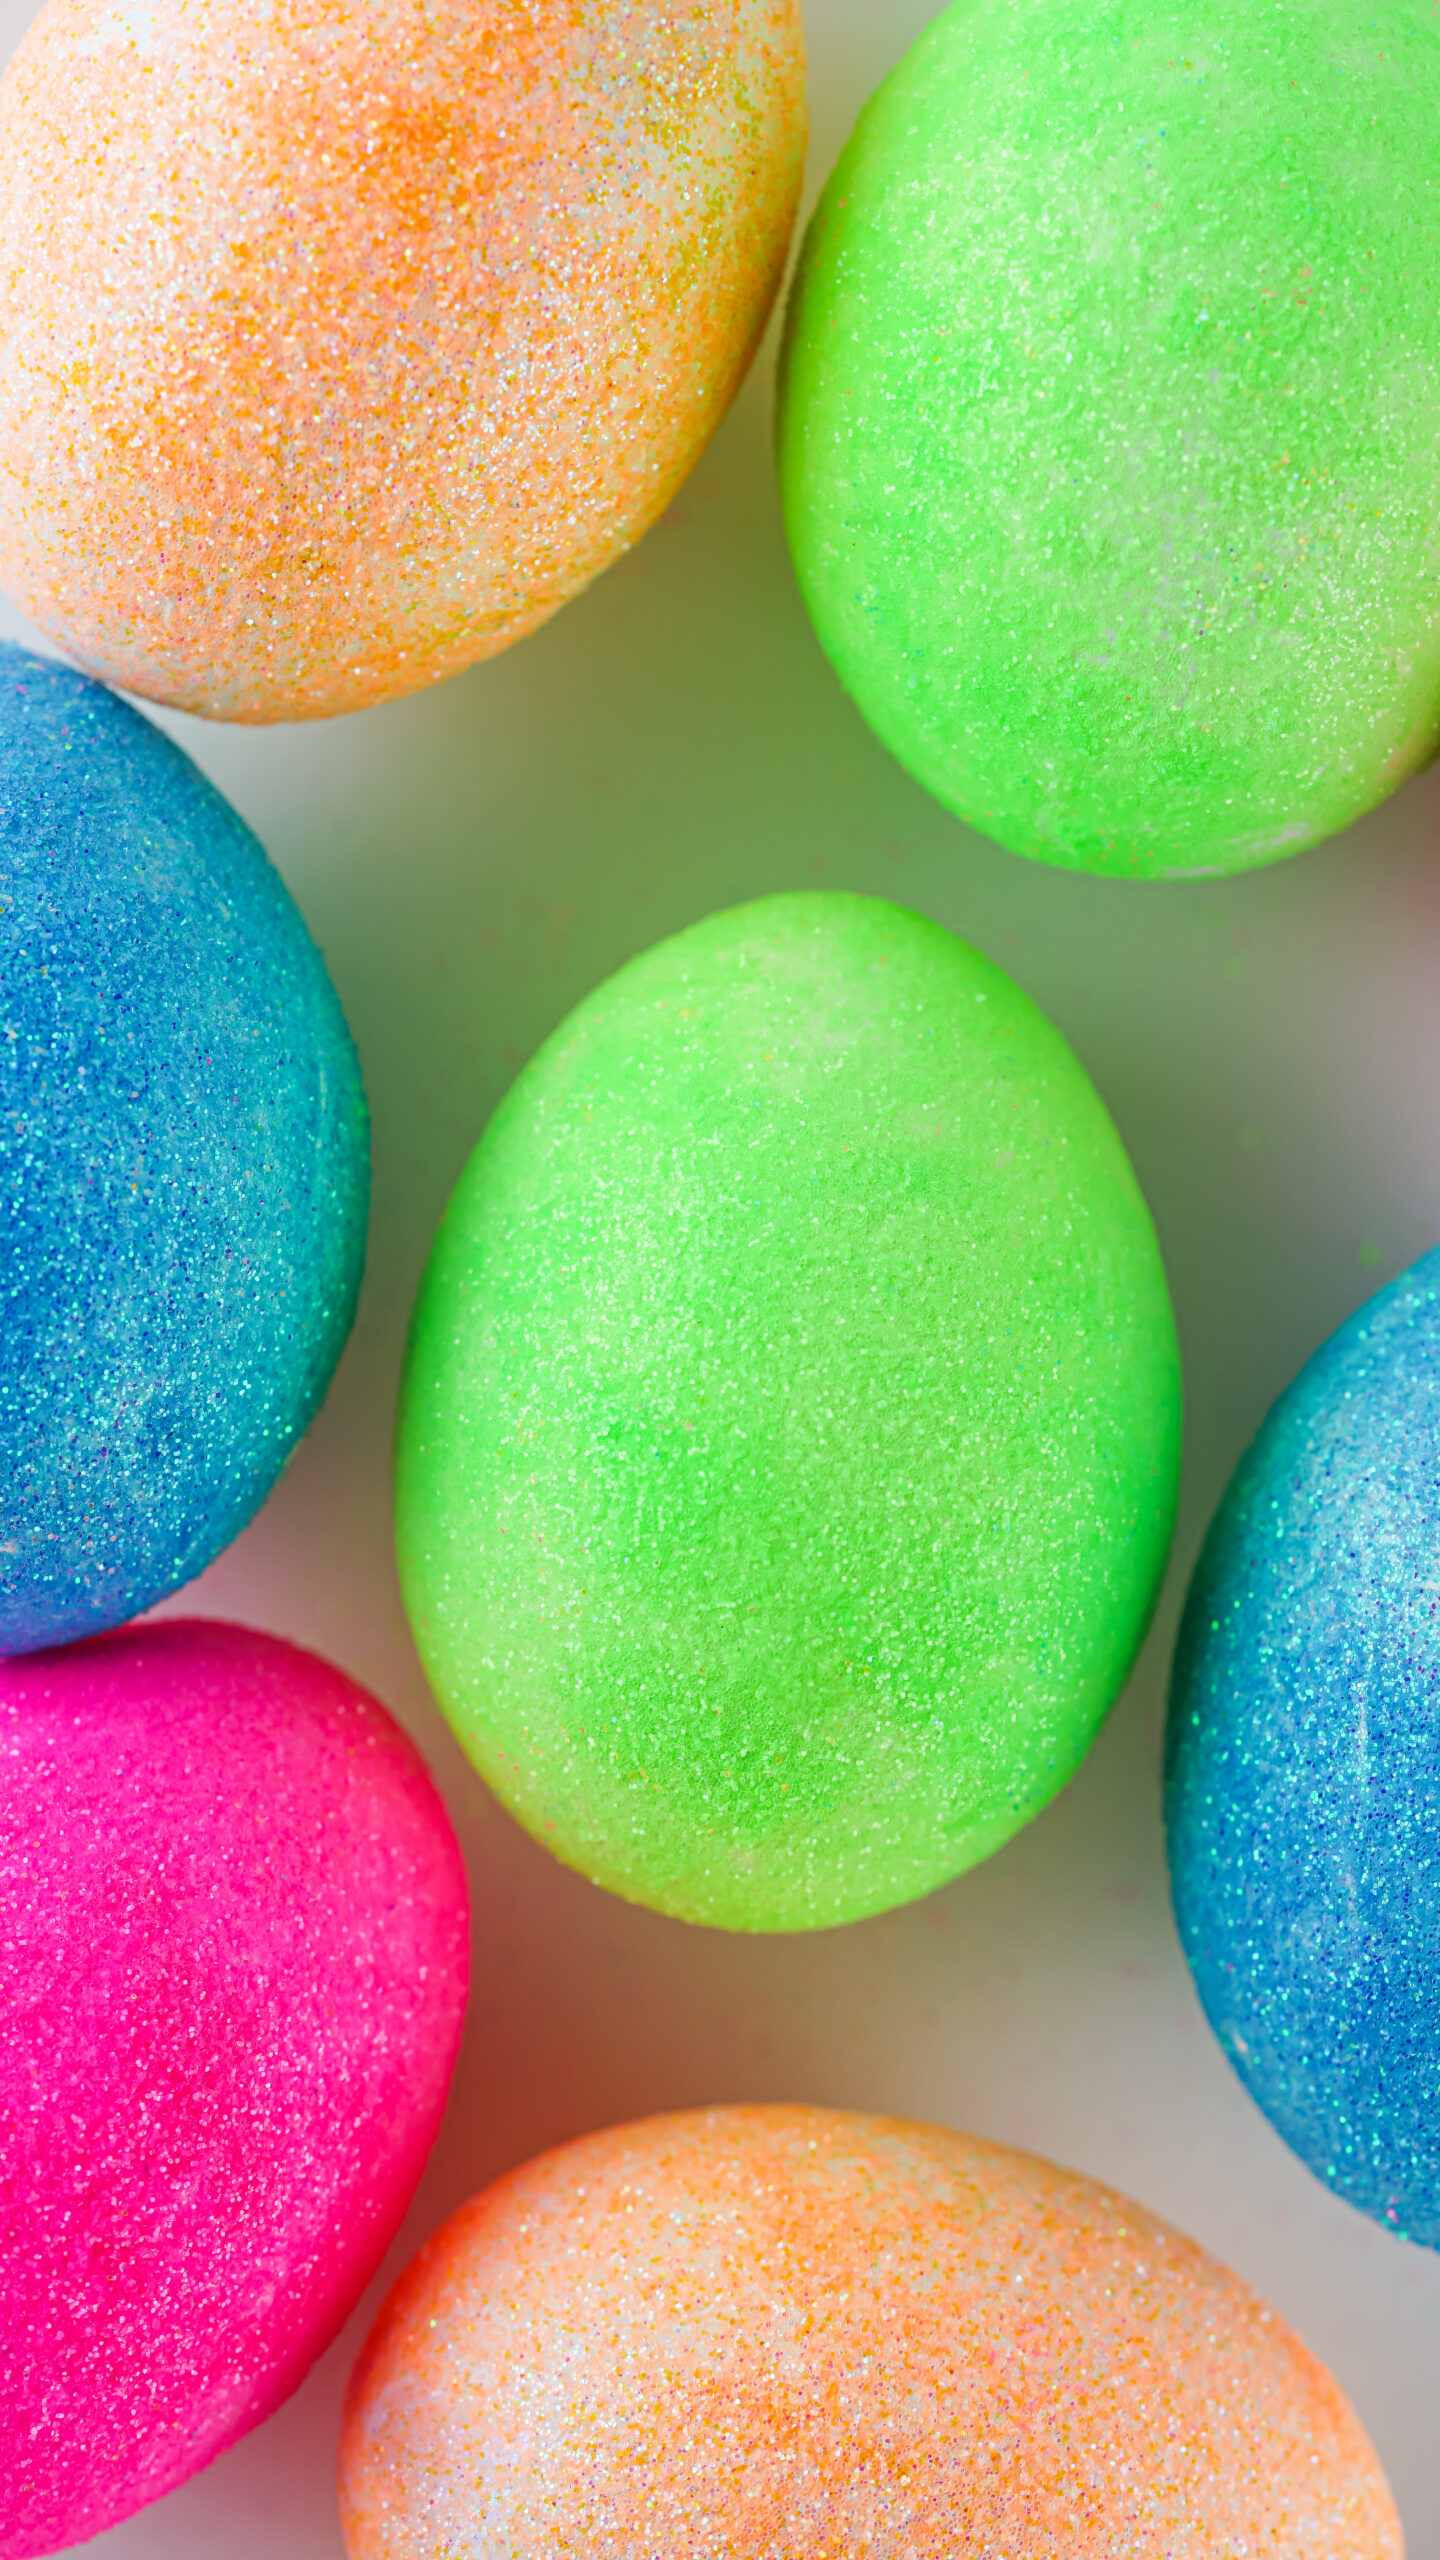
Get ready for a sparkly Easter! Make your own dazzling eggs and watch the festivities come alive with fun.
MORE SPRING CRAFT IDEAS
Try this alternate glitter Easter Egg idea.
Make these sweet floral hair pins for spring.
Try making these pretty pastel butterfly pretzels.
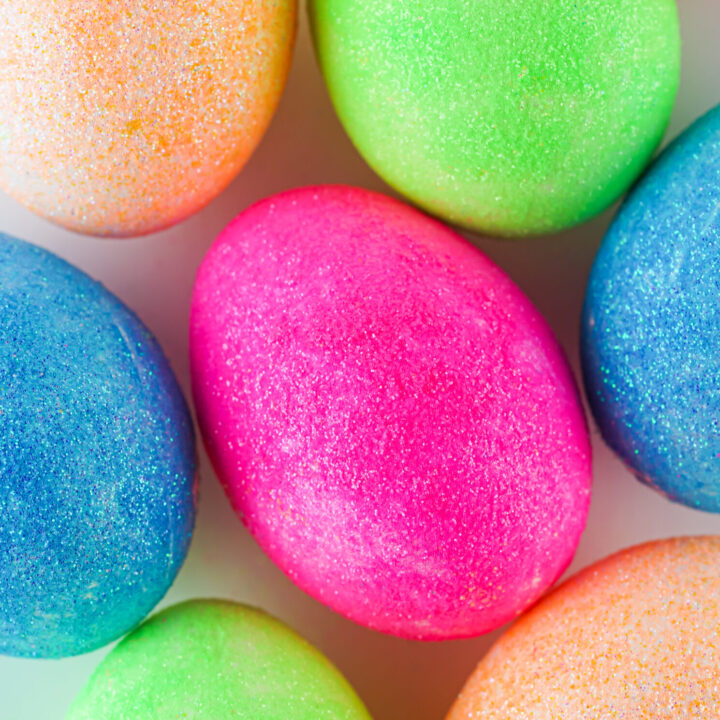
DIY Glitter Easter Eggs
Best diy glitter Easter egg tutorial. Fun alternative craft to traditional egg dying.
Materials
- Boiled Eggs
- Fine Glitter
- White Craft Glue
- Quart-Sized Plastic Baggies
- Hairspray (optional)
Tools
- Paint Brush
- Small Bowl (for Glue)
Instructions
In a small bowl, add a small amount of white craft glue.
Prepare boiled eggs by making sure they are completely dry.
Add 2 heaping tablespoons of each color glitter into it's own quart-sized baggie.
Use a paint brushes to coat one egg at a time with the glue. Be sure to cover entirely.
Carefully place a coated egg into the bag of glitter of your choosing and gently roll it around in the glitter, being careful to not scrape it against the sides of the bag too much.
Once the egg is fully coated in the glitter, leave it in the bag and lay it flat for about 2 minutes.
Carefully remove your egg from the bag. If there are any areas that did not get coated, gently apply glue in just those spots. Then, place it back in the baggie and repeat the process.
Once coated to your liking, either let them set to dry OR optionally, spray the egg with hairspray, and gently sit it down without touching anything and let it dry for about 8 minutes. Hairspray helps the glitter to dramatically reduce shedding,
Notes
Coating the glitter with another layer of glue didn’t work to hold it in place, it just made it a thick gloppy mess. I wouldn’t do it.
Fine glitter performs best, but slightly chunkier glitter could work. If it’s too large, the coverage won’t be as good.
You don’t want a super thick and goopy amount of glue, just a basic thin layer is best.
This works for any type of eggs, including brown or farm fresh eggs.
Recommended Products
As an Amazon Associate and member of other affiliate programs, I earn from qualifying purchases.
Show off your creative handiwork to family and friends this holiday, you can be sure it will put smiles on every face in sight!
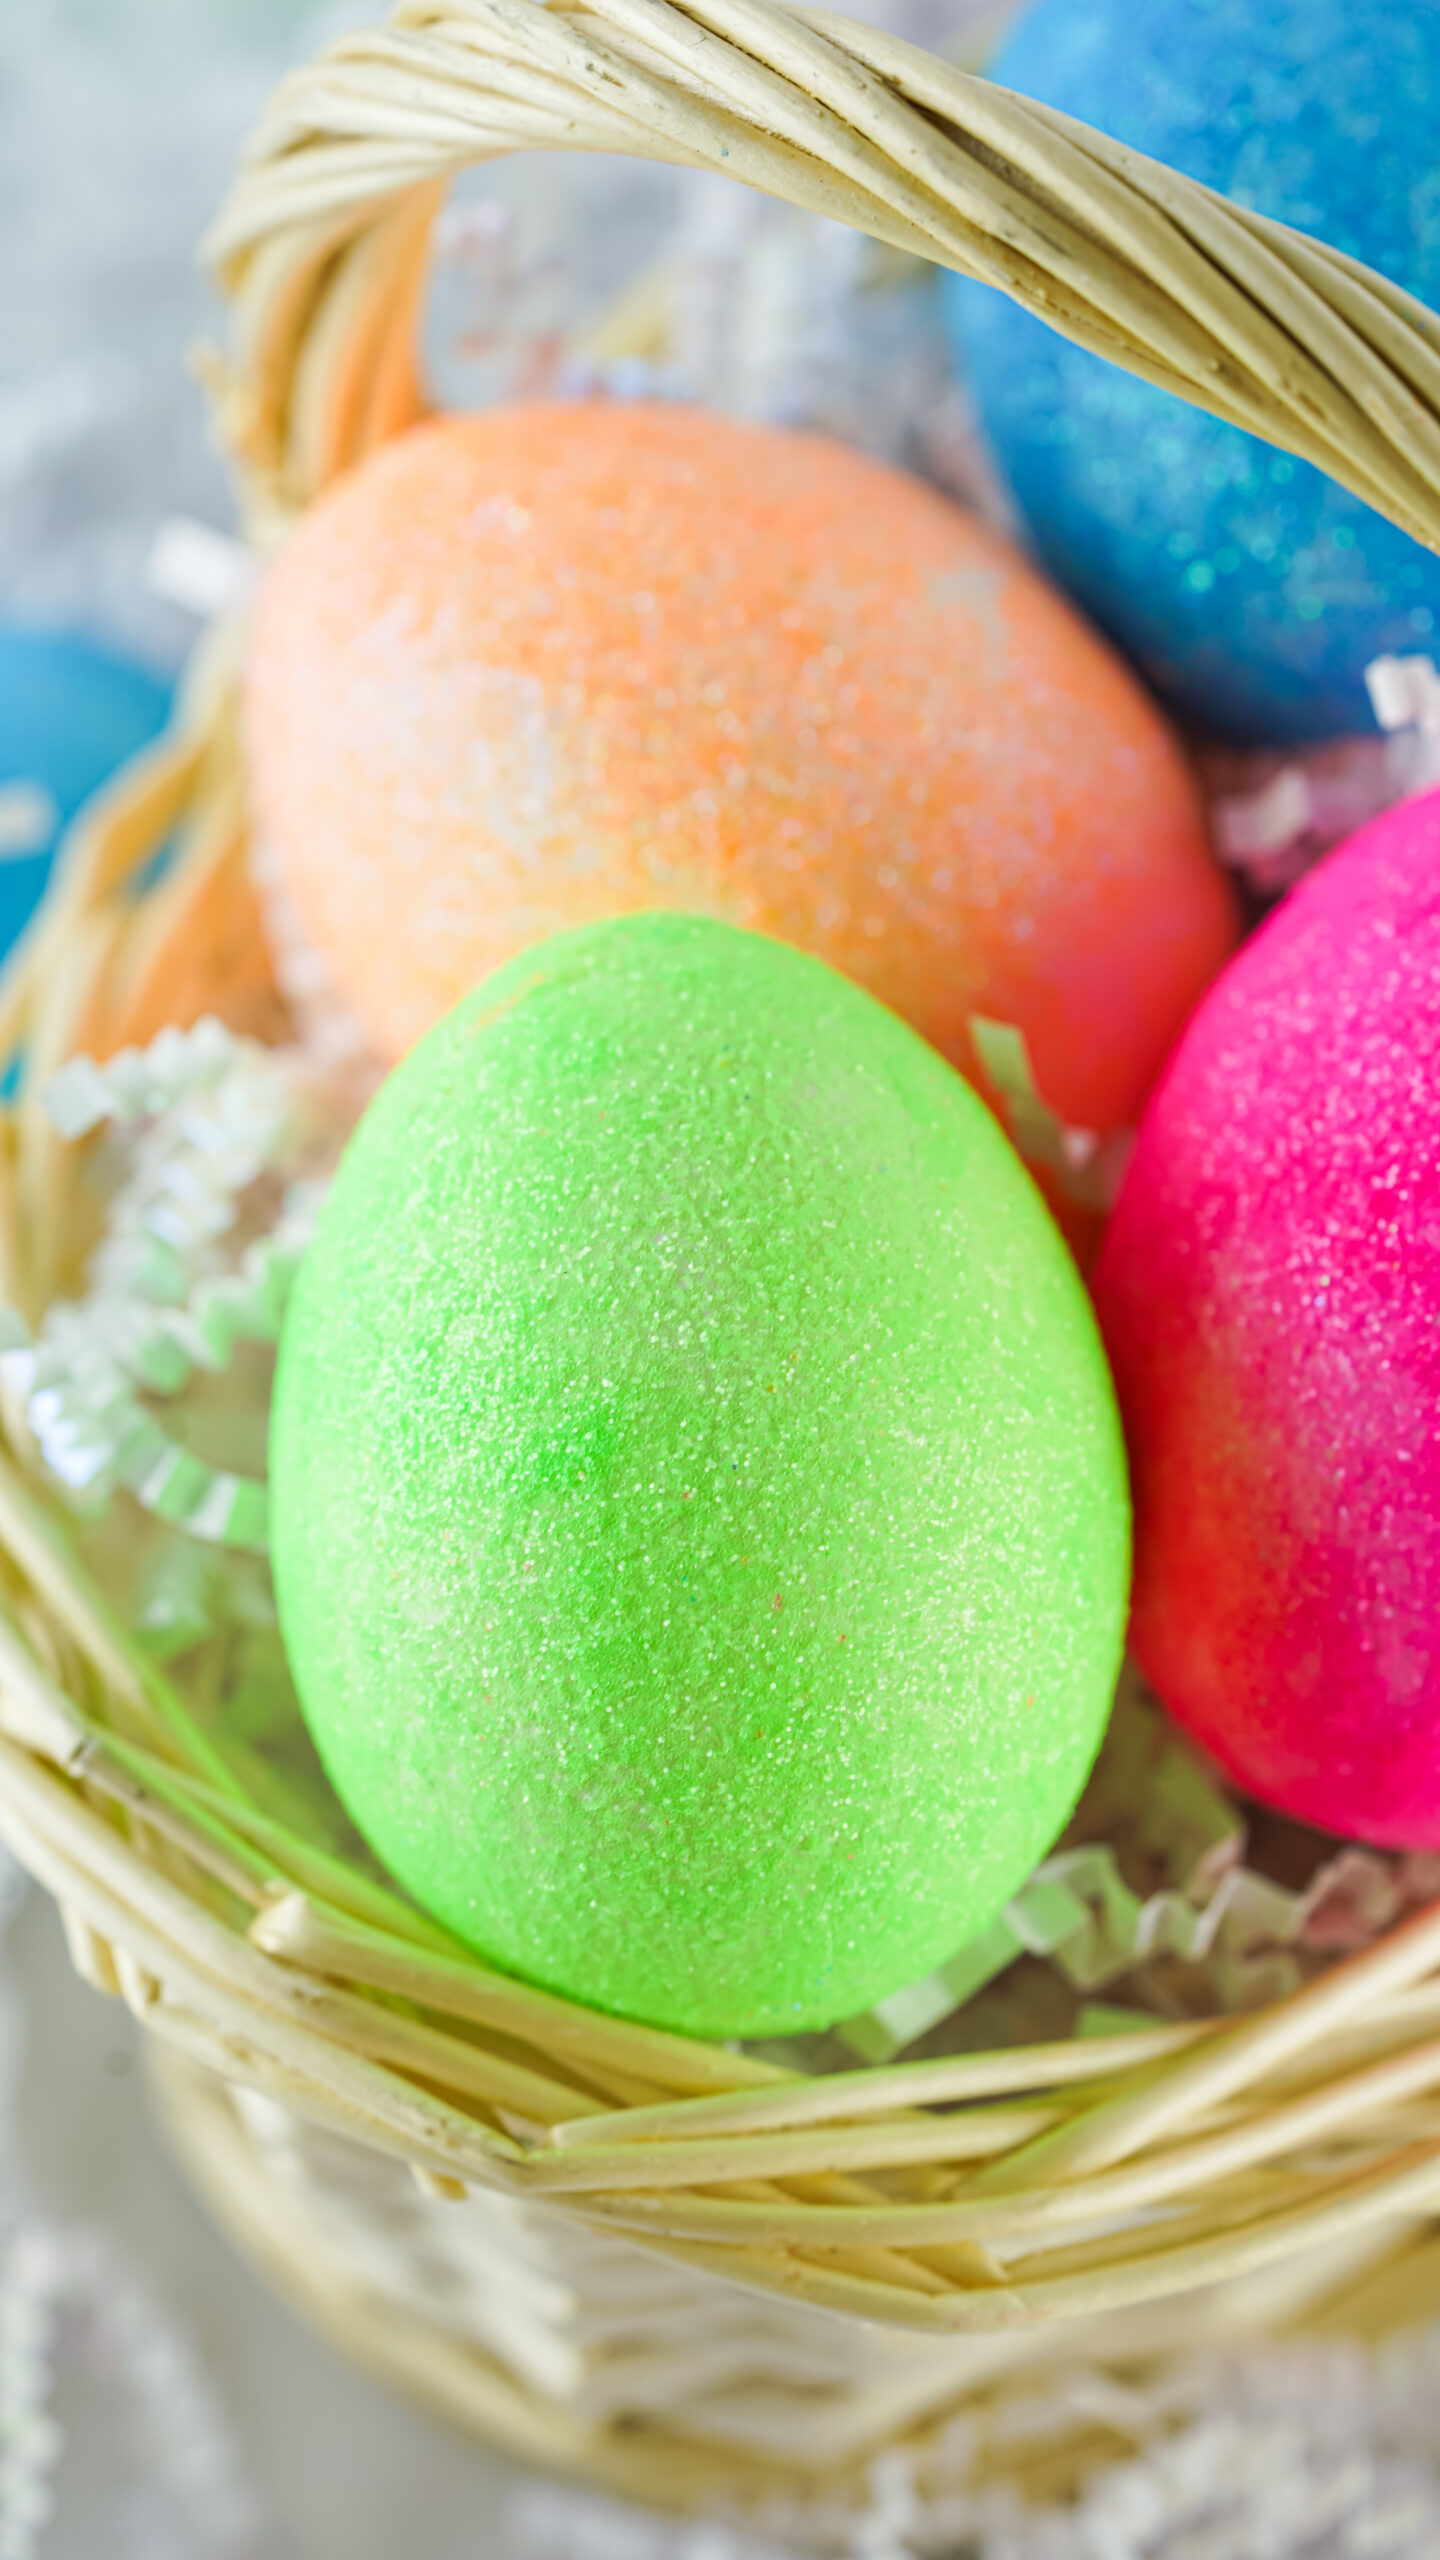
Make this Easter extra special and fun with a homemade glittery touch, why not make your own unique, sparkly Easter eggs?
If you decide to make them, be sure to tag @cutefetti on social media so that i can see your fun creations!


