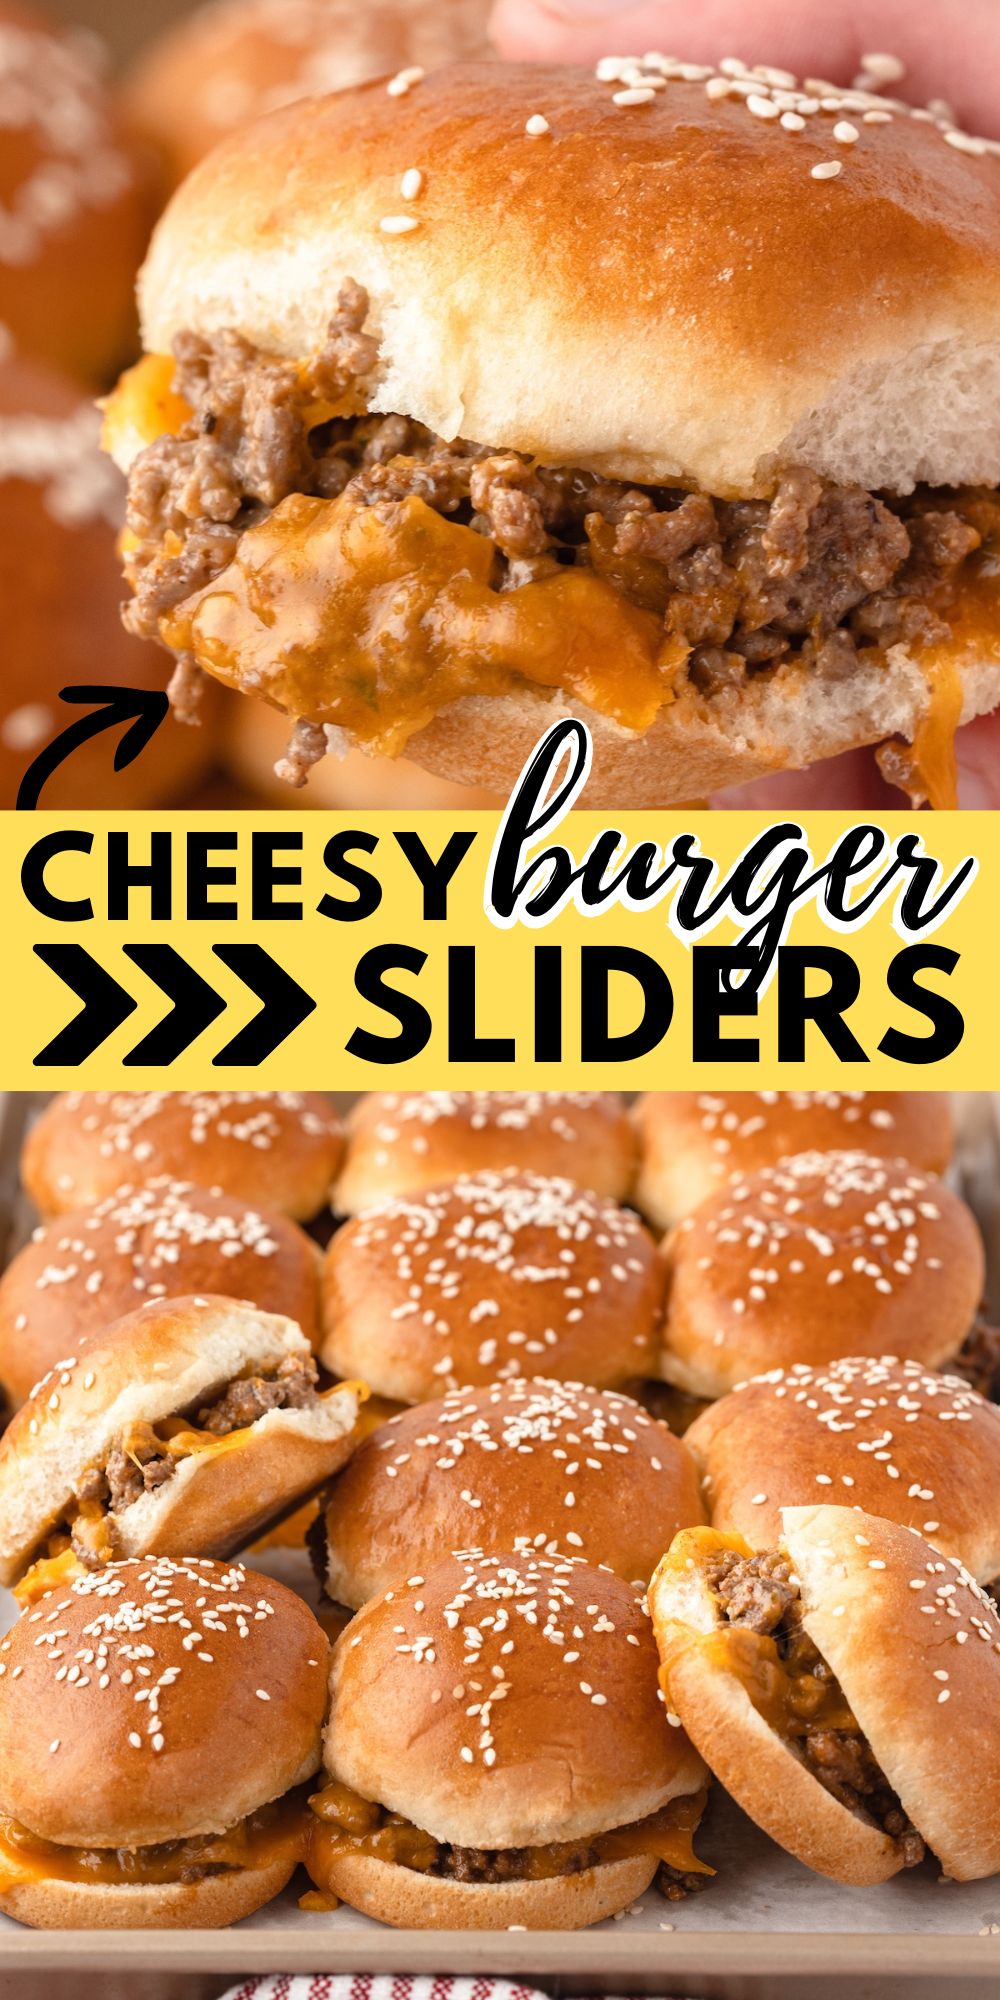
Skip Dinner Drama with Easy Cheeseburger Sliders in The Oven
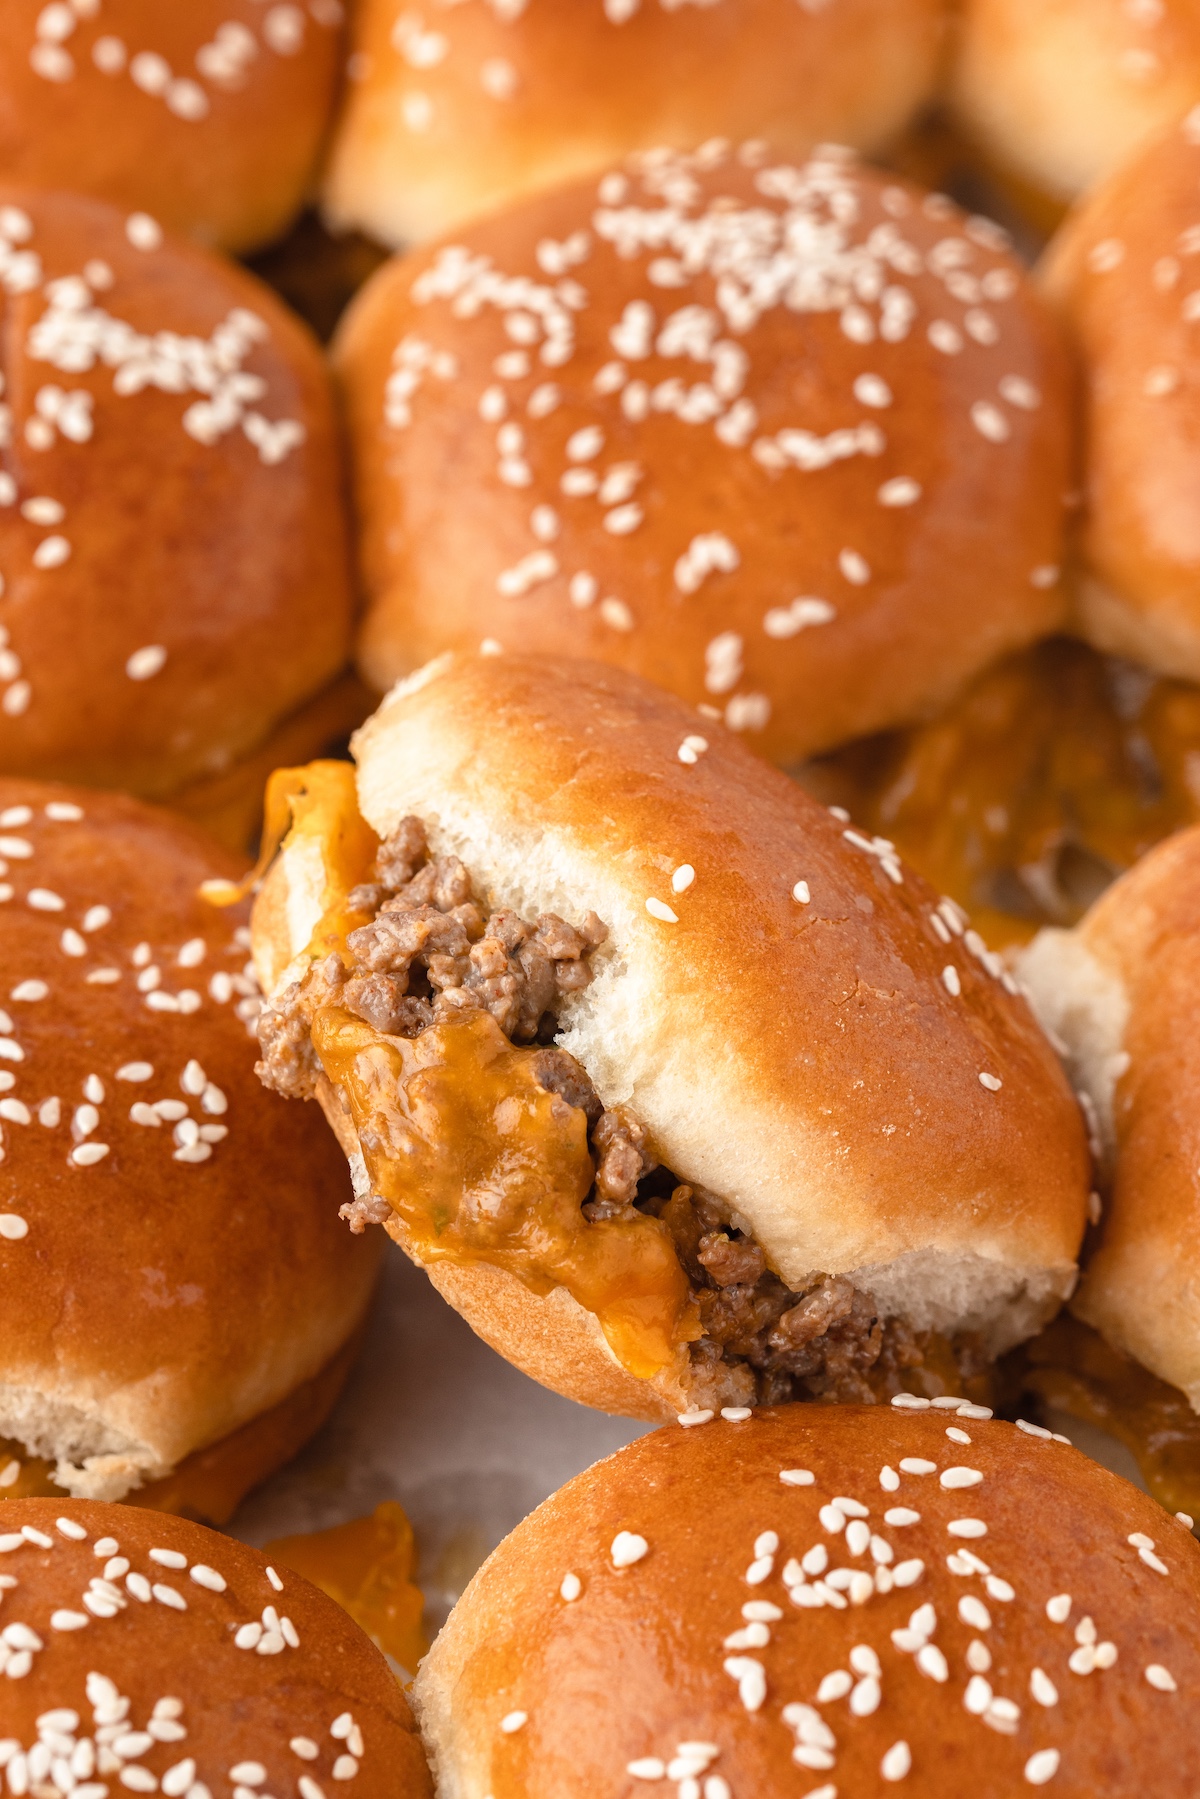
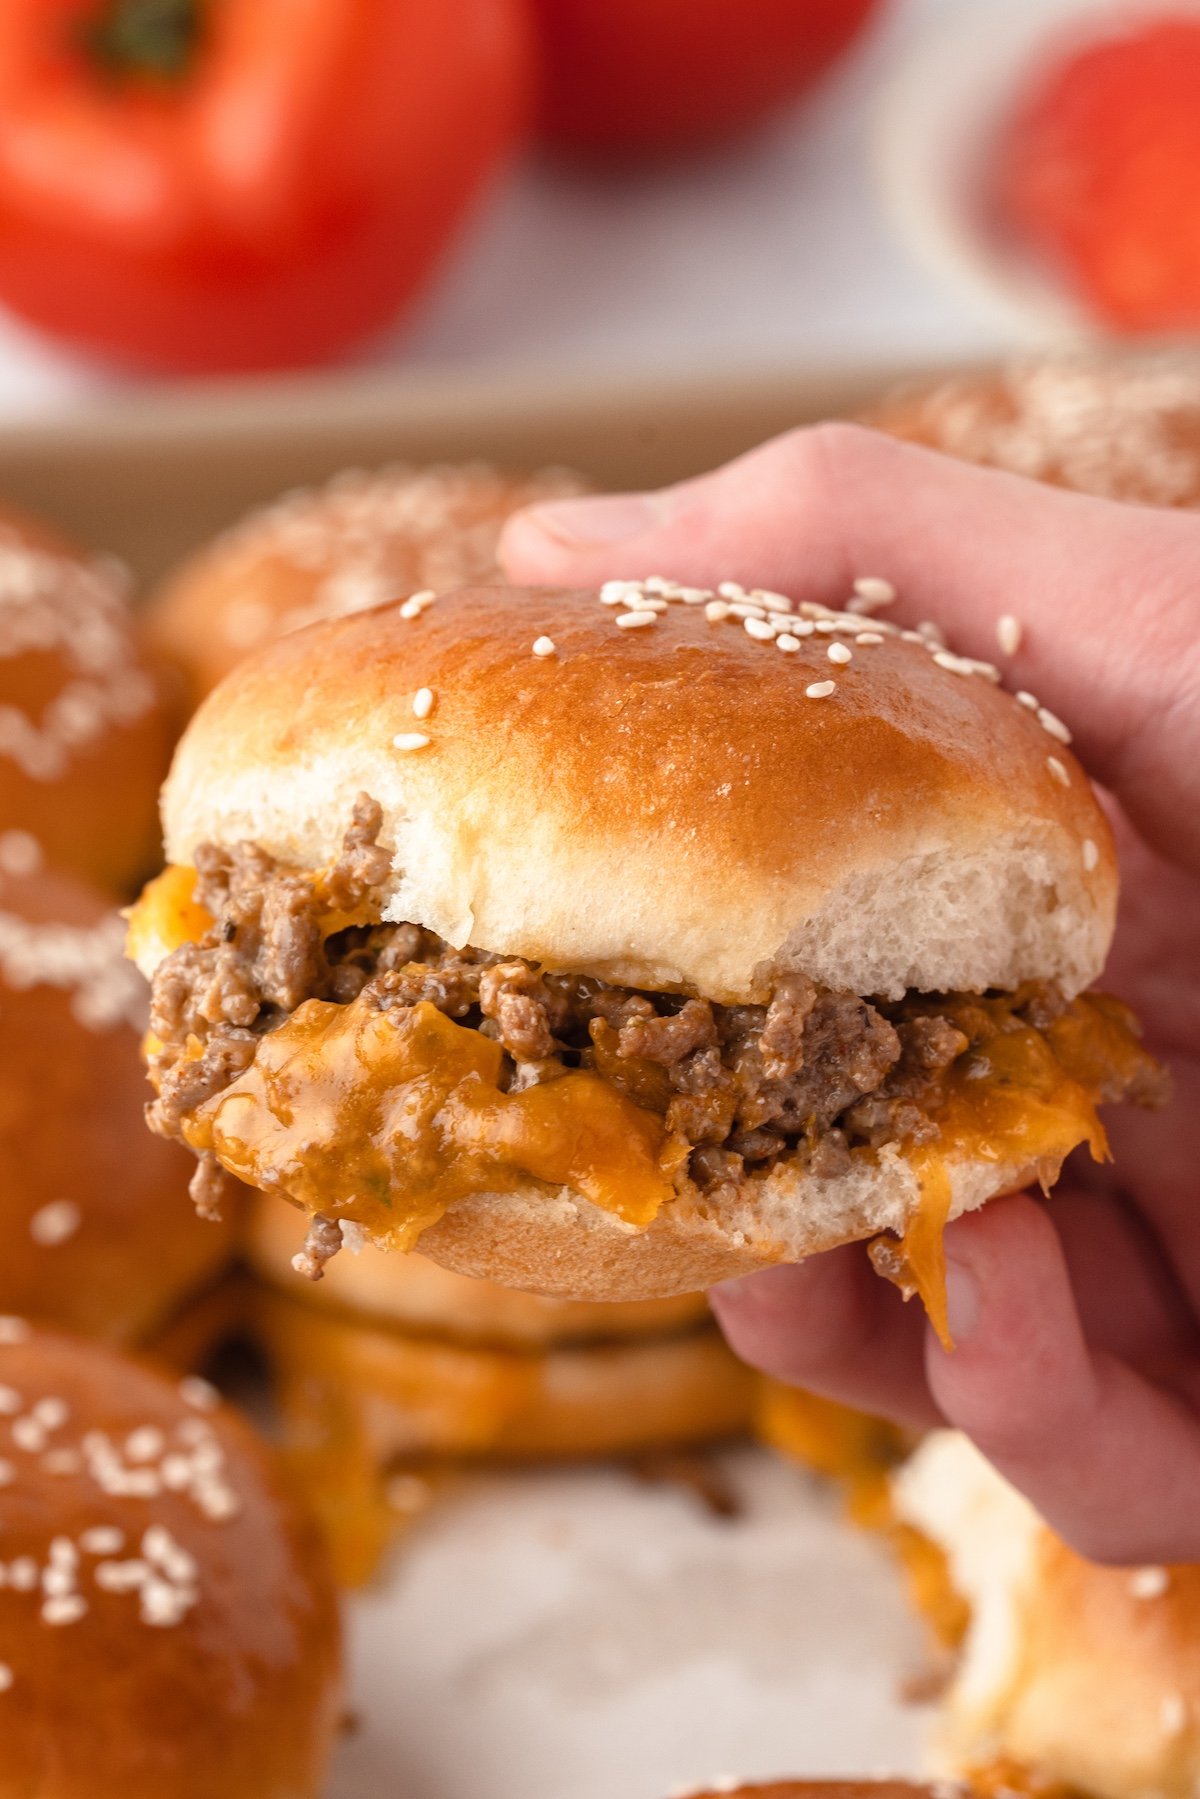
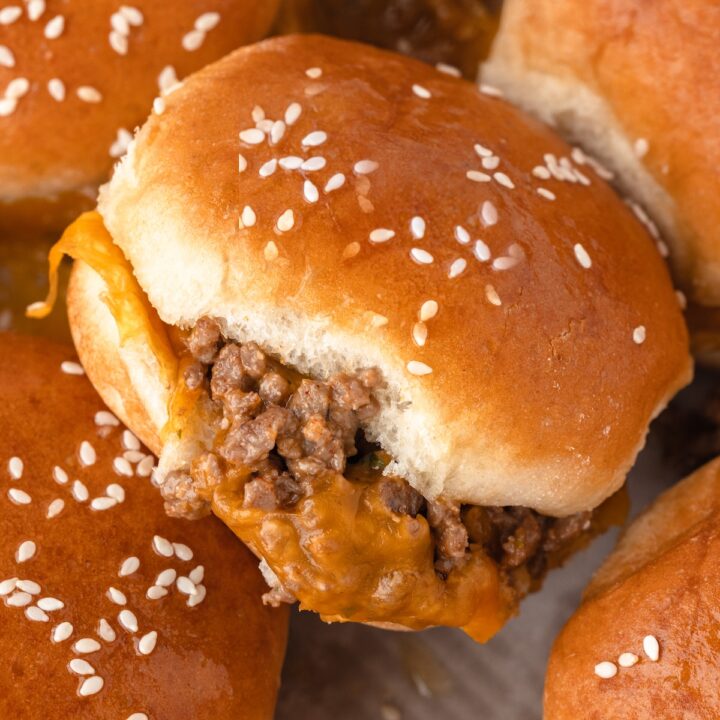
Cheeseburger sliders have truly captured the food scene with their deliciousness. They're just the right size for snacking, yet they pack enough punch to satisfy even the mightiest hunger. These adorable mini treats perfectly capture the goodness of their full-sized counterparts in a bite-sized package that not only looks good but also tastes amazing.
Why You'll Love These Cheeseburger Sliders
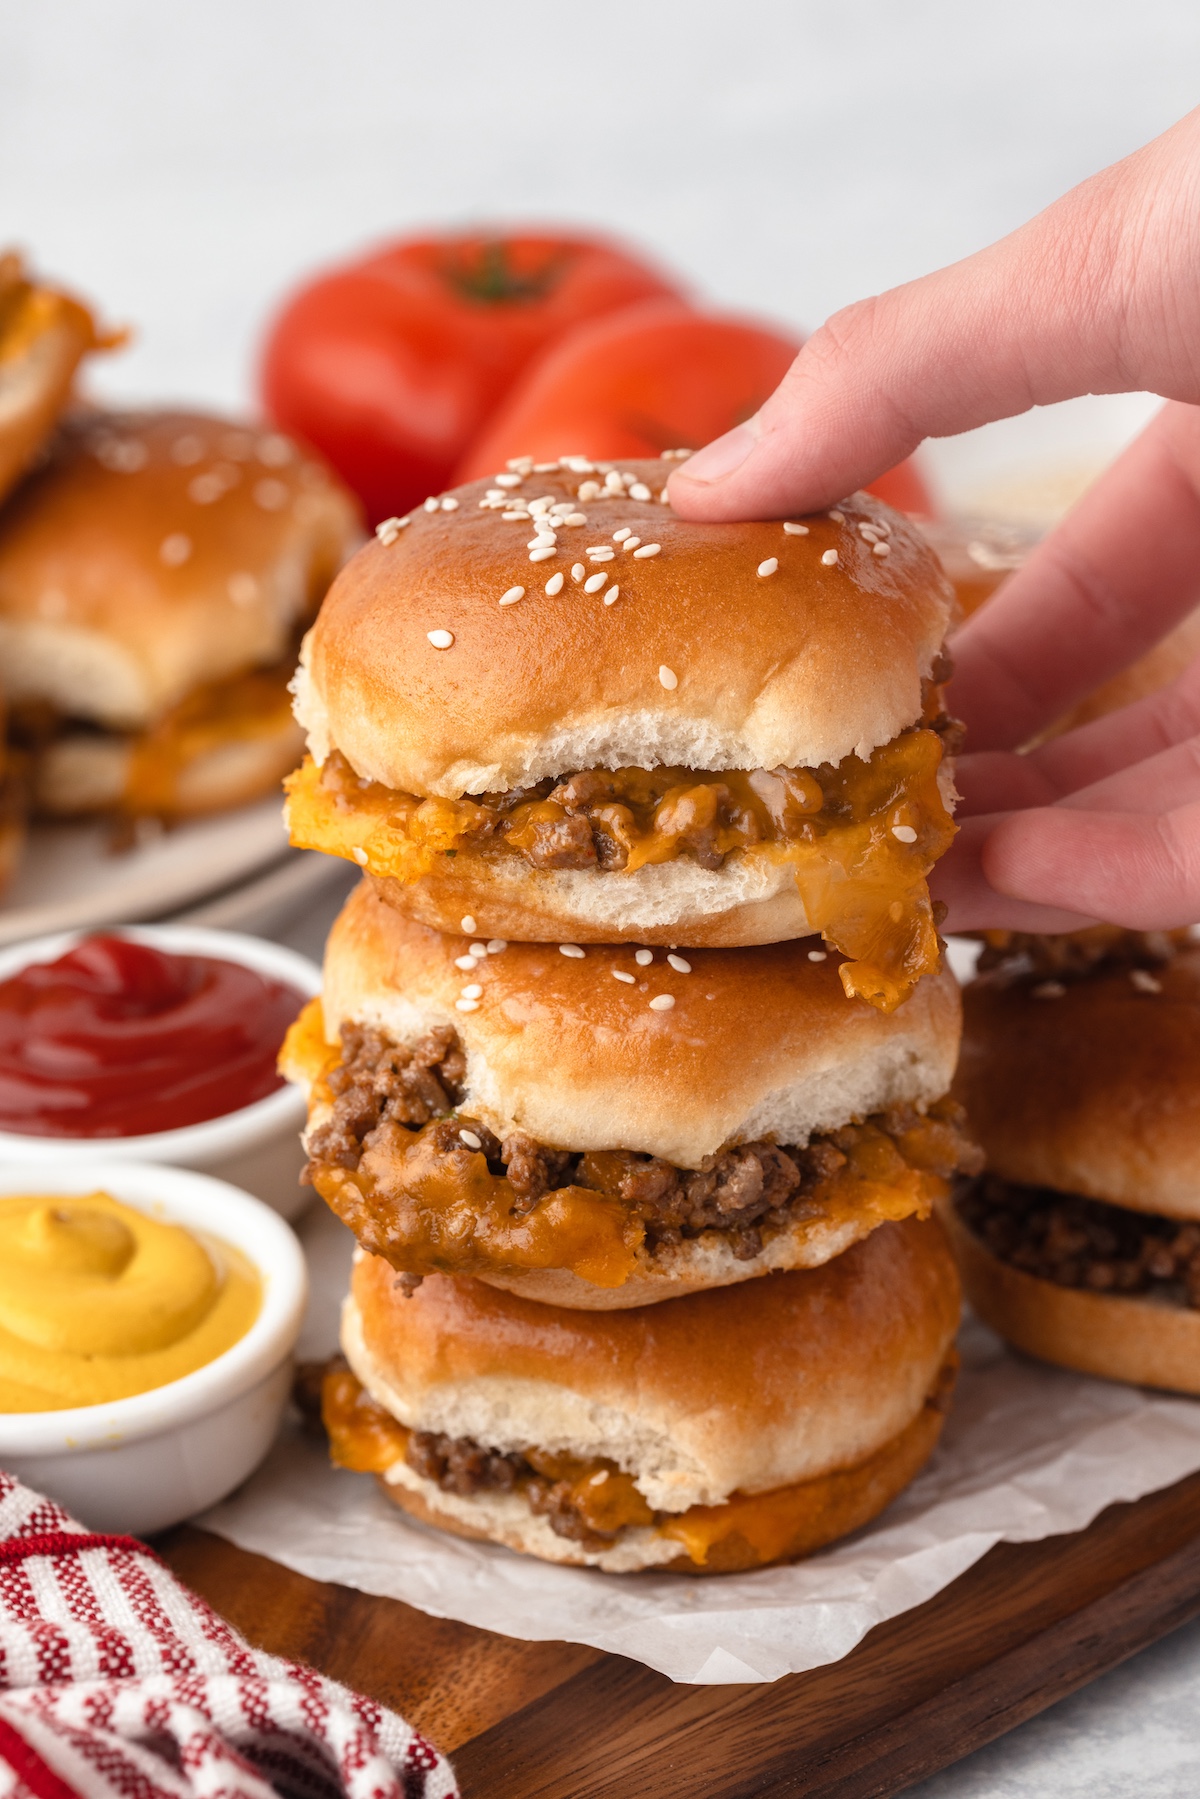
My favorite thing about these sloppy joe style sliders is the ease of making them. With all the flavors of a cheeseburger, this loose ground beef slider is A-MAH-ZING.
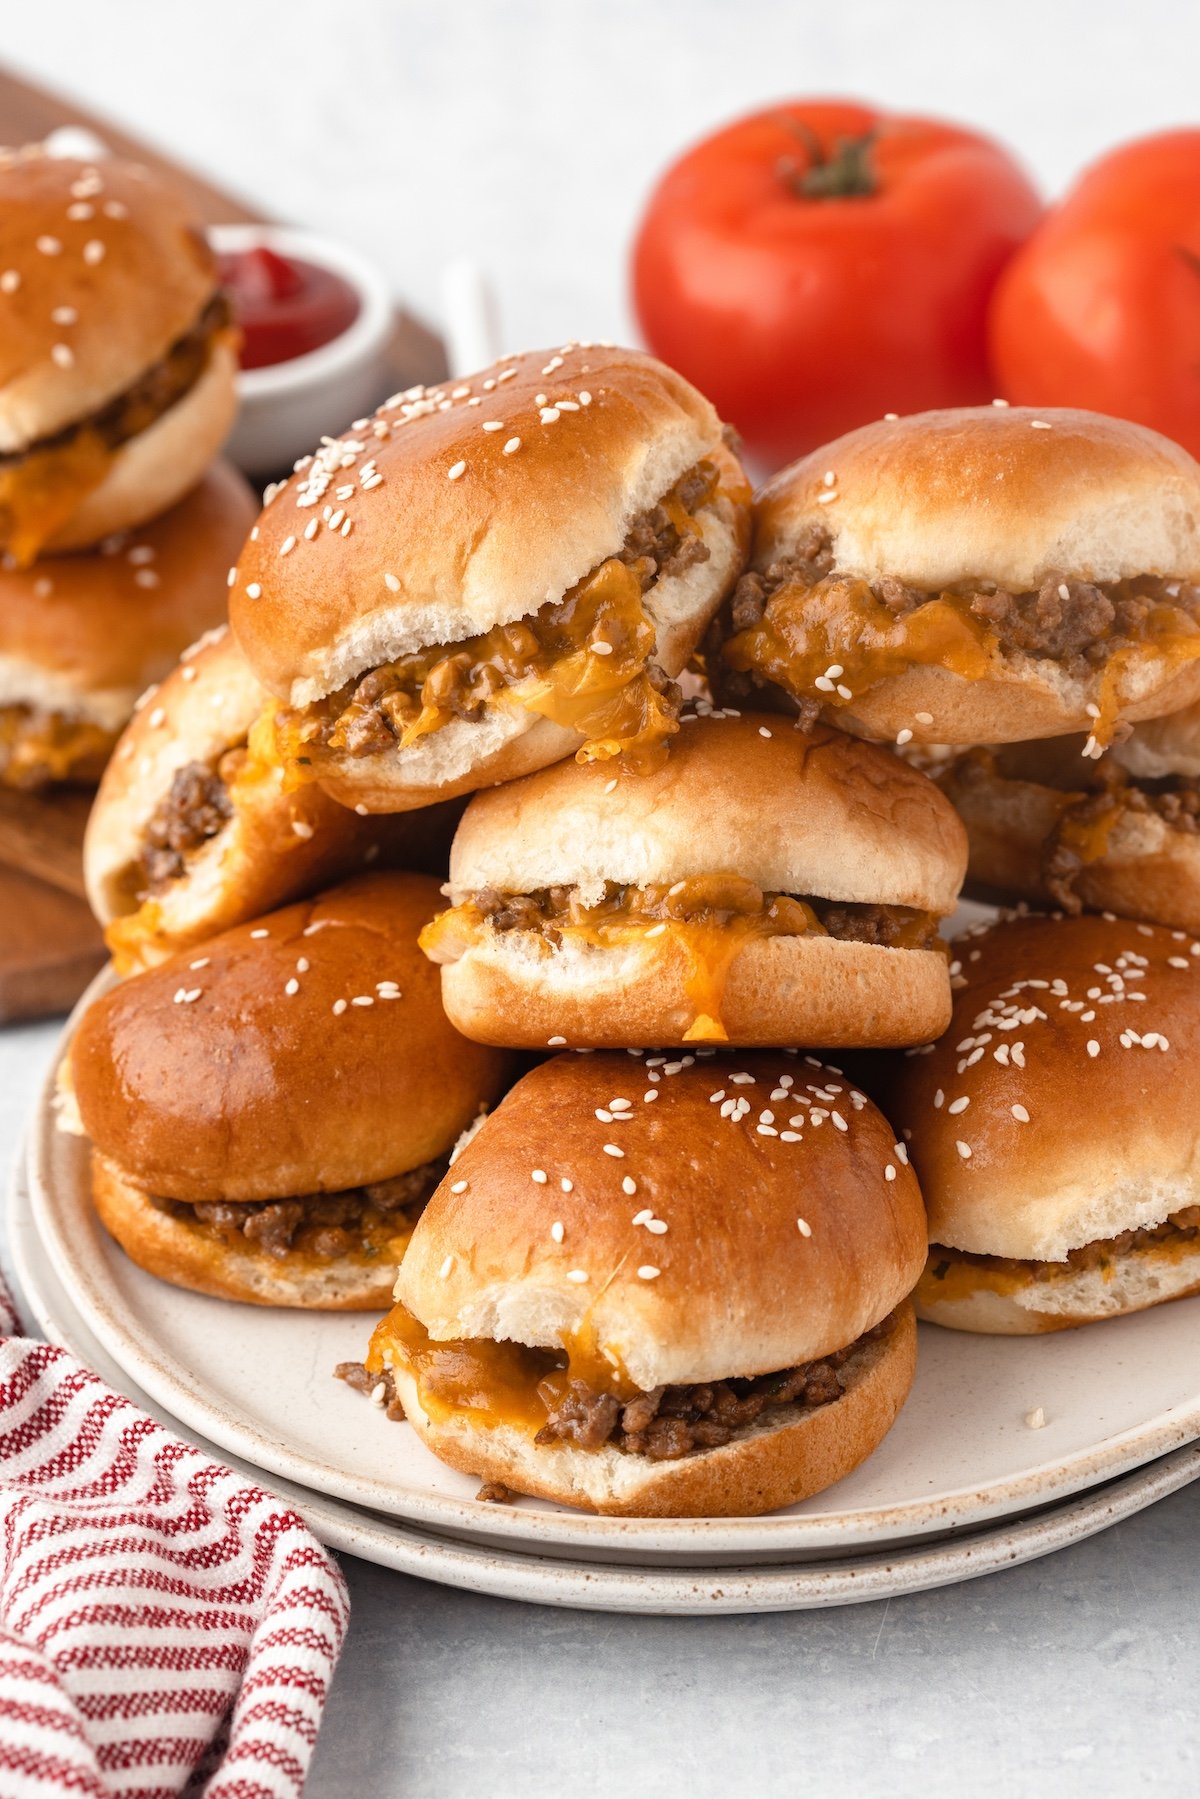
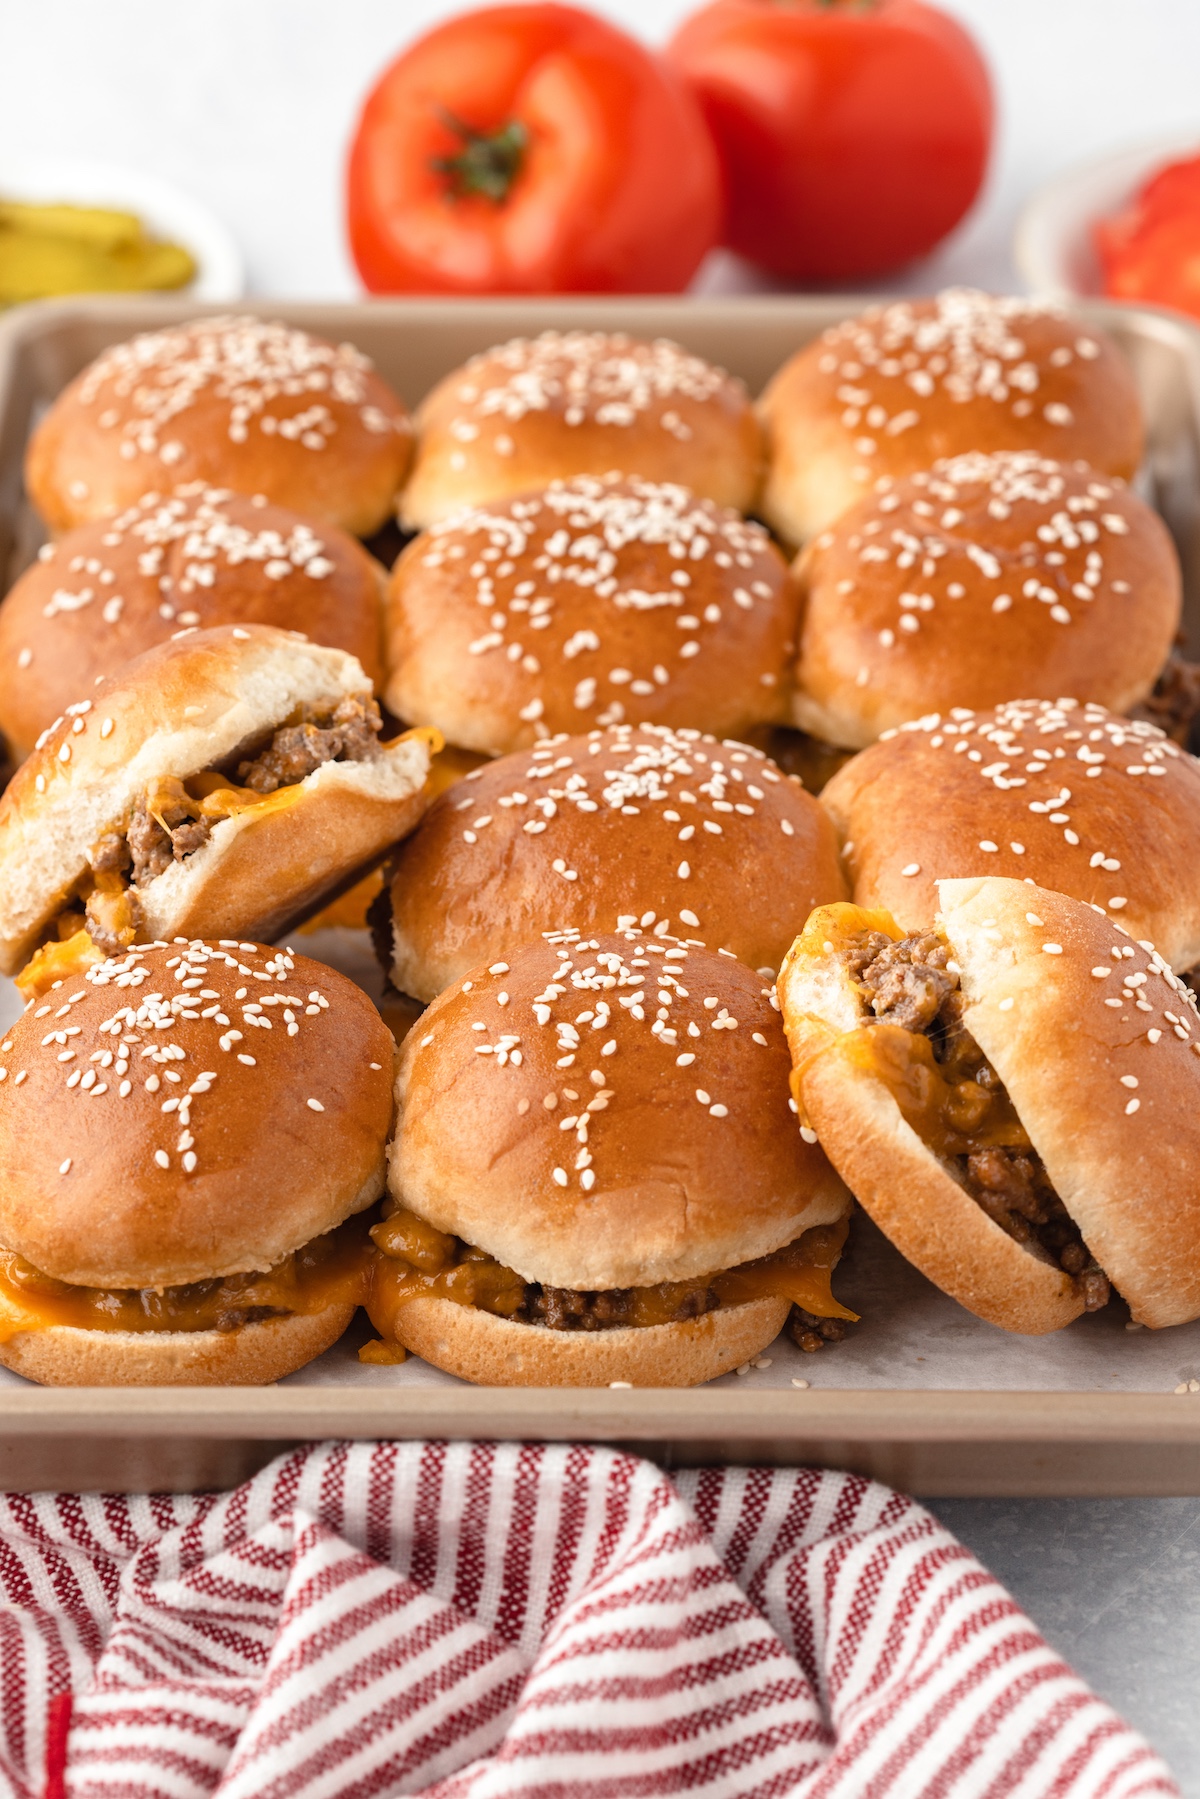
You'll love these cheeseburger sliders because they're so versatile. Perfect for family meals, hanging out with friends, or just a cozy night in. They are baked up on a sheet pan to perfection.
Sliders are great because you can make them just how you like. Pick your cheese, and toppings like lettuce, tomato, onions, and pickles - everyone can enjoy their own mini burger!
Their small size makes them fun and easy to eat, ensuring they're always a hit at any event.
What You'll Need
Supplies
- Spatula or wooden spoon
- Measuring Spoons
- Baking Sheet
- Pastry Brush
- Aluminum Foil
Ingredients
- Ground beef: I prefer using 80/20 fat content, but any will work.
- Salt and Pepper
- Paprika
- Onion powder
- Garlic powder
- Dried oregano
- Dried parsley
- Ground mustard
- Mayonnaise
- Slider buns
- Cheese- I used Smokehouse Cheddar cheese slices, but feel free to use your most favorite cheese.
- Butter
- Sesame seeds
How to Make Cheeseburger Sliders
Preheat the oven to 350°F. Line a baking sheet with parchment paper.
Cook the meat- Brown the ground beef, breaking it apart as it cooks. Drain the grease and return the ground beef to the pan.
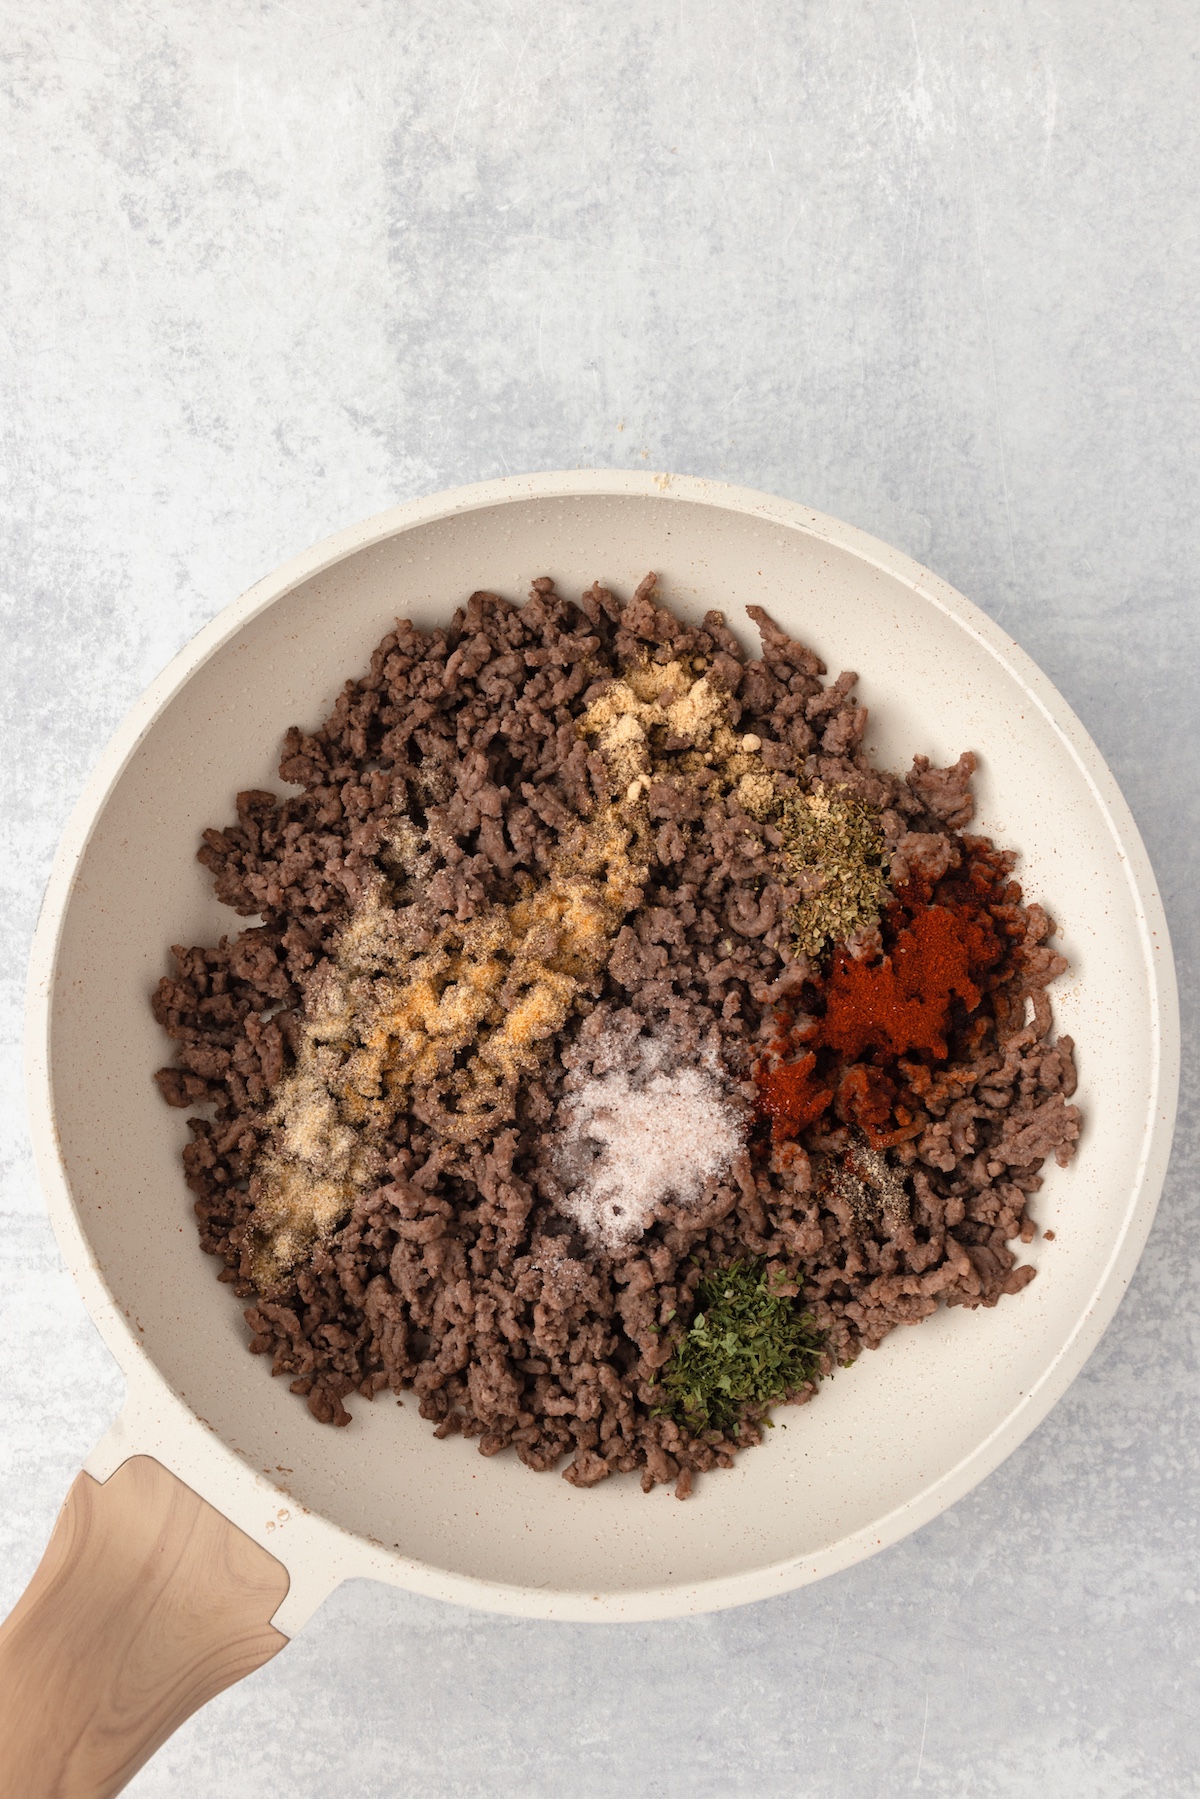
Season the meat- Add the seasoning to the beef and cook for an additional 2 minutes. Make sure the seasoning is throughout the meat. Add the mayo to the skillet and mix well.
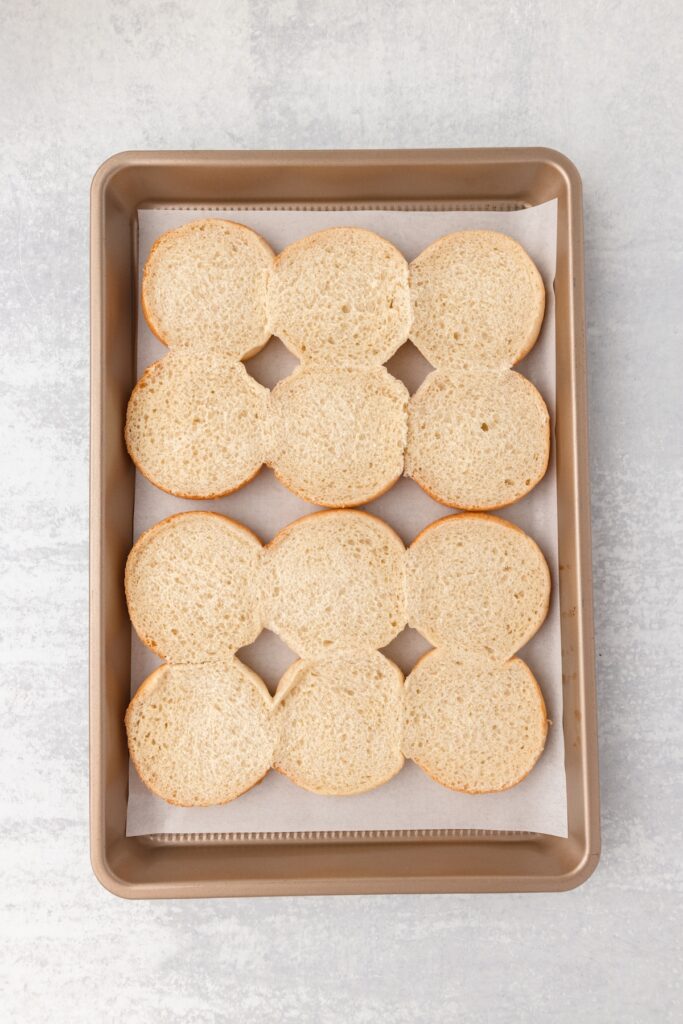
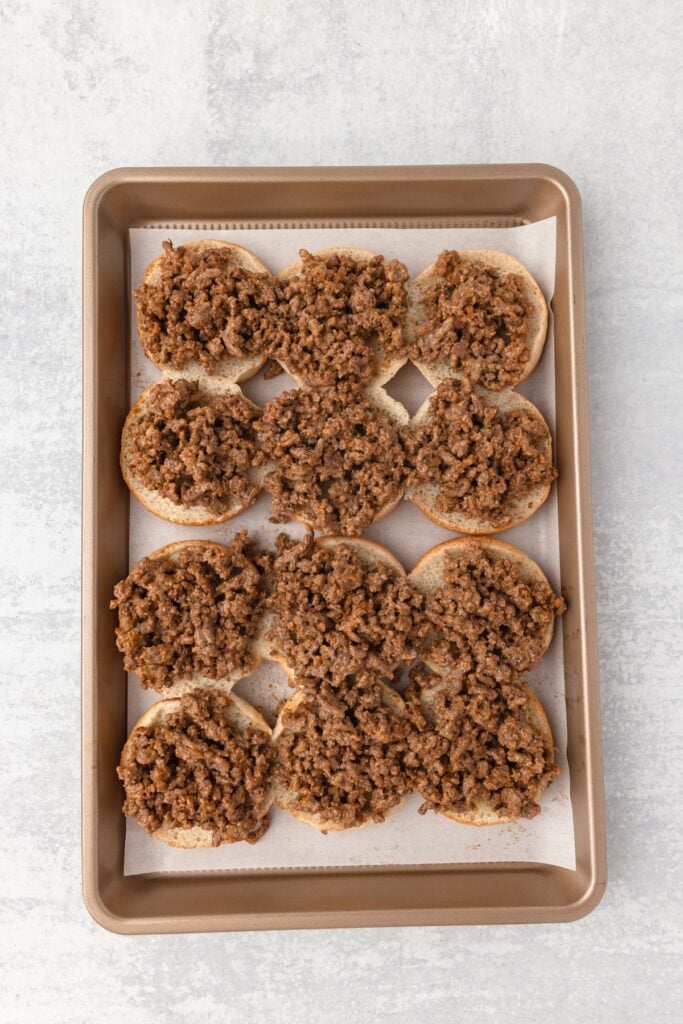
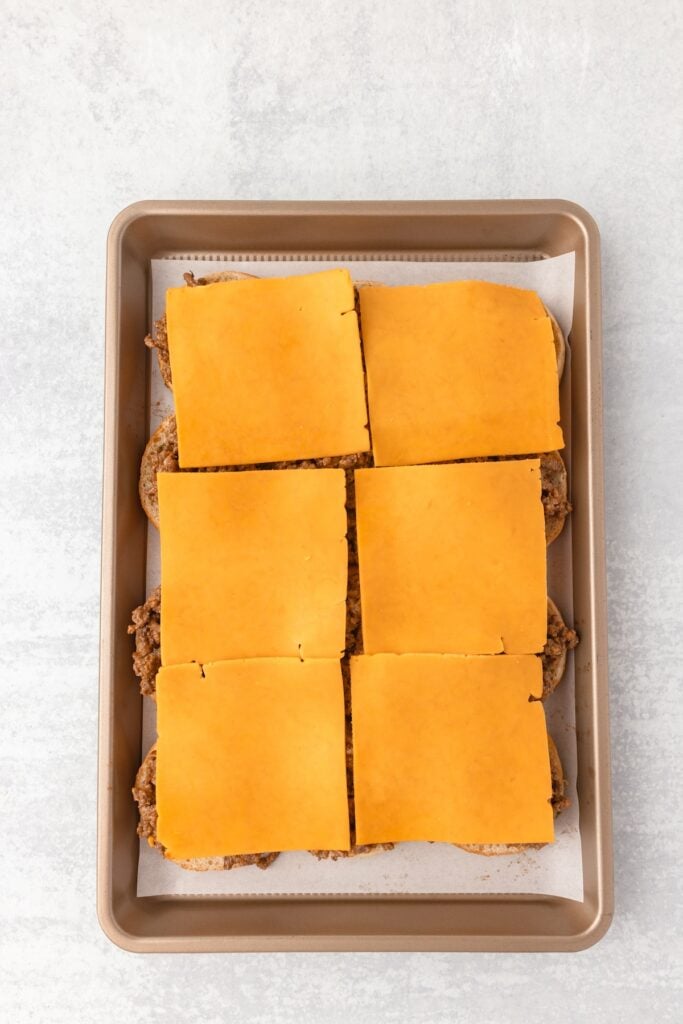
Make the sliders- Place the bottom half of the slider buns in a baking dish. Spoon the beef mixture to the buns and place a slice of cheese on top.
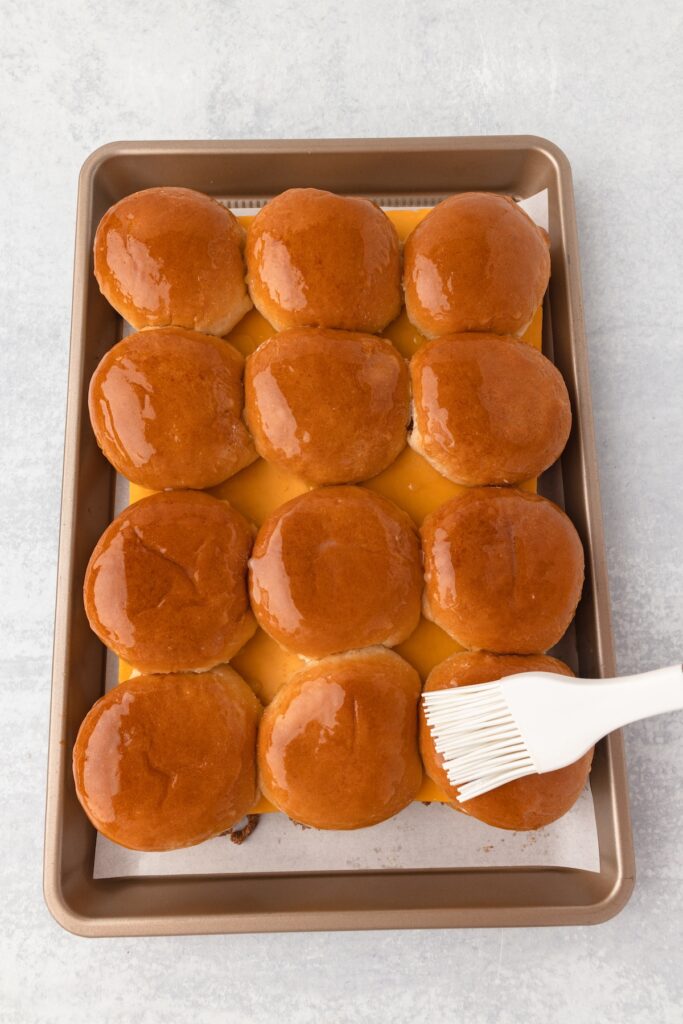
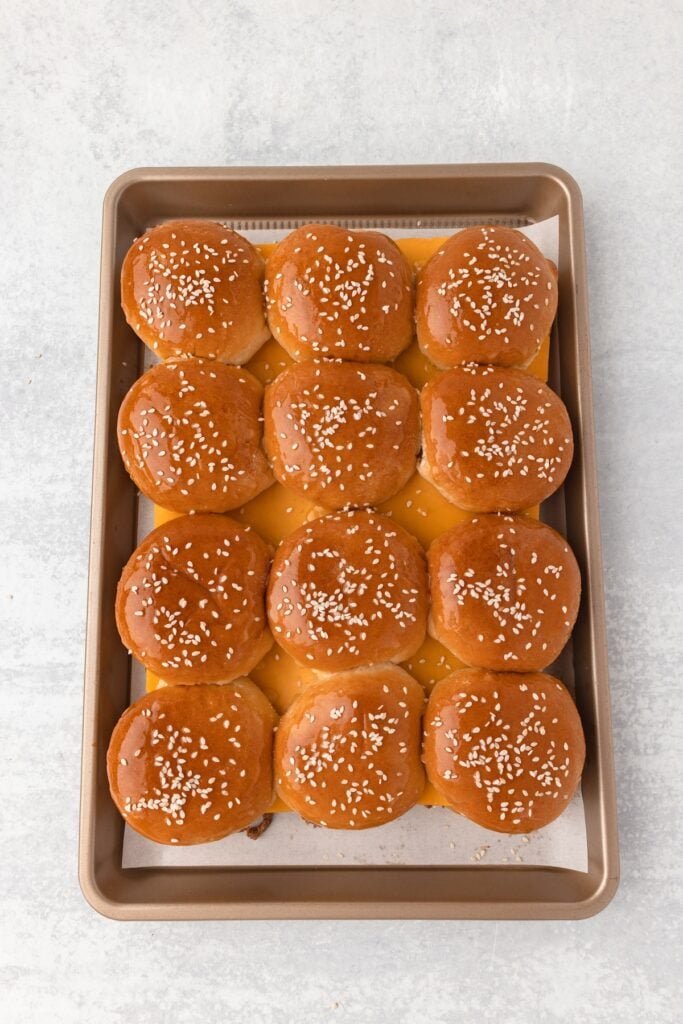
Add the top half of the buns and brush with melted butter. Sprinkle with sesame seeds. Cover and bake for 10 minutes or until the cheese is melted. Remove the foil and bake another 2 minutes to brown the tops of the buns.
Tips and Tricks
How to store my Cheeseburger Sliders? Cheeseburger Sliders should be stored in an airtight container in the refrigerator for up to 3 days. Reheat in the oven or microwave until warmed through.
While you can freeze the cooked sliders, the buns may become a bit soggy when thawed and reheated. If you do choose to freeze them, wrap them individually and reheat them in the oven for best results.
What should I serve with my Cheeseburger Sliders?
French Fries: A classic pairing with any burger, crispy French fries are always a hit. You can opt for regular, sweet potato, or even curly fries.
Coleslaw: A creamy or vinegar-based coleslaw can add a refreshing crunch and tanginess to balance the savory sliders.
Onion Rings: Crispy onion rings have a flavorful and texturally pleasing side that pairs well with the sliders.
Potato Salad: A creamy potato salad with a hint of mustard or dill can be a hearty side that complements the sliders without overpowering them.
Garden Salad: A light and fresh garden salad with a variety of vegetables and a simple vinaigrette can balance the heaviness of the sliders.
Macaroni and Cheese: Serving creamy mac and cheese can make the meal more indulgent and is particularly popular with kids.
Variations and Substitutions
Ground Beef: Substitute with ground turkey or ground chicken.
Ground Mustard: If you don't have ground mustard, you can use a small amount of prepared mustard, though this might slightly alter the moisture and flavor.
Paprika: Smoked paprika can be used for a smokier flavor, or you can skip it altogether if you don't have any.
Mayonnaise: Greek yogurt or sour cream can work as an alternative to mayonnaise to bind the beef mixture with a creamy texture.
Slider Buns: Dinner rolls or mini hamburger buns can be used when slider buns are not available. You can also use whole wheat buns for a healthier option.
Cheddar Cheese: Any meltable cheese like Swiss, provolone, or mozzarella can be used in place of cheddar depending on your taste preference.
Sesame Seeds: These are optional for garnish. You can omit them or use poppy seeds for a different look and subtle flavor difference.
FAQS for the Best Cheeseburger Sliders
Can I use a different type of meat instead of ground beef?
Absolutely! Feel free to switch to ground turkey or ground chicken. The cooking time might vary a bit based on your meat choice.
Is it necessary to drain the grease after cooking the beef?
Yes. Draining the grease not only prevents excessively greasy sliders but also amplifies the delightful flavors of the seasonings, ensuring they shine through beautifully.
Can I make these sliders ahead of time?
You can get ahead by preparing the beef mixture in advance and chilling it until you're set to assemble and bake the sliders. Yet, for the ultimate texture and flavor experience, it's best to bake the sliders right before serving.
How do I know when the sliders are done baking?
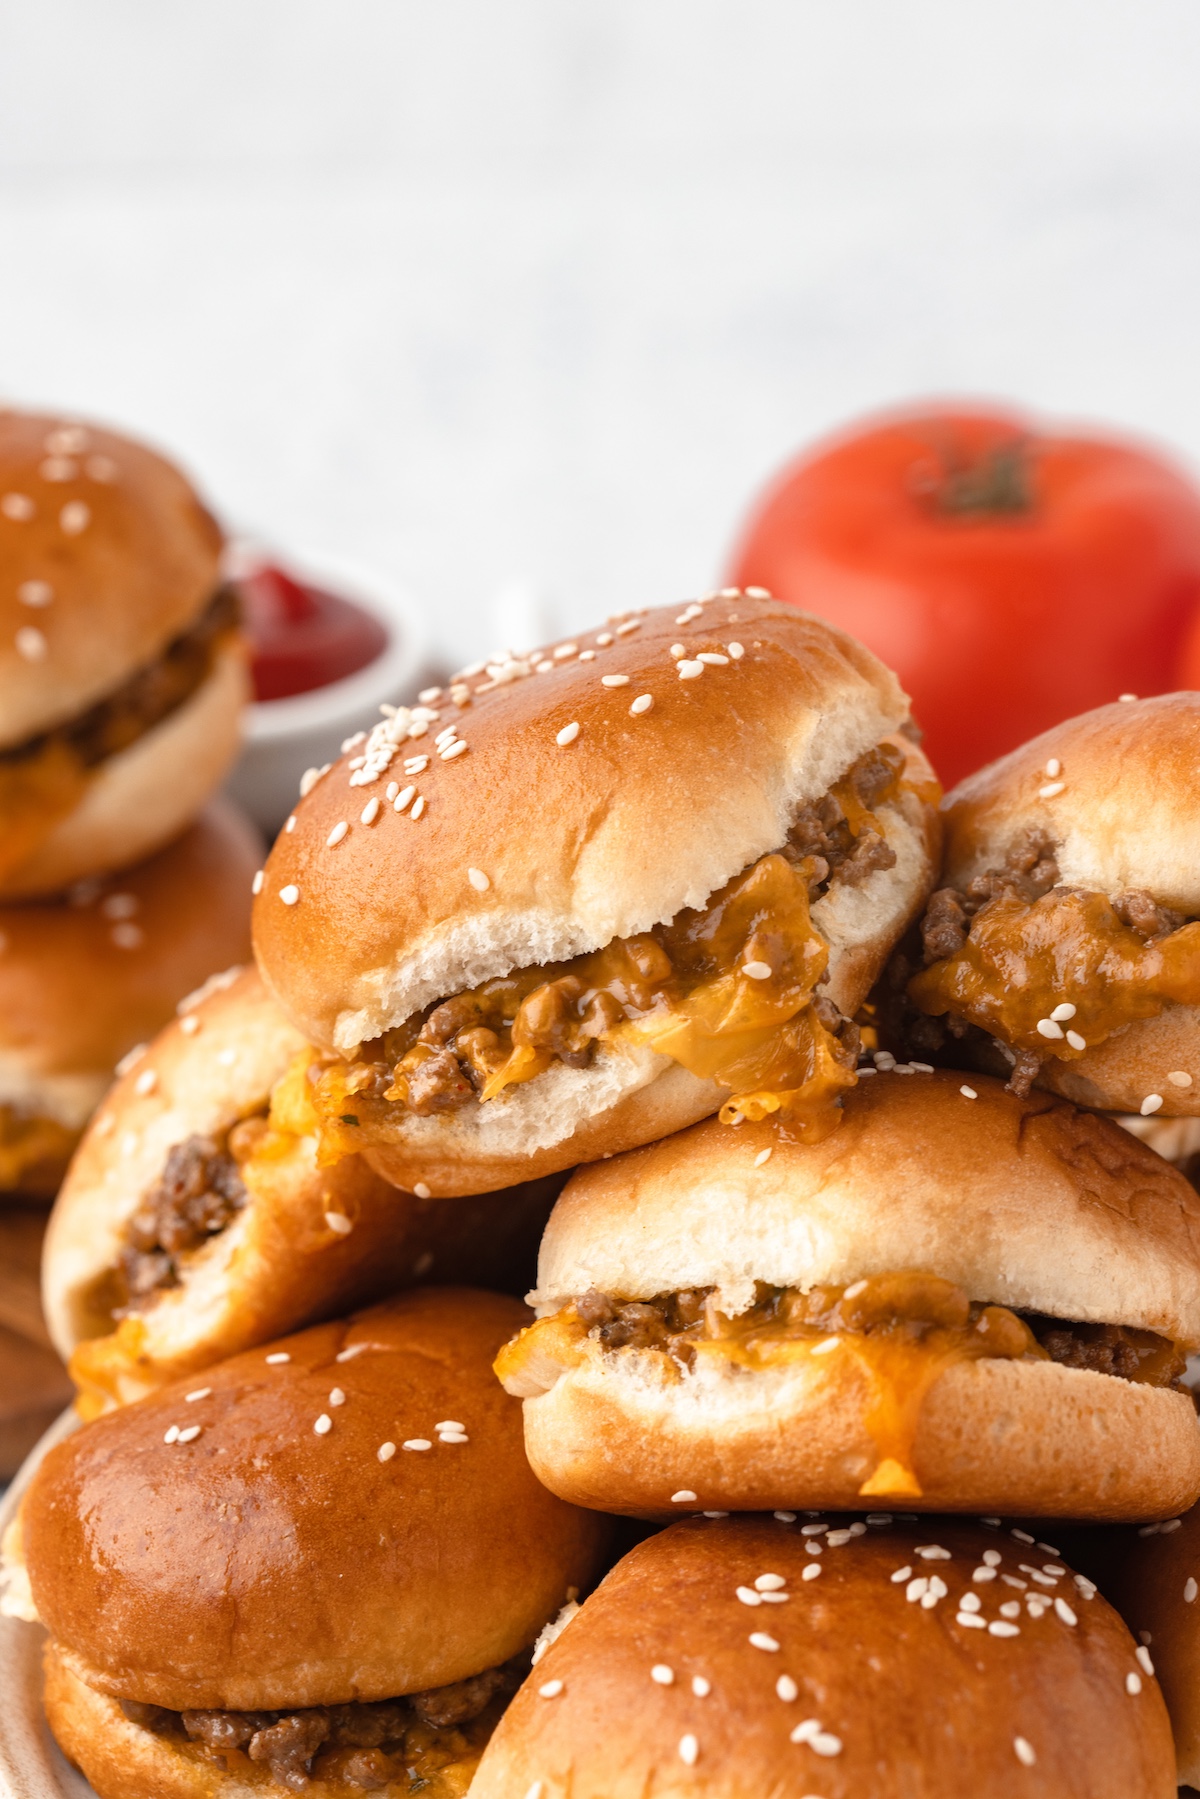
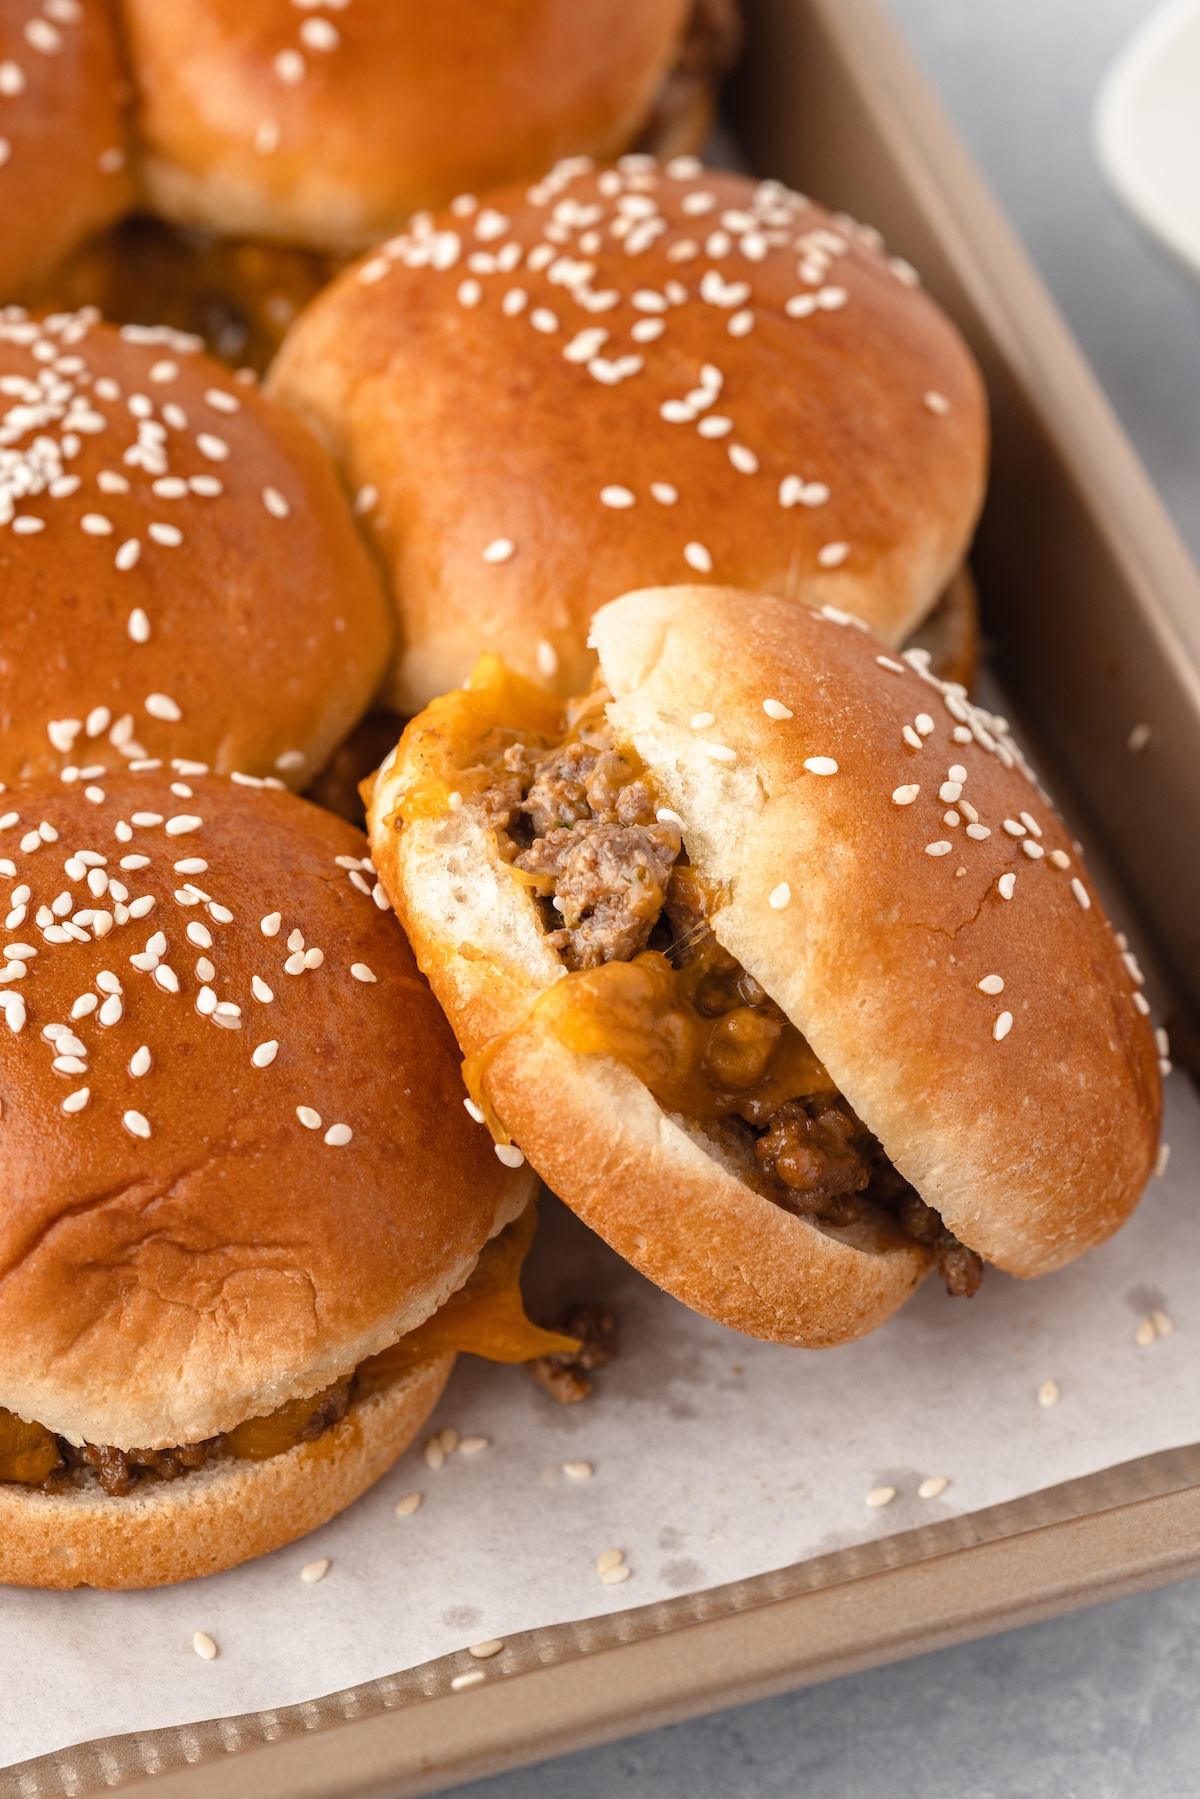
The sliders are like little slices of happiness, ready when the cheese is all melted and bubbly, and the buns are just lightly toasted. If you're into a crunchier bun, you can keep them in the oven for an extra minute or two after you've taken off the foil.
More Simple Dinner Ideas
- Say Yes to this Taquito Platter Dinner
- Flatbread Dinner Bar + Recipes
- Easy Mexican Dinner Ideas in 20 Minutes
Cheeseburger Sliders
Cheeseburger sliders have truly captured the food scene with their deliciousness. They're just the right size for snacking, yet they pack enough punch to satisfy even the mightiest hunger. These adorable mini treats perfectly capture the goodness of their full-sized counterparts in a bite-sized package that not only looks good but also tastes amazing!
Ingredients
- 1 pound ground beef
- 1 teaspoon salt
- ½ teaspoon black pepper
- ½ teaspoon dried oregano
- ½ teaspoon dried parsley
- ½ teaspoon garlic powder
- ½ teaspoon ground mustard
- ½ teaspoon onion powder
- ½ teaspoon paprika
- ⅓ cup mayonnaise
- 12 slider buns
- 6 slices cheddar cheese, cut into quarters
- 2 tablespoons butter, melted
- 1 tablespoon sesame seeds
Instructions
- Preheat the oven to 350°F. Line a baking sheet with parchment paper.
- Cook the ground beef in a skillet over medium heat, using a spatula to break it apart. Once fully cooked, drain off the excess grease.
- Return the skillet with beef to the heat and add the salt, black pepper, paprika, onion powder, garlic powder, dried oregano, dried parsley, and ground mustard. Cook for an additional 1-2 minutes, stirring well to ensure the seasonings are evenly mixed into the beef.
- Add mayonnaise to the skillet and stir until it is well combined with the seasoned beef.
- Arrange the bottom halves of the slider buns on a baking dish.
- Once the beef is cooked, spoon it evenly onto the bottom halves of the slider buns. Place 6 slices of cheddar cheese on top of the beef mixture.
- Cover the sliders with the top halves of the buns and brush the tops with the melted butter. Sprinkle sesame seeds over the buns.
- Cover the baking sheet with foil and bake in the preheated oven for 10 minutes or until the cheese is melted.
- Remove the foil and bake for an additional 2 minutes to brown the tops of the buns, if necessary.
- Once done, remove the sliders from the oven and let them cool for a few minutes.