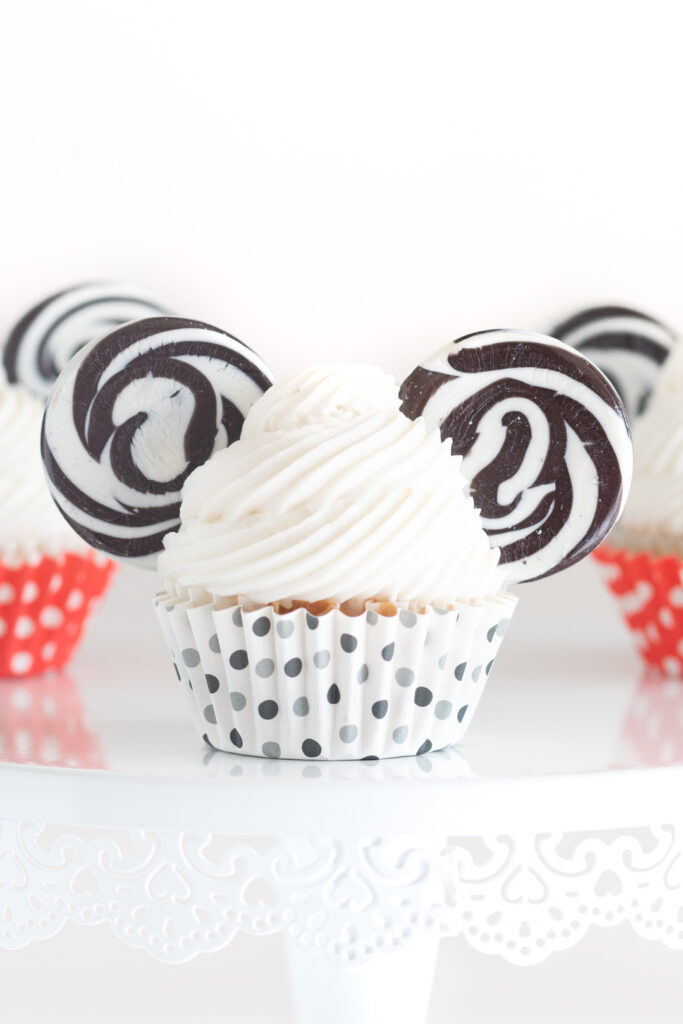
Lollipop Mickey Mouse Cupcakes

Planning a Disney-themed party or celebration? These Mickey Mouse Cupcakes will be the perfect addition to your party table! This post may contain affiliate links.
The best part is that they are so easy to make by using swirl lollipops for Mickey's ears! Let me show you how to make them.
They make a fun alternative to OREO ears for a change. I can't think of a cuter idea that can be put together in minutes.
Are you looking for a fun recipe that your kids will love? Well this is it! These Mickey Mouse cupcakes with lollipop ears are so cute and easy to make.
These cupcakes are super customizable too because you can use a variety of lollipop colors.
LOLLIPOP MICKEY MOUSE CUPCAKES IDEA
This fun twist to Mickey Cupcakes is kind of brilliant if you ask me. Using swirl lollipops for easy Mickey ears is just so easy and eye-catching. So, why not use them?
We will be using prepared cake mix cupcakes and decorating from there. You can use any cupcake recipe of your choosing instead if you like.
These cupcakes totally remind me of the couple of Disney candy-shaped ear headbands and I love it.
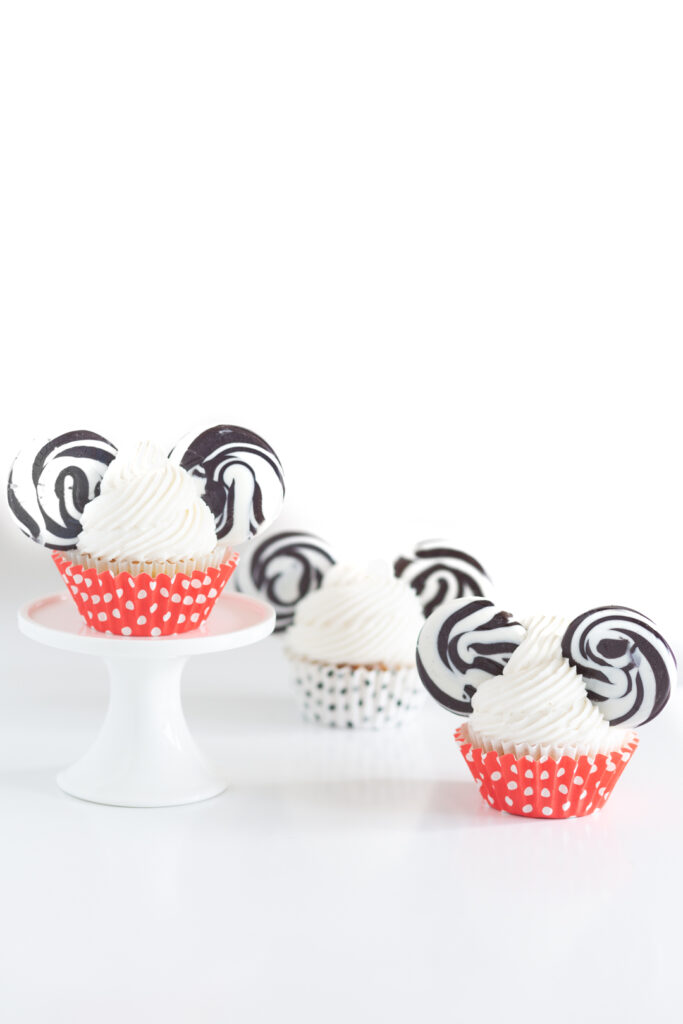
I came up with this idea last Christmas using red and green swirled lollipops and thought it was time for a regular black, white and red look for an everyday treat, too.
They're perfect for any occasion, especially if you're hosting a birthday party or other celebration. Your little ones are sure to enjoy these adorable cupcakes as much as they enjoy the Disney classic himself!
LOLLIPOP MICKEY MOUSE CUPCAKES INGREDIENTS
PREPARED CUPCAKES - you can use any cupcake recipe that you like or just a simple boxed cake mix like I did. We'll just be simply decorating them. I personally prefer how this simple
Mickey ear decoration looks on vanilla cupcakes, but you can use whatever flavor you prefer.
FROSTING - you will want to choose a thicker frosting or buttercream for this because you want the frosting to stack really nicely to showcase the adorable ears.
For a store-bought option that REALLY sets and stacks nicely, I almost always choose Wilton White Creamy Decorator Icing with Medium Consistency.
SWIRL LOLLIPOPS - Black and white swirl lollipops are perfect like these at Bulk Candy Store, but you can use any color you like to match your party theme. Red and White would look so cute as well for a traditional Mickey vibe.
LOLLIPOP MICKEY MOUSE CUPCAKES TOOLS AND SUPPLIES
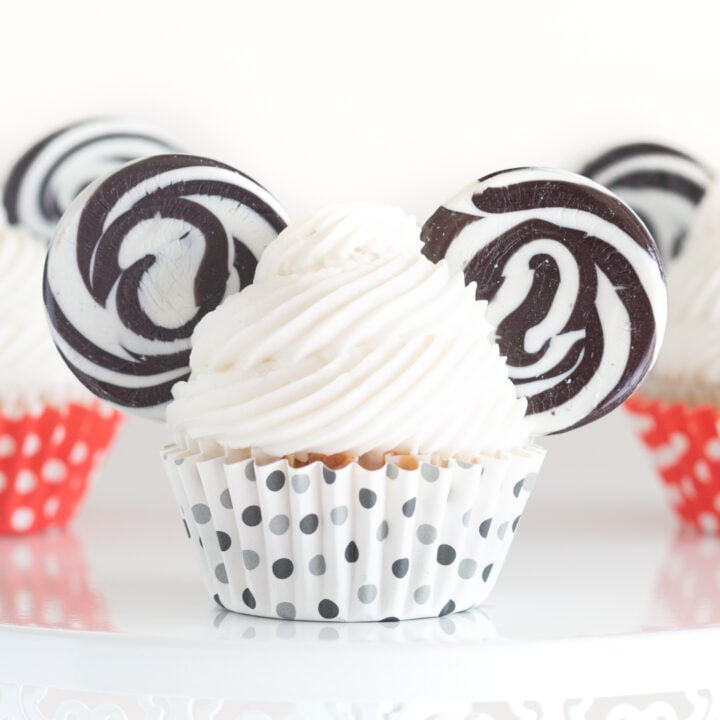
ICING BAG AND TIP - to make these snack cups extra cute, you will want to use an icing bag and icing tip of choice to pipe on your whipped topping. I used a French Star tip and looped around about four times for the perfect tall stack of cream on top.
CUPCAKE LINERS - Polka Dot Liners are so cute with these cupcakes. I love black and white or red and white polka dots for that classic Mickey Mouse look.
HEAVY DUTY SCISSORS - to cut the lollipop sticks down about half way so that they can be inserted into the cupcakes.
HOW TO DECORATE MICKEY MOUSE CUPCAKES
This cupcake idea is just so easy, it's hard to believe.
First, make sure your cupcakes are cool before decorating.
Add your Frosting to a Pastry Bag fitted with a French Star Tip (or tip of choice) and press the frosting away from the bag opening and down toward the tip.
*To fit your frosting tip to your bag, simply put the tip inside and maneuver it to the bottom of the bag. Cut a small bit off the tip of the pastry bag and see if your tip will pop out of the hole. If not, repeat the process by trimming little by little until only the tip of the tip has popped out of the bag.
Then, press downward so that you can dispense frosting onto each cupcake using a circular motion to stack 3-4 layers of topping on.
Taper upwards and end at a soft point. Stop pressing the frosting downward and gently pull the pastry bag away.
Next, cut the lollipop sticks down about half way. They need to be short enough to fit into the cupcake and long enough so that it serves as a sturdy base to support the weight of the lollipops.
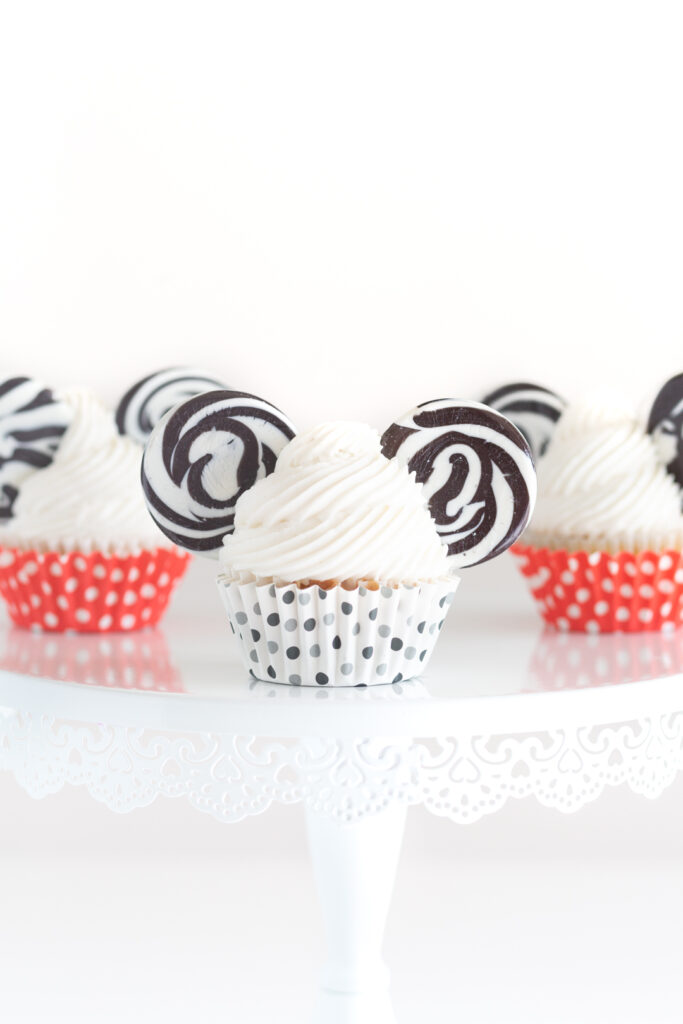
Once you have the lollipops trimmed down, insert them evenly into the left and right tops of each cupcake into the frosting and ensuring that they are nice and secure.
When you have the lollipop ears inserted, that is literally it. You now have some of the very cutest Mickey treats around.
CUTE MICKEY MOUSE CUPCAKES
Looking for more Mickey-themed cupcake treats?
Here are some more of my favorite ideas here on Cutefetti.
You don’t have to live near Disney World to enjoy the magic of Mickey Mouse.
With this recipe, you can celebrate your next party or a Disney trip countdown with some tasty cupcakes with the cutest Mickey lollipop ears.
Lollipop Mickey Mouse Cupcakes
Celebrate your next Disney party with these fun and colorful Mickey Mouse cupcakes. See how to make the best Mickey cupcakes using swirl lollipops for ears.
Ingredients
- 12 Prepared Vanilla Cupcakes, cooled
- 3 Cups of Thick White Frosting or Buttercream
- 24 Black Twirl Lollipops
- Tools: Scissors, Pastry Bag, French Star Frosting Tip
Instructions
- Add frosting to a Pastry Bag fitted with a French Star Tip (or tip of choice) and press the frosting away from the bag opening and down toward the tip.
- Press downward to dispense frosting onto each cupcake using a circular motion to stack 3 layers layers of topping on. Taper upwards and end at a soft point. Stop pressing the frosting and gently pull the pastry bag away towards the back of the cupcake.
- Cut the lollipop sticks down about half way. They need to be short enough to fit into the cupcake and long enough so that it serves as a sturdy base to support the weight of the lollipops.
- Insert trimmed lollipops evenly into the left and right tops of each cupcake into the frosting and ensuring that they are nice and secure. Enjoy.
Totally swooning over these.
If you enjoyed this yummy post, please share with a friend or two!