Easter Bunny White Chocolate Hot Cocoa Melts
Looking for a delicious way to celebrate Easter? These trendy little hot cocoa bunny melts are just the thing. They are not only delicious and easy to make but they make for the perfect Easter basket filler, too! Let me show you how to make these white chocolate bunny hot cocoa melts with pink hot cocoa and pink mini marshmallows. This post may contain affiliate links.
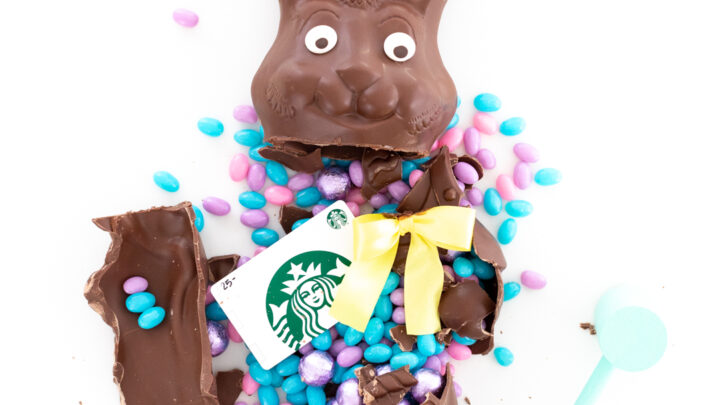
If it is your first time visiting my blog and seeing hollow chocolates turned into something else, welcome! The theme of most of my Easter goodies this year involve transforming a hollow Easter chocolate into something cool. From a wide variety of bunny hot cocoa melts to my favorite Easter smash chocolate gift idea.
This fun Easter hack is perfect for those who don’t wanna use chocolate molds or milk chocolate.
Basically an easy option for all your crafty people who love shortcuts.
Not everyone has time to learn a skill from the ground up when you just want to make something once or twice. If you’re with me, you have come to the right place.
Let me show you how to whip these cuties up.
WHITE CHOCOLATE HOT COCOA MELTS
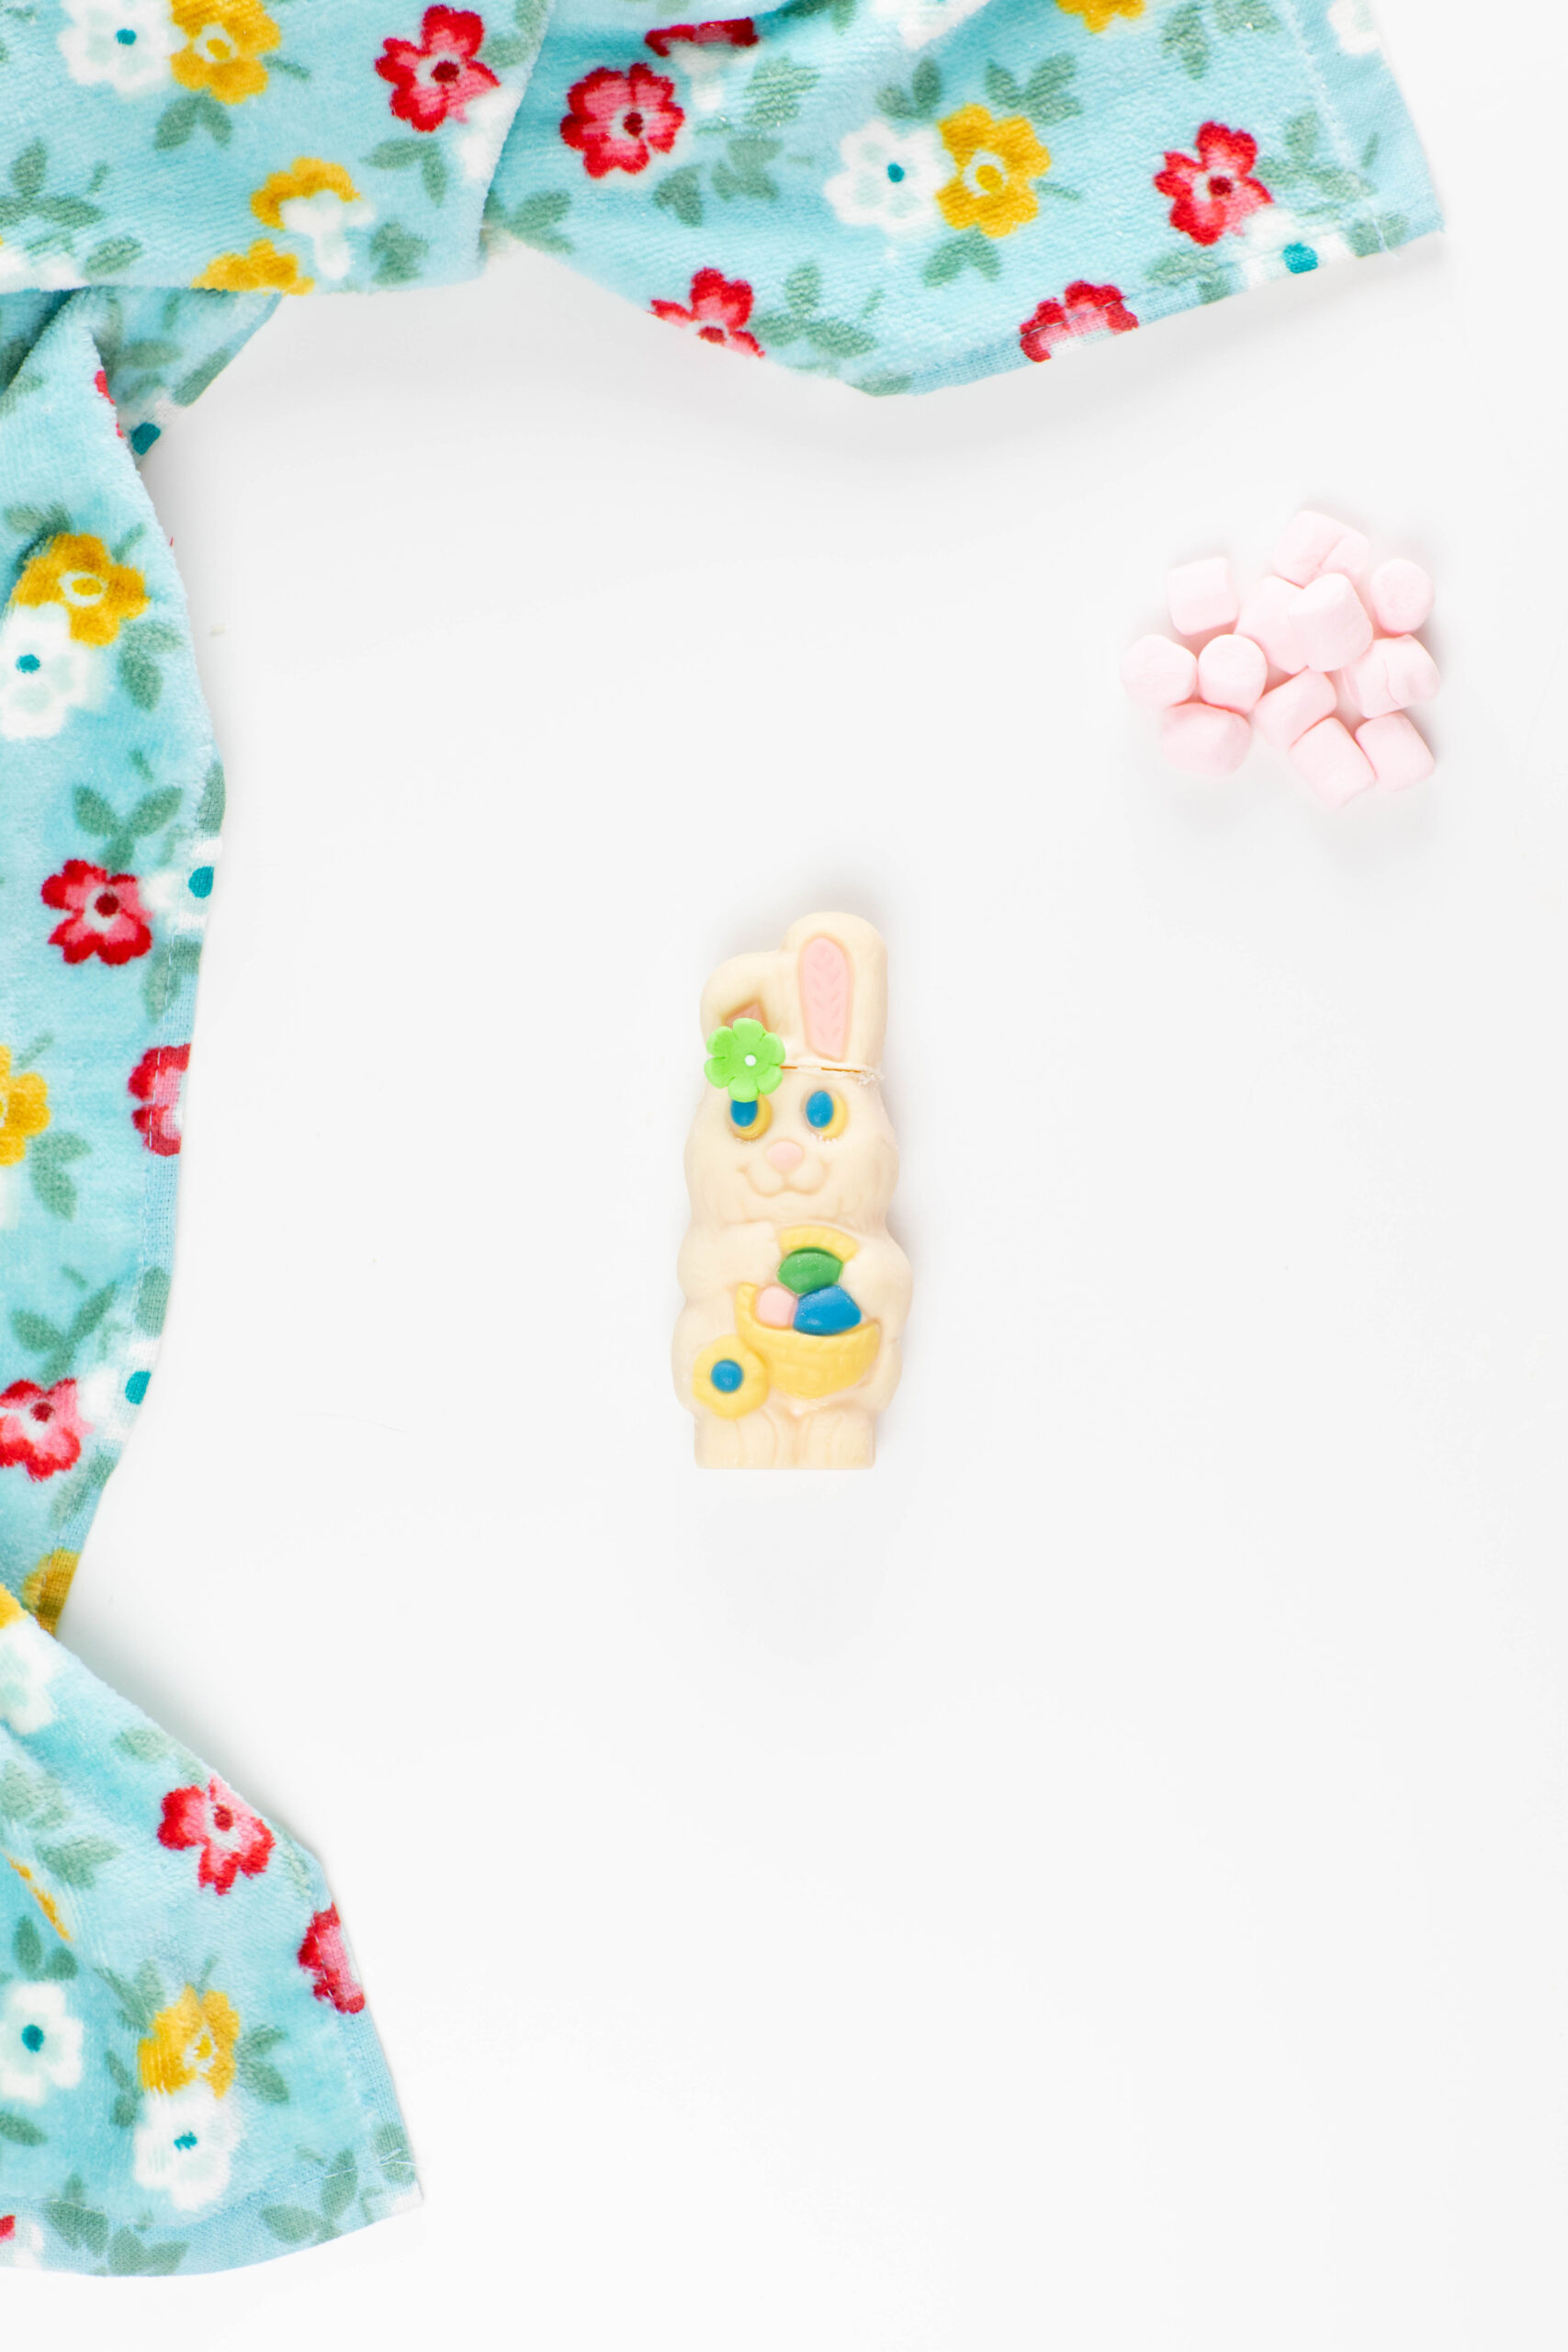
These Easter Bunny Melts are guaranteed to be an instant hit this holiday. You just need to gather a few simple items in order to make them. Here is what you need to make these white chocolate hot cocoa bunny melts:
WHITE CHOCOLATE HOT COCOA MELTS INGREDIENTS
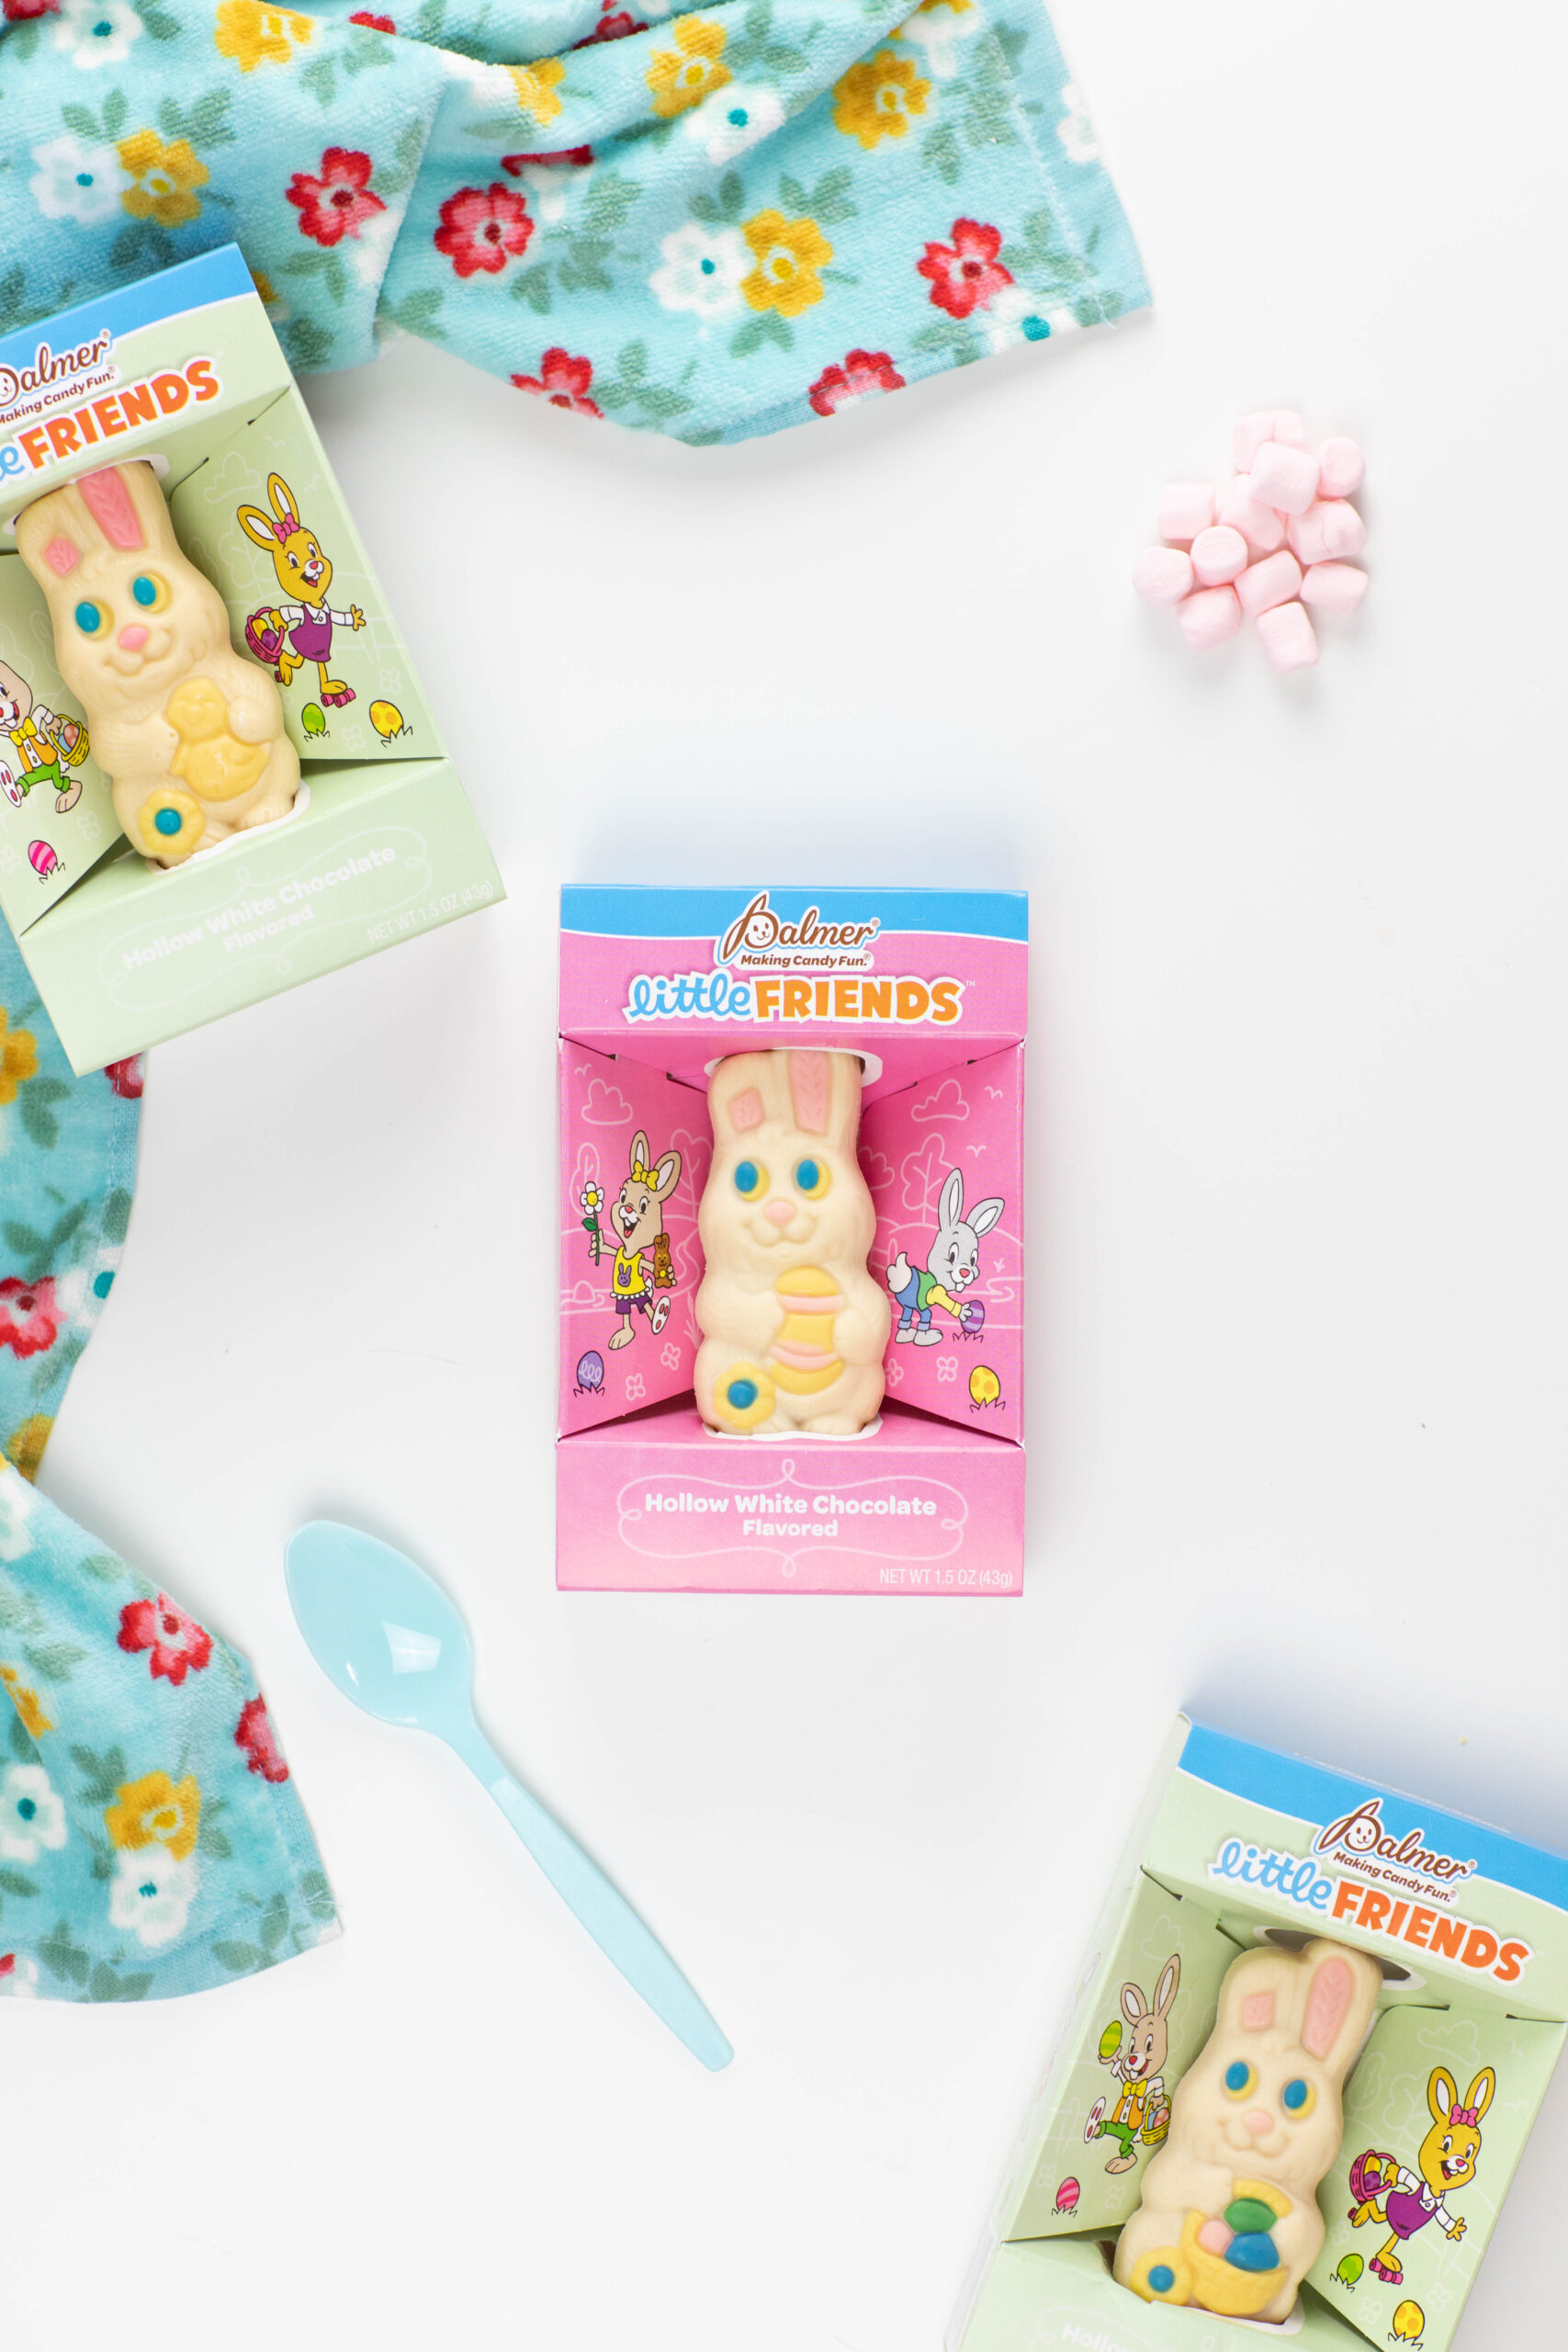
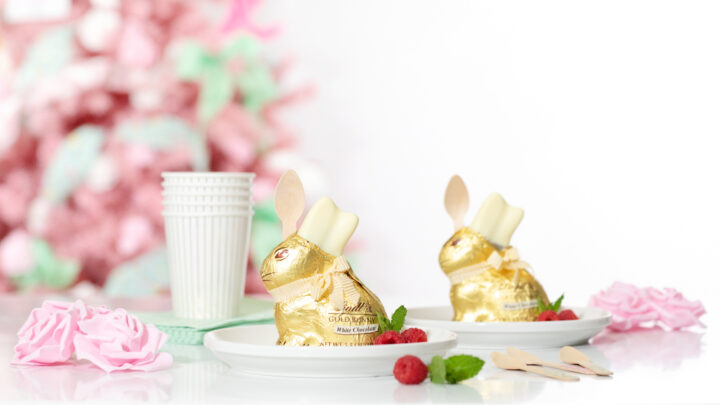
- Small hollow white chocolate Easter bunny - I used Palmer Little Friends White Chocolate Bunny, 1.5 oz.
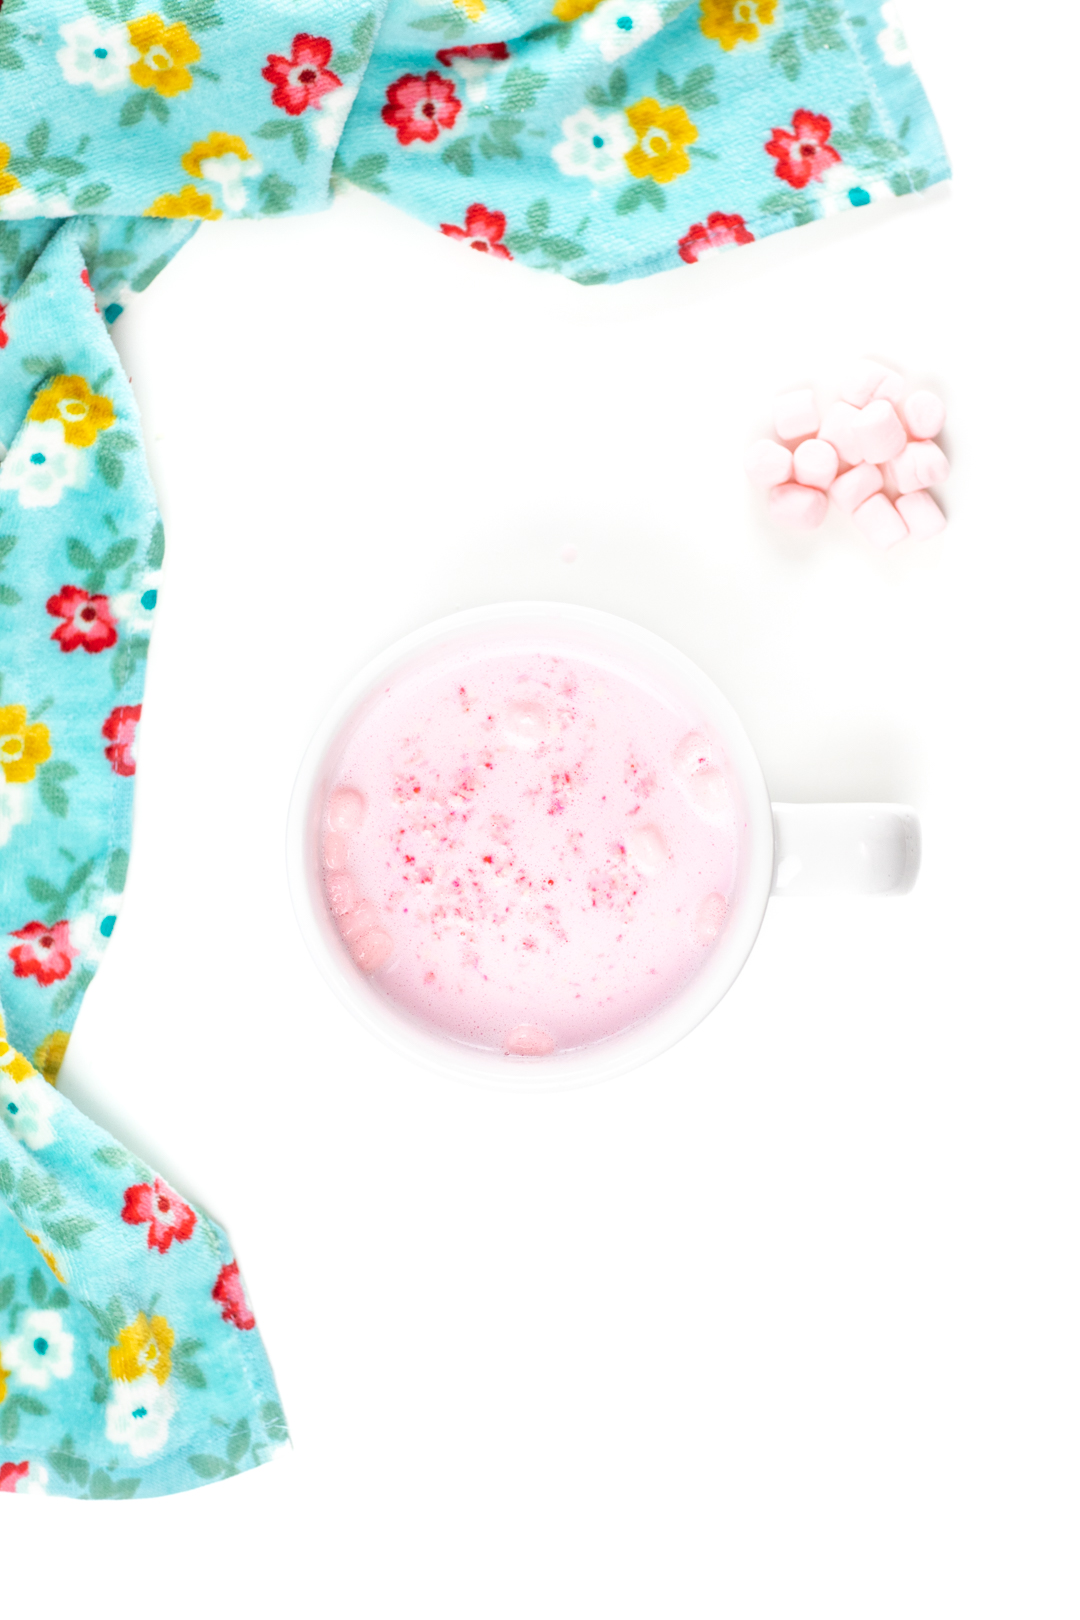
- Pink hot chocolate - You can do this a variety of ways. One of my cheats included using Nesquik Strawberry mix instead. You can also use white hot chocolate mixed with a few gel food coloring drops and mix really well.
- Pink mini marshmallows - I just picked out the pink ones from a bag of pastel mini marshmallows.
- Flower icing decoration (Optional)
Tools needed:
- Knife
- Lighter (optional)
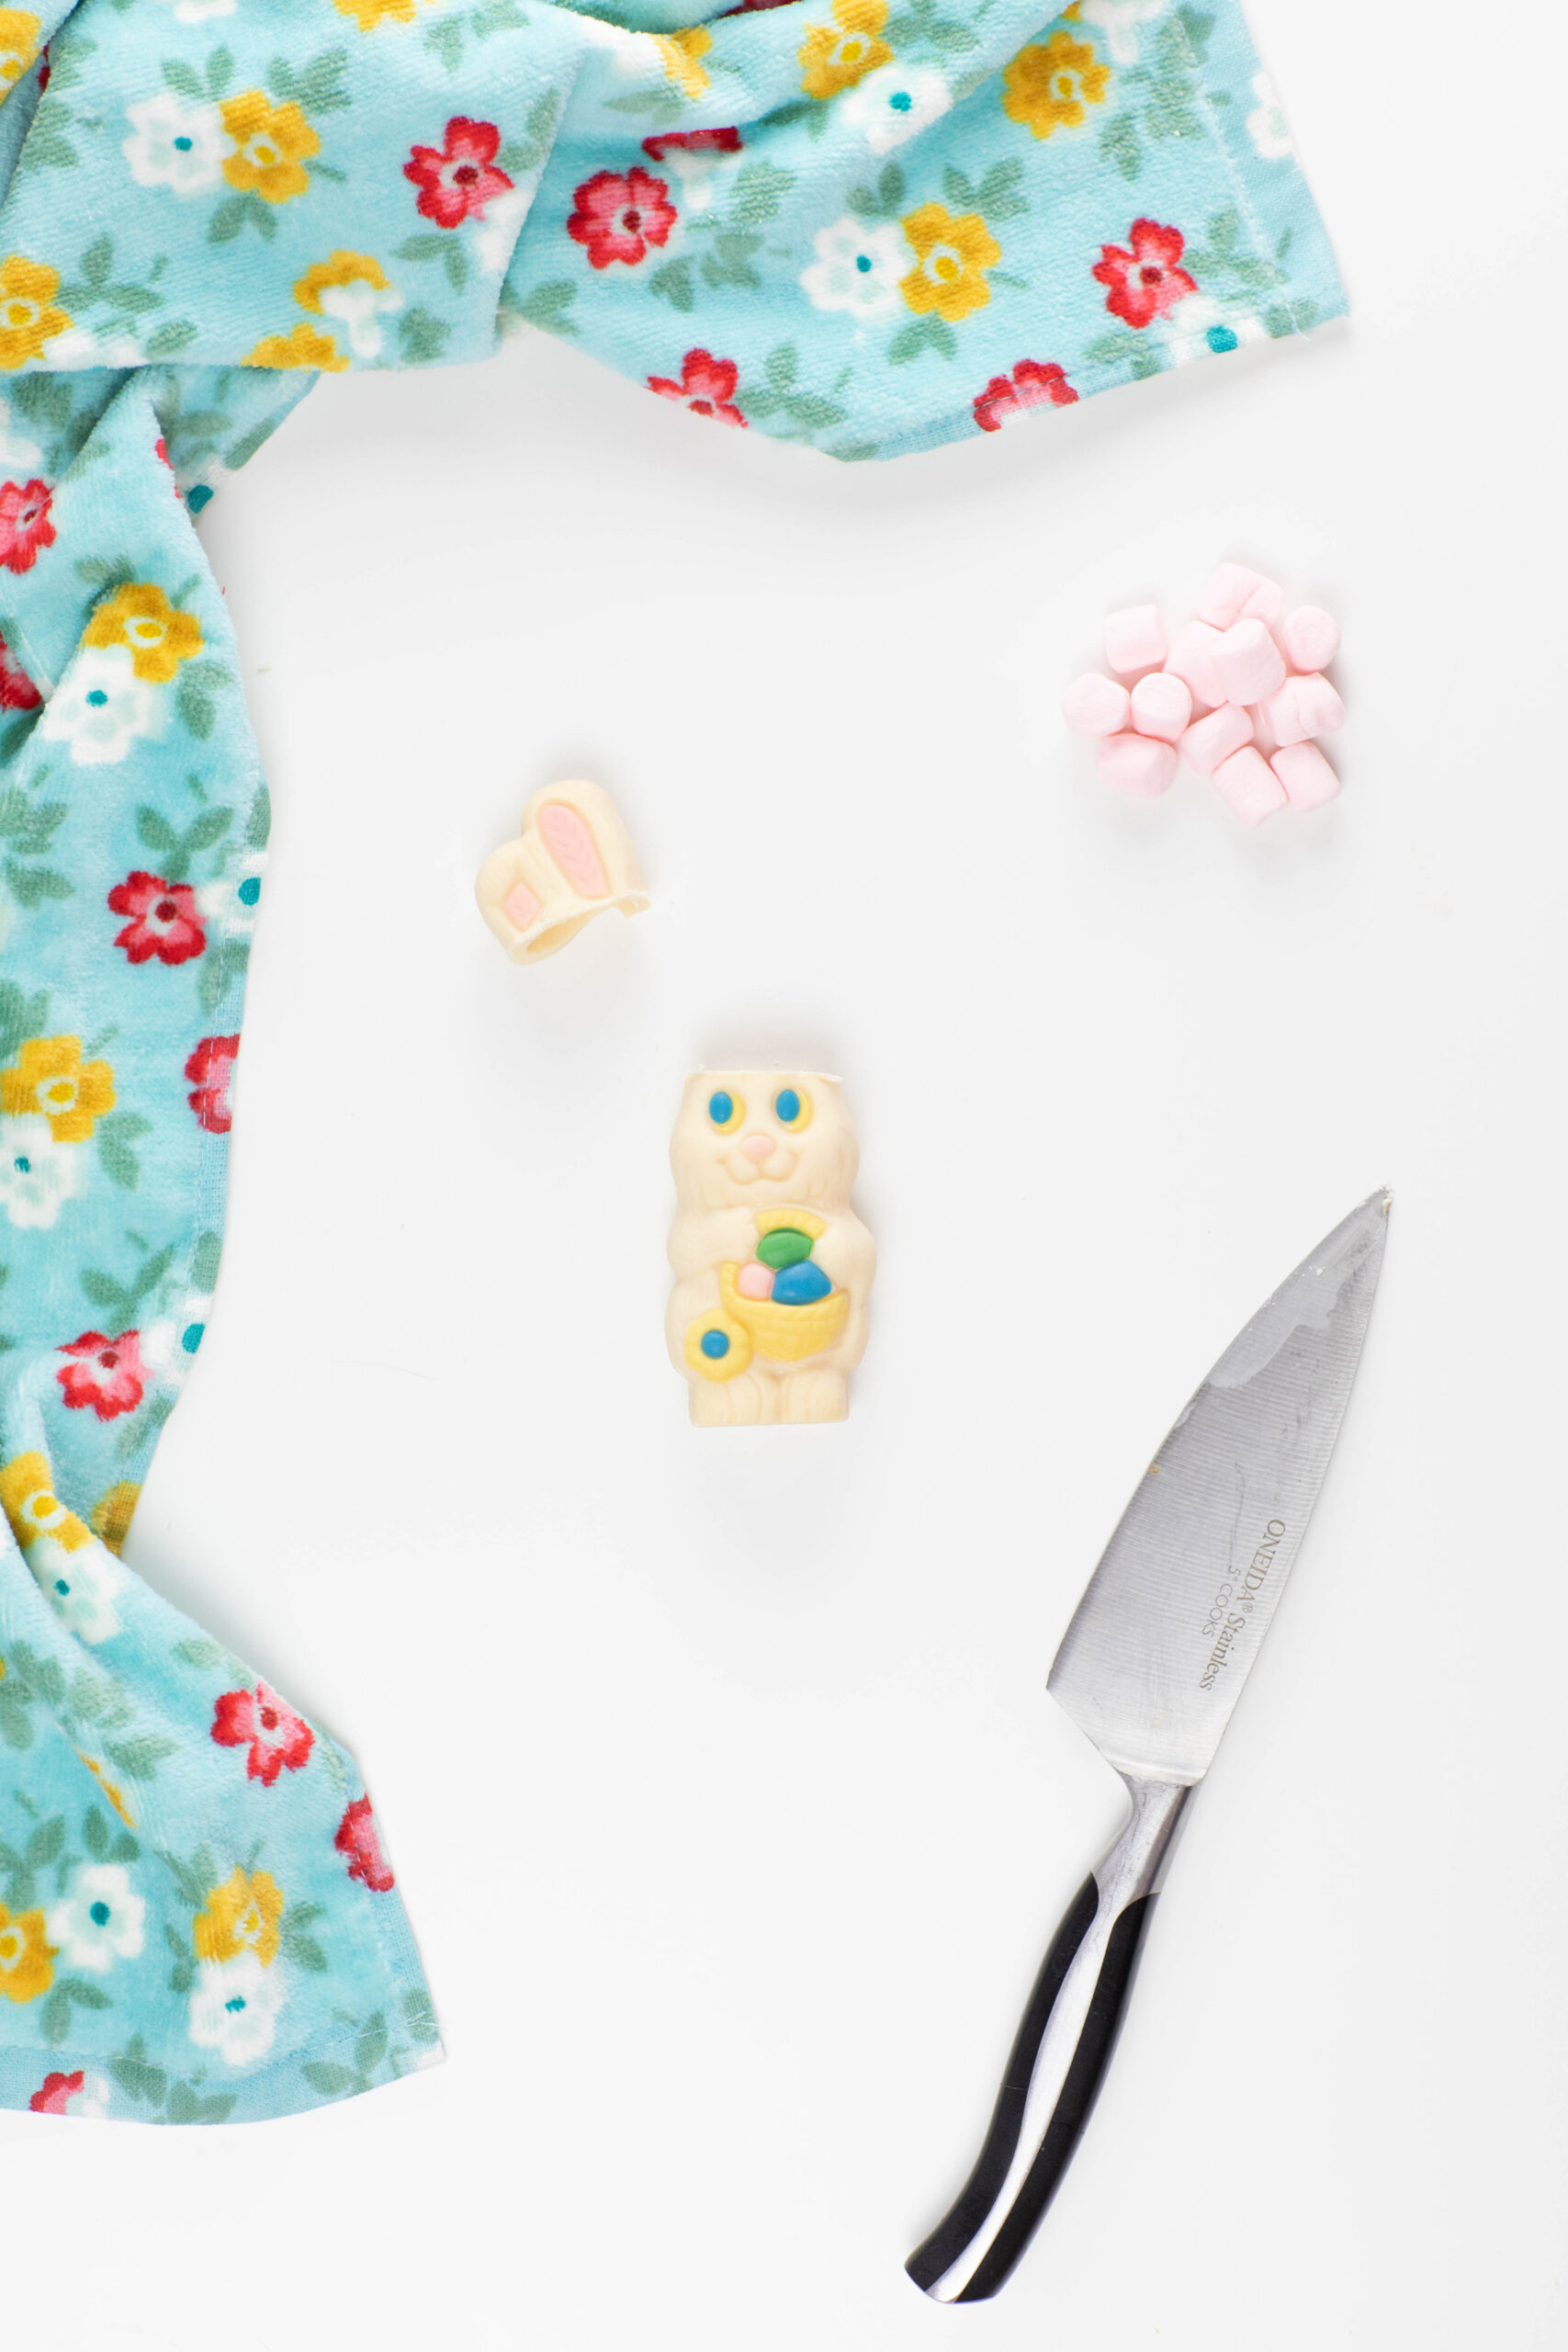
Once you have all of these things gathered, it’s time to make your cute bunny melts. We start by melting the bunny ears off.
HOW TO MELT HOLLOW EASTER BUNNY
Instead of cutting right through the hollow Easter bunny ears, it's best to use a heated knife to melt and cut through them at the same time. It will give you the best chance to not messing them up and achieving a straight cut.
To heat a knife, I have narrowed it down to a couple of best options. The first one, at your own risk is to use a lighter to heat it. Adults only, of course. Secondly, you can run under very hot water and then dry to use immediately. For both methods you will have to repeat several times in order to melt through the entire bunny. Takes a few minutes of patience, but the result will be worth the effort.
HOW TO FILL WHITE CHOCOLATE HOT COCOA MELTS
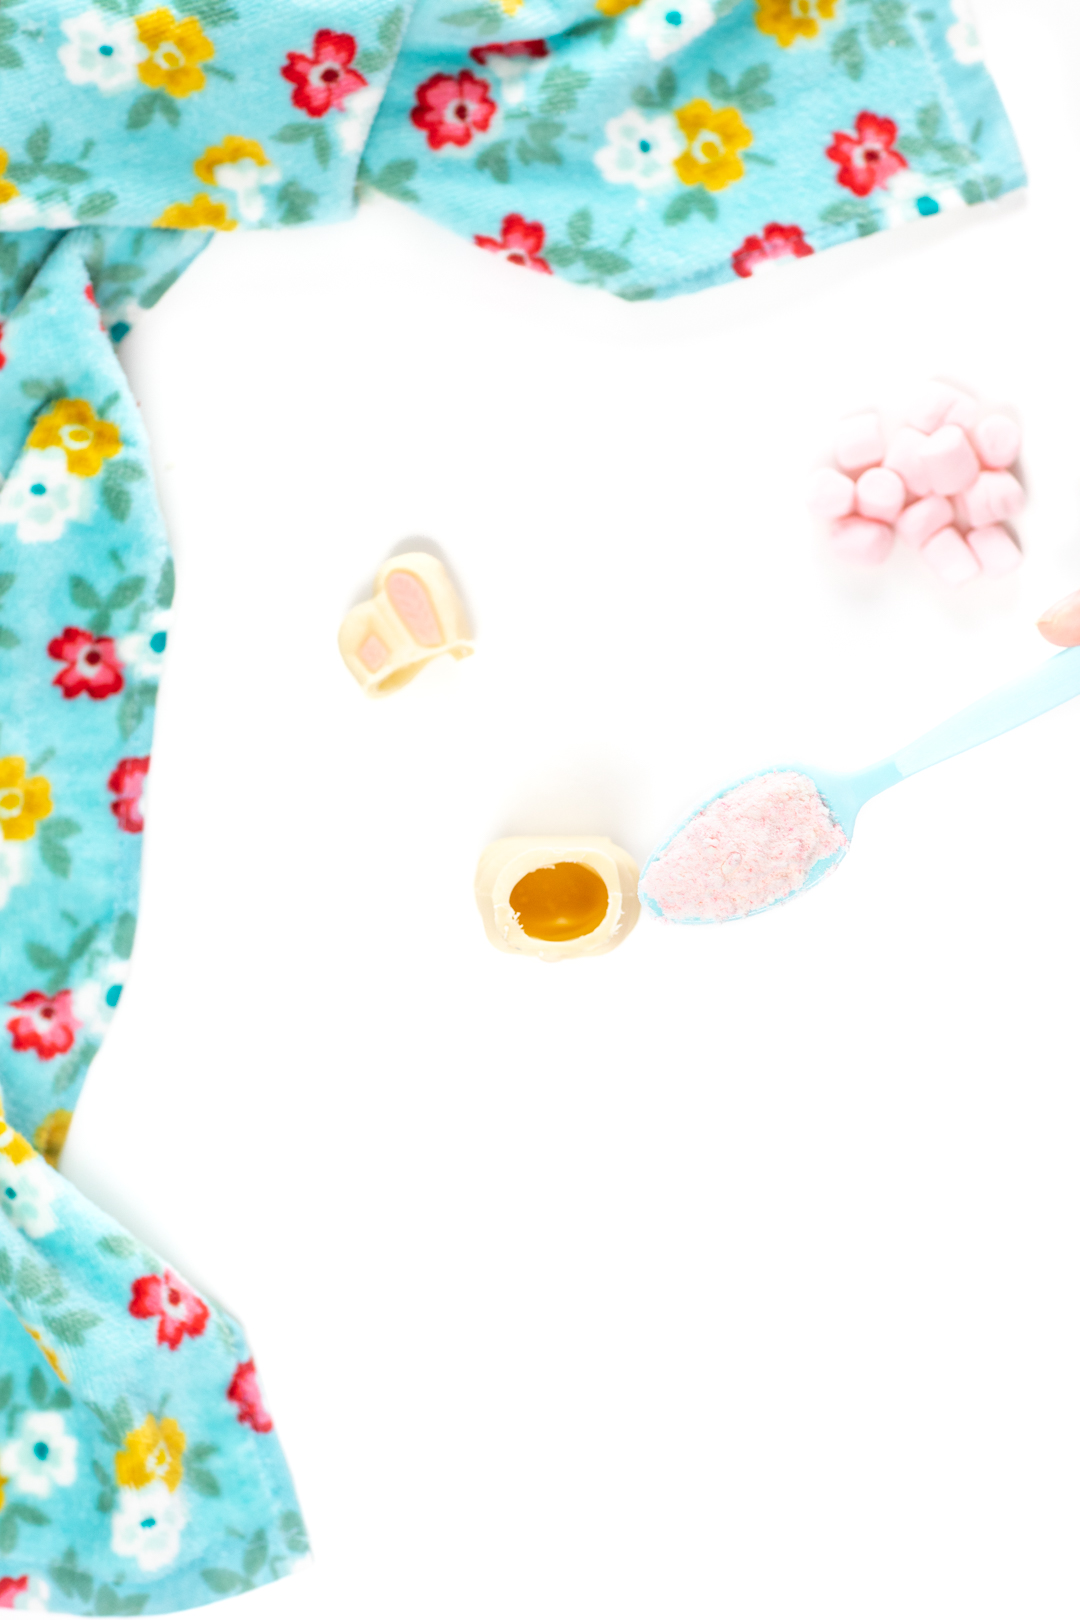
Once you have melted the ears off, it's time to fill out the hollow bunny.
I fill up with hot cocoa mix to about the halfway point. It's a good balance to keep flavor in yet leave enough room for some marshmallows.
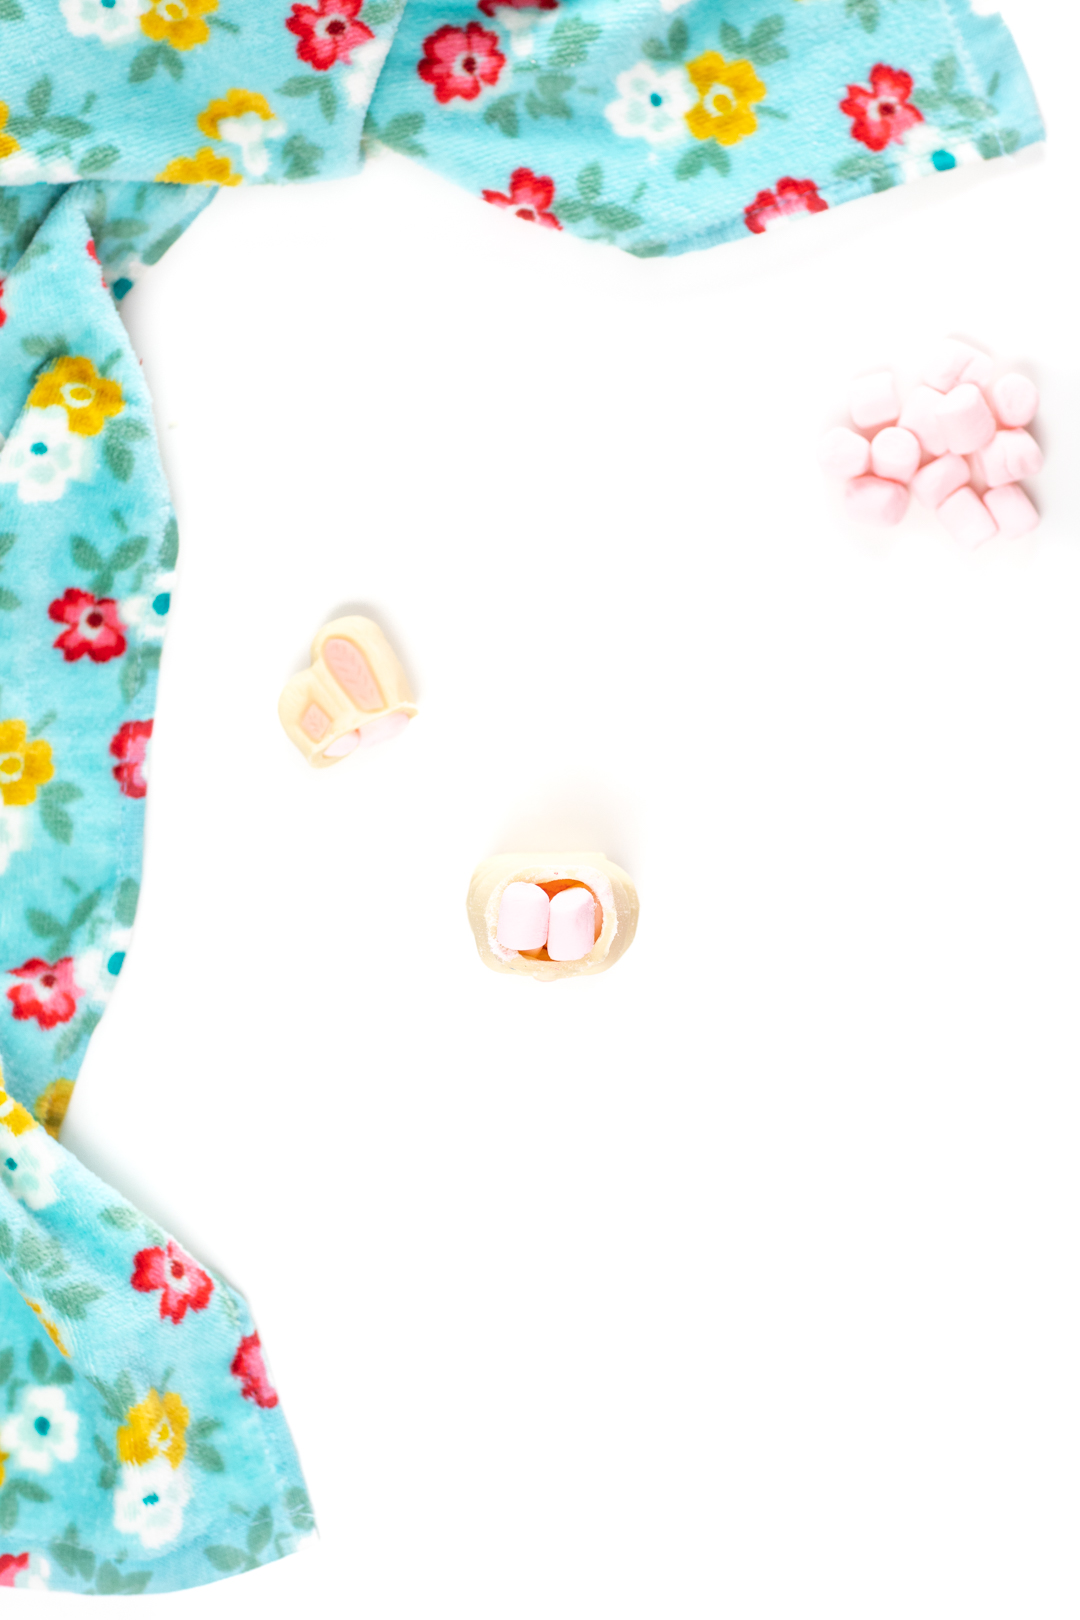
Once you add your choice of pink tinted hot cocoa mix, add as many pink mini marshmallows as you can.
Then, the last step is to seal the bunny ears back on. For this, we use either the same lighter method to warm the perimeter of the bunny head to give it a tiny melt and then press it on. Alternately you can use a hot plate to press the ears into to give a little melt and then press them back on.
Let them set for a couple of minutes and the chocolate will solidify. If you are in a warm environment, you can stick the bunny in the refrigerator or a freezer for a minute instead.
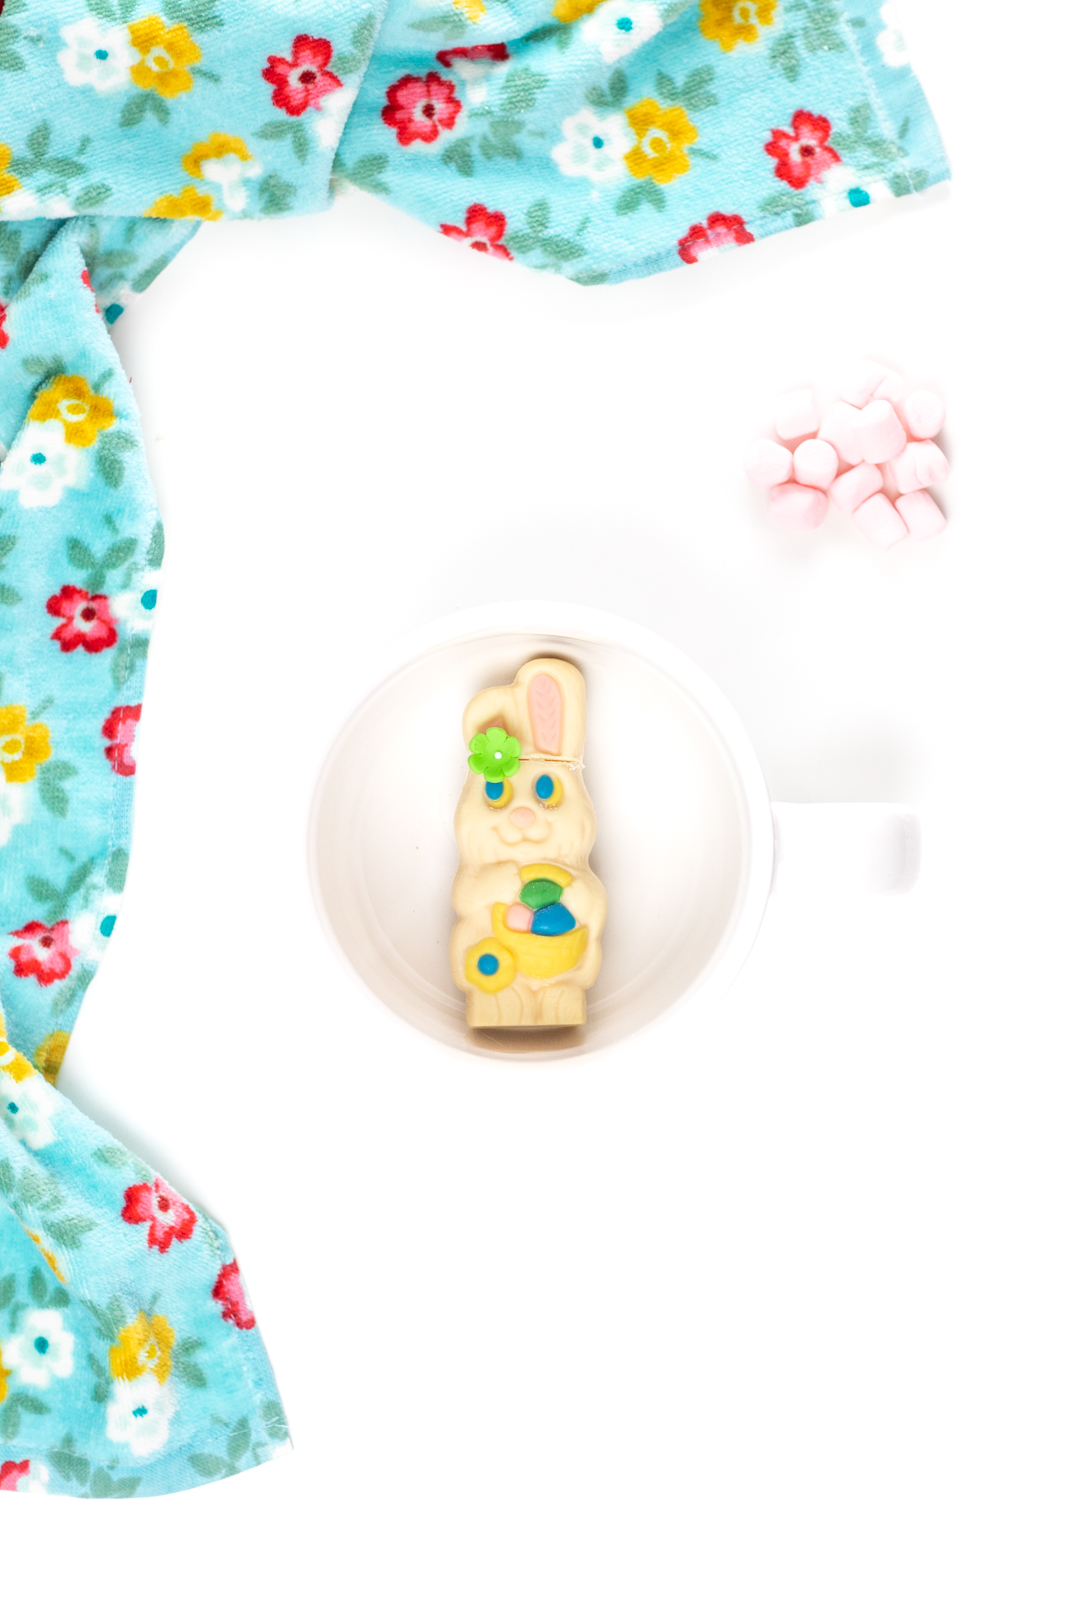
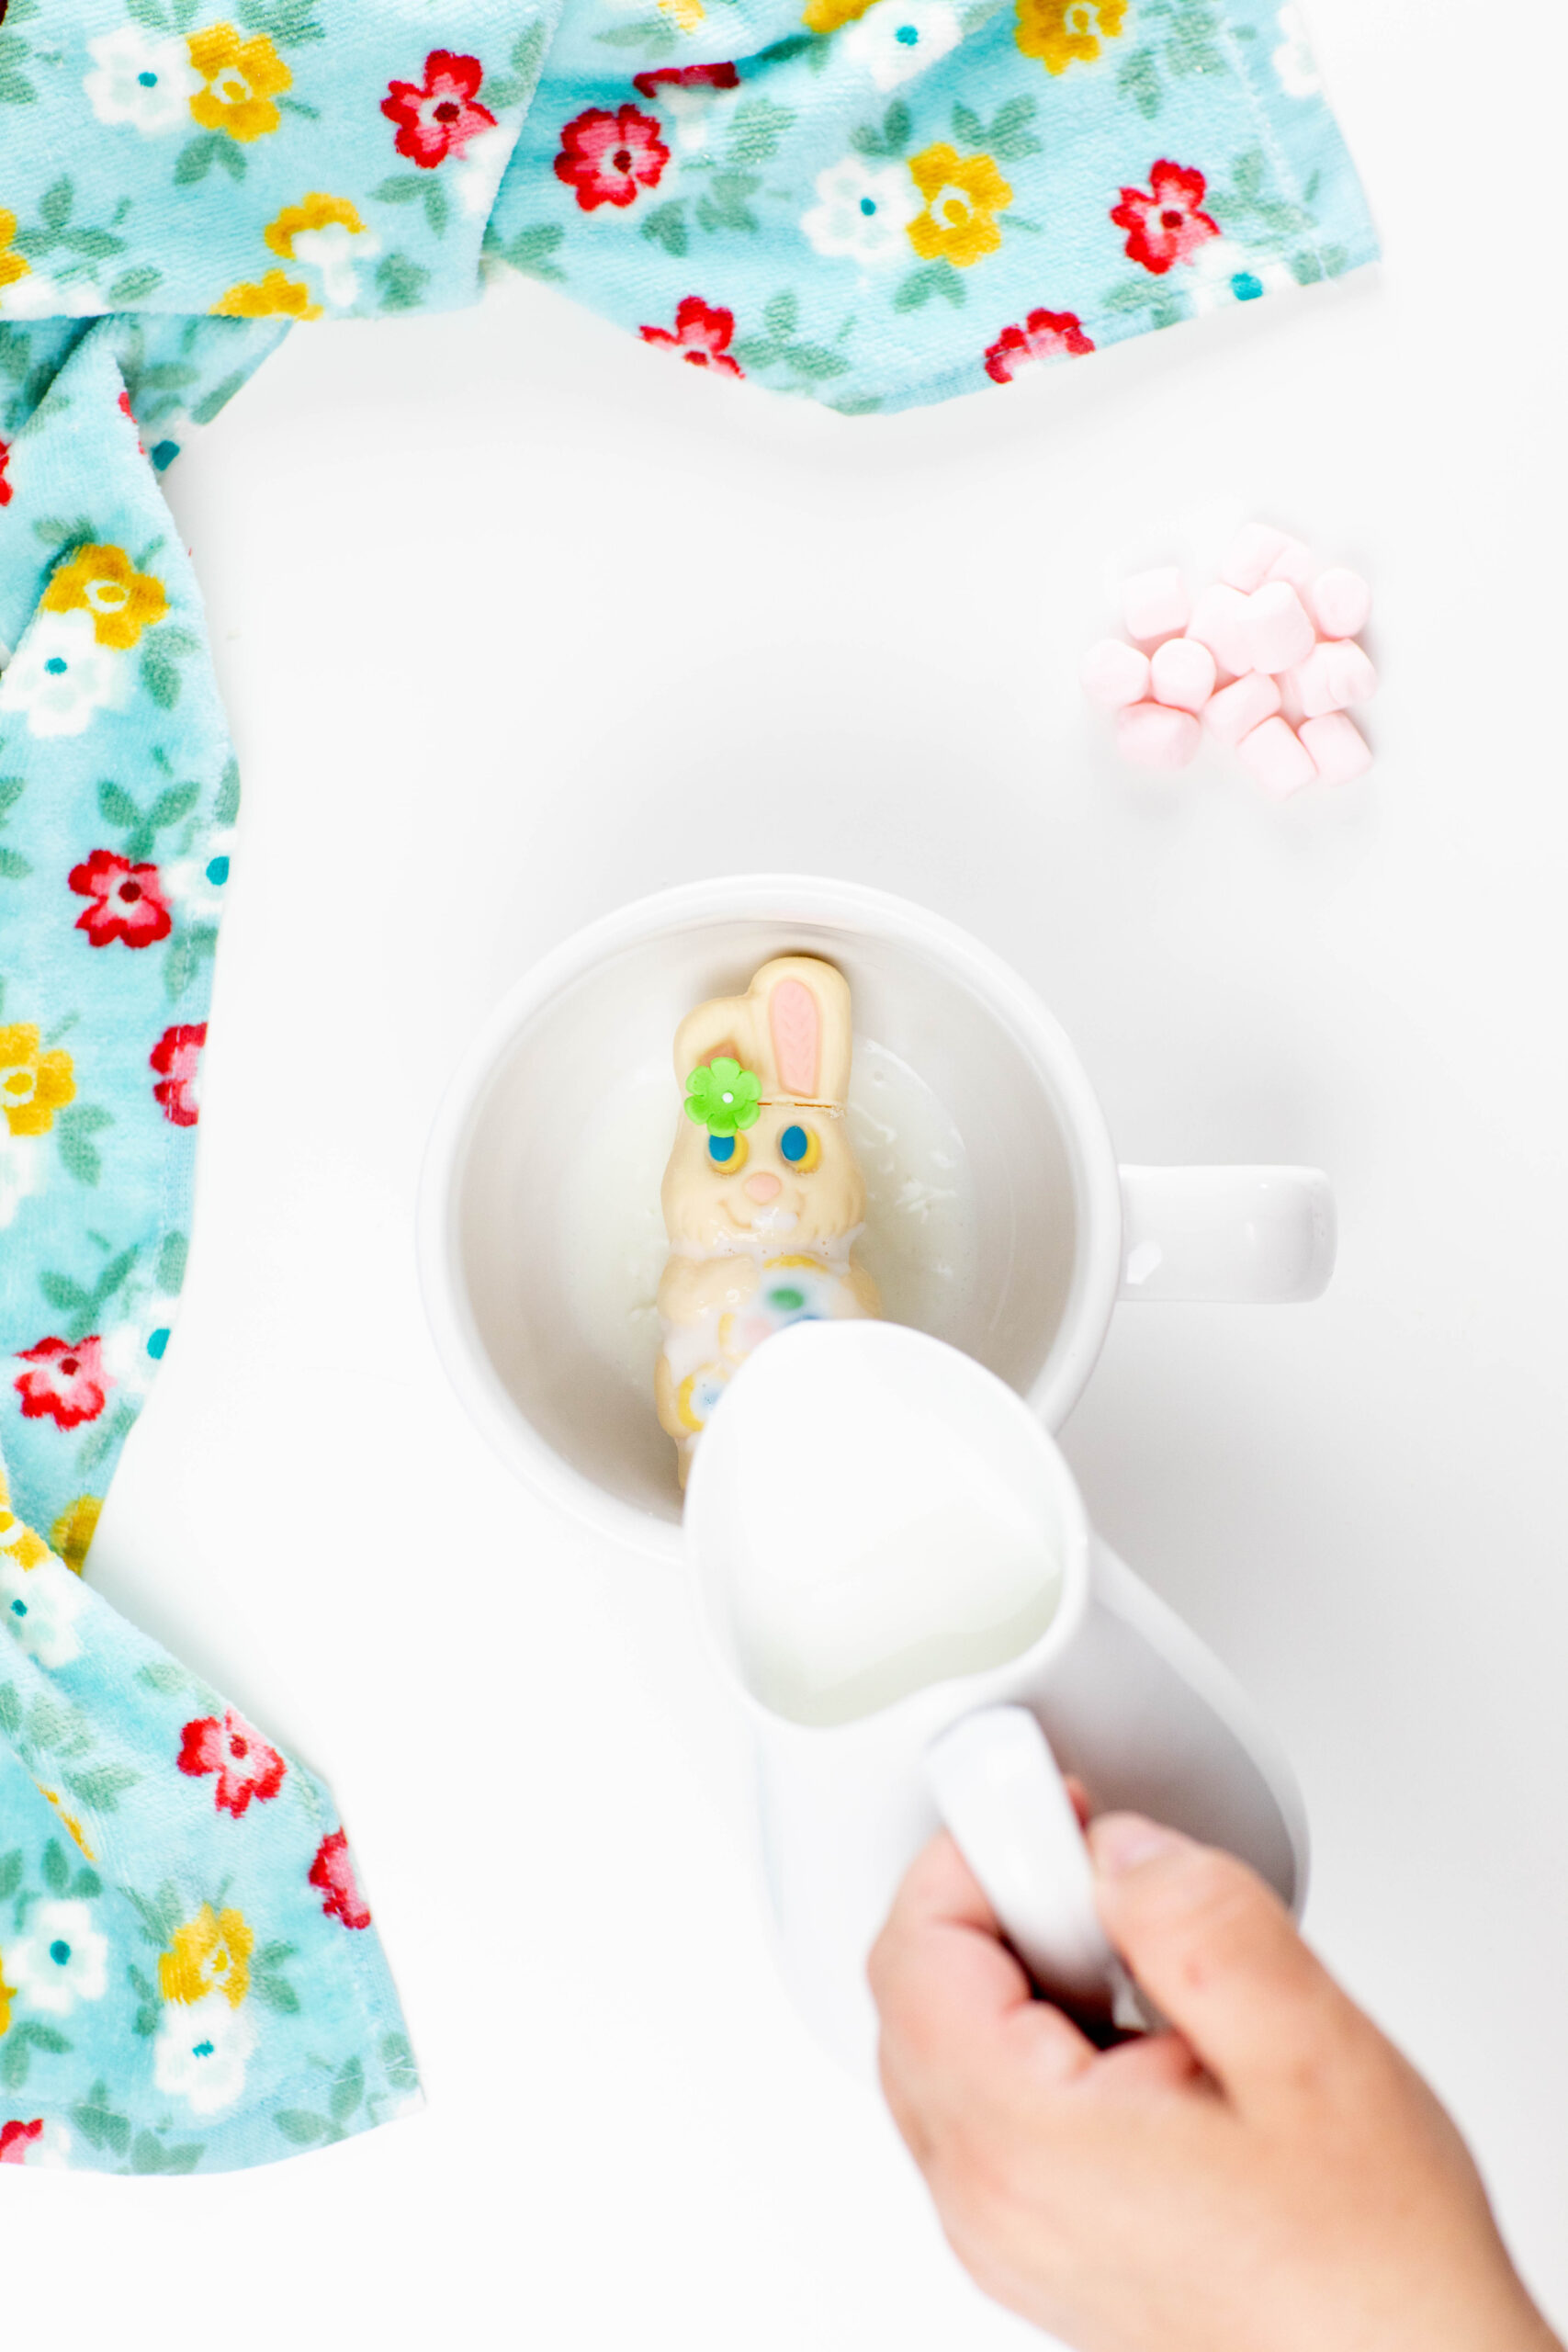
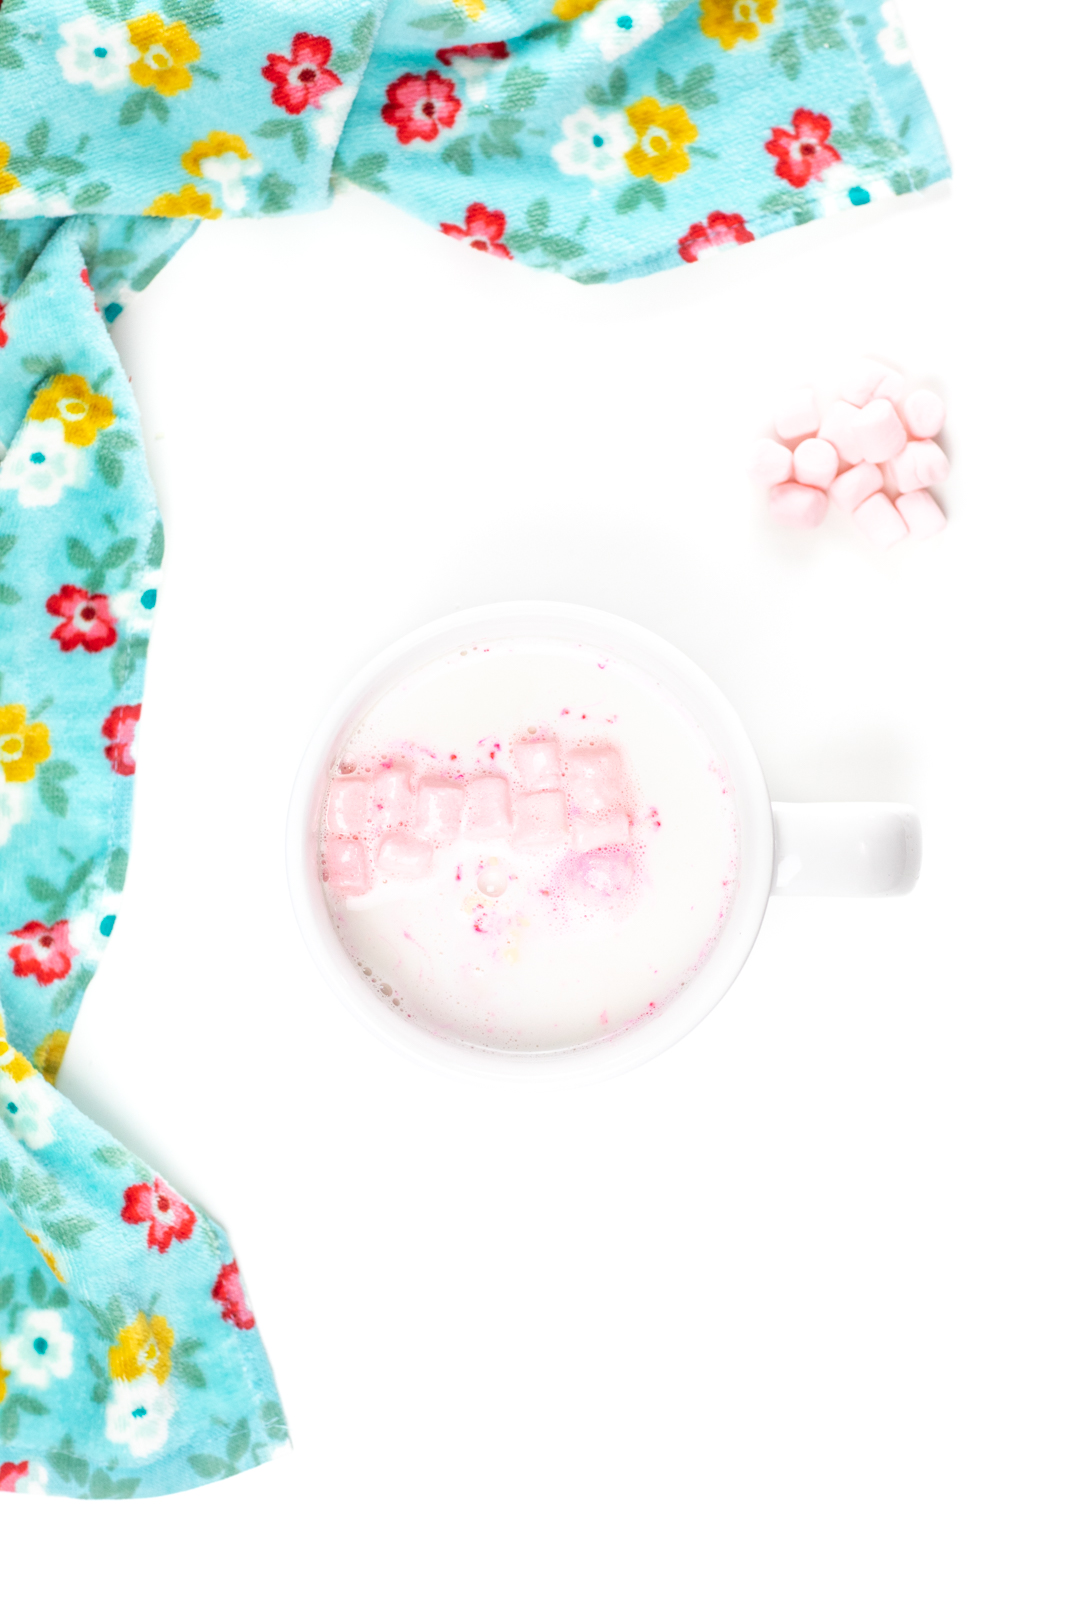
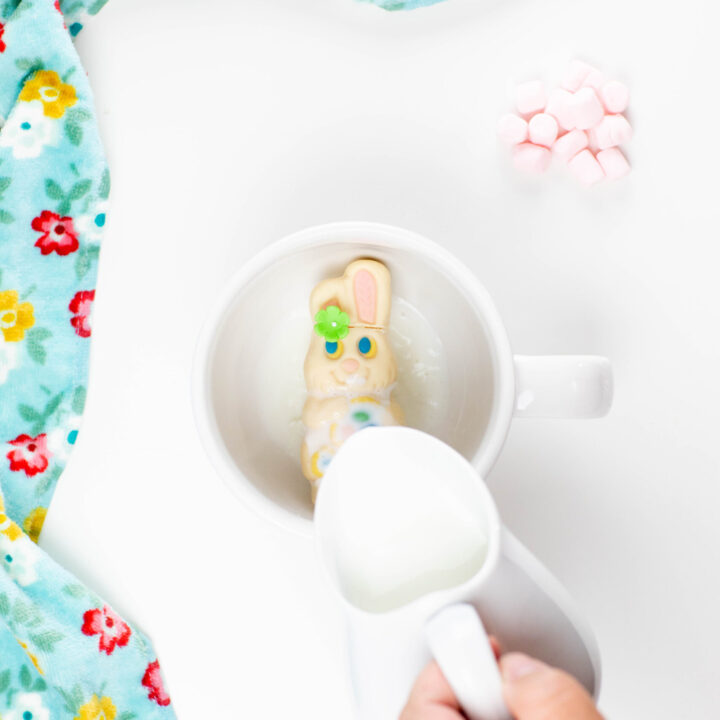
Once they are all sealed up, it's time to enjoy!! Just add to a mug and pour super hot milk over the bunny melt to watch the magic happen.
Wait for it.... it's SO much fun with the mini marshmallows pop out.
BEST EASTER IDEAS
Looking for the best Easter ideas all in one place? This list of creative ideas is the perfect place to start to plan a memorable holiday.
Easter Hot Cocoa
Easter hot cocoa made with a hollow chocolate Easter bunny, hot cocoa mix and pastel mini marshmallows. Perfect homemade Easter Basket filler.
Easter Dessert Candy Board
Pretty pastel candy and treat charcuterie board for Easter. Tips to create the best candy tray for all of your fun and festive gatherings this year.
Melting Bunny Hot Cocoa
Best Hot Cocoa Easter Bunny Treat around. Delicious hot cocoa mix and mini marshmallows stuffed into a Lindt chocolate bunny. Fun Easter basket filler.
Upcycled Bunny & Chick Easter Baskets
Cute Easter Bunny and Chick Craft for the kids using empty milk cartons and construction paper. Can use for an Easter Basket.
Individual Bunny Trifle Desserts
Individual bunny trifles with Lemon cake, raspberry jam, lemon pudding and whipped topping served in a hollow white chocolate Easter bunny. Beautiful addition to your Easter tablescape.
Smashable Chocolate Bunny Gift
Easter smash chocolate! Easy hack to create a smashable chocolate bunny using a holllow store-bought chocolate Easter bunny. Add candies and gift cards inside. Ultimate Easter surprise.
White Chocolate Hot Cocoa Melts
White Chocolate Hot Cocoa Melts Made with Hollow White Chocolate Easter Bunnies and Filled with Pink Hot Chocolate. Creative Easter Basket Filler.
Ingredients
- 1 Palmer Little Friends White Chocolate Bunny, 1.5 oz.
- 2 TBSP +- Pink Hot Cocoa Mix or White Hot Cocoa Mix
- 1 TBSP Pink mini marshmallows
- 1 Flower icing decoration (Optional)
Instructions
- Remove chocolate bunny from packaging.
- Remove bunny ears by melting. Use a heated knife to gently press into the base of the ears of the bunny to slowly melt through the entire bunny. The knife will need to be reheated several times to break through cleanly. Get extra tips below..
- Pour the hot cocoa mix into the bunny. Fill it about ½ of the way.
- Add the pastel marshmallows until you fill to the top. Press additional marshmallows into ears.
- Use heated knife to lightly melt the chocolate around the base of the ears. Quickly press them back into place. Let it set for a few minutes for the chocolate to solidify. Add to refrigerator or freezer if your house is warm.
- Optional: Use frosting or a tiny amount of melted chocolate (Can typically use a large crumb from the ear removal process) to adhere the icing decoration where the ears were reattached to help cover up the cut line.
Notes
To heat a knife, run it under very hot water and dry completely and use immediately. Repeat as needed. At your own risk, you can heat your knife with a lighter as well. Repeat as needed. You can also try pressing onto a hot plate to transfer heat to the knife if desired.

